
Replacing a bike tire inner tube is a simple skill every cyclist should master. This guide walks you through removing the wheel, swapping the tube, and getting back on the road safely—whether you’re on a road bike, mountain bike, or commuter.
Key Takeaways
- Always carry a spare tube and tools: A patch kit or extra inner tube, tire levers, and a pump can save your ride when a flat strikes.
- Match your new tube size exactly: Check the tire sidewall for width and diameter (e.g., 700x25c or 26×2.1) to ensure a proper fit.
- Inspect the tire for debris: Before installing a new tube, run your fingers inside the tire to find glass, thorns, or sharp objects that caused the flat.
- Use tire levers carefully: Avoid pinching the tube by inserting levers gently and not prying too hard near the valve.
- Inflate gradually and check seating: Partially inflate the tube before fully seating the tire bead to prevent pinching, then top off pressure slowly.
- Test ride after repair: Spin the wheel and check for wobbles or leaks before heading out—especially important on long rides or races.
- Consider upgrading to tubeless: For frequent flats, explore tubeless tire systems for better puncture resistance.
How to Replace a Bike Tire Inner Tube: A Step-by-Step Guide
Getting a flat tire doesn’t have to end your ride. Whether you’re commuting to work, cruising on a weekend trail, or training for a race, knowing how to replace a bike tire inner tube is an essential skill. With the right tools and a little practice, you can fix a flat in under 15 minutes—even on the side of the road.
In this guide, we’ll walk you through the entire process: from identifying a flat to installing a new inner tube and getting back on the road safely. We’ll also share pro tips, common mistakes to avoid, and troubleshooting advice to keep your rides smooth and puncture-free.
What You’ll Need
Before you start, gather these essentials:

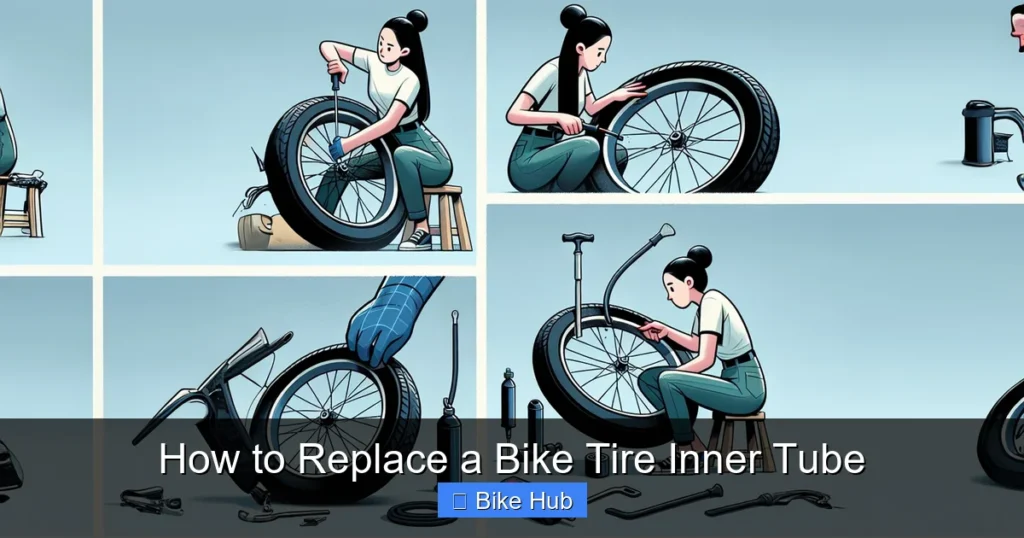
Visual guide about How to Replace a Bike Tire Inner Tube
Image source: wikihow.com
- A replacement inner tube (correct size for your tire)
- Tire levers (2 or 3)
- A bike pump (hand pump or CO₂ inflator)
- A patch kit (optional, for emergency repairs)
- A rag or cloth (to clean hands and components)
- Optional: Gloves, multitool, and a small container of tire sealant
Having these items in your saddlebag or backpack means you’re ready for any flat. For long rides, consider a pre-ride checklist to ensure your bike is in top shape.
Step 1: Remove the Wheel
The first step is getting the wheel off your bike. The process varies slightly depending on whether it’s the front or rear wheel and what type of brakes and drivetrain you have.
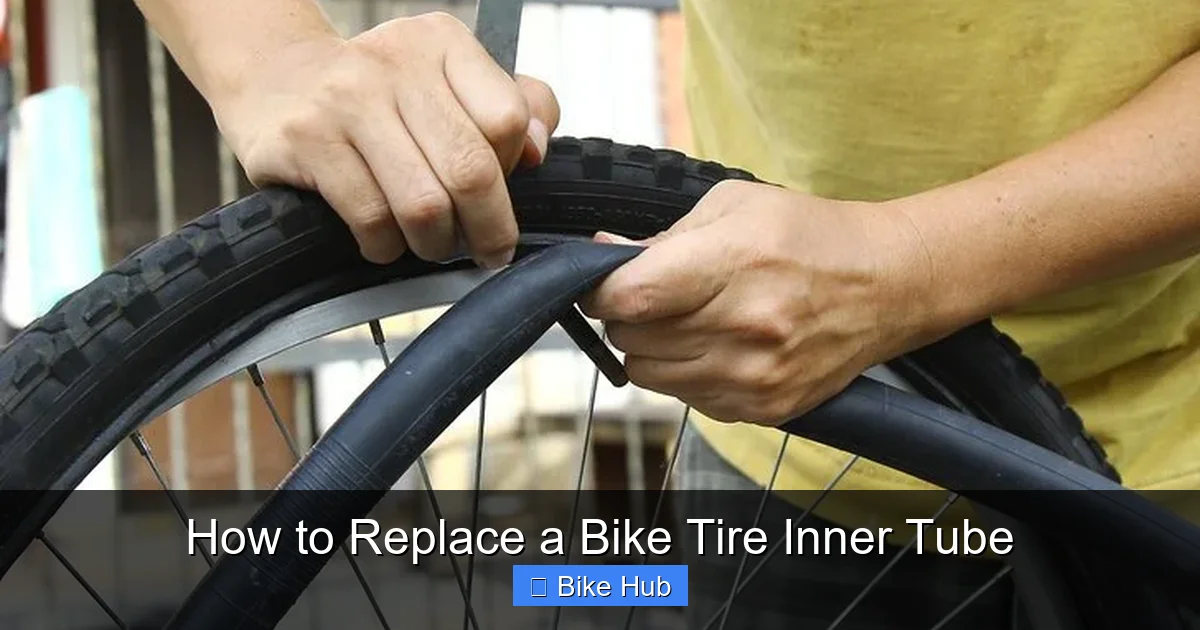
Visual guide about How to Replace a Bike Tire Inner Tube
Image source: wikihow.com
For Front Wheels:
- Shift into a small gear to reduce chain tension (if applicable).
- Open the brake calipers (if you have rim brakes) by squeezing the quick-release lever or unclipping the cable.
- Loosen the wheel axle: For quick-release wheels, flip the lever and unscrew slightly. For thru-axles, use a hex key to remove the bolt.
- Gently pull the wheel out of the fork dropouts.
For Rear Wheels:
- Shift into the smallest rear cog to loosen the chain.
- Open the brake (if rim brakes are present).
- Loosen the axle as above, then carefully guide the chain off the cassette as you remove the wheel.
Tip: If you’re working on the rear wheel, lay the bike on its side or use a repair stand to keep it stable. Always handle the chain and derailleur with care to avoid damage.
Step 2: Deflate and Remove the Old Tube
Even if the tube is already flat, make sure all air is out before removing it.
Deflate Completely:
- Press the valve stem to release any remaining air. For Presta valves, unscrew the tip first.
- Squeeze the tube gently to ensure no air is trapped.
Remove the Tire:
- Insert a tire lever under the bead of the tire (the edge that sits on the rim).
- Hook the lever to a spoke to hold it in place.
- Insert a second lever a few inches away and slide it around the rim to loosen one side of the tire.
- Once one side is off, pull the tube out from under the tire.
Caution: Avoid using metal tools or sharp objects that could damage the rim or tire. Plastic tire levers are safer and just as effective.
Step 3: Inspect the Tire and Rim
Before installing a new tube, it’s crucial to find what caused the flat. A new tube won’t last long if the problem isn’t fixed.
Check the Tire:
- Run your fingers slowly along the inside of the tire, feeling for glass, thorns, nails, or sharp edges.
- Look closely at the tread for embedded debris.
- If you find something, remove it carefully with pliers or tweezers.
Inspect the Rim:
- Check the rim tape (the strip covering the spoke holes) for tears or gaps.
- Ensure no sharp edges or protruding spokes are poking through.
- Clean the rim bed with a cloth if necessary.
Pro Tip: If you frequently get flats, consider using tire sealant or upgrading to puncture-resistant tires.
Step 4: Install the New Inner Tube
Now it’s time to put in the new tube. Follow these steps to avoid pinching or misalignment.
Partially Inflate the Tube:
- Add just a little air to the new tube—enough to give it shape but not so much that it’s tight.
- This helps prevent the tube from twisting or getting caught under the tire bead.
Insert the Valve:
- Start by placing the valve stem through the valve hole in the rim.
- Make sure it’s straight and not bent.
Seat the Tube:
- Tuck the tube inside the tire, starting at the valve and working your way around.
- Ensure the tube isn’t twisted or pinched between the tire and rim.
Reinstall the Tire:
- Starting opposite the valve, push the tire bead back onto the rim with your hands.
- Work your way around, using your thumbs to press the bead into place.
- If it gets tight near the valve, use a tire lever—but only as a last resort and with extreme care.
Warning: Never use a tire lever to force the last section of tire onto the rim. This is the most common cause of pinch flats. If it won’t go on by hand, check that the tube isn’t caught underneath.
Step 5: Inflate and Check
Now that the tire is back on, it’s time to inflate and test.
Inflate Gradually:
- Start by adding air in short bursts.
- Listen for hissing or popping sounds that might indicate a leak or pinch.
- As the tire inflates, check that the bead is seating evenly on both sides of the rim.
Check Tire Pressure:
- Use a pressure gauge to reach the recommended PSI (printed on the tire sidewall).
- Overinflating can cause blowouts; underinflating increases puncture risk and rolling resistance.
- For guidance, see our guide on how to check bike tire pressure.
Spin and Inspect:
- Spin the wheel to ensure it rotates smoothly without wobbling.
- Check that the tire isn’t bulging or misaligned.
- Feel around the valve and bead for air leaks.
Step 6: Reinstall the Wheel
Once everything looks good, put the wheel back on the bike.
Front Wheel:
- Slide the wheel into the fork dropouts.
- Tighten the axle securely—quick-release levers should feel firm when closed.
- Reconnect the brake calipers if you opened them.
Rear Wheel:
- Guide the chain back onto the cassette and chainring.
- Ensure the derailleur is aligned and the wheel is seated properly in the dropouts.
- Tighten the axle and reconnect brakes.
Final Check: Give the wheel a spin and squeeze the brakes to confirm everything is working. Take a short test ride in a safe area before continuing your journey.
Troubleshooting Common Issues
Even with careful steps, problems can arise. Here’s how to handle them:
Tube Keeps Popping:
- This is usually a pinch flat. The tube got caught under the tire bead during installation.
- Deflate, remove the tire, and check for pinched areas. Reinstall more carefully.
Tire Won’t Seat Properly:
- Sometimes the bead doesn’t “pop” into place.
- Inflate slightly, then press down on the tire near the valve to help it seat.
- Use soapy water on the bead to reduce friction if needed.
Valve Leaks Air:
- Check that the valve core is tight (for Presta valves).
- Ensure the valve isn’t bent or damaged.
- Replace the tube if the valve is faulty.
Frequent Flats:
- Review your tire condition, pressure, and riding surface.
- Consider switching to tubeless or using thicker, puncture-resistant tubes.
- Read our guide on how to choose road bike tires for better options.
When to Patch Instead of Replace
While replacing a tube is often faster, patching can be a great temporary fix—especially if you’re out on a long ride and only have one spare.
- Use a patch kit for small punctures (under 1/4 inch).
- Patches work best on clean, dry tubes and require time to cure.
- For multiple or large holes, replacement is safer and more reliable.
Conclusion
Replacing a bike tire inner tube is a straightforward process once you know the steps. With practice, you’ll be able to fix a flat in minutes—no matter where you are. Remember to always carry the right tools, inspect your gear, and double-check your work before riding.
Mastering this skill not only saves time and money but also boosts your confidence on the road. Whether you’re a weekend warrior or a daily commuter, being prepared means fewer delays and more time enjoying the ride.
For more bike maintenance tips, check out our guide on how to maintain a road bike and keep your two-wheeled companion in peak condition.


