
Replacing a bike spoke is a simple fix that can save your wheel from damage and keep you riding safely. This guide walks you through the entire process, from identifying the broken spoke to truing the wheel, with clear steps and expert tips.
Key Takeaways
- Gather the right tools: You’ll need a spoke wrench, replacement spoke, and possibly a nipple driver or pliers.
- Remove the wheel safely: Always deflate the tire and release the brake before taking off the wheel.
- Match the spoke type: Use a spoke that matches the length, thickness, and threading of the original.
- Thread carefully: Insert the new spoke in the correct pattern and tighten gradually to avoid cross-threading.
- True the wheel: Adjust spoke tension evenly to eliminate wobble and ensure a smooth ride.
- Test before riding: Spin the wheel and check for rubbing or uneven tension before hitting the road.
- Prevent future breaks: Regular maintenance like checking spoke tension and cleaning the wheel helps avoid repeat issues.
Introduction: Why Replacing a Bike Spoke Matters
Imagine you’re halfway through a ride when you hear a ping—followed by a wobble in your wheel. A broken spoke might seem like a small issue, but it can lead to bigger problems like wheel misalignment, rim damage, or even a flat tire if left unchecked. The good news? Replacing a bike spoke is a straightforward repair you can do at home with basic tools.
In this guide, you’ll learn exactly how to replace a bike spoke—from diagnosing the problem to truing the wheel and testing your fix. Whether you’re a weekend rider or a daily commuter, this skill will save you time, money, and frustration. Plus, it’s a great way to get more familiar with your bike’s mechanics.
Tools and Materials You’ll Need
Before you start, make sure you have the right tools on hand. You don’t need a full workshop, but having the essentials will make the job much easier.
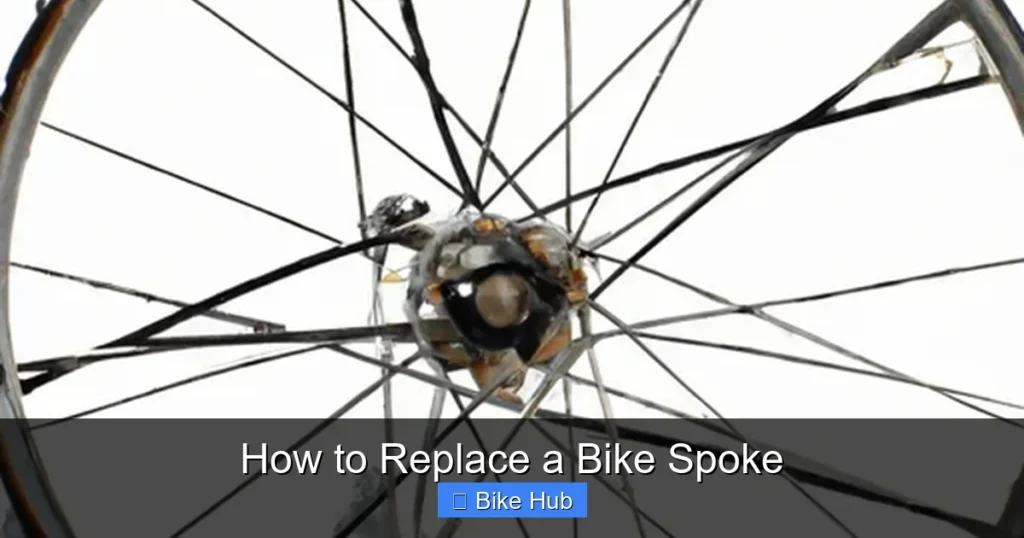
Visual guide about How to Replace a Bike Spoke
Image source: i.ytimg.com
Essential Tools
- Spoke wrench: This small tool fits the nipples (the threaded ends of spokes) and allows you to tighten or loosen them. Make sure you get the correct size—spoke nipples come in different diameters (usually 3.2mm, 3.3mm, or 3.5mm).
- Replacement spoke: Match the length, gauge (thickness), and threading of the broken one. If you’re unsure, take the old spoke to a bike shop or measure it carefully.
- Nipple driver or small pliers: Helpful for holding the nipple in place while threading the spoke.
- Wheel truing stand (optional): If you don’t have one, you can use your bike’s frame as a guide by flipping the bike upside down.
- Tire levers and pump: You’ll need to remove the tire to access the spoke nipples.
Optional but Helpful
- Lubricant: A drop of light oil on the spoke threads can make installation smoother.
- Torque wrench: For precision tightening, though not required for most riders.
- Spoke tension meter: Advanced users may want to check tension for optimal wheel performance.
Step 1: Remove the Wheel
The first step is getting the wheel off your bike so you can work on it comfortably.
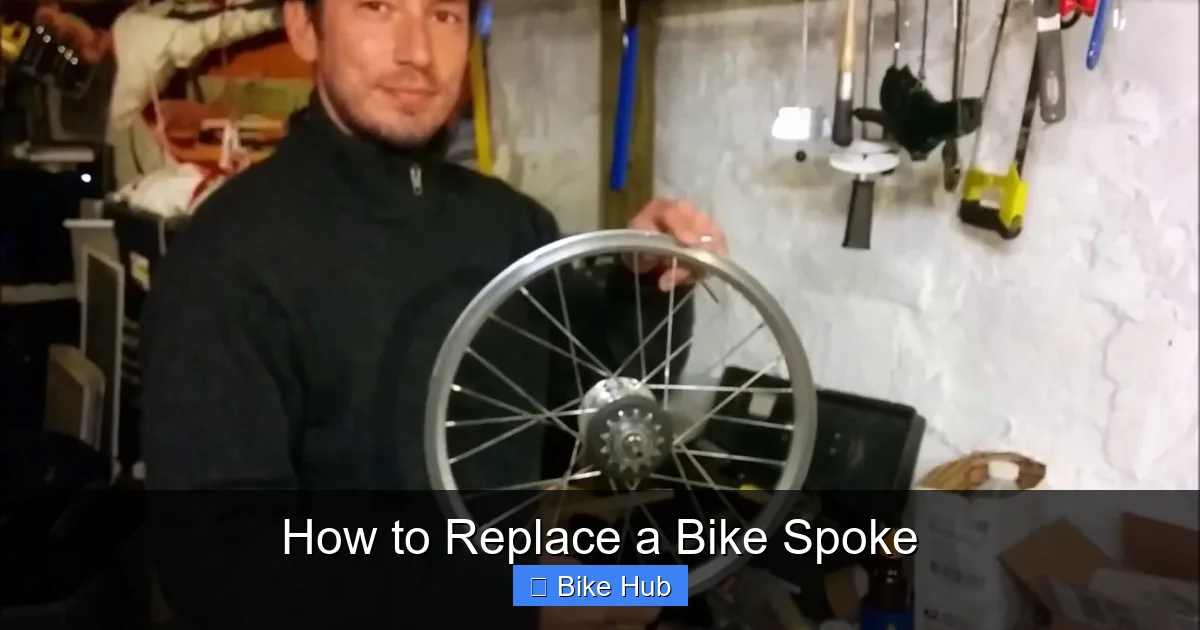
Visual guide about How to Replace a Bike Spoke
Image source: parktool.com
Deflate the Tire
Start by releasing all the air from the tire. This makes it easier to remove the tire and access the spokes. Use a valve tool or your fingers to unscrew the valve cap and press the valve core to let air out.
Release the Brakes
If your bike has rim brakes, open the brake calipers to create enough space for the wheel to pass through. On V-brakes, squeeze the arms together and unhook the cable. For disc brakes, you can usually skip this step.
Detach the Wheel
For quick-release wheels, flip the lever open and unscrew it slightly. For thru-axles, use the appropriate tool to remove the axle. Gently pull the wheel out of the dropouts. If it’s the rear wheel, you may need to shift into the smallest rear cog to ease the chain off.
Step 2: Remove the Tire and Tube
Now that the wheel is off, you’ll need to access the spoke nipples, which are located under the rim tape.
Use Tire Levers
Insert a tire lever under the bead of the tire and hook it to a spoke. Add a second lever a few inches away and slide it around the rim to pop one side of the tire off. Carefully remove the inner tube and set it aside.
Peel Back the Rim Tape
Gently lift the rim tape over the area where the broken spoke is located. This will expose the spoke nipples. Be careful not to damage the tape—you’ll need it to protect the tube from sharp spoke ends.
Step 3: Remove the Broken Spoke
With the tire and tube removed, you can now access the damaged spoke.
Unscrew the Nipple
Use your spoke wrench to turn the nipple counterclockwise. Loosen it completely and pull it out from the rim. If the spoke is still threaded through the hub, you may need to wiggle it free.
Pull Out the Spoke
Carefully remove the broken spoke from the hub flange. Note how it was routed—spokes follow a specific pattern (radial, 2-cross, 3-cross, etc.), and the new one must match.
Step 4: Install the New Spoke
Now it’s time to put in the replacement spoke. This step requires attention to detail to ensure proper alignment and tension.
Thread the Spoke Through the Hub
Insert the new spoke into the same hole in the hub where the old one was. Follow the same crossing pattern as the surrounding spokes. For example, if the broken spoke was part of a 3-cross pattern, make sure the new one crosses three other spokes on the same side.
Route the Spoke to the Rim
Guide the spoke toward the rim, making sure it sits in the correct position relative to the other spokes. It should lie flat and not twist around others.
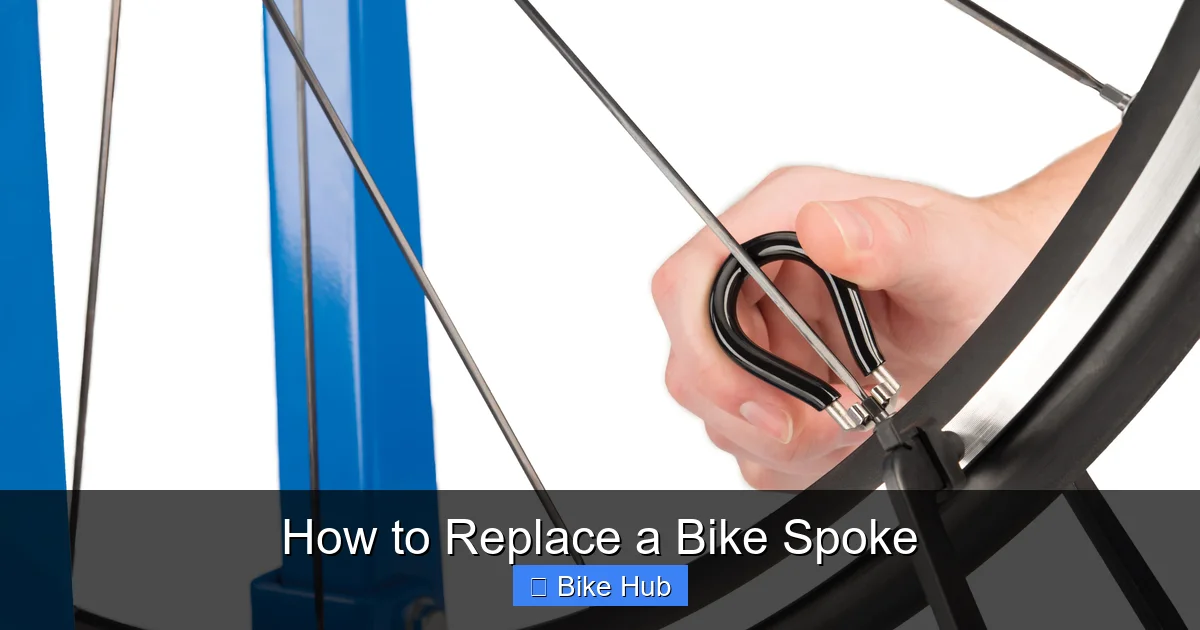
Attach the Nipple
Thread the nipple onto the end of the spoke by hand. Turn it clockwise until it’s snug but not tight. Use your spoke wrench to give it a few more turns. Don’t overtighten—this can strip the threads or warp the rim.
Step 5: True the Wheel
After installing the new spoke, the wheel will likely be out of true (wobbly). Truing ensures the wheel spins straight and evenly.
Mount the Wheel for Truing
If you have a truing stand, place the wheel in it. Otherwise, flip your bike upside down so the wheel hangs freely. Use the brake pads as a reference point—they should barely touch the rim when the wheel is true.
Check for Lateral Wobble
Spin the wheel and watch the rim. If it moves side to side, it’s out of true. Identify whether the wobble is toward the left or right.
Adjust Spoke Tension
To correct a wobble:
- If the rim moves to the left, tighten spokes on the right side or loosen those on the left.
- If it moves to the right, do the opposite.
Make small adjustments—quarter turns at a time—and spin the wheel after each change. Use your spoke wrench carefully to avoid over-tightening.
Check Radial True (Optional)
Some wheels also need radial truing (up-and-down alignment). Use a ruler or caliper to measure the distance from the rim to the frame. Adjust spoke tension evenly to eliminate high or low spots.
Step 6: Reassemble the Wheel
Once the wheel is true, it’s time to put everything back together.
Replace the Rim Tape
Carefully lay the rim tape back over the spoke holes. Make sure it’s smooth and covers all the nipples to protect the tube.
Reinstall the Tube and Tire
Insert the inner tube into the tire, then tuck both into the rim. Use your hands to push the tire bead back onto the rim. Avoid using tire levers unless absolutely necessary—they can pinch the tube.
Inflate the Tire
Use a pump to inflate the tire to the recommended pressure (usually printed on the sidewall). Check that the tire seats evenly around the rim.
Step 7: Reinstall the Wheel
With the tire inflated, it’s time to put the wheel back on the bike.
Align the Wheel
Slide the wheel into the dropouts, making sure it’s centered. For rear wheels, guide the chain onto the correct cog.
Secure the Axle
Tighten the quick-release lever or reinstall the thru-axle. Make sure it’s snug but not over-tightened.
Reconnect the Brakes
Close the brake calipers and test the brakes. Spin the wheel to ensure it doesn’t rub against the pads.
Troubleshooting Common Issues
Even with careful work, you might run into a few hiccups. Here’s how to handle them:
Spoke Won’t Thread
If the nipple won’t turn, the spoke may be cross-threaded. Remove it, check the threading, and reinsert it carefully. A drop of lubricant can help.
Wheel Still Wobbles
Double-check your truing. Sometimes one adjustment affects another. Go slowly and make small changes. If the wobble persists, consider visiting a bike shop for professional truing.
Tube Keeps Puncturing
This could mean the rim tape is damaged or a spoke end is poking through. Inspect the inside of the rim and replace the tape if needed. You can also use spoke end caps to cover sharp tips.
Preventing Future Spoke Breaks
A broken spoke doesn’t have to be a recurring problem. Regular maintenance can keep your wheels strong and reliable.
- Check spoke tension: Periodically inspect your spokes for looseness or uneven tension.
- Keep wheels clean: Dirt and grime can weaken spokes over time. Wipe down your wheels after muddy rides.
- Avoid potholes and curbs: Impact is a major cause of spoke failure. Ride smoothly when possible.
- Inspect after long rides: Long-distance cycling, especially on rough terrain, can stress spokes. A quick check can catch issues early.
For mountain bikers, consider reading our guide on how to prepare a mountain bike for long rides to ensure your wheels are ready for tough conditions.
Conclusion
Replacing a bike spoke might seem intimidating at first, but with the right tools and a little patience, it’s a skill any rider can master. Not only does it save you a trip to the bike shop, but it also gives you greater confidence in handling bike repairs.
Remember: a well-maintained wheel is a safe wheel. By learning how to replace a bike spoke, you’re taking an important step toward becoming a more self-sufficient cyclist. So the next time you hear that dreaded ping, don’t panic—grab your spoke wrench and get to work.
For more tips on keeping your bike in top shape, check out our guide on how to maintain bike wheels or learn how to fix bike wheel wobble for advanced troubleshooting.


