

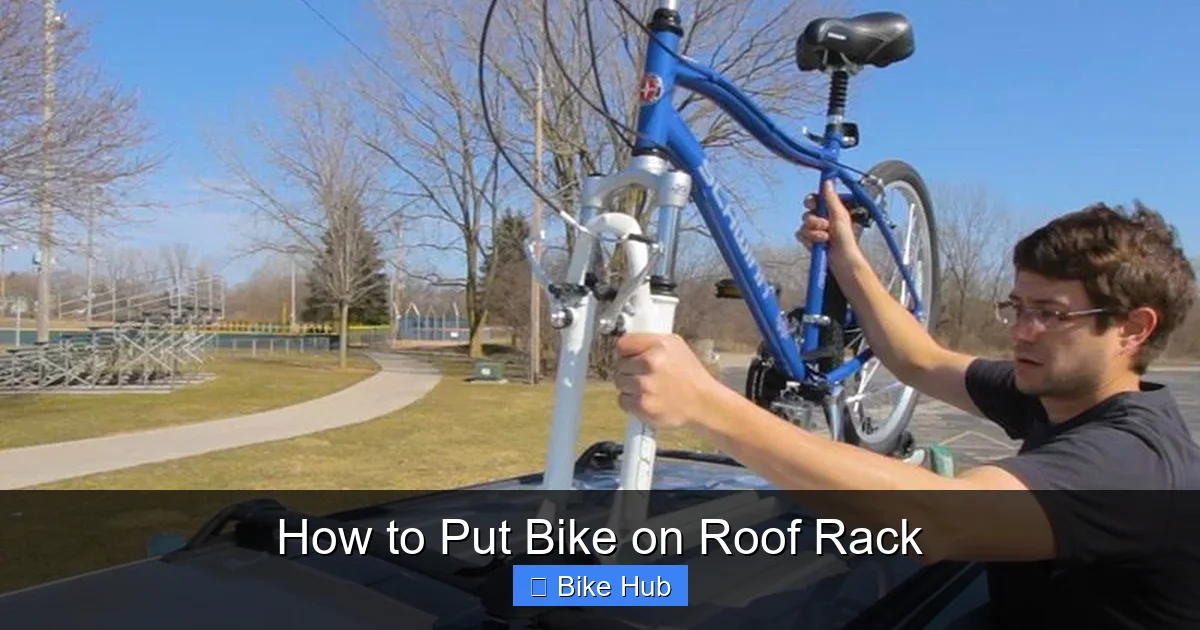
This guide teaches you how to put a bike on a roof rack the right way—protecting your bike, your car, and your safety. You’ll learn essential steps, tools, and pro tips to make loading quick and worry-free.
[FEATURED_IMAGE_PLACEHREEN_IMAGE_PLACEHOLDER]
Key Takeaways
- Choose the right roof rack system: Match your rack to your car and bike type—fork-mount, wheel-on, or frame-mount racks each have pros and cons.
- Prepare your bike before loading: Remove loose parts, deflate tires slightly, and clean the frame to avoid damage during transport.
- Load bikes carefully and evenly: Lift with your legs, not your back, and position bikes to balance weight and prevent swaying.
- Secure all contact points: Use straps, clamps, and locks to hold wheels, frame, and fork firmly in place.
- Double-check before driving: Shake the bike gently, inspect straps, and ensure nothing blocks lights or license plates.
- Drive mindfully: Start slow, avoid low clearance areas, and check the load after 10 minutes on the road.
- Maintain your rack regularly: Clean and inspect straps, bolts, and clamps to ensure long-term safety and reliability.
How to Put Bike on Roof Rack: A Complete Step-by-Step Guide
Whether you’re heading to the mountains for a weekend trail ride or commuting to a city cycling event, knowing how to put a bike on a roof rack safely is a must. Roof racks are one of the most popular ways to transport bikes because they keep your vehicle’s interior clean and free up space for passengers and gear. But improper loading can lead to damaged bikes, scratched cars, or even accidents on the road.
In this guide, we’ll walk you through every step—from choosing the right rack to securing your bike and driving safely. You’ll learn tips for different bike types, common mistakes to avoid, and how to maintain your setup for long-term use. By the end, you’ll feel confident loading your bike quickly and securely, every time.
Step 1: Choose the Right Roof Rack for Your Bike
Not all roof racks are created equal. The first step in learning how to put a bike on a roof rack is making sure you have the right system for your vehicle and bike type.
Visual guide about How to Put Bike on Roof Rack
Image source: discountramps.com
Types of Roof Racks
- Fork-mount racks: These clamp onto the front fork of your bike. You remove the front wheel and secure the fork into a skewer or clamp. Ideal for road and lightweight bikes.
- Wheel-on racks: These hold the bike by the wheels, leaving the frame untouched. Great for carbon frames or bikes with suspension.
- Frame-mount racks: These grip the bike’s top tube or down tube. Less common now due to potential frame damage, but still used on some models.
Check Compatibility
Make sure your rack fits your car’s roof rails or crossbars. Most racks require crossbars—either factory-installed or aftermarket. Check your vehicle manual or consult a rack compatibility tool online.
Also consider how many bikes you plan to carry. Most roof racks hold 1–4 bikes, but weight limits vary. For example, a typical roof rack supports 35–50 lbs per bike. Always check the manufacturer’s specs.
For help choosing the right setup, read our guide on how to balance weight on a bike rack to avoid overloading one side.
Step 2: Prepare Your Bike for Loading
Before you lift your bike onto the roof, take a few minutes to prepare it. This prevents damage and makes loading smoother.

Visual guide about How to Put Bike on Roof Rack
Image source: cdn.mos.cms.futurecdn.net
Remove Loose Accessories
Take off water bottles, lights, bike computers, or bags. These can fall off during transport or get damaged. Store them inside your car.
Deflate Tires Slightly
Reduce tire pressure by 10–15 PSI. This prevents overinflation due to heat buildup during long drives and reduces stress on the wheels. Don’t go below the minimum recommended pressure—just a small adjustment helps.
Clean the Frame and Fork
Wipe down the areas that will contact the rack—especially the fork dropouts and wheel hubs. Dirt or grease can damage rubber clamps or scratch your frame.
Protect Sensitive Areas
If using a frame-mount rack, use foam padding or frame protectors on the top tube. For carbon frames, avoid direct clamp pressure—opt for wheel-on or fork-mount systems instead.
Step 3: Position the Rack and Load the Bike
Now it’s time to lift and secure your bike. Safety and technique matter here.
Adjust the Rack Arms
Open the rack arms or clamps according to the manufacturer’s instructions. For fork-mount racks, extend the skewer or open the clamp. For wheel-on racks, position the wheel trays to match your bike’s wheelbase.
Lift with Proper Form
Stand beside the car, bend your knees, and keep your back straight. Lift the bike by the frame—not the handlebars or wheels. Use both hands and lift smoothly. If the bike feels too heavy, ask for help or use a ramp.
Position the Bike Correctly
- For fork-mount racks: Slide the fork into the clamp and secure the skewer. Reattach the front wheel if required, or store it inside the car.
- For wheel-on racks: Place the front wheel into the front tray and the rear wheel into the rear tray. Make sure both wheels sit snugly.
- For frame-mount racks: Position the bike so the top tube rests in the clamp. Avoid pinching cables or brake lines.
Once the bike is in place, lower the rack arms or close the clamps gently. Don’t force anything—adjust the position if needed.
Step 4: Secure the Bike with Straps and Locks
A bike that’s not fully secured can shift or fall during driving. Use multiple attachment points for maximum safety.
Tighten All Clamps and Straps
Use the rack’s built-in clamps to secure the fork, wheels, or frame. Then, add extra straps if recommended. Most racks include rear-wheel straps to prevent side-to-side movement.
Pull straps tight, but don’t over-tighten—this can damage wheels or frames. A good rule: you should be able to wiggle the bike slightly, but it shouldn’t move more than an inch in any direction.
Use a Bike Lock
Always lock your bike to the rack. Use a U-lock or cable lock through the frame and rack. This deters theft, especially in parking lots or overnight stops.
For extra security, consider a rack with integrated locks or a separate hitch lock. Never assume your bike is safe just because it’s on the roof.
Check Clearance and Visibility
Make sure the bike doesn’t block your rearview mirror, brake lights, or license plate. If it does, adjust the position or consider a rear-mounted rack instead.
Also check that the bike clears low-hanging branches, garage doors, or drive-thrus. Measure the total height of your car plus bike before heading out.
Step 5: Double-Check Before You Drive
Take 60 seconds to inspect your setup. This simple habit can prevent big problems.
Shake Test
Grab the bike and try to move it side to side and up and down. If it shifts more than an inch, tighten the straps or clamps.
Inspect All Straps and Locks
Make sure no straps are twisted, loose, or rubbing against the bike. Confirm all locks are engaged.
Check Tire Pressure and Wheel Position
Ensure wheels are seated properly in trays and tires aren’t bulging or underinflated.
Review Weight Distribution
If carrying multiple bikes, balance the load. Heavier bikes should go on the sides, lighter ones in the middle. For tips, see our guide on how to prevent load shifting on a bike rack.
Step 6: Drive Safely and Check Periodically
Your job isn’t done once you hit the road. Safe driving habits protect your bike and others.
Start Slow
Accelerate and brake gently for the first few miles. Sudden movements can shift the load.
Avoid Low Clearances
Watch for low bridges, parking garages, or tree limbs. A typical car with a roof rack and bike adds 2–3 feet to your height.
Check After 10 Minutes
Pull over safely and re-inspect the bike. Straps can loosen during driving due to wind and vibration.
Make Regular Stops on Long Trips
Check the bike every 1–2 hours, especially on bumpy roads or highways.
Troubleshooting Common Issues
Even with careful planning, problems can happen. Here’s how to fix them:
- Bike wobbles while driving: Tighten all clamps and add a rear-wheel strap. Ensure the rack is properly mounted to crossbars.
- Straps rub against paint: Use padded straps or wrap contact points with microfiber cloth.
- Rack makes noise: Check for loose bolts or crossbar mounts. Add rubber padding between rack and bars.
- Front wheel won’t fit in tray: Adjust the tray position or use a different rack. Some trays are not compatible with wide tires.
- Bike feels unstable at high speeds: Reduce speed and check weight distribution. Consider reducing the number of bikes.
For fat-tire bikes, you may need a specialized rack. Learn more in our guide on how to install lights on a fat-tire bike, which covers unique transport needs.
Maintain Your Roof Rack
A well-maintained rack lasts longer and performs better. After each trip:
- Wipe down clamps and straps to remove dirt and moisture.
- Check for wear on rubber parts—replace if cracked or brittle.
- Lubricate moving parts with silicone spray (not oil, which attracts dirt).
- Store indoors when not in use to prevent UV damage.
For cleaning tips, visit our article on how to clean a bike rack.
Conclusion
Knowing how to put a bike on a roof rack doesn’t have to be complicated. With the right rack, proper preparation, and careful loading, you can transport your bike safely and confidently. Remember to secure all parts, check your setup before driving, and maintain your equipment regularly.
Whether you’re a weekend warrior or a daily commuter, mastering this skill opens up more riding opportunities. So next time you plan a trip, you’ll be ready—bike loaded, rack secure, and adventure waiting.


