
Are you ready to ride your fat tire bike safely, even after the sun goes down? Installing lights on your bike isn’t just about style—it’s about making sure you’re seen and staying safe on every ride.
But if you’re unsure where to start or worried it might be complicated, don’t worry. This guide will walk you through simple, step-by-step instructions to get your lights set up quickly and securely. By the end, you’ll know exactly how to brighten your path and boost your visibility, so you can enjoy every adventure with confidence.
Keep reading to light up your ride!
Choosing The Right Lights
Choosing the right lights for your fat tire bike is crucial for both safety and performance. The right lighting setup not only helps you see the trail ahead but also makes you visible to others. Think about where and when you’ll ride to pick lights that match your needs perfectly.
Types Of Bike Lights
There are several types of bike lights, each serving a different purpose. Headlightsattach to your handlebars and illuminate the path in front of you. Taillightsmount on the seat post or rear frame to alert others behind you.
Some riders also use helmet lightsfor added visibility and flexibility in direction. Consider if you want a combo pack or separate lights to customize your setup. Would you prefer a focused beam or broader coverage?
Brightness And Beam Pattern
Brightness is measured in lumens, and the right level depends on your riding environment. For city streets, 200-400 lumens might be enough. But for dark trails or off-road paths, look for lights with 800 lumens or more.
Beam pattern affects how light spreads. A narrow, focused beam works well for long-distance visibility, while a wide beam lights up the nearby surroundings. You might want a light with adjustable beam settings to switch based on your route.
Battery Life And Rechargeable Options
Battery life is key, especially on longer rides. Check how many hours each light lasts on high and low settings. Rechargeable batteries save money and reduce waste, but some prefer replaceable batteries for quick swaps.
USB-rechargeable lights are convenient and easy to charge anywhere. Think about how often you ride and if you have access to charging during your trips. What’s worse: running out of light mid-ride or carrying extra batteries?

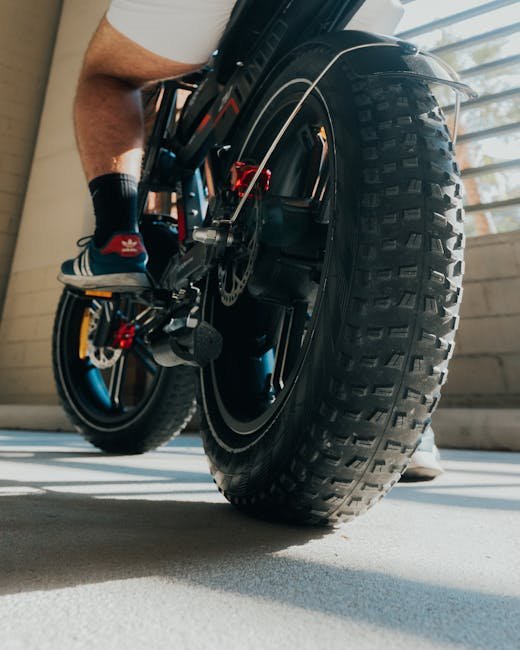
Credit: leoguarbikes.com
Gathering Necessary Tools And Equipment
Before installing lights on your fat tire bike, gather all necessary tools and equipment. This ensures a smooth and quick installation. Having everything ready saves time and avoids interruptions during the process.
Proper tools help secure lights firmly. The right accessories improve the light’s position and performance. Being prepared with the correct items means less frustration and a better result.
Tools Required
- Screwdriver (Phillips and flathead) for mounting screws
- Allen wrenches for tightening bolts
- Adjustable wrench for securing brackets
- Wire cutters or scissors to trim zip ties
- Measuring tape to position lights evenly
- Electrical tape for extra security
Additional Accessories
- Zip ties to attach lights and wires to the frame
- Mounting brackets designed for fat tire bikes
- Velcro straps for quick removal and adjustment
- Reflective stickers for extra visibility
- Extra batteries or a rechargeable power bank
Preparing Your Fat Tire Bike
Preparing your fat tire bike before installing lights helps ensure a secure fit. It makes the installation process smooth and prevents future problems. Taking time to check and clean the bike sets a strong foundation.
Inspecting The Bike Frame
Start by examining the frame where you want to attach the lights. Look for cracks, dents, or rust spots. These can weaken the frame and cause issues with mounting. Check if the frame has enough space for the light brackets. Also, confirm the frame material is compatible with your light mounts.
Cleaning The Mounting Areas
Use a soft cloth and mild soap to clean the spots where lights will go. Dirt and grease reduce the grip of mounts and adhesives. Dry the areas completely with a clean towel. Removing debris helps the lights stay in place longer. This simple step improves safety and light performance.
Mounting The Front Light
Mounting the front light on your fat tire bike is a crucial step to ensure visibility and safety during night rides or low-light conditions. Proper placement and secure attachment can make a big difference in how well the light illuminates your path and how stable it stays during bumpy rides. Let’s focus on where to place the light and how to fix it firmly so you get the best performance.
Selecting The Mounting Location
Choosing the right spot for your front light affects both visibility and convenience. Most riders prefer mounting the light on the handlebars because it offers a straight line of sight and easy access to controls.
However, if your handlebars are cluttered with accessories or too thick for standard mounts, consider the front fork or even the helmet as alternatives. Think about how much space you have and whether the light might block your view of the bike’s display or cables.
Have you noticed how some lights shine too low or get blocked by your hands? Positioning it slightly above the handlebars can help avoid shadows and maximize the beam’s reach.
Securing The Light Bracket
Once you find the ideal spot, the next step is making sure the light bracket is fastened tightly. Most light kits come with adjustable straps or clamps—use those that best fit your bike’s frame or handlebars.
Don’t just tighten the bracket until it feels snug; test it by shaking the handlebar or riding over a rough patch. The light should stay firmly in place without moving or slipping.
If your fat tire bike has thick handlebars, you might need rubber inserts or extra padding inside the bracket to prevent slipping and protect the frame from scratches.
Remember, a loose light is not just annoying—it can cause accidents or damage the light itself. Check the bracket regularly and adjust it whenever you notice any wobbling.
Installing The Rear Light
Installing the rear light on your fat tire bike is a crucial step to boost visibility and safety during your rides. The process is straightforward but requires attention to detail to ensure the light stays secure and shines clearly. Let’s look at how to pick the best spot and firmly attach the rear light.
Choosing The Rear Light Position
Think about where the rear light will be most visible to drivers and other cyclists. Usually, the seat post is a popular choice because it’s central and unobstructed.
Check if your fat tire bike has a dedicated rear rack or fender—these are also good spots for mounting. Avoid places where mud or dirt can easily cover the light, reducing its effectiveness.
Consider the angle too. Can you tilt the light slightly downward to shine directly at the eyes of drivers behind you? This small adjustment can make a big difference in how well you’re seen.
Attaching The Rear Light
Most rear lights come with simple straps or brackets designed for easy installation. Use the mounting hardware provided to secure the light tightly to your chosen spot.
If your light uses a rubber strap, stretch it around the post or rack and hook it firmly. For bracket-mounted lights, tighten the screws carefully but avoid over-tightening, which can strip threads or damage the frame.
Test the stability by gently shaking the light once mounted. If it moves or feels loose, reposition and secure it again. You want the light to stay put during bumpy rides.
Have you checked how your rear light looks from different angles? Walk behind your bike and ask yourself if it’s clearly visible. Adjust as needed until you’re confident it’ll catch attention on the road.
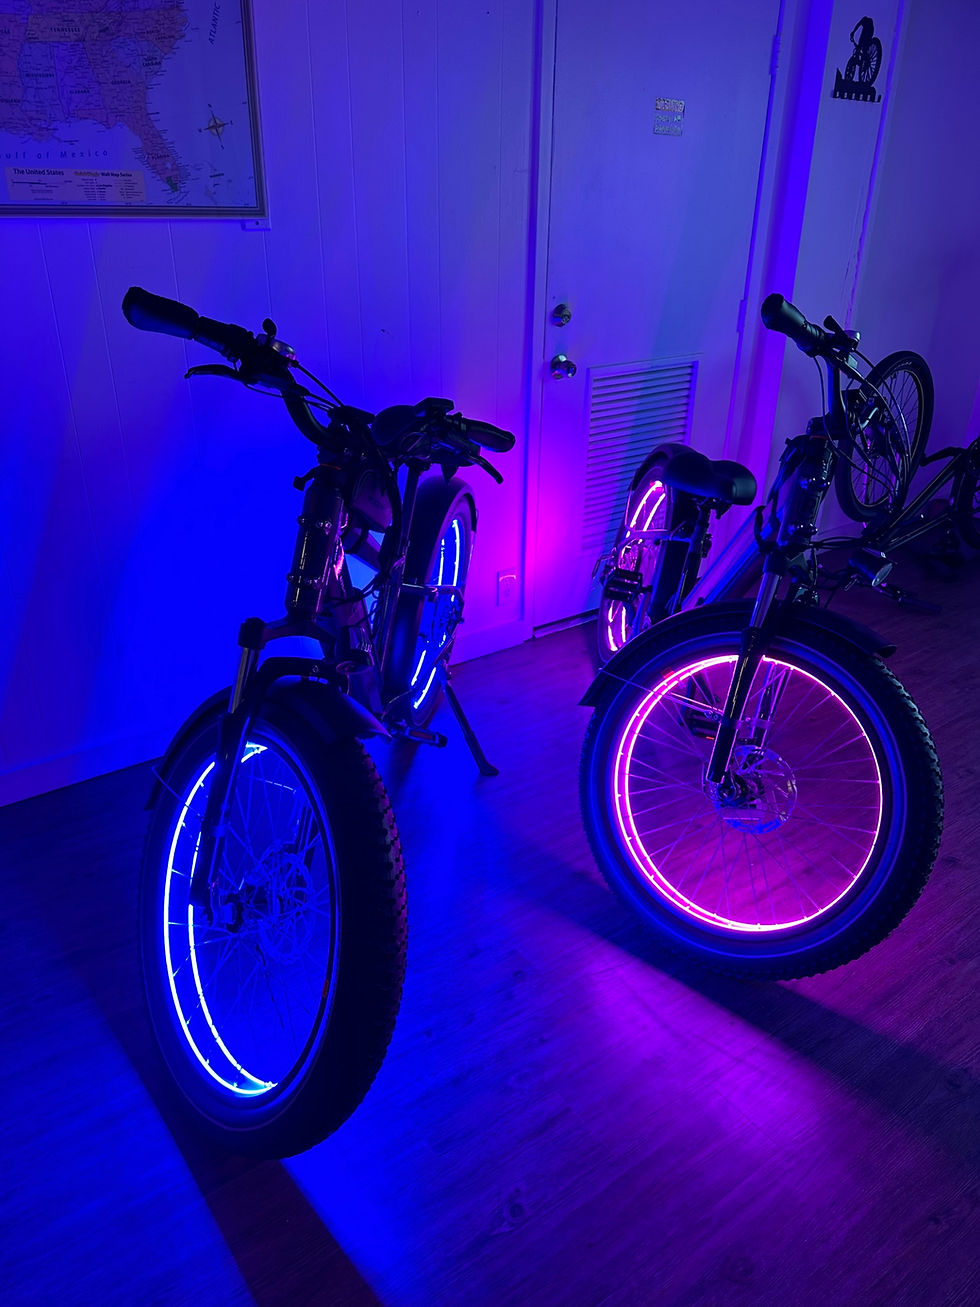
Credit: www.getccled.com
Adjusting The Light Angle
Adjusting the light angle on your fat tire bike is crucial for both safety and visibility. Proper alignment ensures you see the road ahead clearly without blinding oncoming traffic. It also helps others spot you easily, especially in low-light conditions.
Front Light Alignment
Focus your front light so it illuminates the path directly in front of you without shining too high. Aim the beam slightly downward to avoid dazzling drivers or pedestrians. If you angle it too low, you won’t see obstacles in time, so find a balance.
Test your light angle by riding at night in a safe area. Notice where the light hits and adjust accordingly. Many riders find that setting the beam just a few degrees below horizontal works best for city streets and trails alike.
Rear Light Positioning
Your rear light should be positioned to catch the eyes of drivers and cyclists behind you. Mount it at the center of your bike’s rear, usually on the seat post or rear rack, so it’s clearly visible from a distance. Avoid placing it too low where it might get covered by mud or your backpack.
Check the rear light angle to ensure it points straight back and not downward. You want it to shine at the eye level of a car driver or fellow cyclist. A well-positioned rear light can make all the difference during sudden stops or in heavy traffic.
Have you ever noticed how a small change in light angle can transform your nighttime ride? Take a moment to experiment with these adjustments and see how much clearer and safer your rides become.
Testing The Lights
Testing the lights on your fat tire bike is crucial for safety and performance. Proper testing ensures that your lights work well and keep you visible during rides. This step helps avoid surprises and boosts your confidence on the road or trail.
Checking Light Functionality
Turn on the lights and check each mode. Make sure all LEDs light up without flickering. Test any flashing or steady settings to confirm they work. Replace batteries or recharge if lights are dim or fail to turn on. Inspect wires and connections for loose parts or damage. Confirm the switch operates smoothly and changes light modes.
Ensuring Visibility In Different Conditions
Test your lights in various environments for real-world use. Check visibility in daylight, dusk, and complete darkness. Walk around the bike and view lights from different angles. Confirm the light beam reaches far enough to see obstacles. Make sure other riders and drivers can spot you easily. Adjust the angle and brightness to improve visibility on rough trails or city roads.
Maintenance Tips For Bike Lights
Maintaining your bike lights ensures they work well every ride. Proper care extends their life and keeps you safe on the road. Regular checks and simple habits prevent sudden failures and improve light brightness.
Regular Cleaning And Inspection
Clean your bike lights often to remove dirt and dust. Use a soft cloth and mild soap with water. Avoid harsh chemicals that can damage the lens or casing.
Check for cracks or loose parts during cleaning. Make sure the lights are firmly attached to the bike. Test the lights before every ride to ensure they turn on and shine brightly.
Battery Care And Replacement
Charge rechargeable batteries fully before rides. Avoid letting batteries drain completely, as this shortens their life. Remove batteries if you won’t use the lights for a long time.
Replace batteries with the correct type and size. Use fresh batteries for the best performance. Keep spare batteries handy for longer rides or emergencies.

Credit: leoguarbikes.com
Frequently Asked Questions
How Do I Choose The Best Lights For A Fat Tire Bike?
Select lights with strong brightness and wide beam angles. Waterproof and rechargeable lights work well. Ensure they fit securely on thick bike frames.
Where Should I Mount Lights On A Fat Tire Bike?
Mount front lights on handlebars for clear road visibility. Rear lights go on the seat post or rear rack for safety. Ensure lights face forward and backward clearly.
What Tools Are Needed To Install Bike Lights?
Common tools include Allen wrenches, screwdrivers, and zip ties. Some lights come with mounting brackets and tools. Check your light kit for specific installation tools.
How Do I Secure Lights On Fat Tire Bike Frames?
Use adjustable brackets or rubber straps for firm attachment. Tighten mounts without damaging the frame. Test light stability by shaking the bike gently.
Conclusion
Installing lights on your fat tire bike improves safety during rides. Bright lights help others see you clearly on the road. Follow the steps carefully for a secure fit. Choose the right lights that suit your bike’s style. Test the lights before heading out to ensure they work well.
Riding at night becomes safer and more enjoyable. Don’t forget to charge or replace batteries regularly. Enjoy your rides with better visibility and confidence. Stay safe and have fun exploring with your lit fat tire bike!


