

This guide shows you how to attach a milk crate to your bike using simple tools and methods. Whether you’re hauling groceries or gear, we’ll help you create a stable, secure setup for everyday rides.
Key Takeaways
- Use a rear rack: A bike rack provides the most stable base for attaching a milk crate and improves weight distribution.
- Secure with zip ties or straps: Heavy-duty zip ties or bungee cords keep the crate firmly in place during rides.
- Center the crate: Position the crate evenly over the rack to prevent tipping or imbalance.
- Check weight limits: Don’t overload the crate—most racks support 20–40 lbs, so stay within safe limits.
- Inspect regularly: Check ties and rack bolts before each ride to ensure everything stays secure.
- Consider weather protection: Use a waterproof cover or bag inside the crate to protect contents from rain.
- Test before long rides: Take a short test ride to confirm stability and make adjustments if needed.
How to Attach Milk Crate to Bike: A Complete Step-by-Step Guide
If you’ve ever wanted to turn your bike into a practical cargo machine, attaching a milk crate is one of the easiest and most affordable ways to do it. Whether you’re commuting to work, running errands, or heading out on a weekend adventure, a milk crate offers a lightweight, spacious, and versatile storage solution. In this guide, we’ll walk you through how to attach a milk crate to your bike safely and securely—no welding or special skills required.
You’ll learn the best methods, tools, and tips to ensure your crate stays put, even on bumpy roads. We’ll also cover common mistakes, troubleshooting, and how to maintain your setup for long-term use. By the end, you’ll have a reliable bike cargo system that’s perfect for carrying groceries, books, camping gear, or even your pet (with proper ventilation and safety precautions).
What You’ll Need

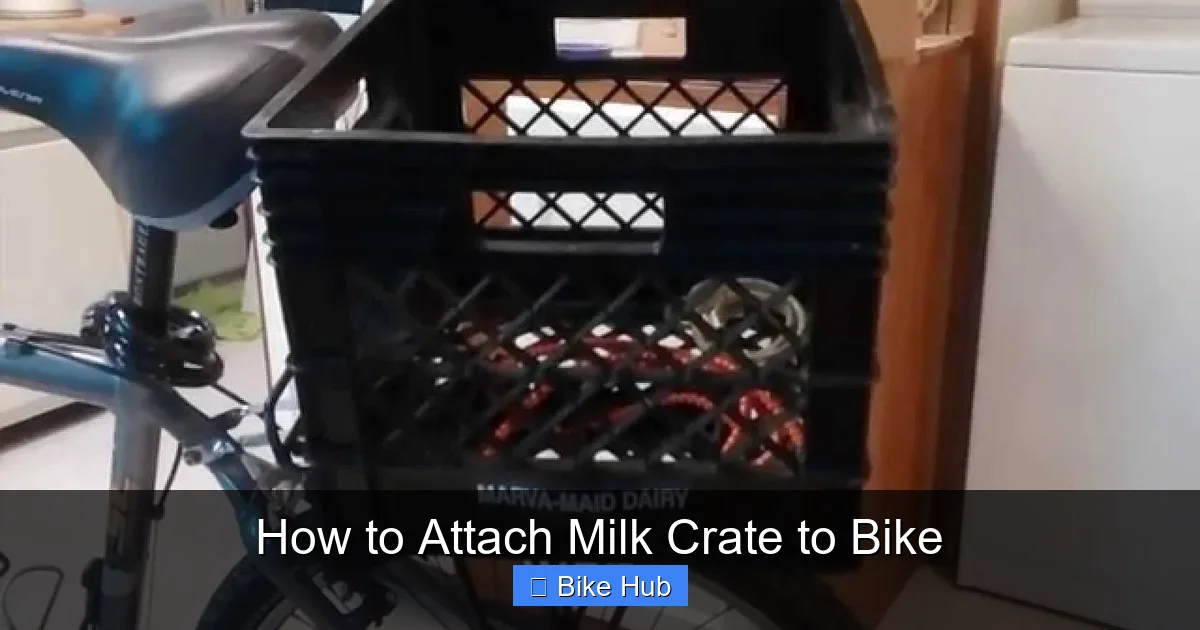
Visual guide about How to Attach Milk Crate to Bike
Image source: rcfact.com
Before we begin, gather these materials:
- A standard plastic milk crate (13” x 13” is ideal)
- A rear bike rack (mounted to your seat post and frame)
- Heavy-duty zip ties (at least 10–12, 12-inch or longer)
- Optional: Bungee cords, cargo net, or ratchet straps
- Scissors or wire cutters (to trim zip ties)
- Measuring tape (to check alignment)
- Optional: Foam padding or rubber pads (to reduce vibration)
If you don’t already have a bike rack, we recommend installing one first. A sturdy rack gives your crate a solid foundation and prevents damage to your bike frame. For help choosing or installing a rack, check out our guide on how to fit a rack on a small bike frame.
Step 1: Install a Rear Bike Rack
Visual guide about How to Attach Milk Crate to Bike
Image source: i.pinimg.com
Most milk crate setups work best with a rear rack. If your bike doesn’t have one, you’ll need to install it first.
Choose the Right Rack
Look for a universal rear rack that fits your bike’s frame size and brake type. Most racks attach to the seat stays and seat post. Make sure it’s rated for at least 25 lbs—this ensures it can handle the weight of a loaded crate.
Mount the Rack
Follow the manufacturer’s instructions to attach the rack using the included bolts and clamps. Tighten all connections securely, but avoid over-tightening, which can crack the frame. Once installed, give the rack a firm shake to test stability.
Check Clearance
Ensure the rack sits level and doesn’t interfere with your rear wheel, brakes, or fender. There should be at least 2 inches of clearance between the rack and the tire.
Step 2: Position the Milk Crate
Now it’s time to place the crate on the rack.
Center the Crate
Place the milk crate upside down on the rack so the open side faces down. This creates a flat, stable base. Center it carefully—equal overhang on both sides helps maintain balance.
Check Alignment
Use a measuring tape to confirm the crate is centered front to back and side to side. Misalignment can cause wobbling or make steering difficult.
Add Padding (Optional)
To reduce vibration and prevent scratches, place a thin foam pad or rubber mat between the crate and rack. This also helps grip the crate in place.
Step 3: Secure the Crate with Zip Ties
Zip ties are the most popular and effective way to attach a milk crate.
Thread the Ties Through the Crate and Rack
Flip the crate right-side up. Use heavy-duty zip ties to connect the crate to the rack. Insert the tie through the crate’s side holes and around the rack’s support bars.
Use Multiple Attachment Points
Secure at least four corners and two side points. For extra stability, add ties along the front and back edges. Aim for 6–8 ties total.
Tighten and Trim
Pull each zip tie tight using pliers if needed. Trim the excess ends with scissors or wire cutters to prevent snagging.
Double Up for Heavy Loads
If you plan to carry heavy items like water bottles or tools, use two zip ties per connection point for added strength.
Alternative Methods: Straps and Bungee Cords
If you prefer not to use zip ties, here are other options:
Bungee Cords
Loop bungee cords over the crate and hook them to the rack. This method allows quick removal but may loosen over time. Use a cargo net for better coverage.
Ratchet Straps
These provide the strongest hold and are ideal for long trips or rough terrain. Thread the strap through the crate handles and tighten securely.
DIY Brackets (Advanced)
Some cyclists weld or bolt custom brackets to the rack. This is more permanent but offers maximum stability. Only attempt this if you have metalworking experience.
For more on securing gear to your rack, see our guide on how to attach a crate to a bike rack.
Step 4: Test Your Setup
Before loading up, take your bike for a test ride.
Start with a Short Ride
Ride around the block with the empty crate. Listen for rattling or shifting. If the crate moves, tighten the ties or add more support.
Add Weight Gradually
Once the empty crate feels stable, add a light load (like a backpack). Test again. Then gradually increase weight, checking balance and handling.
Check Handling
Pay attention to steering and braking. A poorly balanced crate can make your bike feel sluggish or tip-prone.
Tips for Safe and Effective Use
- Don’t overload: Most racks support 20–40 lbs. Keep your total load under this limit.
- Distribute weight evenly: Place heavier items low and centered in the crate.
- Use a lid or cover: A bungee net or plastic lid keeps items from flying out.
- Protect from weather: Line the crate with a waterproof bag or use a rain cover.
- Inspect before every ride: Check zip ties for cracks or wear, and ensure the rack bolts are tight.
For long-distance or off-road riding, consider upgrading to panniers. Learn more in our article on how to attach panniers to a bike rack.
Troubleshooting Common Issues
Crate Shakes or Rattles
This usually means the crate isn’t tight enough. Add more zip ties or use foam padding to fill gaps.
Crate Tips to One Side
Re-center the crate and ensure the rack is level. Uneven weight distribution can also cause tilting.
Zip Ties Break Frequently
Switch to heavier-duty ties or use straps. Avoid over-tightening, which can weaken the plastic.
Difficulty Steering
Your load may be too heavy or unbalanced. Reduce weight or reposition items lower in the crate.
Rack Feels Unstable
Check all rack bolts and ensure the frame isn’t damaged. If the rack wobbles, it may not be compatible with your bike.
Maintenance and Upkeep
To keep your milk crate setup in top shape:
- Clean the crate regularly to prevent dirt buildup.
- Replace worn zip ties every few months or after long trips.
- Lubricate rack bolts occasionally to prevent rust.
- Store the crate indoors when not in use to extend its life.
For tips on maintaining your bike’s overall performance, read our guide on how to maintain bike wheels.
Conclusion
Attaching a milk crate to your bike is a simple, cost-effective way to boost your cargo capacity. With a rear rack, some zip ties, and a little patience, you can create a reliable transport system for everyday use. Just remember to center the crate, secure it well, and test your setup before hitting the road.
Whether you’re carrying groceries, books, or camping gear, this DIY solution turns your bike into a versatile hauler. And with regular checks and maintenance, your milk crate will serve you well for years to come.
So grab your tools, follow these steps, and start riding with confidence—your bike is ready for more than just pedaling.


