
Imagine this: you’re cruising down the road on your bike, the wind in your hair, and the sunset painting the sky in shades of pink and orange. But as darkness creeps in, your bike rack becomes almost invisible to drivers.
This can be dangerous. What if you could make your bike rack shine like a beacon, ensuring safety without compromising style? Adding lights to your bike rack is the perfect solution. In this guide, we’ll walk you through the steps to transform your bike rack into a well-lit masterpiece.
You’ll discover how easy it is to enhance your visibility, making every ride safer and more enjoyable. Curious about how to get started? Let’s dive in and light up your ride!
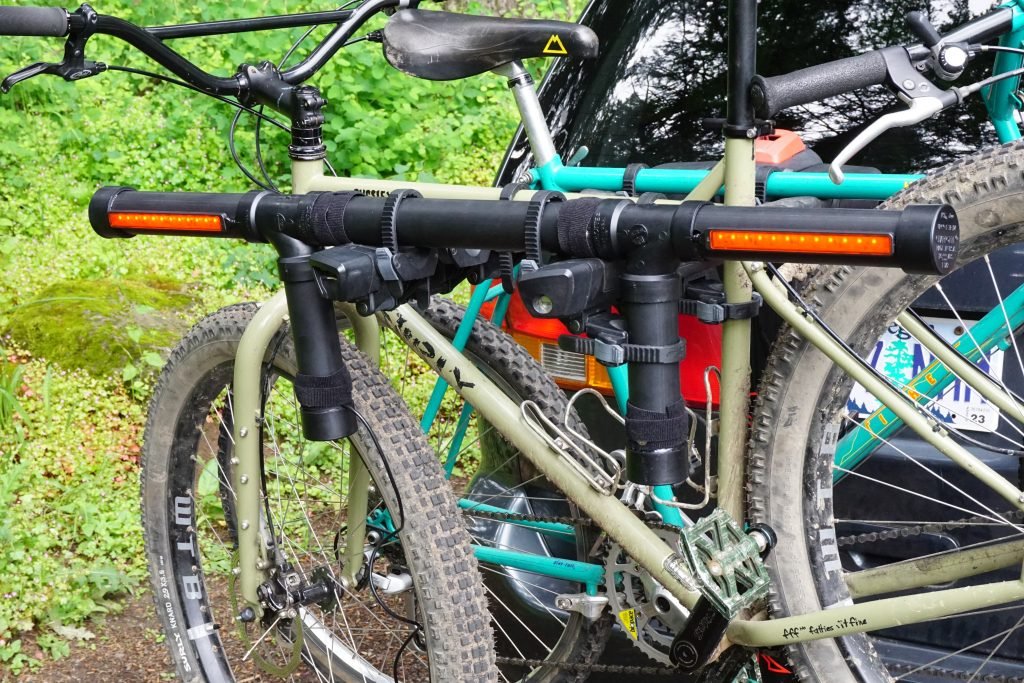
Credit: www.thule.com
Benefits Of Lighting Your Bike Rack
Adding lights to a bike rack increases safetyduring nighttime rides. It helps cars see the bike better, reducing accidents. Lights make the bike rack more visiblein the dark. This is important when riding on busy roads. They also help you see the rack clearly when loading or unloading bikes.
Lights on the bike rack can also add style. Choose different colors to match your bike or mood. Some lights even blink or flash, making the rack look cool. This can make your bike stand out and look unique.
Lighting a bike rack is easy and affordable. Many lights are battery-powered and simple to install. This small addition can make a big difference in safetyand appearance.

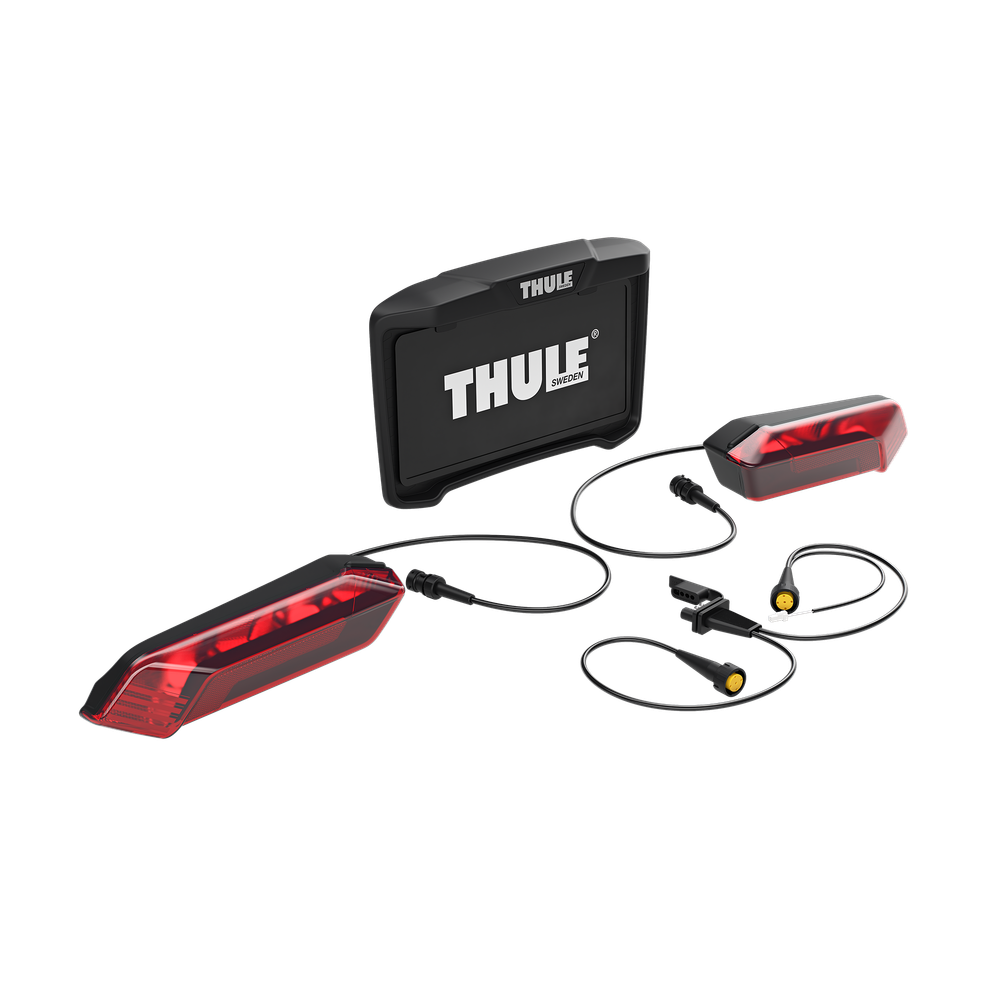
Credit: www.amazon.com
Choosing The Right Lights
Choosing the Right Lights Adding lights to a bike rack enhances visibility and safety. Consider LED lights for energy efficiency and brightness. Ensure the lights are waterproof and easy to install for hassle-free use.
Types Of Lights
Bike racks need special lights. There are two main types. LED lights are bright and use less power. Halogen lights are less bright but cheaper. Choose the type that fits your needs.
Brightness Levels
Brightness is important for safety. Higher lumens mean brighter lights. Choose a light with at least 500 lumens for night rides. Brightness helps you see and be seen.
Weather Resistance
Weather can damage lights. Choose lights with weatherproof features. IP ratings tell you how strong lights are. IP65 or higher means good protection. Your lights will last longer in rain or snow.
Tools And Materials Needed
Gather essential tools like screwdrivers, wire cutters, and tape. Choose reliable materials such as LED lights, mounting brackets, and electrical tape. Make sure these items are ready before starting the installation process.
Essential Tools
Begin with a screwdriverset. These help attach the lights. A wrenchis also useful. It tightens bolts. Don’t forget a drill. This tool makes holes if needed. A tape measureensures everything fits right. Keep pliershandy. They help grip and twist things.
Recommended Materials
Choose bright LED lights. These lights last long and save energy. Use strong mounting bracketsto hold lights. Get some wiring. It connects the lights to the bike. Have zip tiesready. They keep wires neat and tidy. Keep some tapenearby. It covers and protects connections.
Safety Precautions
Ensure secure mounting of lights to avoid accidents. Use waterproof lights for safety in rain. Check visibility from all angles to ensure others can see your bike clearly.
Handling Electrical Components
Always ensure the bike rack is turned offbefore touching wires. Use insulated gloves for extra safety. Keep water away from electrical parts. A wet environment can cause short circuits. Check for any exposed wires. Cover them with electrical tape. This prevents accidental shocks. Follow the manufacturer’s instructions for installation. It helps avoid errors and ensures safety.
Securing Your Bike Rack
Make sure the rack is tightly attachedto your vehicle. A loose rack can be dangerous. Use the right tools for securing bolts. Always double-check the rack’s stability before driving. Ensure your bike is placed correctly on the rack. A secure bike helps keep the balance. Test the rack’s lights before heading out. Good visibility is crucial for safe driving.
Installing Lights On Different Rack Types
Rear-mounted racks need strong lights for visibility. Attach them near the back. Use zip ties or brackets for a secure fit. Ensure the lights are bright and noticeable. Check they don’t block any important parts. Keep wiring neat and tidy. Test the lights before every ride.
Lights on roof racks should be easy to see. Use magnetic or clip-on lights. Ensure they are waterproof and durable. They must withstand wind and rain. Position lights facing outward. Secure them tightly to avoid falling off. Test in dark conditions for best results.
Hitch racks benefit from bright, flashing lights. Mount them high for clear visibility. Use rechargeable lights to save on batteries. Attach securely with strong clips or straps. Check for any obstruction by the bikes. Ensure lights are visible from a distance. Regularly check their charge and function.
Powering Your Lights
Battery lights are easy to use. They don’t need wires. Just attach them to your bike rack. Make sure to charge the batteries before use. Some lights need AA or AAA batteries. These are easy to find in stores. Always keep spare batteries handy. This way, your lights won’t go out.
Wired lights connect to your bike’s power. They need a bit more work to set up. First, find a safe route for the wires. Avoid moving parts like wheels. Use zip ties to secure the wires. Connect the lights to your bike’s battery. Make sure the connection is tight. Loose wires can cause lights to flicker. Double-check everything before you ride.
Maintenance And Care
Enhance your bike rack’s visibility by adding lights. Choose waterproof LED lights for durability. Secure them with zip ties or adhesive strips for a stable fit.
Regular Cleaning
Keep the bike rack lights clean and shiny. Use a soft cloth to remove dirt. Avoid using harsh chemicals. They can harm the lights. Clean the lights every week. This keeps them bright and clear. Dirty lights can be hard to see. This can be dangerous.
Checking For Loose Connections
Ensure all connections are tight and secure. Loose connections can cause the lights to fail. Check wires and plugs regularly. Look for any damage or wear. Replace damaged parts quickly. Secure wires with zip ties. This prevents them from moving. Always double-check after riding. Safety is important.
Troubleshooting Common Issues
Adding lights to a bike rack can be tricky. Ensure proper alignment to avoid light blockage. Check connections regularly for a secure fit.
Dim Or Flickering Lights
Dim lights can be fixed by checking the battery. Ensure it is charged. If lights flicker, inspect the wiring. Loose wires cause flickering. Secure them tightly. Check connections for corrosion. Clean them with a soft cloth. Replace old bulbs with new ones. They might be worn out. Proper bulb installation is important. Make sure they fit snugly. Always use the correct bulb type. It prevents further issues.
Non-functional Lights
Non-working lights need careful checking. First, examine the power source. Ensure the battery is connected. Inspect the fuse for damage. Replace if broken. Check the switch. Make sure it works fine. Look at the wiring for breaks. Repair any broken wires. Verify bulb functionality. Swap out defective bulbs. Test after each fix. Proper maintenance is key. Regular checks avoid future problems.
Enhancing Visibility And Style
Picking the right colorsmakes your bike rack look cool. Bright colors like red or yellow catch people’s eyes easily. These colors help others see your bike better at night. Use LED lightsthat change colors for extra fun. Make sure the lights are waterproof. This way, they won’t break in the rain.
Reflective elements are important for safety. They shine when car lights hit them. Add reflective tapeto your bike rack. This makes it more visible at night. Reflectors can be in shapes like circles or stars. Attach them on the sides and back of the bike rack. This way, cars can see you from different angles. Always check that they are stuck properly. This keeps you safe on the road.
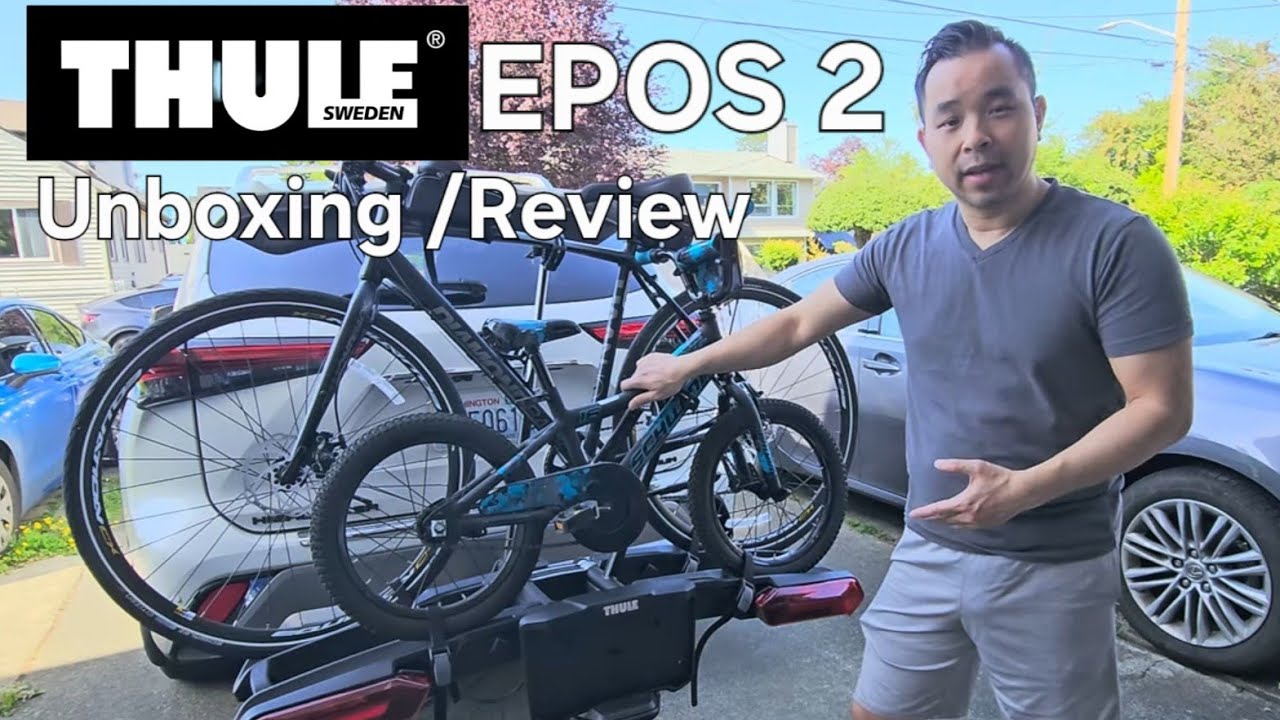
Credit: www.youtube.com
Frequently Asked Questions
How To Attach Bike Light To Rack?
Secure the bike light using brackets or clamps on the rack. Ensure it’s stable and correctly aligned. Adjust the light’s angle for visibility, and tighten all fasteners to prevent movement during rides. Check compatibility with your rack and light model for optimal attachment.
How To Connect Led Lights To A Bike?
Secure LED lights to the bike frame using mounts. Connect them to the power source, ensuring wires are safely tucked. Use a battery pack or dynamo hub for power. Test the lights to confirm they function correctly. Choose waterproof LEDs for durability in diverse weather conditions.
Is It Illegal To Drive With A Bike Rack?
Driving with a bike rack is generally legal if it doesn’t obstruct your view or license plate. Ensure the rack is securely attached and follows local regulations. Always check specific laws in your area, as they may vary. Proper installation ensures safety and compliance while transporting bikes.
Do You Need A Light Board For A Bike Rack?
A light board is necessary if your bike rack obscures the vehicle’s rear lights or license plate. It ensures visibility and compliance with road safety regulations. Check local laws for specific requirements to avoid fines. A light board enhances safety and keeps your bike rack legally compliant.
Conclusion
Adding lights to your bike rack boosts safety and visibility. It’s easy and enhances your biking experience. Select lights that suit your rack. Ensure they are secure and visible. Regularly check and maintain the lights for optimal performance. Enjoy safer rides at night or in low light.
Share your setup with friends or fellow bikers. Stay visible, stay safe, and keep riding with confidence. Your safety matters, and lights make a difference. Happy biking!


