

Imagine cruising down a scenic path on your bike, the sun setting behind you, casting long shadows. Suddenly, darkness creeps in, and your once enjoyable ride becomes a risky venture.
But what if you could illuminate your path effortlessly? Attaching lights to your pannier racks could be the simple solution you need. This article will guide you through the process, ensuring you can ride safely and confidently, regardless of the hour.
You’ll discover straightforward tips and tricks to make your bike journeys brighter and safer. As you read on, you’ll see how easy it is to transform your bike into a beacon of light, enhancing both your safety and riding experience. Don’t miss out on making your nighttime rides as enjoyable as your daytime ones. Dive in, and let’s light up your ride!

Credit: imamcyclestore.com
Choosing The Right Lights
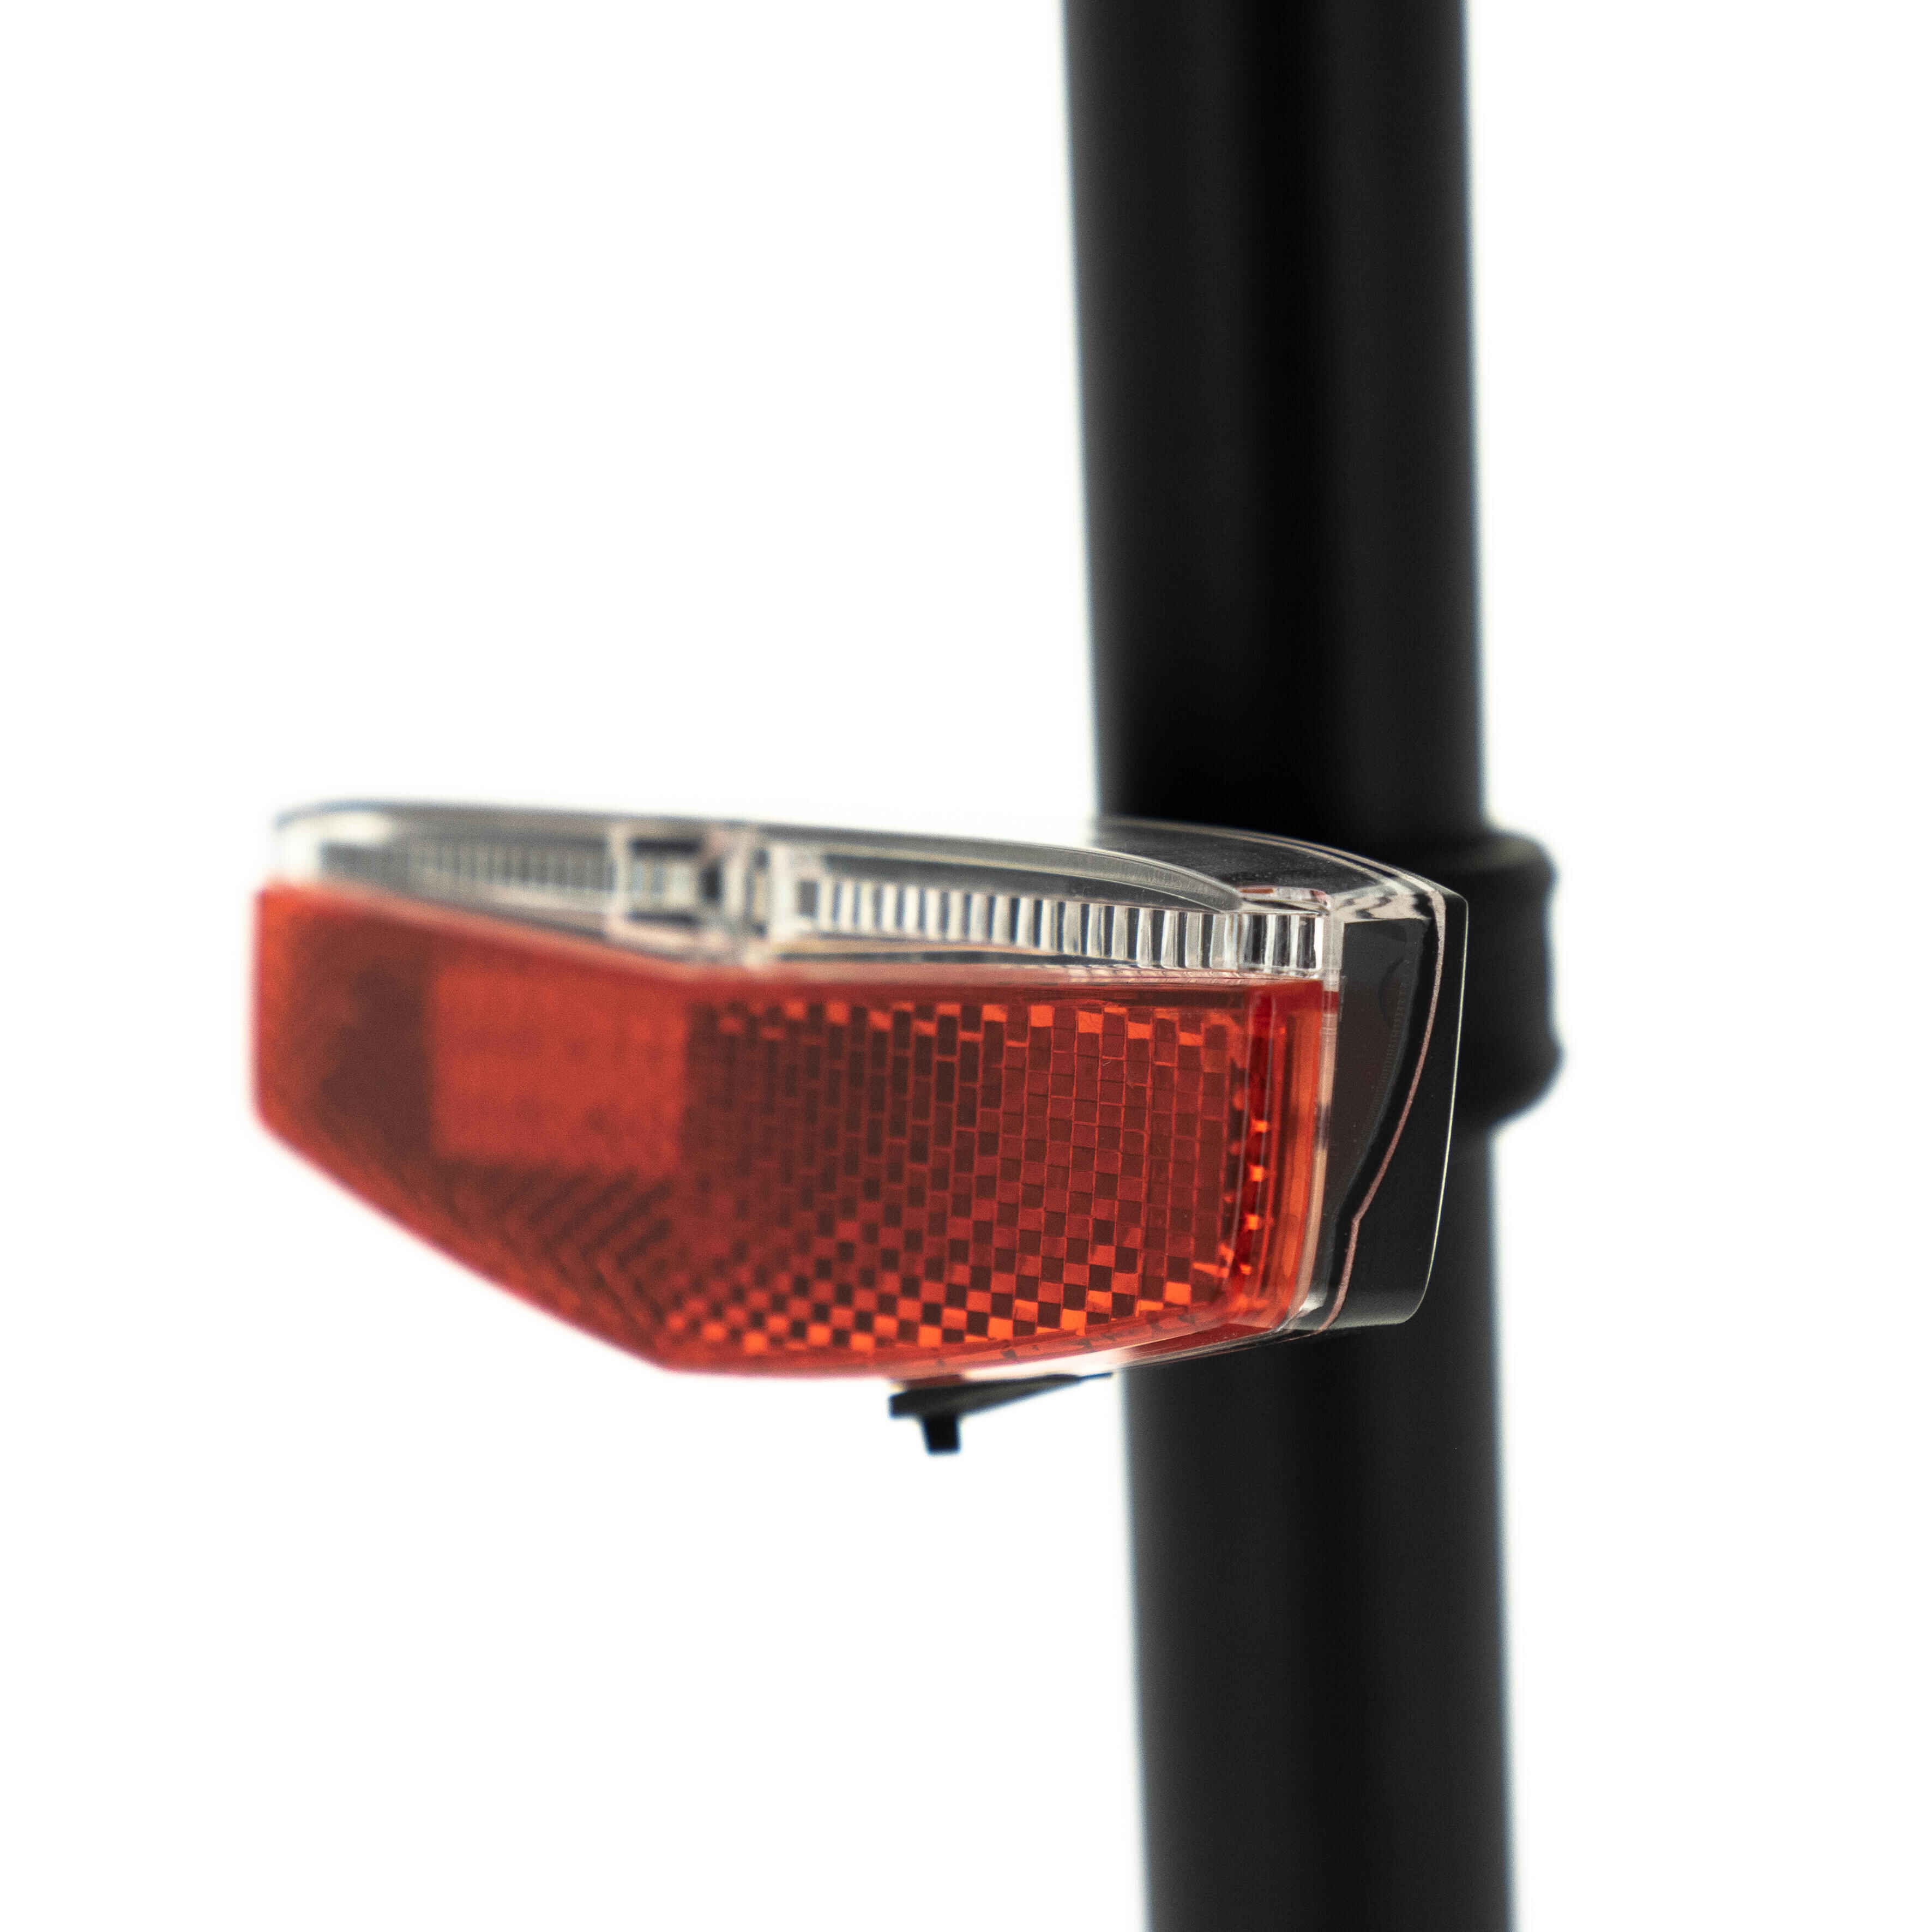
Properly securing lights to pannier racks enhances safety. Use adjustable brackets or clips for a snug fit. Ensure the lights are visible from all directions.
Types Of Lights
There are different types of lights for pannier racks. LED lights are very popular. They are bright and save energy. Halogen lights give warm light. They use more power. Battery-powered lights are easy to attach. They don’t need wires. Dynamo lights use bike wheels for power. They are good for long rides.
Brightness And Beam Patterns
Brightness is important for safety. More lumens mean brighter lights. Wide beam patterns cover more area. They help see the road better. Narrow beams focus on one spot. They are useful for seeing far. Choose lights based on where you ride. City rides need bright, wide beams. Country roads need long, narrow beams.
Selecting Suitable Mounts
Choosing the right mounts for attaching lights to pannier racks ensures safety and visibility. Consider durability and compatibility with your rack. Opt for mounts that are easy to install and adjust.
Clamp-on Mounts
Clamp-on mounts are strong and easy to use. They hold lights firmly on pannier racks. These mounts are made of metal or plastic. They fit different rack sizes. You just need to tighten the clamp. Make sure it’s secure. Check if the clamp is strong enough for your rack. Adjust the position as needed. Ensure the light points correctly.
Velcro Straps
Velcro straps are simple and flexible. They are perfect for quick setups. Wrap the strap around the light and rack. Pull tight to secure it. Velcro allows easy adjustment. You can change light angles fast. Velcro straps are soft and won’t scratch racks. They work well on various shapes. Always check the strap tightness. Ensure the light stays in place.
Positioning For Maximum Visibility
Secure lights on pannier racks to enhance visibility during rides. Use clips or brackets designed for easy attachment. Ensure lights face outward and are at a proper angle for optimal illumination.
Front And Rear Placement
Lights must be placed on the front and rear of the bike. This ensures others can see you coming and going. For the front, attach the light to the top of the rack. This helps to shine brightly ahead. On the rear, fix the light to the bottom of the rack. This makes it visible to cars behind you.
Adjusting Angles
Angles are important for light direction. Adjust front lights to point slightly down. This avoids blinding others. Rear lights should point straight back. This helps them be seen from a distance. Always check the lights before riding. Make sure they are secure and working well.
Securing Lights Effectively
Attaching lights to pannier racks is simple and effective for better visibility. Securely fasten lights using adjustable straps or clamps. Ensure they are tightly fixed to prevent movement during rides.
Ensuring Stability
Attach lights firmly using sturdy clips or brackets. Check that they fit snugly. Loose lights can fall off. Use rubber grips for extra hold. Ensure the lights face forward. This helps you see the road. It also makes you visible to others.
Avoiding Theft
Prevent theft by using locks or security screws. Thieves can’t remove them easily. Choose locks made of strong materials. Always park in well-lit areas. Take lights with you if possible. This ensures they stay safe. Use a tracker for expensive lights. It helps find them if stolen.
Weatherproofing And Durability
Secure lights firmly to pannier racks for reliable weatherproofing. Ensure durability by using waterproof materials and sturdy mounts. Protect against harsh elements to maintain lighting efficiency throughout your journey.
Water-resistant Features
Lights on pannier racks need to stay dry. Water-resistant lights keep working in rain. Look for sealed casing and rubber gaskets. These stop water from entering. LED lights often have good water resistance. Check for IP ratings like IP65 or IP67. These numbers show how water-resistant the lights are. A higher number means better protection. Choose lights with a high rating for safety.
Impact Resistance
Bike lights must handle bumps and falls. Impact-resistant lights last longer. Durable materials like aluminum or tough plastic are best. These materials absorb shocks and protect the lights. Some lights come with shockproof features. These features include reinforced casings and secure mounts. Always check the product details for impact resistance. This ensures your lights stay safe and last longer.

Credit: www.facebook.com
Power Options For Lights
Lights can use batteriesor be rechargeable. Battery lights need new ones often. Rechargeable lights plug into power to charge. They save money over time. Rechargeable lights are better for the environment. They don’t need many new batteries.
Solar lights use sunlight to work. No need to plug in or change batteries. They have panels that catch sunlight. These panels charge the light. Solar lights are eco-friendly. They work best in sunny places. On cloudy days, they may not charge well. Solar lights help save energy.
Safety Considerations
Check local laws for using lights on bikes. Some places require lights. Make sure your lights are visible from afar. Reflectors are often needed too. Red lights should be at the back. White lights go in front. Keep your lights charged and working. This helps you stay safe and legal.
Daytime running lights keep you visible. Even when the sun is out, they help. Cars and people can see you better. Use bright lights for the best effect. Attach them firmly to your pannier racks. Make sure they don’t move or fall off. Always check your lights before riding. Properly secure them for safety.
Credit: www.leoalmanac.org
Troubleshooting Common Issues
Attaching lights to pannier racks can be challenging. Ensure secure fitting with adjustable brackets and straps. Test light positions for visibility and adjust as needed.
Flickering Problems
Flickering lights can be annoying and unsafe. First, check if the batteriesare fresh. Old batteries might cause flickering. Next, inspect the light’s connectionto the rack. It should be snug and secure. Also, dirt or water might affect the light. Clean the light and its connections. Make sure everything is dry. If the problem persists, try using a different light. This helps to see if the light itself is faulty.
Loose Connections
Loose connections can make lights flicker or not work. Ensure the light is attached tightlyto the rack. Check the wiresfor any signs of damage. Damaged wires can lead to poor connections. Use tape or clips to secure the wires. This prevents them from moving around. If the problem continues, consider using stronger clips or a different attachment method.
Frequently Asked Questions
How To Attach Light To Pannier Rack?
Securely attach the light using adjustable brackets or clips designed for pannier racks. Ensure it’s tightly fastened and visible. Align the light for optimal illumination and safety. Regularly check to ensure it remains secure during rides. Consider waterproof options for durability in various weather conditions.
How To Attach Bike Light To Saddle Bag?
Attach the bike light using a clip or bracket on the saddle bag’s strap. Ensure it’s secure and visible. Use adjustable straps if available. Confirm the light’s angle for optimal visibility during rides. Regularly check for tightness to prevent dislodging.
Where To Attach A Rear Bike Light?
Attach the rear bike light to the seat post or rear rack. Ensure it’s secure and visible to traffic. Position it at eye level for motorists. Regularly check the attachment to prevent it from falling off. A well-placed light enhances safety during night rides or low-light conditions.
What Can You Put On A Pannier Rack?
You can put bags, groceries, camping gear, laptop cases, or bike baskets on a pannier rack. Securely attach items using bungee cords or straps for stability during your ride. Ensure the weight is balanced to maintain bike control.
Conclusion
Attaching lights to pannier racks is simple. Start with selecting the right lights. Ensure they fit securely on your rack. Check stability after installation. Adjust angles for better visibility. Test them before your ride. Safety matters, so keep lights clean and bright.
Regularly inspect for wear and tear. Replace batteries when needed. This setup enhances night riding safety. Enjoy your cycling adventures with improved visibility. Remember, a well-lit bike is essential. Happy riding, and stay safe on the roads!


