
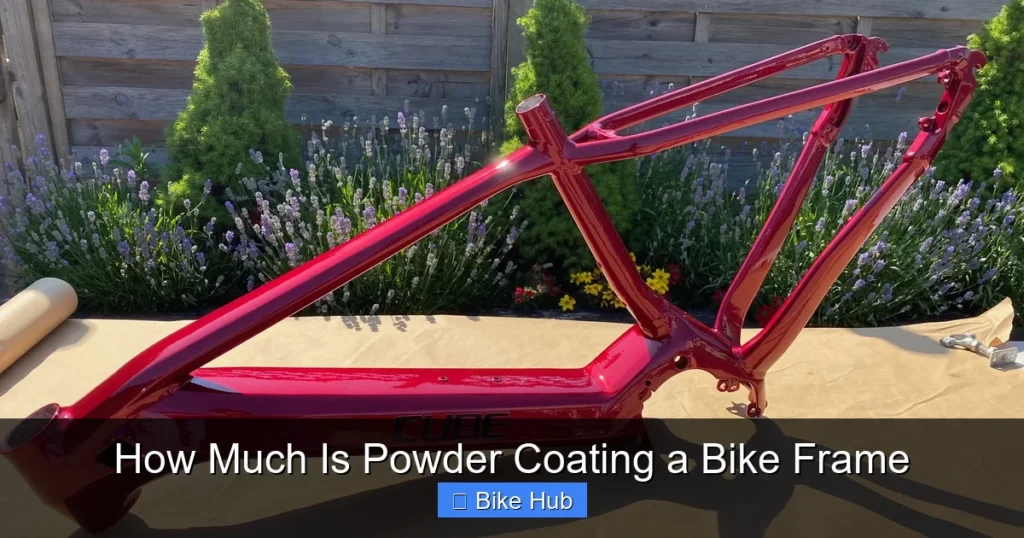
Powder coating a bike frame typically costs between $100 and $300, depending on location, frame size, finish type, and whether you DIY or hire a pro. This guide breaks down pricing, preparation steps, and how to get the best value for a long-lasting, rust-resistant bike makeover.
Key Takeaways
- Typical cost range: Most riders pay $100–$300 for professional powder coating, with premium finishes or complex frames costing more.
- DIY can save money: Doing it yourself reduces labor costs but requires equipment, space, and safety precautions.
- Preparation is key: Stripping old paint and cleaning the frame thoroughly ensures a smooth, durable finish.
- Color and finish matter: Gloss, matte, metallic, or custom colors may increase price due to material and labor.
- Location affects pricing: Urban shops often charge more than rural ones—shop around for the best deal.
- Protects against rust: Powder coating creates a tough barrier that helps prevent corrosion, especially in wet climates.
- Long-term value: A quality powder coat can last 10+ years with proper care, making it a smart investment.
How Much Is Powder Coating a Bike Frame? A Complete Guide
If you’re looking to refresh your bike’s look or protect it from the elements, powder coating is one of the best options out there. It’s durable, long-lasting, and comes in a huge variety of colors and finishes. But before you dive in, you’re probably wondering: how much is powder coating a bike frame?
In this guide, we’ll walk you through everything you need to know—from average costs and what affects pricing, to whether you should DIY or hire a pro. We’ll also cover prep work, finish options, and how to get the most bang for your buck. Whether you ride a road bike, mountain bike, or BMX, this guide will help you make an informed decision.
What Is Powder Coating?
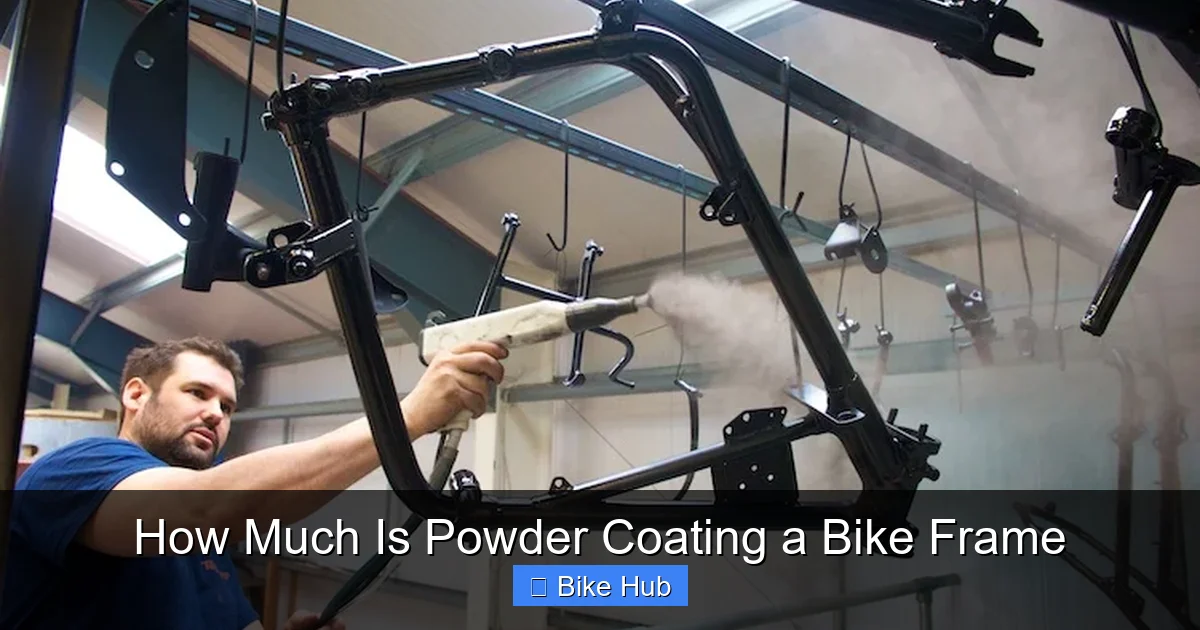
Visual guide about How Much Is Powder Coating a Bike Frame
Image source: cesengineering.co.uk
Powder coating is a dry finishing process that uses electrostatic spray to apply a powdered paint to metal surfaces. Once applied, the frame is baked in an oven, causing the powder to melt and form a hard, smooth, and protective layer. Unlike liquid paint, powder coating doesn’t drip or run, and it’s much more resistant to chipping, scratching, and fading.
It’s commonly used on car parts, outdoor furniture, and yes—bike frames. Because it bonds so well to metal, it’s ideal for steel, aluminum, and even titanium frames (with proper prep).
Average Cost of Powder Coating a Bike Frame
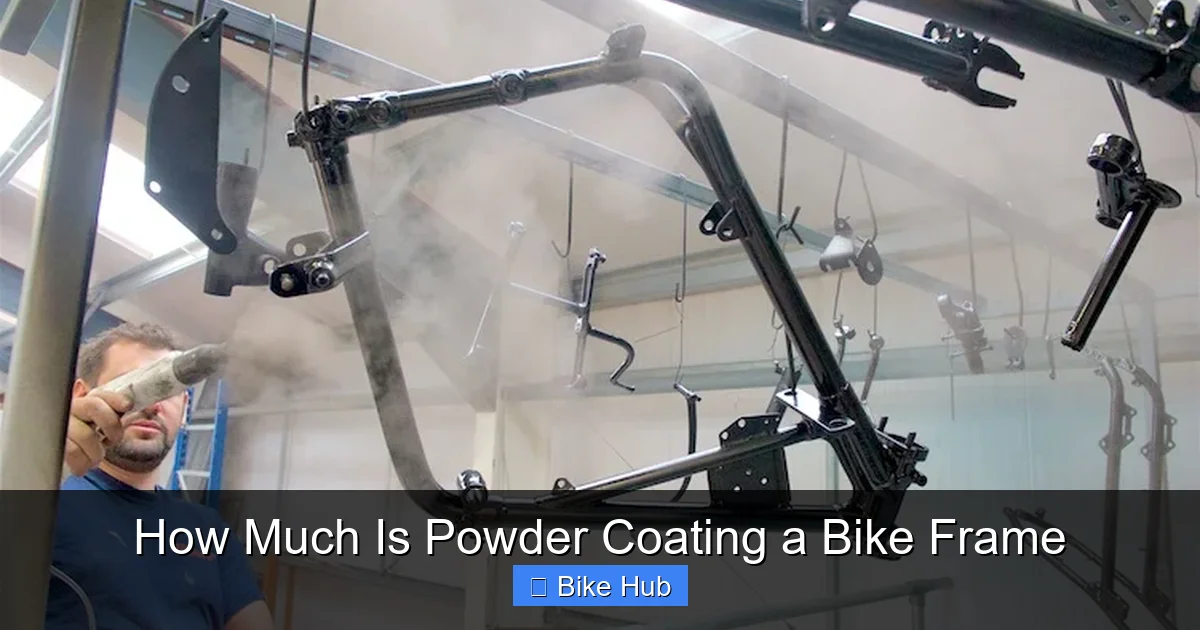
Visual guide about How Much Is Powder Coating a Bike Frame
Image source: cesengineering.co.uk
So, how much does it actually cost? Here’s a realistic breakdown:
- Basic powder coating (single color, standard finish): $100–$150
- Mid-range (metallic, texture, or two-tone): $150–$250
- High-end or custom work (specialty colors, intricate designs): $250–$400+
These prices usually include disassembly, sandblasting or chemical stripping, coating, and reassembly—but always confirm with the shop. Some charge extra for parts like headsets or bottom brackets if they need special masking.
Factors That Affect the Price
Several things can push the cost up or down:
- Frame material: Steel is easiest to coat. Aluminum requires extra prep to avoid bubbling. Titanium is trickiest and may cost more.
- Frame size: Larger frames (like XL mountain bikes) use more powder and take longer, so they cost more.
- Color and finish: Standard colors (black, white, red) are cheaper. Metallics, fluorescents, or custom mixes cost extra.
- Shop location: Urban areas with higher overhead often charge more than rural shops.
- Turnaround time: Rush jobs may come with a premium.
- Additional services: If you need parts powder coated too (fork, stem, etc.), expect to pay per piece.
DIY vs. Professional Powder Coating
One of the biggest decisions is whether to do it yourself or hire a pro. Let’s compare.
Professional Powder Coating
Pros:
- High-quality, even finish
- Proper equipment (oven, spray booth, sandblaster)
- Experience with tricky frames and materials
- Often includes disassembly and reassembly
Cons:
- Higher cost ($100–$300+)
- Need to drop off and pick up the bike
- Wait times (usually 1–2 weeks)
DIY Powder Coating
Pros:
- Save $100+ on labor
- Full control over color and process
- Fun project for bike enthusiasts
Cons:
- Upfront cost for equipment ($200–$500 for a basic setup)
- Steep learning curve
- Risk of uneven coating or burning the powder
- Requires a safe, well-ventilated space and an oven large enough for the frame
If you’re serious about DIY, you’ll need:
- Powder coating gun (around $100–$200)
- Oven (or converted toaster oven for small frames)
- Sandblaster or chemical stripper
- Safety gear (respirator, gloves, goggles)
- High-quality powder (start with $20–$40 per color)
Step-by-Step: Preparing Your Bike Frame for Powder Coating
Whether you’re going pro or DIY, proper prep is essential. A poorly prepped frame leads to peeling, bubbling, or uneven color.
1. Disassemble the Frame
Remove everything: wheels, drivetrain, brakes, cables, seat post, and any accessories. You want just the bare frame. This makes cleaning and coating easier and prevents damage to components.
2. Strip Old Paint and Finish
Old paint, grease, and rust must be removed. Options include:
- Sandblasting: Best for thorough removal. Many shops offer this service for $30–$60.
- Chemical paint stripper: Effective but messy. Use in a well-ventilated area and follow safety instructions.
- Hand sanding: Time-consuming but works in a pinch. Use 80–120 grit sandpaper.
After stripping, wipe the frame with acetone or a degreaser to remove any residue.
3. Inspect for Damage
Check for cracks, dents, or corrosion. Minor rust can be treated with a rust converter, but deep damage may require welding or professional repair. Don’t coat over structural issues—safety first!
4. Mask Sensitive Areas
Use high-temperature tape to cover:
- Headset and bottom bracket threads
- Brake and derailleur cable guides
- Any areas that need to stay unpainted
This ensures clean, functional threads and prevents powder from clogging moving parts.
Choosing the Right Finish
Powder coating isn’t just about color—it’s also about texture and durability.
Common Finish Types
- Gloss: Shiny and reflective. Great for showing off color but shows scratches more.
- Matte: Flat, non-reflective. Hides imperfections and gives a modern look.
- Satin: In-between gloss and matte. Popular for a balanced appearance.
- Metallic: Contains metal flakes for a shimmering effect. Costs more.
- Texture: Rough or pebbled surface. Great for grip and hiding wear.
For bikes, satin and matte are popular because they’re stylish and practical. Gloss is flashy but shows dirt and scratches more easily.
Troubleshooting Common Issues
Even with the best prep, problems can happen. Here’s how to avoid them:
- Bubbling or blistering: Usually caused by moisture or oil under the powder. Always degrease thoroughly.
- Uneven coating: Happens if the spray gun isn’t held steadily or the frame isn’t grounded properly. Practice on scrap metal first.
- Powder not sticking: Could mean the frame wasn’t cleaned well or the oven temperature was too low. Most powders cure at 375–400°F (190–205°C).
- Color mismatch: Custom colors may vary between batches. Buy extra powder if you plan to touch up later.
How to Protect Your Powder-Coated Frame
Once your frame is coated, keep it looking great with regular care:
- Wash with mild soap and water—avoid harsh chemicals.
- Dry thoroughly to prevent water spots.
- Inspect for chips and touch up with matching powder if needed.
- Store indoors or under cover to reduce exposure to rain and UV rays.
For extra protection, especially in wet climates, consider applying a ceramic coating or wax. This adds a layer of shine and helps repel dirt and moisture. You can learn more about how to protect a bike frame from rust to extend your coating’s life.
Is Powder Coating Worth It?
Absolutely—if you plan to keep your bike for years. While it’s more expensive than spray paint, powder coating lasts much longer and looks more professional. It’s also better for the environment (no solvents or VOCs) and resists rust far better than traditional paint.
Think of it as an investment in your bike’s longevity and appearance. Whether you’re restoring an old frame or customizing a new one, powder coating delivers results that turn heads and stand the test of time.
Final Thoughts
So, how much is powder coating a bike frame? On average, expect to pay $100–$300 for a quality job. The exact cost depends on your frame, finish, and location—but the durability and style make it a smart choice for any rider.
If you’re handy and have the space, DIY can save money and be a rewarding project. But for most people, hiring a pro ensures a flawless finish with less hassle.
No matter which route you take, proper prep is the secret to success. Clean the frame, choose the right color and texture, and protect your work with regular maintenance.
Ready to give your bike a fresh new look? Whether you’re upgrading a road bike or customizing a BMX, powder coating is a powerful way to protect and personalize your ride. And if you’re choosing a new frame altogether, check out our guide on how to choose a bike frame to make sure you start with the right foundation.
For mountain bikers, don’t forget that a durable finish is even more important—learn how to prepare a mountain bike for long rides to keep your powder-coated frame in top shape on rough trails.



