

A bike tune up includes inspecting, cleaning, adjusting, and lubricating key components like brakes, gears, tires, and chains. Regular tune ups improve performance, extend your bike’s life, and prevent costly repairs.
Key Takeaways
- Inspect all major parts: Check frame, wheels, brakes, drivetrain, and handlebars for wear or damage.
- Clean and lubricate the chain: A clean chain reduces friction and improves shifting efficiency.
- Adjust brakes and gears: Proper alignment ensures safe stopping and smooth gear changes.
- Check tire condition and pressure: Properly inflated tires enhance comfort, speed, and puncture resistance.
- Tighten bolts and fasteners: Loose parts can lead to accidents or component failure.
- Test ride for performance: Always take a short ride to confirm everything works correctly.
- Know when to seek professional help: Some issues require expert tools or experience.
What Does a Bike Tune Up Include?
Whether you’re a weekend warrior or a daily commuter, keeping your bike in top shape is essential for safety, performance, and longevity. A bike tune up isn’t just about fixing what’s broken—it’s about preventing problems before they start. In this guide, we’ll walk you through exactly what a bike tune up includes, step by step. You’ll learn how to inspect, clean, adjust, and maintain your bike like a pro—even if you’re a beginner.
By the end of this article, you’ll know how to perform a basic tune up at home and understand when it’s time to visit a professional mechanic. Let’s get started!
Step 1: Gather Your Tools and Supplies
Before diving in, make sure you have the right tools. You don’t need a full workshop, but a few essentials will make the job easier:
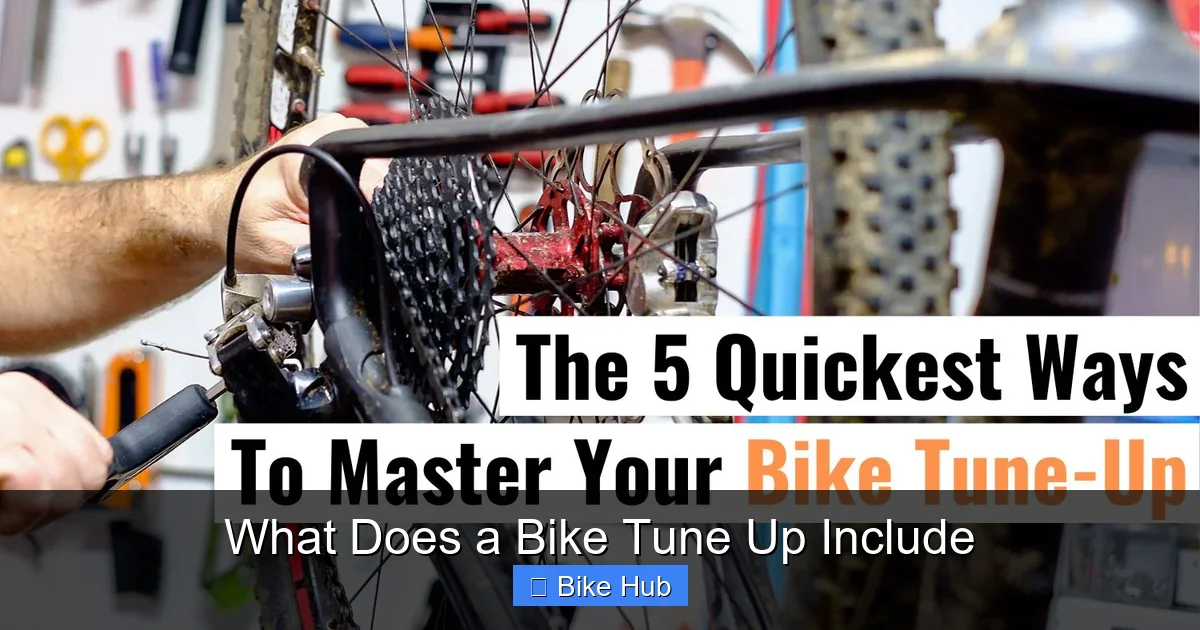
Visual guide about What Does a Bike Tune Up Include
Image source: saolar.com
- Bike stand (or flip the bike upside down)
- Clean rags and brushes
- Degreaser and bike-specific cleaner
- Chain lubricant
- Tire pump with pressure gauge
- Allen wrench set (hex keys)
- Screwdrivers (flathead and Phillips)
- Cable cutters (if replacing cables)
- Torque wrench (optional but recommended)
Having everything ready saves time and frustration. If you’re new to bike maintenance, consider starting with a basic toolkit and expanding as you go.
Step 2: Inspect the Frame and Components
The first step in any tune up is a thorough visual inspection. Look for cracks, dents, rust, or loose parts. Pay special attention to high-stress areas like the head tube, bottom bracket, and rear dropouts.
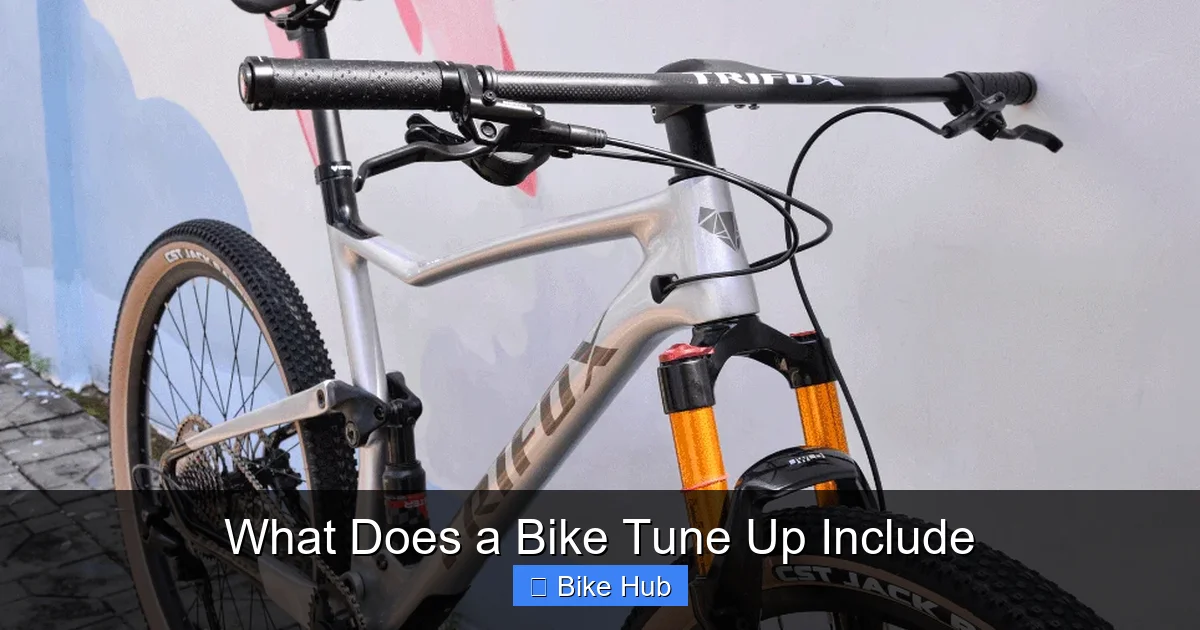
Visual guide about What Does a Bike Tune Up Include
Image source: img.trifoxbike.com
Check the Frame
Run your hands along the frame, especially around welds and joints. Even small cracks can grow over time. If you spot damage, stop riding and consult a professional.
Inspect the Fork and Headset
Turn the handlebars side to side while holding the front brake. If you feel play or hear clicking, the headset may need adjustment. For suspension forks, check for oil leaks or worn seals.
Examine the Wheels and Hubs
Spin each wheel and listen for grinding or wobbling. Lift the bike and wiggle the wheels side to side—excessive movement means loose hub bearings. Also, check spoke tension; loose spokes can cause wheel truing issues.
Step 3: Clean the Drivetrain
The drivetrain—chain, cassette, chainrings, and derailleurs—collects dirt and grime that reduce efficiency. Cleaning it regularly is one of the most impactful parts of a tune up.
Remove and Clean the Chain
Use a chain cleaner tool or soak the chain in degreaser. Scrub with a brush, then rinse and dry thoroughly. A clean chain lasts longer and shifts better.
Clean the Cassette and Chainrings
Use a stiff brush and degreaser to scrub between the cogs. A toothbrush works well for tight spaces. Wipe down the chainrings with a rag.
Lubricate the Chain
Apply bike-specific lubricant to each chain link while slowly pedaling backward. Wipe off excess oil to prevent attracting dirt. For wet conditions, use wet lube; for dry climates, dry lube works best.
For a deeper clean, check out our guide on how to clean a road bike drivetrain.
Step 4: Check and Adjust the Brakes
Brakes are critical for safety. A tune up ensures they respond quickly and evenly.
Inspect Brake Pads
Look for wear indicators or uneven wear. If the pads are thin (less than 1mm), replace them. Also, check that they’re aligned with the rim or rotor—not touching the tire or too low.
Test Brake Lever Feel
Squeeze the levers. They should engage firmly without hitting the handlebar. If they feel spongy, you may need to bleed hydraulic brakes or adjust cable tension.
Adjust Cable Tension (Mechanical Brakes)
Use the barrel adjuster to fine-tune tension. Turn it counterclockwise to tighten, clockwise to loosen. For major adjustments, loosen the cable anchor bolt, pull the cable taut, and retighten.
Check Rotor Alignment (Disc Brakes)
Spin the wheel and watch the rotor. If it wobbles, use a rotor truing tool to gently bend it back into alignment. Avoid touching the rotor with bare hands—oils can reduce braking power.
Step 5: Fine-Tune the Gears
Smooth shifting makes riding more enjoyable and reduces drivetrain wear. A tune up includes adjusting derailleurs and checking cable tension.
Check Derailleur Alignment
Shift to the smallest cog and inspect the derailleur hanger. It should be straight. If bent, it may need replacement—this is a job for a professional if you’re unsure.
Adjust Limit Screws
The high (H) and low (L) limit screws prevent the chain from falling off the cassette. Use a screwdriver to adjust them so the derailleur pulley aligns with the smallest and largest cogs.
Index the Gears
Shift through all gears. If the chain skips or hesitates, adjust the barrel adjuster. Turn it slightly to fine-tune cable tension. For more help, see our mountain bike gear shifting tips.
Step 6: Check Tire Condition and Pressure
Tires affect comfort, speed, and safety. A tune up includes inspecting tread, checking for cuts, and inflating to the correct pressure.
Inspect Tread and Sidewalls
Look for cracks, bulges, or embedded debris. Replace tires with worn tread or damage. For mountain bikes, consider tire sealant to prevent flats—learn more in our mountain bike tire sealant guide.
Check Tire Pressure
Use a reliable pump with a gauge. Inflate to the PSI listed on the tire sidewall. Underinflated tires increase rolling resistance; overinflated ones reduce traction and comfort.
Reinstall and Secure Wheels
Make sure quick-release levers or thru-axles are tight. For safety, always double-check that wheels are securely attached before riding.
Step 7: Tighten Bolts and Fasteners
Vibration from riding can loosen bolts over time. A tune up includes checking key fasteners.
Check Stem and Handlebar Bolts
Use an Allen wrench to ensure the stem and handlebars are tight. Loose bars can cause loss of control.
Tighten Seatpost and Saddle
Adjust saddle height and angle, then tighten the seatpost clamp. A slipping seatpost can be dangerous.
Inspect Pedals and Crank Bolts
Make sure pedals spin freely and aren’t loose. Check crank arms for play—wiggling cranks may indicate worn bottom bracket bearings.
Step 8: Lubricate Moving Parts
Beyond the chain, other parts benefit from lubrication.
Apply Lube to Derailleur Pivots
A drop of light oil on pivot points keeps derailleurs moving smoothly.
Lubricate Brake and Shift Levers
Spray a small amount of lubricant into the lever mechanisms to prevent sticking.
Check Suspension (if applicable)
For full-suspension bikes, inspect seals and consider a suspension service if performance feels off.
Step 9: Test Ride and Final Adjustments
After completing the tune up, take your bike for a short test ride.
Test Brakes and Shifting
Ride in a safe area and test braking at low speed. Shift through all gears to confirm smooth operation.
Listen for Noises
Clicks, creaks, or grinding may indicate loose parts or misalignment. Recheck components if needed.
Make Final Tweaks
Adjust saddle position, handlebar angle, or brake levers for comfort. A well-tuned bike should feel responsive and quiet.
Troubleshooting Common Issues
Even with a thorough tune up, problems can arise. Here are quick fixes:
- Squeaky brakes: Clean rims or rotors with isopropyl alcohol. Check pad alignment.
- Chain skipping: Could be worn chain or cassette. Replace if stretched beyond 0.5% elongation.
- Gear slipping: Often due to cable stretch or dirty derailleurs. Re-index or clean components.
- Loose headset: Tighten the top cap bolt until play disappears, then adjust preload.
If issues persist, consult a professional mechanic. Some repairs, like wheel truing or bottom bracket servicing, require specialized tools.
When to Get a Professional Tune Up
While DIY maintenance is rewarding, some jobs are best left to experts. Consider a professional tune up if:
- Your bike has hydraulic brakes that need bleeding
- The drivetrain is severely worn
- You’re preparing for a long ride or race—check out how to prepare a mountain bike for long rides
- You lack the tools or confidence for complex repairs
Most bike shops offer basic, intermediate, and full tune up packages. A full service typically includes everything in this guide plus wheel truing, bottom bracket overhaul, and more.
Conclusion
A bike tune up includes a comprehensive check of your bike’s key systems: frame, wheels, brakes, gears, tires, and drivetrain. By inspecting, cleaning, adjusting, and lubricating these components, you ensure a safer, smoother, and more efficient ride. Regular maintenance not only prevents breakdowns but also saves money by extending the life of your bike.
Whether you do it yourself or visit a shop, staying on top of tune ups is one of the best things you can do for your bike. Start with the basics, build your skills, and enjoy the confidence that comes with a well-maintained ride.


