
Discover the ideal spots to mount a guardian bell on your bike so it rings clearly and stays secure. This guide covers placement tips, installation steps, and troubleshooting for safer rides.
Key Takeaways
- Mount near the handlebars: This ensures easy access and consistent ringing while riding.
- Avoid brake or gear cables: Keep the bell away from moving parts to prevent interference.
- Use the right clamp size: Match the bell’s mount to your handlebar diameter for a snug fit.
- Test sound clarity: Ring the bell after installation to confirm it’s loud and clear.
- Check local laws: Some areas require bells on bikes—know your local rules.
- Secure tightly but gently: Over-tightening can damage the bell or handlebar finish.
- Consider visibility: Place the bell where it won’t be blocked by bags or accessories.
Where to Put Guardian Bell on Bike: A Complete How-To Guide
Riding a bike is freedom on two wheels—but safety should always come first. One simple yet effective tool for staying visible and alerting others is a guardian bell. Whether you’re cruising through city streets, sharing paths with pedestrians, or biking near traffic, a well-placed bell can prevent accidents and keep everyone aware of your presence.
In this guide, you’ll learn exactly where to put a guardian bell on your bike for the best sound, safety, and durability. We’ll walk you through step-by-step installation, share practical tips, and help you avoid common mistakes. By the end, you’ll know how to mount your bell like a pro—no matter what type of bike you ride.
Why a Guardian Bell Matters
A guardian bell isn’t just a cute accessory—it’s a safety device. Unlike electronic horns or loud speakers, a traditional bell is simple, reliable, and instantly recognizable. It gives a clear, friendly warning without startling people or animals. Many cities, including New York and Portland, actually require bikes to have a bell that can be heard from at least 200 feet away.
Visual guide about Where to Put Guardian Bell on Bike
Image source: cdn.shopify.com
Beyond legal compliance, a bell helps you:
- Alert pedestrians when passing on shared paths
- Warn drivers when merging or turning
- Prevent collisions in busy bike lanes
- Signal to other cyclists in group rides
But even the best bell won’t help if it’s poorly placed. That’s why knowing where to put guardian bell on bike is so important.
Best Locations to Mount a Guardian Bell
Not all spots on your bike are created equal when it comes to bell placement. The ideal location balances accessibility, sound projection, and safety. Here are the top recommended spots:
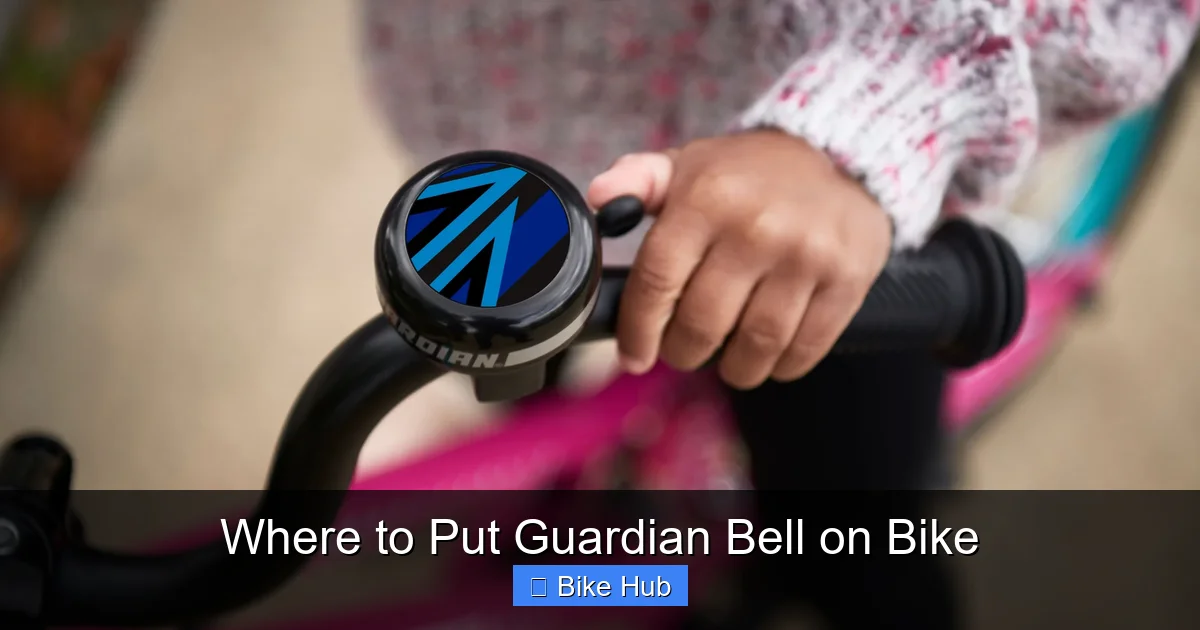
Visual guide about Where to Put Guardian Bell on Bike
Image source: guardianbikes.com
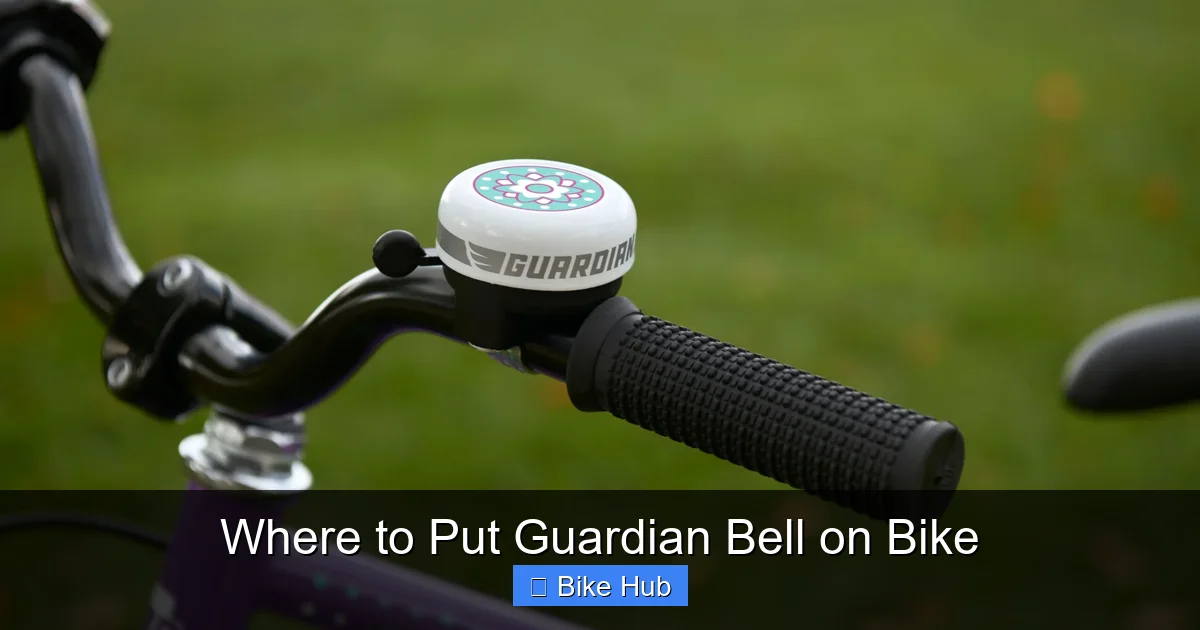
1. Handlebar (Near the Grip)
The most common and effective place to mount a guardian bell is on the handlebar, just inside the grip. This spot allows you to ring the bell easily with your thumb while keeping your hand on the brake or grip.
For right-handed riders, place it on the left handlebar (near the left grip), and vice versa. This keeps your dominant hand free for braking and steering.
Pro tip: Avoid mounting directly over the brake lever or shifter. You don’t want the bell to interfere with your controls.
2. Stem (Center of Handlebars)
If your handlebars are crowded with lights, phone mounts, or mirrors, the stem—the center bar connecting the handlebars to the fork—can be a great alternative.
Mounting here keeps the bell centered and visible, but make sure it doesn’t block your view of the road or your bike’s display (if you have one).
3. Fork (Less Common but Effective)
Some riders prefer mounting the bell on the fork, just above the front wheel. This keeps it lower and out of the way, but it may be harder to reach while riding.
This spot works best for bikes with wide handlebars or those carrying heavy loads on the front rack. Just ensure the bell doesn’t rattle against the fork or tire.
Step-by-Step: How to Install a Guardian Bell
Now that you know the best spots, let’s walk through the installation process. Most guardian bells come with a clamp or screw-on mount. Follow these steps for a secure, functional setup.
Step 1: Choose the Right Bell
Before mounting, make sure your bell fits your bike. Check the clamp size—common diameters are 22.2mm, 25.4mm, and 31.8mm. Most standard handlebars are 22.2mm, but mountain bikes and some road bikes may use larger sizes.
If you’re unsure, measure your handlebar with a caliper or refer to your bike’s manual.
Step 2: Clean the Mounting Area
Wipe down the spot where you’ll attach the bell with a clean, dry cloth. Remove any dirt, grease, or old tape. A clean surface ensures a tight, vibration-free fit.
Step 3: Position the Bell
Slide the bell’s clamp onto the chosen location. For handlebar mounting, aim for a spot about 2–3 inches from the grip. Make sure the bell faces forward or slightly downward so sound projects ahead of you.
Use a marker or tape to note the position if you need to adjust it later.
Step 4: Secure the Clamp
Tighten the clamp using the included screw or bolt. Use a hex key or screwdriver, but don’t over-tighten—this can crack the bell or damage the handlebar.
The bell should stay firmly in place when shaken, but you should still be able to rotate it slightly by hand if needed.
Step 5: Test the Bell
Give the bell a few firm rings. Listen for a clear, loud tone. If it sounds muffled or weak, reposition it or check for obstructions.
Also, test your hand movement—can you ring it comfortably without shifting your grip?
Practical Tips for Bell Placement
Even small adjustments can make a big difference. Here are some expert tips to optimize your bell’s performance:
- Avoid accessories: Don’t mount the bell where it will be blocked by water bottles, bags, or lights. Sound needs a clear path to travel.
- Use rubber padding: If your bell comes with rubber gaskets, use them. They reduce vibration and protect your handlebar finish.
- Check for rattling: After riding on bumpy roads, double-check that the bell isn’t loose. A rattling bell loses effectiveness and can annoy you and others.
- Consider dual bells: For extra safety, some riders install a second bell on the rear rack or seat post. This is especially useful for cargo bikes or family rides.
If you’re carrying groceries or gear on your bike, make sure the bell isn’t buried under bags. A great resource for organizing your load is our guide on how to carry groceries on a bike, which includes tips for keeping accessories accessible.
Troubleshooting Common Bell Issues
Even with careful installation, problems can pop up. Here’s how to fix the most common issues:
Bell Won’t Stay Tight
If your bell keeps loosening, the clamp may be the wrong size or worn out. Try wrapping the handlebar with a thin layer of electrical tape to increase the diameter. Or upgrade to a bell with a wider clamp range.
Sound Is Muffled
This usually means the bell is blocked or mounted too close to a metal surface. Reposition it so it has space to vibrate freely. Avoid mounting it directly against the stem or brake cable housing.
Bell Interferes with Brakes or Shifters
If the bell hits your brake lever when turned, move it inward or switch sides. On bikes with integrated shifters (like STI levers), consider a stem or fork mount instead.
Rust or Corrosion
Over time, moisture can cause rust, especially on steel bells. Wipe your bell dry after wet rides and consider a stainless steel or coated model for longevity. For more on protecting your bike from the elements, check out our article on how to protect a bike frame from rust.
Legal and Safety Considerations
In many U.S. states and countries, bikes must have a bell that meets specific sound requirements. For example, California requires a bell audible from 200 feet. Always check your local laws to stay compliant.
Also, remember: a bell is not a substitute for lights, reflectors, or helmets. Use it as part of a full safety kit. For night riding, pair your bell with proper lighting—learn how in our guide on how to install lights on a fat tire bike.
Conclusion
Knowing where to put guardian bell on bike is more than a minor detail—it’s a key part of safe, responsible cycling. The right placement ensures your bell is easy to use, loud enough to be heard, and secure enough to last.
Whether you mount it on the handlebar, stem, or fork, follow the steps in this guide to install your bell correctly. Test it regularly, keep it clean, and adjust as needed. With a well-placed guardian bell, you’ll ride with confidence, knowing you’re doing your part to keep everyone safe.
Now go enjoy the ride—and ring that bell with pride!


