
Choosing the best snow bike kit transforms your regular bike into a winter-ready machine. This guide covers essential components, top-rated kits, and expert tips to help you ride safely and confidently on snow and ice.
Key Takeaways
- Fat tires are essential: Wider tires (3.8” to 5”) provide the traction and flotation needed for snow and soft terrain.
- Frame compatibility matters: Not all bikes can accommodate snow bike kits—check your frame’s clearance and fork type before buying.
- Look for complete kits: The best snow bike kits include tires, rims, tubes, and sometimes brakes or drivetrain upgrades for a seamless setup.
- Consider your riding style: Trail riding, commuting, or backcountry exploration each require slightly different tire treads and frame stiffness.
- Maintenance is key: Cold weather affects tire pressure and drivetrain performance—regular checks keep your kit running smoothly.
- Electric options are rising: Many snow bike kits now work with e-bikes, offering extra power for deep snow climbs.
- Safety first: Always pair your kit with proper winter gear, lights, and reflective clothing for visibility in low-light conditions.
What Is the Best Snow Bike Kit? A Complete How-To Guide
Winter doesn’t have to mean storing your bike in the garage. With the right snow bike kit, you can keep riding all season long—whether you’re commuting through snowy city streets or exploring frosty mountain trails. But with so many options on the market, how do you choose the best snow bike kit for your needs?
This guide will walk you through everything you need to know: what a snow bike kit is, how to pick the right one, top recommendations, installation tips, and maintenance advice. By the end, you’ll be ready to conquer the cold with confidence.
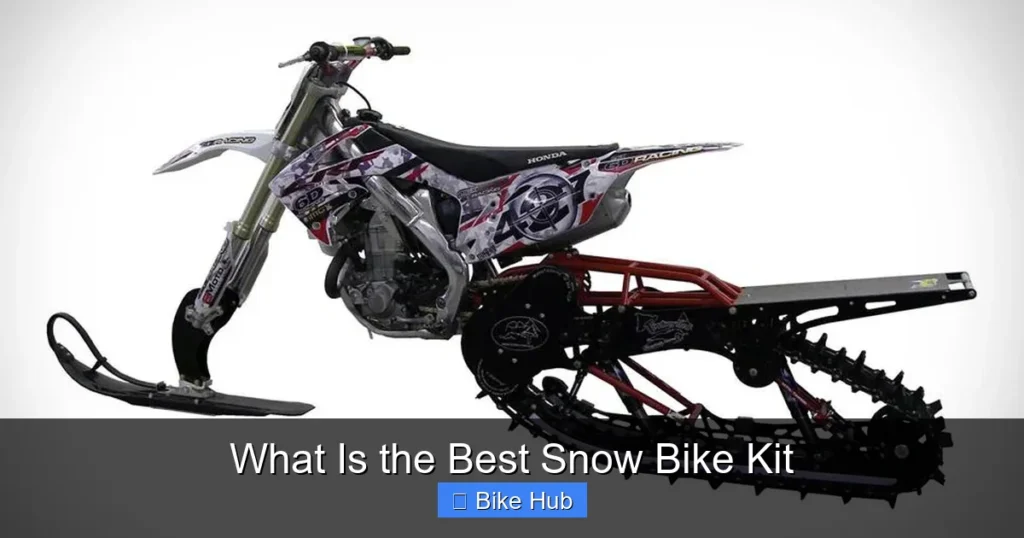
What Is a Snow Bike Kit?
Visual guide about What Is the Best Snow Bike Kit
Image source: hootbikes.com
A snow bike kit is a set of components that converts your standard bicycle into a winter-ready fat-tire bike. These kits typically include wide tires, reinforced rims, and sometimes upgraded brakes or drivetrain parts. The goal is to improve traction, stability, and control on snow, ice, and slush.
Unlike regular mountain bikes, snow bikes use tires that are 3.8 inches or wider—some go up to 5 inches. This extra width spreads the bike’s weight over a larger surface area, preventing it from sinking into deep snow. Think of it like snowshoes for your wheels.
Who Needs a Snow Bike Kit?
You might benefit from a snow bike kit if you:
- Ride year-round and don’t want to stop in winter
- Live in a snowy climate with cleared bike paths or trails
- Want to explore off-road winter terrain
- Use your bike for daily commuting and face icy roads
Even if you already own a fat-tire bike, a conversion kit lets you use your existing frame—saving money and reducing waste.
How to Choose the Best Snow Bike Kit
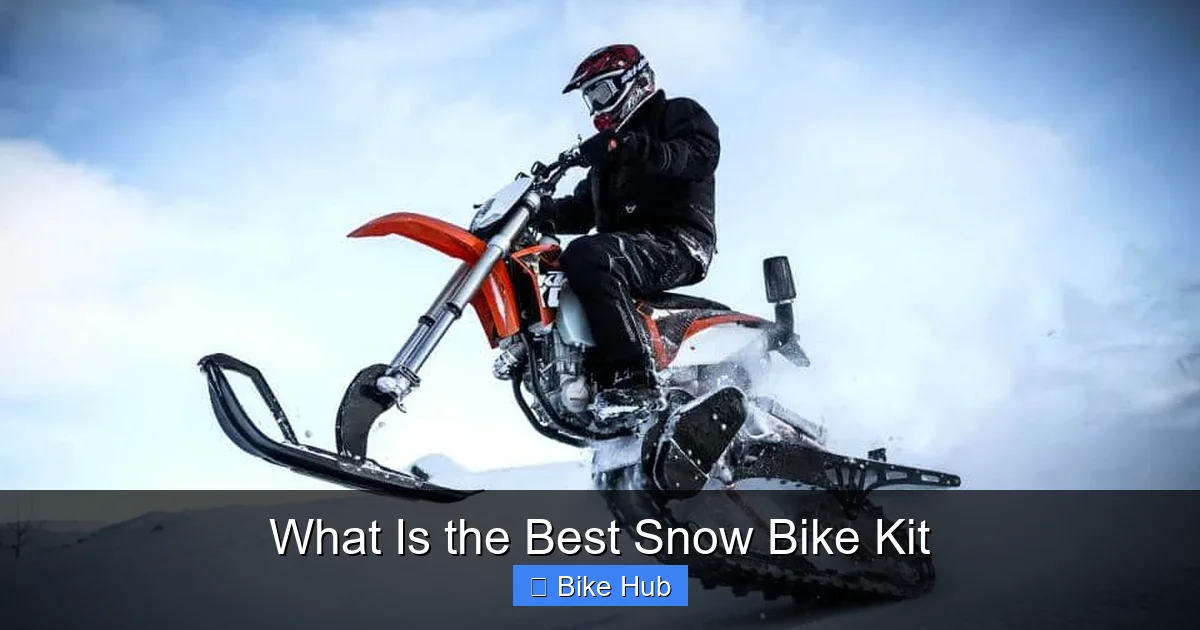
Visual guide about What Is the Best Snow Bike Kit
Image source: gearmoose.com
Not all snow bike kits are created equal. Here’s how to pick the right one for your bike and riding style.
1. Check Your Bike’s Compatibility
Before buying any kit, make sure your bike can handle the upgrade. Most kits require:
- A frame with enough clearance for wide tires (at least 4” wide)
- A rigid or suspension fork that can accommodate fat rims
- Horizontal or semi-horizontal dropouts (for rear wheel adjustments)
Mountain bikes and hybrid frames are usually the best candidates. Road bikes and older models often lack the necessary space.
2. Decide on Tire Width
Tire width affects performance:
- 3.8” to 4.2”: Great for packed snow and light trails. Lighter and faster.
- 4.5” to 5”: Ideal for deep snow and off-road exploration. More stable but heavier.
For most riders, a 4.0” to 4.5” tire offers the best balance of speed and floatation.
3. Choose Between Tubed and Tubeless
Tubed tires are easier to install and repair, making them beginner-friendly. Tubeless setups reduce the risk of pinch flats and allow lower tire pressures for better grip—but they require sealant and more maintenance.
If you’re new to fat biking, start with a tubed kit. For advanced riders tackling rough terrain, tubeless is worth the extra effort.
4. Consider a Complete Kit vs. Individual Parts
Some kits come with everything you need: tires, rims, tubes, and even new brakes. Others sell components separately. A complete kit simplifies installation and ensures compatibility.
For example, the popular 45NRTH Wrathchild kit includes two 4.6” tires, rims, and tubes—perfect for deep snow adventures.
5. Match the Kit to Your Riding Style
- Commuting: Look for durable, puncture-resistant tires with moderate tread. Consider adding fenders and lights.
- Trail Riding: Aggressive tread patterns and reinforced sidewalls handle roots, rocks, and ice.
- Backcountry: Wider tires (4.8”+) and lightweight frames help with long, remote rides.
Top Snow Bike Kits in 2024
Here are three of the best snow bike kits currently available:
1. Surly Moonlander Conversion Kit
This kit transforms compatible mountain bikes into serious snow machines. It includes 4.6” tires, double-wall rims, and high-quality tubes. The Moonlander is known for its durability and smooth ride on packed snow and ice.
Best for: Trail riders and winter explorers.
2. 45NRTH Wrathchild Fat Bike Kit
Designed for extreme conditions, this kit features ultra-wide 4.6” tires with deep, aggressive lugs for maximum grip. The rims are tubeless-ready, and the kit works well with e-bikes.
Best for: Deep snow and backcountry adventures.
3. Borealis Yampa Fat Bike Conversion Kit
Lightweight and efficient, the Yampa kit uses 4.0” tires that roll fast on groomed trails. It’s a great choice for riders who want speed without sacrificing winter capability.
Best for: Commuters and fitness riders.
How to Install a Snow Bike Kit
Installing a snow bike kit is easier than it looks—especially if you’re working with a complete kit. Follow these steps:
Step 1: Gather Your Tools
You’ll need:
- Tire levers
- Bike pump (with pressure gauge)
- Wrenches or hex keys
- Chain tool (if adjusting drivetrain)
Step 2: Remove the Old Wheels
Shift into the smallest rear cog, release the brakes, and loosen the axle nuts or quick-release lever. Carefully remove both wheels.
Step 3: Install the New Rims and Tires
Mount the new rims onto the hubs, then install the tires. Use tire levers if needed, but be gentle to avoid pinching the tube.
Step 4: Inflate and Check
Inflate the tires to the recommended PSI (usually 5–15 PSI for snow). Lower pressure increases traction but risks pinch flats. Spin the wheels to ensure they clear the frame and fork.
Step 5: Reattach Wheels and Test
Secure the wheels, re-engage the brakes, and take a short test ride. Adjust tire pressure as needed based on snow conditions.
Maintenance Tips for Snow Bike Kits
Winter riding is tough on bikes. Keep your kit in top shape with these tips:
- Clean after every ride: Salt, slush, and grime can corrode components. Rinse your bike with fresh water and dry it thoroughly.
- Check tire pressure often: Cold air contracts, so pressure drops in low temps. Check before every ride.
- Lubricate the drivetrain: Use a wet lube designed for cold weather. Avoid dry lubes—they attract dirt in snowy conditions.
- Inspect brakes: Snow and ice can reduce braking power. Ensure your brake pads are clean and aligned.
- Store indoors: Keep your bike in a dry, warm place when not in use to prevent rust and tire damage.
For more on keeping your bike in peak condition, check out our guide on the best bike tool kit for beginners.
Troubleshooting Common Issues
Even the best snow bike kits can run into problems. Here’s how to fix the most common ones:
Problem: Tire Won’t Seat Properly
Solution: Deflate the tire completely, apply soapy water to the bead, then reinflate slowly. A floor pump with a burst valve helps seat stubborn beads.
Problem: Chain Slips in Deep Snow
Solution: Snow and ice can clog the drivetrain. Clean the chain, cassette, and derailleur regularly. Consider a tire sealant to prevent moisture buildup.
Problem: Brakes Feel Weak
Solution: Cold reduces brake fluid performance (on hydraulic systems). Check pad alignment and replace worn pads. For rim brakes, ensure the rims are clean and dry.
Problem: Bike Feels Sluggish
Solution: Overinflated tires reduce traction. Lower the pressure slightly (but stay above 5 PSI). Also, check for ice buildup in the drivetrain.
Conclusion
The best snow bike kit is one that matches your bike, your terrain, and your riding goals. Whether you’re commuting through city snow or carving up mountain trails, a quality conversion kit lets you keep pedaling all winter long.
Look for wide tires, compatible rims, and durable construction. Complete kits simplify the process, while tubeless options offer performance benefits for advanced riders. And don’t forget maintenance—keeping your bike clean and well-lubed is key to winter success.
With the right setup, snow isn’t a barrier—it’s an invitation to ride. So gear up, stay safe, and enjoy the quiet beauty of a winter ride.
For riders using e-bikes in snowy conditions, explore our guide on the best electric bike for snow. And if you’re upgrading your entire winter ride, consider pairing your kit with the best bike pump and repair kit combo for on-the-go fixes.


