

Whether you’re heading to a race, trail, or weekend getaway, transporting your bike safely is essential. This guide covers all the best methods—from roof racks to trunk mounts—so you can choose the right option for your vehicle and bike type.
Key Takeaways
- Choose the right rack: Roof, hitch, trunk, or truck bed—each has pros and cons depending on your vehicle and bike.
- Secure your bike properly: Always use straps, clamps, and padding to prevent scratches and movement during transit.
- Remove loose parts: Take off water bottles, lights, and bags to avoid damage or loss.
- Protect your bike frame: Use foam padding or frame guards to prevent dents and scratches from contact points.
- Check local laws: Some areas require bike racks to have lights or flags if they extend beyond the vehicle.
- Inspect before driving: Double-check all straps and connections after loading and again after 10–15 minutes of driving.
- Maintain your bike post-trip: Clean and inspect your bike after transport to catch any wear or damage early.
How to Transport a Bike: A Complete Guide
Whether you’re gearing up for a mountain biking adventure, a road cycling tour, or just moving your bike across town, knowing how to transport a bike safely is a must. Improper transport can lead to scratched frames, damaged components, or even accidents on the road. The good news? With the right tools and techniques, transporting your bike is simple, secure, and stress-free.
In this guide, we’ll walk you through the most common and effective ways to transport a bike—by car, SUV, truck, or hatchback. You’ll learn how to choose the best rack, prepare your bike, load it correctly, and drive safely. Plus, we’ll share practical tips to protect your investment and avoid common mistakes.
Step 1: Choose the Right Bike Rack
The first step in transporting your bike is selecting the right rack for your vehicle and needs. There are four main types: roof racks, hitch-mounted racks, trunk racks, and truck bed racks. Each has its own advantages and limitations.
Visual guide about How to Transport a Bike
Image source: bikevault.co.nz
Roof Racks
Roof racks mount directly to your car’s roof rails or crossbars. They’re great for keeping your trunk accessible and are ideal for tall vehicles. However, they require lifting the bike overhead, which can be tricky with heavier models like electric bikes or mountain bikes.
Tip: Use a step stool or ask for help if lifting feels unsafe. Also, remember that roof racks increase your vehicle’s height—watch out for low bridges and garage entrances.
Hitch-Mounted Racks
These racks attach to a 1.25″ or 2″ receiver hitch. They’re sturdy, easy to load, and can carry multiple bikes. Platform-style hitch racks hold bikes by the wheels, minimizing frame contact—perfect for carbon or high-end bikes.
Best for: Frequent travelers, families, or anyone carrying more than one bike. Check out our guide on how to choose a bike frame to understand how frame material affects transport safety.
Trunk Racks
Affordable and easy to install, trunk racks strap onto the rear of your car. They’re great for occasional use but can scratch paint if not padded properly. Avoid these if you have a spoiler or rear-mounted brake lights.
Warning: Trunk racks block access to your trunk and may obstruct license plates or lights—check local regulations.
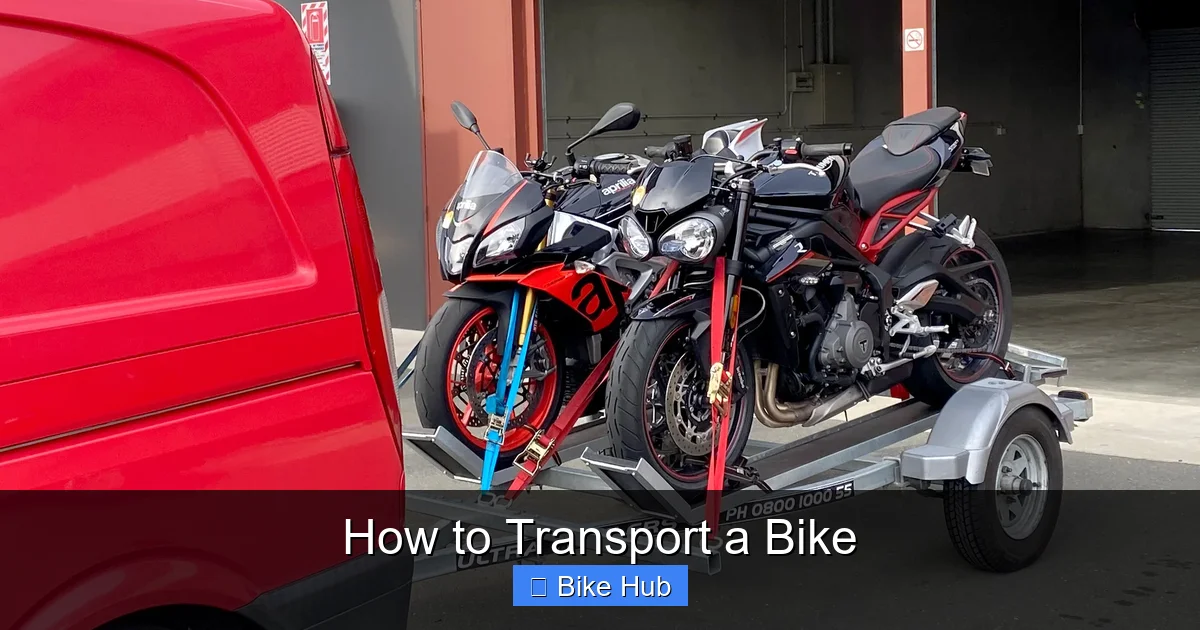
Truck Bed Racks
If you drive a pickup, a truck bed rack or wheel holders are ideal. They keep your bike secure and don’t require lifting overhead. Use ratchet straps to anchor the frame and wheels.
Step 2: Prepare Your Bike for Transport
Before loading, take a few minutes to prepare your bike. This prevents damage and makes loading smoother.

Visual guide about How to Transport a Bike
Image source: bikevault.co.nz
Remove Accessories
Take off anything that could fall off or get damaged: water bottles, bike computers, lights, saddlebags, and phone mounts. Store them in your car or backpack.
Lower the Seat
Lower the seatpost to reduce the bike’s height and make it easier to load. This also prevents the seat from getting bent or damaged.
Deflate Tires Slightly (Optional)
For long trips or high-speed driving, slightly deflating tires (by 5–10 PSI) can reduce stress on the wheels. Don’t go below the minimum recommended pressure. Learn more in our guide on how to use a bike pump.
Protect the Frame
Use foam tubing, old towels, or frame protectors on contact points—especially where the bike touches the rack or another bike. This prevents scratches and dents.
Step 3: Load the Bike Safely
Now it’s time to load your bike onto the rack. Follow these steps for a secure fit.
Position the Bike Correctly
Place the bike so the frame rests securely in the rack’s cradles. On hitch or trunk racks, ensure the bike leans slightly forward to prevent swaying.
Secure the Frame and Wheels
Use the rack’s built-in straps to clamp the frame—usually at the top tube or down tube. Then, secure the wheels with additional straps or wheel hooks. Never strap only the wheels; the frame must be anchored.
Pro Tip: On platform racks, use the wheel straps and frame clamp. On hanging racks, ensure the bike hangs by the top tube without twisting.
Check for Movement
Gently shake the bike. If it wobbles or shifts, tighten the straps. A secure bike should not move more than an inch in any direction.
Step 4: Drive Safely and Check Regularly
Once your bike is loaded, it’s time to hit the road—but don’t forget these safety tips.
Test Before You Go
After driving 10–15 minutes, pull over and check all straps and connections. Vibration and wind can loosen fittings over time.
Mind Your Clearance
If using a roof rack, remember your vehicle is taller. Watch for low-hanging branches, drive-thrus, and parking garages.
Drive Smoothly
Avoid sudden stops, sharp turns, and high speeds. Bikes add weight and wind resistance, which can affect handling.
Step 5: Unload and Inspect
When you arrive, unload carefully and inspect your bike.
Remove Straps Gradually
Loosen straps one at a time to prevent the bike from tipping. Lift with your legs, not your back.
Check for Damage
Look for scratches, dents, or loose components. Pay attention to the drivetrain, brakes, and wheels. If you notice anything unusual, address it before riding.
Reinflate Tires
If you deflated your tires, use a pump to restore proper pressure. Proper inflation is key for safety and performance.
Troubleshooting Common Issues
Even with careful planning, problems can happen. Here’s how to handle common transport issues.
Bike Won’t Fit on the Rack
Some bikes—like recumbent or fat-tire models—don’t fit standard racks. Consider a specialized rack or removing the front wheel. For recumbent bikes, see our guide on how to store a recumbent bike for space-saving tips.
Straps Keep Slipping
Use cam-lock straps instead of twist ties. Add rubber pads or silicone grips to increase friction.
Rack Blocks License Plate or Lights
Use an extension flag or light board if required by law. Some racks come with built-in light kits.
Bike Gets Scratched
Always use padding. If scratches occur, touch them up with frame paint to prevent rust. Learn how in our article on how to protect a bike frame from rust.
Conclusion
Transporting your bike doesn’t have to be complicated. With the right rack, proper preparation, and careful loading, you can get your bike to any destination safely and securely. Whether you’re heading to a trailhead, race, or vacation, following these steps will protect your bike and give you peace of mind on the road.
Remember: always double-check your setup, drive cautiously, and inspect your bike after every trip. A little extra care goes a long way in preserving your bike’s performance and appearance. Now grab your gear, load up, and enjoy the ride!


