
This guide teaches you how to strap a dirt bike to a trailer the right way—keeping your bike safe, your trailer secure, and your mind at ease. You’ll learn essential tools, step-by-step techniques, and pro tips to avoid common mistakes during transport.
Key Takeaways
- Use high-quality ratchet straps: Cheap straps can fail under tension. Invest in 2-inch wide, 10,000+ lb breaking strength ratchet straps for maximum safety.
- Secure the bike at four points: Always anchor both front and rear using the frame or triple tree—never the handlebars or footpegs.
- Chock the front wheel: A front wheel chock keeps the bike upright and prevents forward movement during transit.
- Tighten straps gradually: Over-tightening can damage suspension. Compress forks slightly but avoid bottoming them out.
- Double-check before hitting the road: Give each strap a firm tug and inspect tie-down points after 10–15 minutes of driving.
- Protect your bike’s finish: Use soft loops or strap protectors to prevent scratches on handlebars, fenders, or frame.
- Know your trailer capacity: Ensure your trailer’s GVWR (Gross Vehicle Weight Rating) exceeds the combined weight of bike, gear, and trailer.
How to Strap a Dirt Bike to a Trailer
Transporting your dirt bike shouldn’t be stressful—or dangerous. Whether you’re heading to the track, trail, or race event, knowing how to strap a dirt bike to a trailer correctly is essential for protecting your investment and ensuring road safety. A poorly secured bike can shift, fall, or even cause an accident. But with the right tools, technique, and attention to detail, you can load and secure your bike like a pro.
In this guide, we’ll walk you through every step—from pre-loading prep to final checks—so your dirt bike arrives safely, every single time. We’ll also share expert tips, common pitfalls to avoid, and answers to frequently asked questions.
What You’ll Need
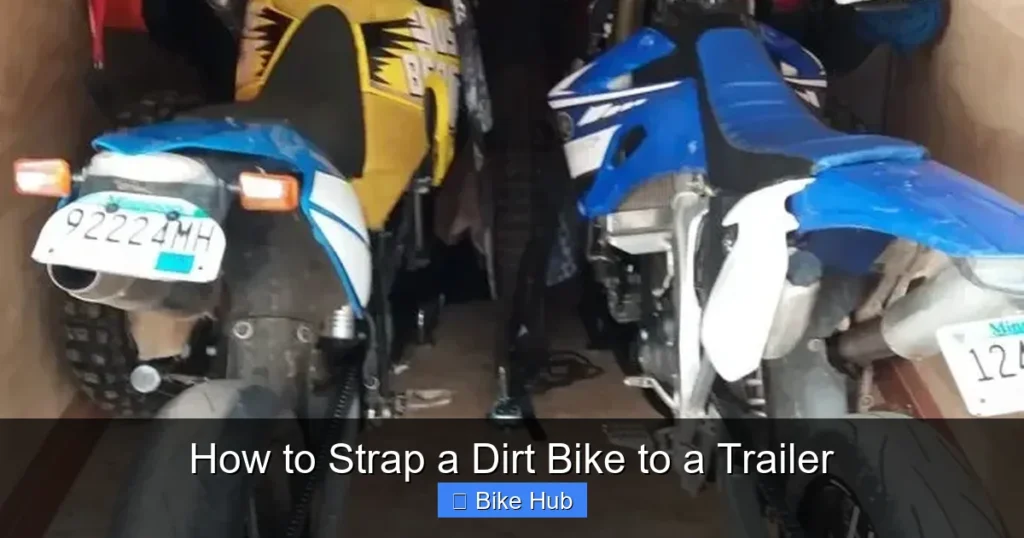
Visual guide about How to Strap a Dirt Bike to a Trailer
Image source: blackwidowpro.com
Before you even touch your bike, gather these essentials:
- Ratchet straps (4 recommended): Look for 2-inch wide polyester webbing with a minimum 10,000 lb breaking strength. Avoid cam buckle straps—they can loosen over bumps.
- Soft loops or strap protectors: These prevent metal hooks from scratching your bike’s finish.
- Front wheel chock (optional but highly recommended): Keeps the bike upright and centered during loading.
- Trailer with D-rings or anchor points: Make sure your trailer has sturdy, welded tie-down points—not just eye bolts.
- Rubber mat or non-slip surface: Prevents the bike from sliding on smooth trailer floors.
- Work gloves: Protect your hands and improve grip when tightening straps.
Pro tip: If you frequently transport bikes, consider installing a permanent motorcycle wheel chock on your trailer. It makes loading faster and more stable.
Step 1: Prepare Your Trailer and Bike
Inspect the Trailer
Check that your trailer floor is clean, dry, and free of oil or debris. Ensure all D-rings are secure and not rusted. If your trailer has a ramp, make sure it’s firmly attached and won’t shift during loading.
Position the Chock (If Using)
Place the front wheel chock at the front of the trailer bed, aligned with where the tire will sit. This gives you a visual guide and keeps the bike upright as you roll it up.
Prep the Bike
Turn off the fuel valve (if your bike has one), remove the key, and ensure the bike is in neutral. If you’re transporting long-distance, consider draining some fuel to reduce weight and fire risk—but only if recommended by your owner’s manual.
Step 2: Load the Dirt Bike Onto the Trailer
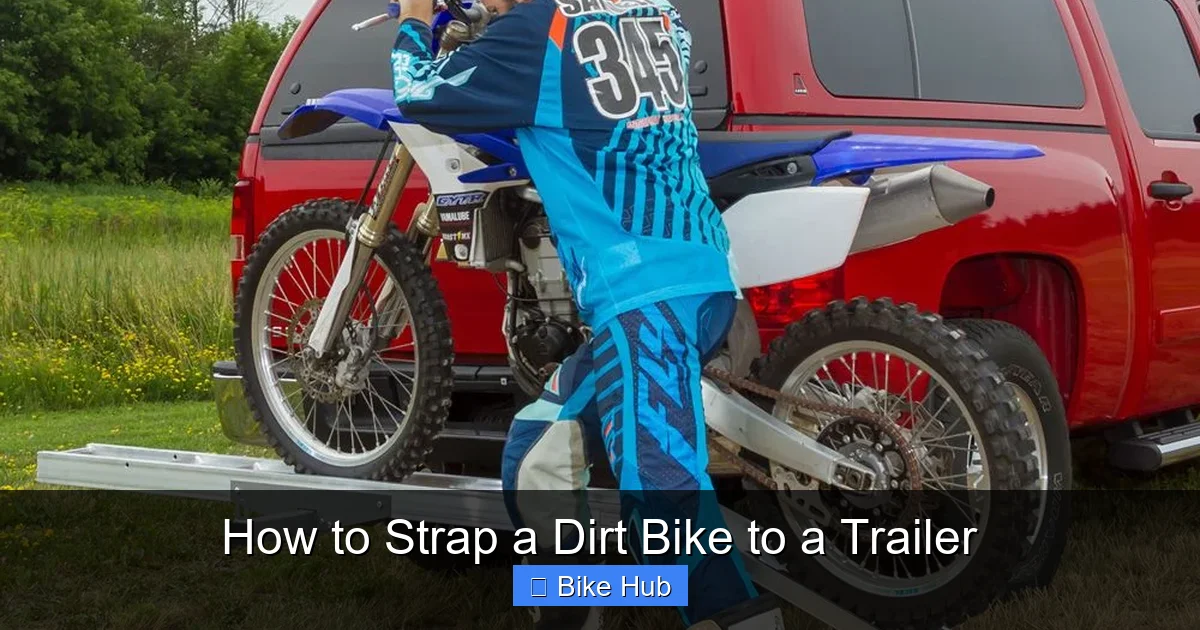
Use a Ramp Safely
Place the ramp securely against the trailer bed. Have a spotter stand on the side to help balance the bike if needed. Walk the bike up slowly—never ride it up unless you’re highly experienced.
Center the Bike
Once on the trailer, position the bike so the front wheel sits snugly in the chock (or centered if no chock). The bike should stand upright without leaning. If it leans, adjust the position or use a stand.
Apply the Brake
Pull the front brake lever and hold it while you begin strapping. This adds stability and prevents rolling.
Step 3: Secure the Front of the Bike
Attach Soft Loops to the Handlebars
Wrap soft loops around the lower triple tree or frame—not the handlebars. Handlebars can bend or break under tension. If your bike has low-mounted bars, use the upper fork tubes instead.
Connect Ratchet Straps
Hook one end of each front strap to the soft loop, then attach the other end to low-mounted D-rings near the front of the trailer. Angle the straps outward at about 45 degrees—this creates downward and inward force.
Tighten Gradually
Crank the ratchet slowly. You want to compress the front suspension by about 25–30%—enough to prevent bouncing, but not so much that the forks bottom out. Over-tightening can damage seals or springs.
Step 4: Secure the Rear of the Bike
Anchor at the Rear Frame or Swingarm
Use the rear two straps to secure the bike at the rear frame rails or swingarm mounts. Never strap to footpegs—they’re not designed for load-bearing.
Angle Straps Diagonally
Attach rear straps to D-rings positioned slightly behind and outward from the rear axle. This prevents the bike from shifting backward or sideways.
Tighten Evenly
Tighten both rear straps equally to keep the bike balanced. The rear suspension should compress slightly, but again—don’t overdo it.
Step 5: Final Checks and Safety Tips
Test for Movement
Grab the bike by the handlebars and try to rock it side-to-side and front-to-back. There should be minimal movement. If it shifts, tighten the straps or reposition them.
Check Clearance
Ensure no part of the bike (especially exhaust or plastics) touches the trailer or straps. Use foam padding if needed.
Cover the Bike (Optional)
For long trips or bad weather, use a breathable bike cover to protect against road grime and UV damage. Avoid plastic tarps—they trap moisture and can cause rust.
Do a Road Test
After driving 10–15 minutes, pull over and re-check all straps. Vibration and bumps can loosen connections. Re-tighten if necessary.
Troubleshooting Common Issues
Bike Won’t Stay Upright
Solution: Use a front wheel chock or add a rear stand. If the trailer floor is slippery, place a rubber mat under the tires.
Straps Keep Slipping
Solution: Use soft loops instead of direct hook attachment. Also, ensure D-rings are welded—not bolted—to the trailer frame.
Suspension Feels Too Stiff After Tightening
Solution: Loosen straps slightly. Remember: you only need enough tension to prevent movement, not to fully compress the suspension.
Handlebars Get Scratched
Solution: Always use soft loops or wrap bars with microfiber cloth before strapping.
Why Proper Strapping Matters
A loose or improperly secured dirt bike can become a projectile during sudden stops or accidents. According to the National Highway Traffic Safety Administration (NHTSA), unsecured cargo contributes to thousands of road incidents annually. By following these steps, you’re not just protecting your bike—you’re protecting yourself, your passengers, and other drivers.
Plus, a well-secured bike reduces wear on suspension components and prevents cosmetic damage. Think of proper strapping as part of your regular bike maintenance routine—just like cleaning your drivetrain or checking tire pressure.
If you’re planning a long ride after transport, don’t forget to inspect your bike before hitting the trail. Check tire pressure, brakes, and fluid levels. For tips on pre-ride prep, check out our guide on how to prepare a mountain bike for long rides—many of the same principles apply to dirt bikes.
Conclusion
Mastering how to strap a dirt bike to a trailer is a skill every rider should have. It’s not complicated—but it does require attention to detail, the right gear, and a commitment to safety. By using quality ratchet straps, anchoring at strong points, and doing thorough checks, you’ll ensure your bike arrives in perfect condition, ready to rip.
Remember: speed and convenience aren’t worth risking your bike—or your safety. Take the extra minute to do it right. Your future self (and your wallet) will thank you.
For more bike care and transport tips, explore our full library of guides, including how to protect a bike frame from rust and how to choose a mountain bike. Safe travels—and happy riding!


