
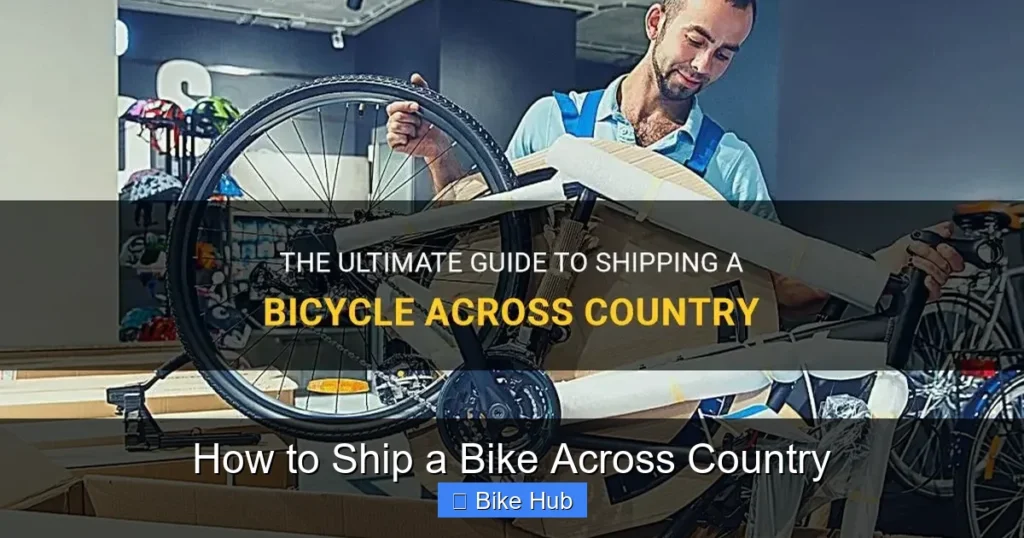
Shipping a bike across the country doesn’t have to be stressful or expensive. This guide walks you through every step, from disassembling your bike to choosing the best shipping method, so it arrives safely at your destination.
Key Takeaways
- Disassemble key parts: Remove pedals, lower or remove handlebars, and deflate tires to prevent damage during transit.
- Use a sturdy bike box: Original boxes are ideal, but durable aftermarket boxes or bike-specific shipping cases work well too.
- Protect all components: Wrap the frame, fork, and wheels with foam, bubble wrap, or cardboard to avoid scratches and dents.
- Choose the right carrier: Compare options like FedEx, UPS, USPS, or specialized bike shipping services based on cost, speed, and insurance.
- Insure your shipment: Always add insurance to cover the full value of your bike in case of loss or damage.
- Label clearly and track your package: Use a waterproof label and track your shipment to stay updated on delivery status.
- Reassemble carefully: Once delivered, follow reverse steps to rebuild your bike and check for any issues before riding.
How to Ship a Bike Across Country: A Complete Step-by-Step Guide
Whether you’re moving to a new state, selling your bike online, or heading out on a cross-country cycling adventure, knowing how to ship a bike across country is essential. Bikes are delicate machines with many moving parts, and improper packing or shipping can lead to costly damage. The good news? With the right preparation and carrier, shipping your bike is straightforward and affordable.
In this guide, we’ll walk you through every step—from disassembling your bike to choosing the best shipping method—so your two-wheeled companion arrives safely at its destination. We’ll also share practical tips, troubleshooting advice, and answers to common questions to make the process stress-free.
Step 1: Gather Your Supplies
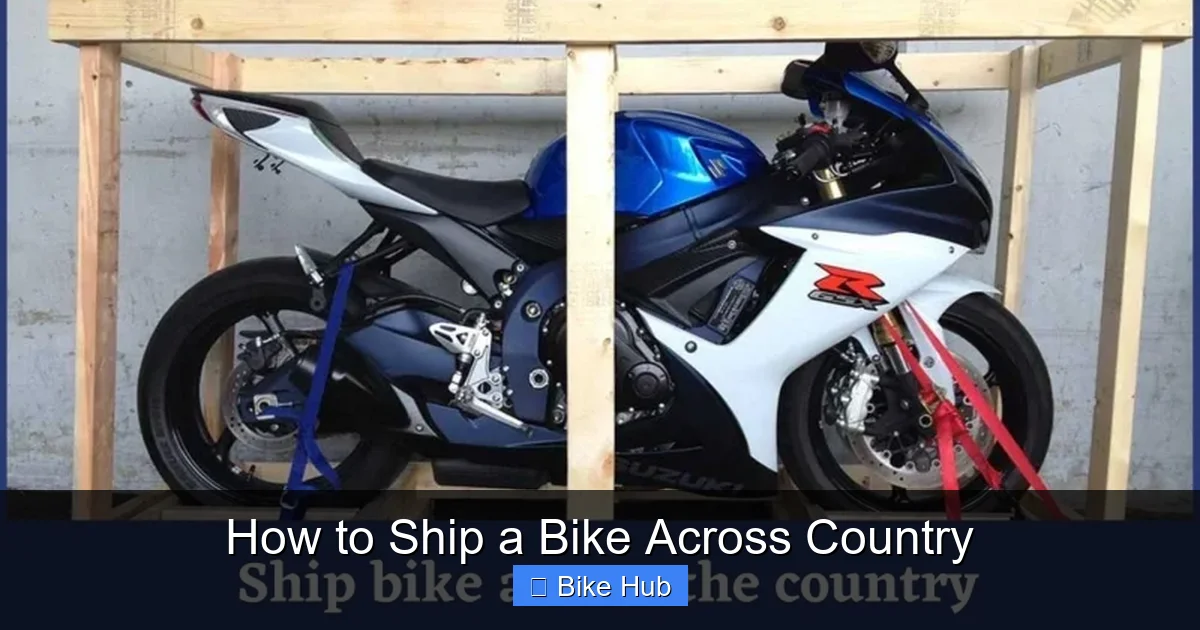
Visual guide about How to Ship a Bike Across Country
Image source: images.writeupcafe.com
Before you start, make sure you have all the necessary tools and materials. Having everything ready will save time and prevent mistakes.
Essential Packing Supplies
- A sturdy bike box (original manufacturer box is best, but aftermarket options work too)
- Zip ties or Velcro straps
- Bubble wrap or foam padding
- Cardboard sheets or corner protectors
- Packing tape
- Plastic bags or small containers for small parts
- Allen wrench set (usually 4mm, 5mm, and 6mm)
- Pedal wrench (if needed)
- Scissors or box cutter
Optional but Helpful
- Bike stand (makes disassembly easier)
- Chain keeper or zip tie to secure the chain
- Zip-top bags labeled “pedals,” “bolts,” etc.
- Old towels or rags for cleaning
Step 2: Clean and Inspect Your Bike
Visual guide about How to Ship a Bike Across Country
Image source: diytransport.com
A clean bike is easier to pack and less likely to transfer dirt or grease to the box. Plus, it’s a great time to check for any existing damage.
Clean the Frame and Components
Use a mild soap and water to clean the frame, wheels, and drivetrain. Dry thoroughly with a soft cloth. This is also a good time to clean your bike’s drivetrain if it’s been a while.
Inspect for Damage
Look for cracks, dents, or loose parts. If you find anything serious, consider repairing it before shipping. A damaged component could worsen in transit.
Step 3: Disassemble Your Bike
You don’t need to take your bike completely apart, but removing certain parts reduces size and protects delicate components.
Remove the Pedals
Use a pedal wrench or Allen key (depending on your pedals). Remember: the left pedal is reverse-threaded, so turn it clockwise to loosen. Label each pedal (left/right) and store bolts in a labeled bag.
Detach the Handlebars
Loosen the stem bolts and lower or remove the handlebars. For flat bars, you can often just lower them. For drop bars, you may need to remove them entirely. Wrap the handlebars in foam or bubble wrap to prevent scratches.
Remove the Wheels
Release the quick-release lever or unscrew the thru-axle. Deflate the tires slightly (not completely) to prevent pressure changes during shipping. This also makes them easier to pack.
Lower or Remove the Seatpost
Loosen the seat clamp and slide the seatpost down. If your seatpost is long, you may need to remove it entirely. Wrap the seat in a plastic bag to keep it clean.
Secure the Derailleur
Use a zip tie or foam to gently secure the rear derailleur to the frame. This prevents it from swinging and getting damaged.
Step 4: Protect and Pack Your Bike
Now it’s time to pack everything safely into the box.
Wrap the Frame
Use bubble wrap or foam to cover the frame, especially around the top tube, down tube, and fork. Pay extra attention to areas where metal parts might rub.
Protect the Fork and Chainstays
Slide cardboard or foam between the fork blades and chainstays to prevent the wheels from scratching the frame.
Pack the Wheels
Place wheels on either side of the frame. Use cardboard or foam to separate them from the frame and each other. Secure them with zip ties or straps.
Secure Loose Parts
Place pedals, bolts, and small components in labeled plastic bags. Tape these bags to the inside of the box or place them in a small container.
Fill Empty Spaces
Use crumpled paper, foam, or packing peanuts to fill gaps. This prevents shifting during transit.
Seal the Box
Close the box and seal it with strong packing tape. Reinforce all seams and edges.
Step 5: Choose a Shipping Method
Not all carriers are created equal when it comes to shipping bikes. Compare options based on cost, speed, and reliability.
Major Carriers
- FedEx: Offers bike-specific shipping with tracking and insurance. Often faster but more expensive.
- UPS: Reliable and widely available. Offers ground and express options. Good for heavier bikes.
- USPS: Most affordable, especially for lighter packages. Slower than FedEx or UPS.
Specialized Bike Shipping Services
Companies like BikeFlights.com specialize in bike shipping. They often offer better rates, bike-specific packaging, and door-to-door pickup. These services are ideal if you’re shipping frequently or have a high-value bike.
Cost Considerations
Shipping costs depend on weight, dimensions, distance, and speed. A typical road bike in a box weighs 25–35 lbs and costs $50–$150 to ship coast-to-coast. Always compare quotes from at least two carriers.
Step 6: Label and Insure Your Shipment
Proper labeling and insurance are critical for a smooth delivery.
Create a Clear Label
Write or print the shipping and return addresses clearly. Use a waterproof label cover. Include your phone number in case the carrier needs to contact you.
Add Insurance
Most carriers offer basic coverage (usually $100), but this won’t cover a high-end bike. Purchase additional insurance to cover the full value. Keep receipts and photos of your bike as proof of value.
Track Your Package
Use the tracking number provided by the carrier to monitor your shipment. Sign up for delivery alerts so you know when it arrives.
Troubleshooting Common Issues
Even with careful planning, problems can arise. Here’s how to handle them.
Bike Arrives Damaged
Take photos immediately and contact the carrier within 24 hours. File a claim with your insurance. Most carriers require proof of damage and original packaging.
Missing Parts
Double-check the box and packing materials. If parts are truly missing, contact the carrier and provide your packing list.
Box is Too Big or Too Small
If your box is too large, you’ll pay more. If too small, your bike won’t fit safely. Measure your bike and compare with standard box sizes (most are 54″ x 8″ x 30″).
Reassembly Problems
If you’re unsure how to reassemble your bike, refer to your owner’s manual or visit a local bike shop. Never force parts—this can cause damage.
Reassembling Your Bike
Once your bike arrives, it’s time to put it back together.
Reverse the Disassembly Steps
Start by placing the frame in the box, then add wheels, handlebars, seatpost, and pedals. Use your photos or notes from packing as a guide.
Check Torque Settings
Use a torque wrench if possible, especially for carbon frames. Over-tightening can crack components.
Inflate Tires and Test Ride
Inflate tires to the recommended PSI. Take a short test ride in a safe area to ensure everything works properly.
For tips on maintaining your bike after a long journey, check out our guide on how to maintain a road bike.
Final Tips for a Smooth Experience
- Ship early—don’t wait until the last minute.
- Take photos before and after packing for insurance purposes.
- Consider shipping a day or two before you need the bike.
- If you’re moving, ship your bike separately from other belongings.
- For mountain bikes, review how to prepare a mountain bike for long rides to ensure it’s ready post-shipment.
Conclusion
Shipping a bike across the country doesn’t have to be a headache. With the right preparation, packing, and carrier, your bike will arrive safely and ready to ride. By following this guide, you’ll protect your investment, avoid common pitfalls, and enjoy peace of mind during transit. Whether you’re relocating, selling, or embarking on a new adventure, your bike deserves the best care—even when it’s not on the road.



