
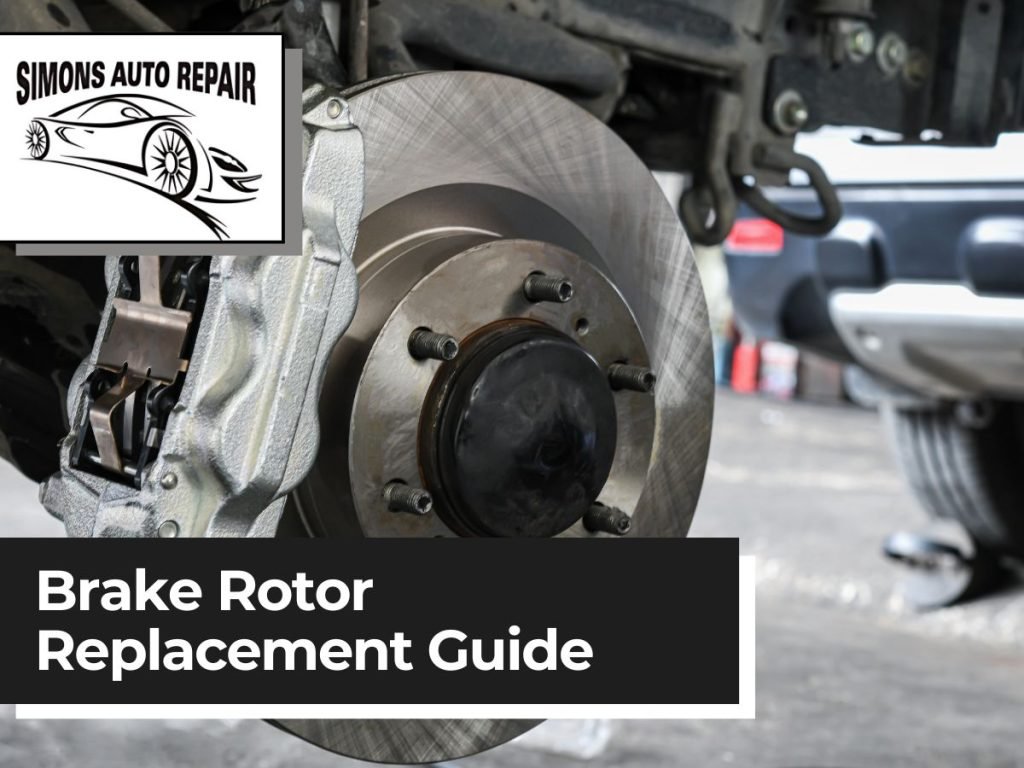
Imagine cruising down the open road, feeling the thrill of freedom and adventure. Suddenly, a screeching sound disrupts your peace, reminding you of a crucial task you’ve been putting off: replacing your brake rotors.
You’ve heard the warnings about worn-out rotors, the dangers they pose not just to your vehicle, but to your safety. But where do you start? How can you confidently tackle this task without the fear of making costly mistakes? You’re in the right place.
This guide will walk you through the process of replacing brake rotors, making it simple and approachable. By the end, you’ll feel empowered with the knowledge to ensure your car runs smoothly and safely. You’ll discover tips and tricks that will save you time and money, and you’ll gain the satisfaction of conquering a challenge that once seemed daunting. So, roll up your sleeves and get ready to dive into the nitty-gritty of brake rotor replacement. Your car – and your peace of mind – will thank you.
Tools And Materials Needed
Replacing brake rotors requires specific tools. A socket set is essential for removing bolts. Wrenches help in loosening nuts. A car jack lifts the vehicle safely. Jack stands secure it while you work. A rubber mallet is useful for stubborn rotors. Brake cleaner keeps parts clean. New brake rotors are necessary. A lug wrench helps remove wheel nuts.
Gather all materials before starting. Safety gloves protect your hands. Safety goggles shield your eyes. Keep a rag handy for cleaning. Anti-seize grease prevents rust. A torque wrench ensures proper tightening. A caliper tool checks rotor thickness. A screwdriver assists in small tasks.
- Socket set
- Wrenches
- Car jack
- Jack stands
- Rubber mallet
- Brake cleaner
- New brake rotors
- Lug wrench
- Safety gloves and goggles
- Rag and anti-seize grease
- Torque wrench
- Caliper tool
- Screwdriver

Credit: www.youtube.com
Safety Precautions
Working on brakes requires care. Always ensure the car is on a flat surface. Use a sturdy jack and jack stands. Never rely on just a jack. Wear safety goggles and gloves to protect yourself. Keep a fire extinguisher nearby, just in case.
Check the brake fluid level before starting. Avoid spilling it on car paint. It can cause damage. Use only the correct tools for the job. This prevents injury and ensures proper installation. Always work in a well-ventilated area.
After replacing, test the brakes in a safe area. This ensures they work properly. Double-check all bolts and nuts. They should be tight and secure. If unsure, ask a professional for help. Safety should always come first when dealing with brakes.
Preparing The Vehicle
Preparing the Vehicle Ensure your car is on a flat surface and the parking brake is engaged. Use wheel chocks for added safety. Loosen the lug nuts before jacking up the vehicle.
Parking And Securing
Find a safe, flat spot to park the car. Use the parking brake to keep it steady. Place wheel chocks behind the rear wheels. This prevents rolling while working.
Lifting The Vehicle
Use a reliable jack to lift the car. Find the jacking point under the vehicle. Raise the car until the wheel is off the ground. Place jack stands under the car for safety.
Removing The Wheel
Loosen the lug nuts with a wrench. Do this before fully lifting the car. Once in the air, remove the nuts completely. Carefully take the wheel off and set it aside. Now, you can access the brake rotors easily.
Removing The Old Brake Rotors
Removing old brake rotors requires loosening lug nuts and securing the vehicle. Lift the car with a jack, then remove the wheel. Unscrew the rotor’s mounting bolts and slide off the rotor carefully.
Accessing The Brake Caliper
First, make sure the car is on a flat surface. Lift the car using a jack. Remove the wheel to see the brake assembly. You will find the brake caliper there.
Detaching The Brake Caliper
Use a wrench to loosen the caliper bolts. Carefully take the caliper off. Avoid letting it hang by the brake line. Secure it with a rope or wire to the suspension.
Taking Off The Old Rotor
Now, the rotor is visible. Sometimes it is stuck. Use a rubber mallet to tap it lightly. This will help loosen it. Slide the rotor off the hub once it is loose.
Installing New Brake Rotors
Always clean new brake rotors before installation. Use a brake cleaner spray. Wipe the rotor with a clean cloth. This removes any oily residue. Dirty rotors can cause brake issues. Safety first, always wear gloves.
Place the rotor on the wheel hub. Ensure the rotor is centered. Align the holes with the hub. Secure the rotor with screws. Tighten the screws evenly. This prevents the rotor from wobbling.
Position the brake caliper over the rotor. Line up the caliper holes. Insert the bolts into the holes. Tighten the bolts securely. Ensure the caliper is firm. Test the brake pedal for any issues.

Credit: www.youtube.com
Reassembling The Wheel
Replacing brake rotors involves removing the wheel and caliper, then detaching the old rotor. Slide the new rotor into place, ensuring it’s secure and properly aligned. Reassemble the wheel, tighten bolts, and check rotor function for safe driving.
Placing The Wheel Back
Hold the wheel with both hands. Align the wheel holes with the hub studs. Push the wheel onto the hub gently. Make sure it’s snug.
Securing Lug Nuts
Start by hand-tightening the lug nuts. Use a cross pattern for better balance. This ensures the wheel sits evenly. Use a wrench to tighten them more. But don’t tighten them fully yet.
Lowering The Vehicle
Slowly lower the vehicle using the jack. Let the wheels touch the ground. Now, tighten the lug nuts fully. Use the wrench to make them secure. Double-check each nut for safety.
Testing The Brake System
Begin by examining the brake fluid level in the reservoir. Ensure it is at the right level. Look for any leaks around the brake lines and connections. Inspect the brake pads for wear and tear. They should not be too thin. Check the rotors for any deep grooves or rust. A clean rotor ensures smooth braking. Listen for any unusual noises while pressing the brake pedal. These checks can prevent future problems.
Start by driving at a slow speed. Press the brake pedal gently. Ensure the car stops smoothly without pulling to one side. Increase your speed slightly. Apply the brakes again. Check if the brakes feel firm and responsive. Listen for any unusual sounds. A good test drive ensures the brakes work well. Remember, safe brakes mean safe driving.

Credit: www.youtube.com
Common Mistakes To Avoid
Many people make mistakes when changing brake rotors. One common error is not using the right tools. Always have the correct wrench and screwdriver ready. Another mistake is failing to clean the new rotors before installation. Dirty rotors can cause brake noise. People often forget to check the brake pads. Worn pads can damage the new rotors. Remember to tighten the bolts properly. Loose bolts can lead to serious problems. Read your car’s manual for specific instructions. Each car model is different. Don’t rush the process. Take your time to do it right.
Maintenance Tips
Inspect brake pads for wear. Replace them if they are thin. This keeps rotors safe. Pads should be thick for best performance.
Use a clean cloth. Remove dust and dirt from rotors. This helps them last longer. Dirty rotors can cause issues.
Look for scratches or grooves. These can affect braking. Smooth surfaces work best. Damaged rotors should be fixed.
Ensure all bolts are tight. Loose bolts can cause noise. Tight bolts keep rotors steady. Check them regularly.
Press the brake pedal. Ensure it feels firm. Soft pedals mean there’s an issue. Good brakes keep you safe.
Frequently Asked Questions
Can You Replace Brake Rotors By Yourself?
Yes, you can replace brake rotors yourself. Ensure you have the right tools and follow safety precautions. Check your car’s manual for specific instructions. If unsure, consult a professional mechanic. Proper installation is crucial for safety and performance.
What Is The 30 30 30 Rule For Brakes?
The 30 30 30 rule for brakes advises maintaining 30% brake application, allowing 30 seconds for cooling, and ensuring 30% efficiency. This method enhances braking performance and prolongs brake life, especially in heavy vehicles. It helps in managing heat buildup and prevents brake fade during extended driving sessions.
How Do I Know If My Rotors Need Replacing?
Listen for squeaking or grinding noises while braking. Check for visible wear, rust, or deep grooves on rotors. Feel for vibrations when braking. Reduced braking efficiency can indicate rotor issues. Regular inspections help determine rotor condition.
What’s The Average Cost To Change Brakes And Rotors?
The average cost to change brakes and rotors ranges from $250 to $600 per axle. Prices vary based on vehicle type and labor rates. Quality parts may increase costs, but ensure better safety and longevity. Regular maintenance helps prevent expensive repairs in the future.
Conclusion
Replacing brake rotors is a task anyone can learn. Follow the steps carefully. Always prioritize safety first. Gather the right tools before starting. Check your car’s manual for specifics. Regular maintenance prevents bigger problems. It saves money in the long run.
Don’t forget to inspect the brake pads too. New rotors ensure smoother braking. It makes driving safer and more comfortable. If uncertain, consult a professional mechanic. Their expertise can help. Keep your car in top condition. It increases your vehicle’s lifespan.
Happy and safe driving ahead!


