
Have you ever found yourself struggling to carry everything you need while riding your bike? Whether you’re commuting to work, heading out for a weekend adventure, or simply running errands around town, a bike rack can be a game-changer.
By attaching a rack to your seatpost, you can effortlessly transport your belongings without feeling weighed down. Imagine the freedom of having extra space for your gear, groceries, or even a picnic basket! In this guide, you’ll discover easy steps to securely attach a rack to your seatpost, making your biking experience more convenient and enjoyable.
Dive in to transform your rides and never worry about juggling your essentials again.

Credit: road.cc
Choosing The Right Rack
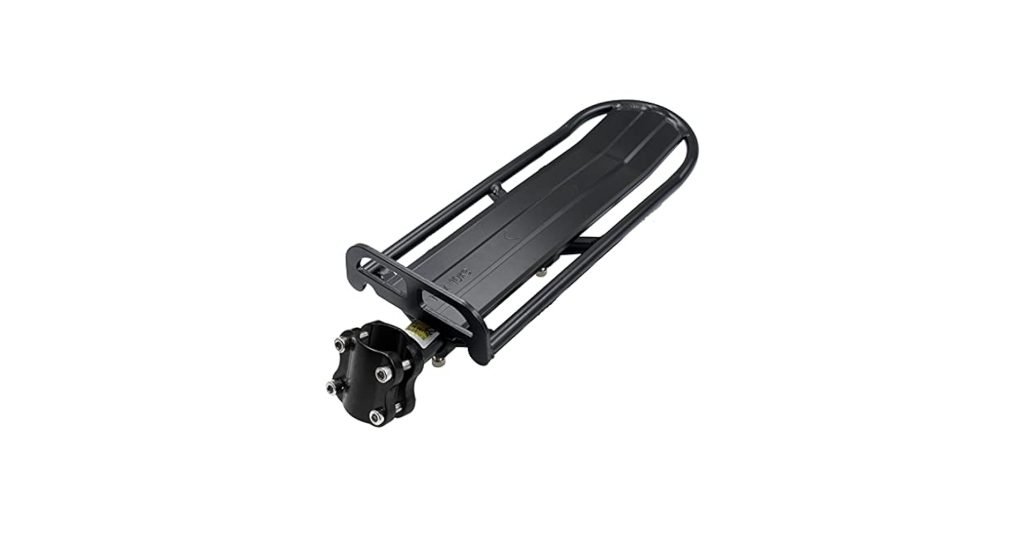
Bike racks come in different styles. Some attach to the seatpost. Others fit over the rear wheel. Seatpost racks are good for light loads. They are easy to install. Rear racks hold more weight. These are best for long trips. Pannier racks fit on the sides. They carry bags or baskets. Choose a rack that fits your needs. Think about what you will carry.
Not all racks fit every bike. Check your bike’s seatpost size first. Make sure the rack is compatible. Look at the weight limit of the rack. It should handle your load. Some racks need extra fittings. Check if your bike has these. Measure your bike frame too. This ensures the rack fits well. Always read the product details. Make sure it matches your bike.
Credit: www.gosupps.com
Preparing Your Seatpost
Ensure you have all the essential toolsready. You will need a hex wrenchor a screwdriver. A rubber malletcan be handy. Sometimes a spanneris needed. Check your rack’s instruction manualfor specific tools. Gather all tools before starting.
Make sure the seatpost area is cleanand clear. Use a damp cloth to wipe away dirt. Remove any sticky residue with a gentle cleaner. Check for any rustor damage. A clean area helps the rack attach securely. Regular cleaning ensures safety.
Installation Process
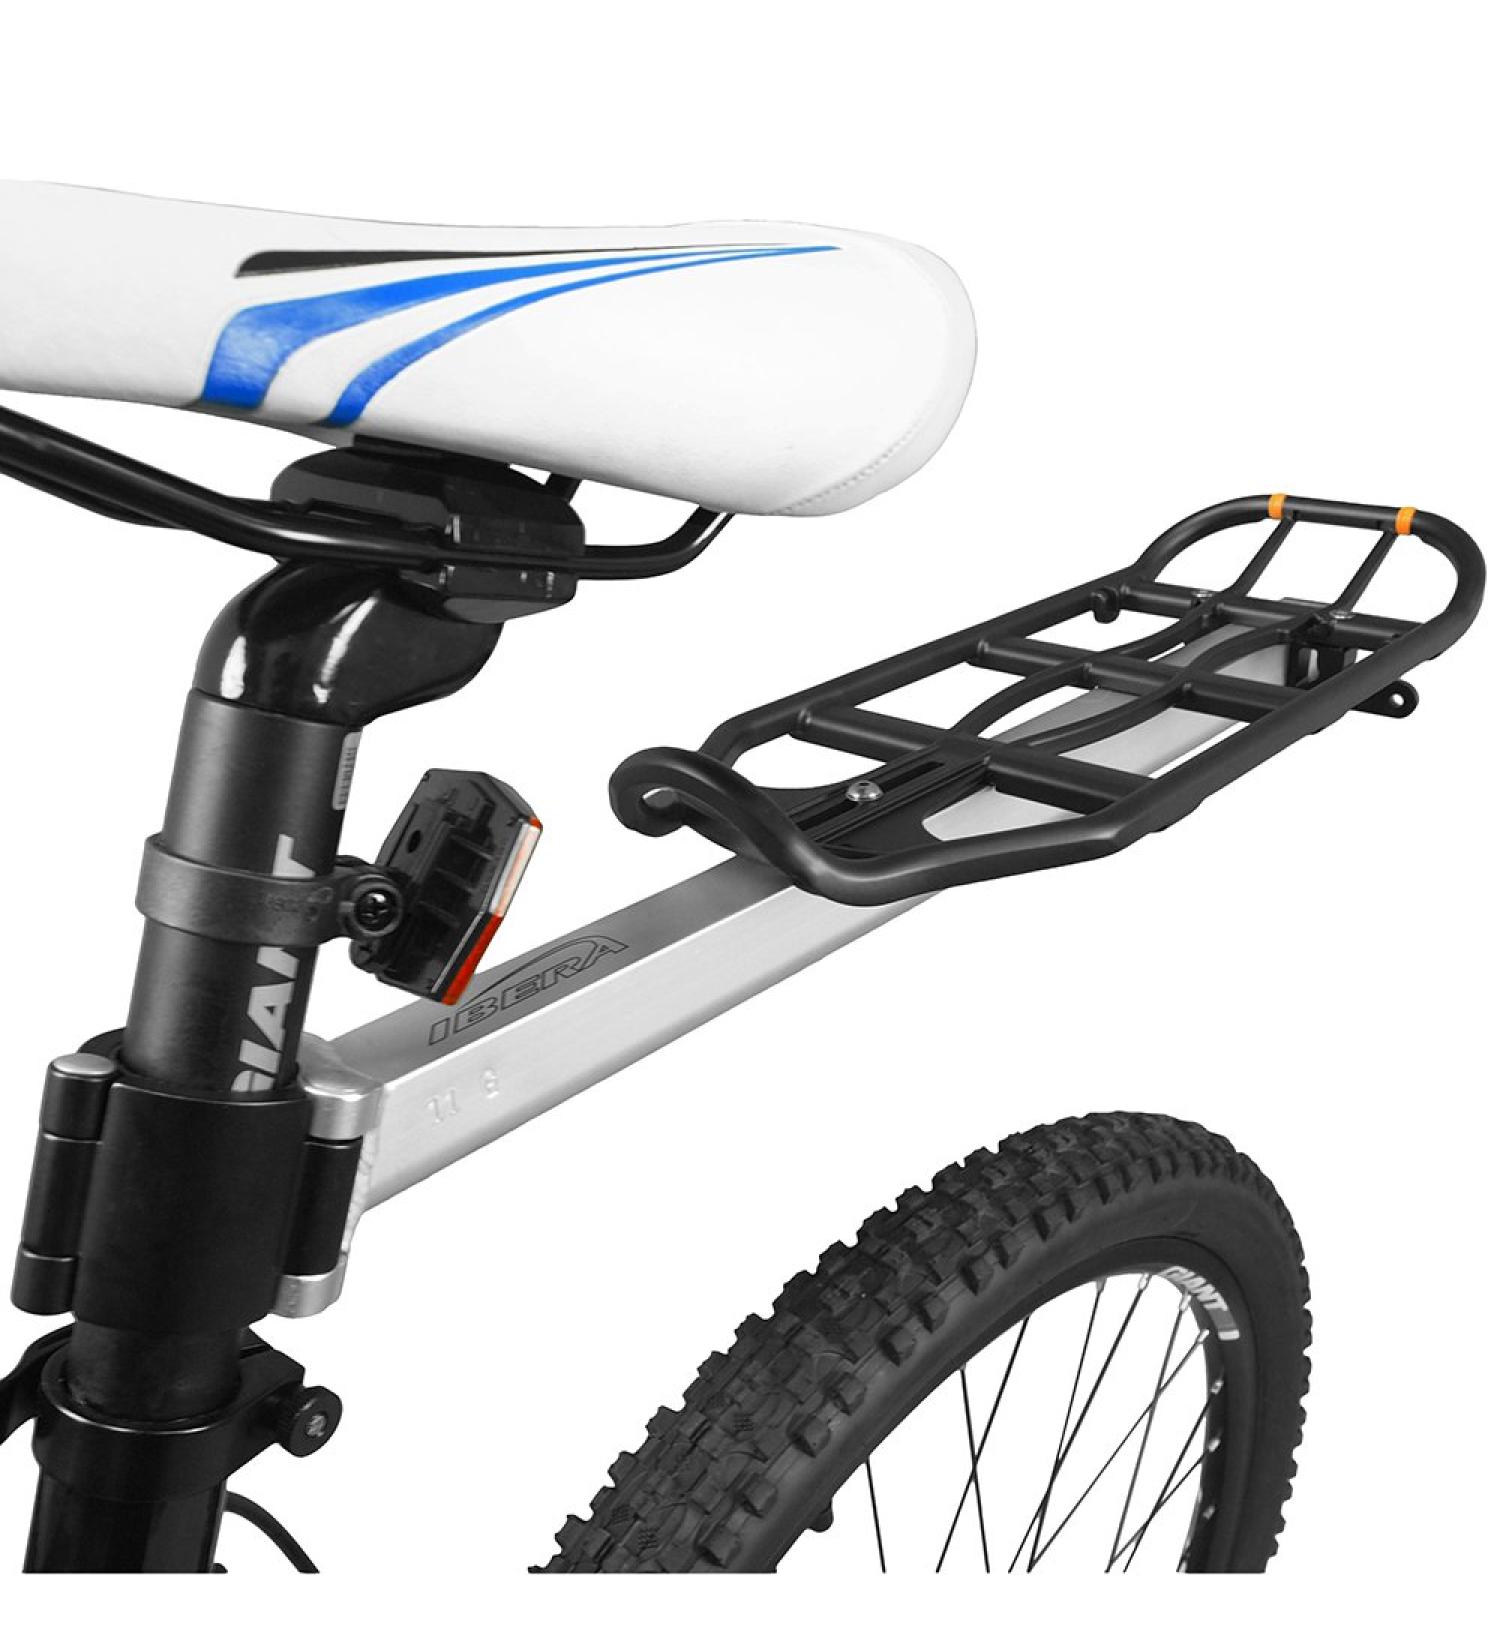
Attach the rack securely to the seatpost by aligning the bracket with the post. Tighten the bolts using a wrench to ensure stability. Make sure the rack sits level and check all connections.
Aligning The Rack
Start by holding the rack against the seatpost. Make sure it is straight and even. Look from different angles to check alignment. Adjust as needed until it sits properly. Keeping it straight helps with balance. This makes riding safer and smoother.
Securing The Rack To The Seatpost
Use the clamps to fasten the rack. Tighten the screws so the rack stays in place. Ensure the rack doesn’t wobble or move. It’s important for carrying things safely. Double-check the screws to keep the rack steady. A well-secured rack is reliable for your bike trips.
Adjusting For Stability
Balance is important for a safe ride. Position the rack evenly on the seatpost. Make sure both sides have equal weight. This stops the bike from tipping over. Check the rack’s position before tightening. Adjust it if needed for a smooth ride.
Tighten the screws to hold the rack in place. Use a wrench to make sure they’re snug. Loose screws can cause the rack to wobble. Always double-check the connections for safety. Tight connections keep the rack secure during rides.
Testing The Rack
Testing the rack involves attaching it securely to the seatpost. Ensure the rack is level and stable. Use appropriate tools to tighten the bolts, avoiding any wobbling.
Checking For Movement
Ensure the rack is attached securely to the seatpost. Push it gently to check for any movementor wobbling. A stable rack should stay in place when touched. If it moves, adjust the clampsor screws until secure. This prevents items from falling off when riding.
Load Testing
Place a small weight on the rack to test its strength. Observe if the rack bends or shifts under the load. It should remain steadyand balanced. Try different weights to ensure the rack handles them well. This ensures safe transport of items during rides.

Credit: www.amazon.com
Maintenance Tips
Attaching a rack to a seatpost can enhance your bike’s utility. Ensure the seatpost is clean and dry. Align the rack’s clamps with the seatpost, tightening screws evenly for stability. Check for any wobbling or loose parts before loading items.
Regularly inspect to maintain secure attachment.
Regular Inspections
Check the rack for any loose screwsor bolts. Tighten them with a wrench. Look for any bent partsor damage. Replace damaged parts quickly to keep the rack safe. Examine the rack for rust spots. Clean and repaint them to prevent more rust. Ensure the rack is securely attachedto the seatpost. Wiggle it gently to test its stability. Regular checks help keep the rack in good condition.
Handling Wear And Tear
Use a soft cloth to wipe the rack clean. Dirt can cause scratches. Apply a light oil to moving partsto keep them smooth. Store the bike in a dry place to avoid rust. Avoid carrying too much weight on the rack. It can cause damageover time. Replace any parts that show signs of wear. This ensures the rack stays strong.
Common Issues And Solutions
Attaching a rack to a seatpost can pose challenges, like stability issues or mismatched sizes. Ensure secure attachment by checking compatibility with seatpost diameter and using appropriate clamps or brackets. Regularly inspect for wear to prevent detachment while riding.
Troubleshooting Loose Attachments
Loose racks can cause trouble. Always check the bolts. Tighten them regularly. Use a wrench for better grip. Ensure the rack sits flat on the seatpost. Sometimes, rubber pads help. They stop the rack from slipping. Check the rack’s weight limit. Overloading can cause it to loosen. If it still wiggles, add washers. They fill gaps and hold the rack tight. Using thread locker glue can help too. It stops bolts from moving. Regular checks keep the rack safe.
Addressing Rack Shifts
A shifting rack is annoying. First, check the alignment. It should be straight. Adjust the clamps if needed. Tighten all screws firmly. This keeps the rack steady. Check the seatpost diameter. It should match the rack size. If not, use adapters. They help fit the rack better. Check for wear on the seatpost. If worn, replace it. Ensure all parts are clean. Dirt can cause shifts too. Regular cleaning helps maintain it.
Frequently Asked Questions
How Do Most Saddles Connect To The Seatpost?
Most saddles connect to the seatpost using a clamp system. The clamp attaches to metal rails under the saddle. This setup allows for easy adjustments and secure attachment. Make sure to tighten the clamp properly for a stable ride.
How To Mount A Rear Rack?
Attach the rack to the bike frame using screws and brackets. Align it with the rear wheel. Ensure stability by tightening all bolts. Check compatibility with your bike model. Use a wrench for secure installation. Test the rack’s stability before loading items.
Follow manufacturer’s instructions for best results.
How Does A Bike Rack Attach?
A bike rack attaches using straps, hooks, or bolts to secure it to a vehicle’s trunk, hitch, or roof. Each rack type has specific mounting methods, ensuring stability and safety during transport. Always follow the manufacturer’s instructions for proper installation and weight limits.
How To Connect Bike Rack To Hitch?
Align the bike rack with the hitch. Insert the hitch pin through the rack and hitch hole. Secure with clip or lock. Double-check the stability before loading bikes. Follow manufacturer’s instructions for proper installation.
Conclusion
Attaching a rack to your seatpost is simple with the right tools. Start by choosing the correct rack for your bike type. Ensure you have a sturdy clamp for security. Follow the manufacturer’s instructions closely. Tighten all screws for safety.
Test the rack by gently shaking it. Check if it holds firm. Enjoy extra space for your biking adventures. A secure rack means stress-free rides. You’re ready to hit the road with confidence. Now, you can carry more on your bike journeys.
Happy riding, and stay safe!


