
Imagine you’re about to go on a refreshing bike ride, but you notice your tires feel a bit soft. You pull out your trusty bike pump, but there’s one small problem: you’re not quite sure how to read the gauge accurately.
You’re not alone. Many cyclists find themselves puzzled by the numbers and needle. Understanding how to read a bike pump gauge is crucial for maintaining the perfect tire pressure, ensuring a smooth and safe ride every time. This guide will unravel the mystery behind those numbers and teach you how to confidently read your bike pump gauge like a pro.
Keep reading, and you’ll soon have the skills to make sure your tires are always perfectly inflated, giving you peace of mind and a better cycling experience.
Types Of Bike Pump Gauges
Analog gauges use a needle to show pressure levels. The dial is round and marked with numbers. The needle moves as you pump air. Always check the needle position. It shows how much air is in the tire. Analog gauges are simple. They don’t need batteries or power. Easy to read for many people. Always keep the gauge clean. Dirt can block the needle.
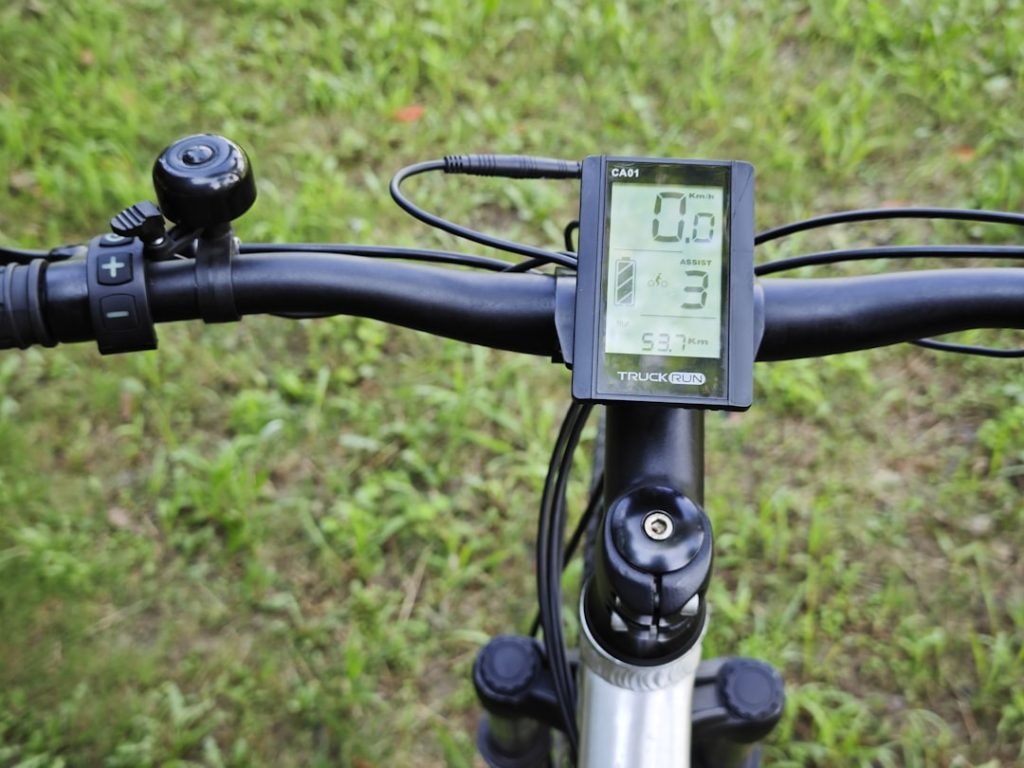
Digital gauges show numbers on a screen. They are easy to read. Just look at the screen to see the pressure. Digital gauges need batteries to work. Make sure the batteries are charged. Some digital gauges have a light. This helps in the dark. Check the battery often. It helps the gauge work well. Digital gauges can be more accurate than analog ones. Easy for people who like gadgets.
Understanding Psi And Bar
Reading a bike pump gauge involves understanding PSI and Bar units. PSI stands for pounds per square inch. Bar measures pressure in terms of atmospheric pressure. Knowing these helps ensure your tires are inflated correctly for a safe ride.
What Is Psi?
PSI stands for Pounds per Square Inch. It measures air pressure. It’s used in bike pumps. More PSI means more air pressure. Bike tires need the right PSI to work well.
What Is Bar?
Bar is another way to measure air pressure. One bar is equal to 14.5 PSI. Some bike pumps use bars instead of PSI. Knowing both helps you choose the right pump. Different bikes need different pressure levels.
Steps To Read A Bike Pump Gauge
Ensure the pump is securely attached to the valve. Locate the gauge on the pump. Read the numbers indicating pressure in PSI or bars.
Check The Tire Specifications
Find the right pressure for your tire. Look on the side of the tire. It shows the correct pressure range. This helps you know how much air is needed. Proper pressure makes riding safe and fun.
Secure The Pump Connection
Attach the pump tightly to the tire valve. Make sure it’s snug and secure. A loose connection can leak air. This makes the gauge show wrong numbers. A secure fit keeps the air flow steady.
Monitor The Gauge Reading
Watch the gauge as you pump air. It shows the pressure inside the tire. Stop when the gauge reaches the correct number. Don’t overinflate; it can damage the tire. Keep an eye on the gauge for safe riding.
Common Gauge Reading Mistakes
Many riders forget tire pressure limits. Tires have specific pressure limits. Exceeding these limits can cause damage. Always check the tire sidewall for numbers. These numbers show the safe pressure range. Keeping within these limits ensures safety.
Analog gauges can be tricky. The needle moves to show pressure. Sometimes, it looks like the needle is between numbers. This can confuse people. Always check the needle closely. Make sure you read the exact number. Clear reading prevents mistakes.
Tips For Accurate Gauge Readings
Choose a pump that is sturdy and well-made. A good pump provides accurate readings. Look for pumps with a clear gauge. Check if the gauge is easy to read. Digital gauges are often more precise. Ensure the pump fits your bike tire valve. Some pumps work with both Presta and Schrader valves. Make sure the pump can handle your tire’s pressure.
Calibrate your gauge to keep it accurate. Test the gauge against a known accurate gauge. Adjust the gauge if readings differ. Calibrate at least twice a year. Use a professional service if unsure. A well-calibrated gauge ensures correct tire pressure. Correct pressure gives a smooth ride and prevents damage.
Troubleshooting Gauge Issues
The gauge might show wrong numbers. Check the pump’s connection first. Make sure it fits tightly. Loose connections can give false readings. Also, see if the gauge is clean. Dust can block the needle. Clean it gently with a soft cloth. If the problem remains, the gauge might be faulty. Consider replacing the gauge.
Sometimes, the gauge may not show anything. Ensure the pump is working. Check if it has enough pressure. No pressure means no reading. Examine the gauge for cracks. Cracked gauges can’t display correctly. Test the gauge on another pump. If it still fails, it might need replacement. New gauges often solve this issue.
Benefits Of Proper Tire Inflation
Keeping bike tires properly inflated makes riding smooth and easy. It helps the bike go faster with less effort. Turns and stops feel safer and more controlled. Riders feel less tired after long rides. Proper air in tires also handles bumps better. A smoother ride means more fun and less stress.
Well-inflated tires last longer and wear evenly. This means fewer trips to buy new tires. It saves money and time. Proper inflation prevents damage and punctures. It keeps the tire strong and safe. Checking the tire gauge often helps maintain the right pressure. This simple step extends the life of the tires.
Frequently Asked Questions
How To Read An Air Pump Gauge?
To read an air pump gauge, locate the needle pointing to the pressure measurement. Ensure the gauge is calibrated in PSI or BAR. Adjust the pump to match your target pressure. Check readings regularly for accuracy during inflation.
Is 40 Psi Too High For A Bike?
40 PSI may be too high for road bikes. Most road bikes require 80-120 PSI. Mountain bikes generally need lower pressure, around 30-50 PSI. Check your bike’s specifications for optimal pressure. Proper tire pressure ensures safety and performance. Always use a reliable gauge to measure tire pressure accurately.
How To Read A Gas Pressure Gauge?
Ensure the gauge is calibrated correctly. Check the needle position against the scale. Read the PSI measurement directly from the dial. Ensure the reading falls within the recommended range. Confirm accuracy by cross-checking with a digital gauge if available.
What Is The P Vs S On A Bike Pump?
“P” stands for Presta valve, while “S” signifies Schrader valve on a bike pump. These are two different valve types. Presta is slimmer, often used on road bikes. Schrader resembles car tire valves, common on mountain bikes. Ensure compatibility for efficient inflation.
Conclusion
Understanding your bike pump gauge is crucial. It ensures proper tire pressure. With practice, you’ll read it easily. Check the gauge before every ride. This habit prevents under or over-inflation. Proper inflation keeps your ride smooth and safe. Remember, a well-maintained bike lasts longer.
Keep learning and practicing for the best results. Stay confident and enjoy every ride. Happy cycling!


