
Imagine this: you’re cycling down a tranquil path as dusk settles, the world around you painted in shades of twilight. Suddenly, your bike light flickers and dies, leaving you in the dark.
Frustrating, right? Ensuring your bike light is charged and ready to go is essential for safe cycling. But charging it isn’t always straightforward. You might find yourself wondering if you’re doing it right or if there’s a better way. In this guide, we’ll unravel the mystery of charging your bike light efficiently.
Discover simple tips and tricks that will not only prolong your light’s battery life but also keep you safe on your rides. Stay with us, and never be left in the dark again.

Types Of Bike Lights
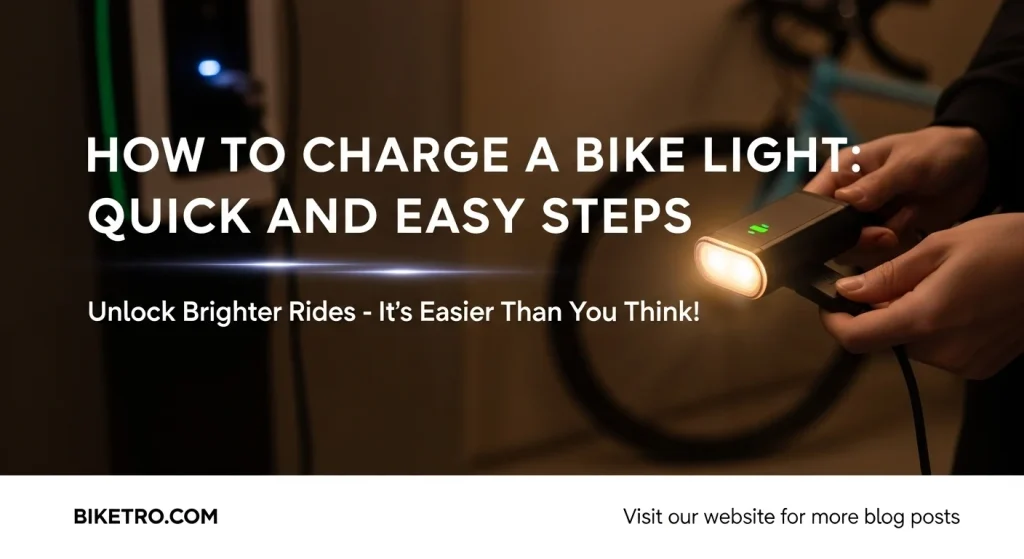
Charging a bike light involves connecting it to a power source using a USB cable. Ensure the light is switched off during charging. Most bike lights come with indicator lights showing charging status.
Rechargeable Vs. Non-rechargeable
Rechargeable bike lightsare eco-friendly. They save money over time. Use a USB cable to charge them. Just plug into a computer or adapter. Non-rechargeable lightsneed new batteries often. They can be more costly. Always keep spare batteries. Non-rechargeable lights can run out suddenly. Choose wisely between convenience and cost.
Usb Vs. Battery-powered
USB-powered lightsare simple to charge. Connect them to any USB port. They are convenient for tech-savvy people. Battery-powered lightsare traditional. They are reliable in emergencies. No need for a charger. Just replace the batteries when needed. Both types have pros and cons. Think about your needs before buying.
Preparing For Charging
Ensure your bike light is clean and dry before charging. Use the correct charger for your bike light model. Connect the charger securely to avoid interruptions during charging.
Checking The Battery Level
Ensure your bike light has enough power. Look for a battery indicator. Many bike lights have a small light to show battery level. Green means full, yellow means medium, and red means low. If it’s red, charge it soon. Avoid letting it go completely dead. This can harm the battery over time.
Gathering Necessary Equipment
Collect all the items needed for charging. You need a compatible charger. Make sure it fits your bike light. Some lights use USB cables. Find a power source like a plug or computer. Keep everything close and ready. This makes charging easier and faster.
Charging Methods
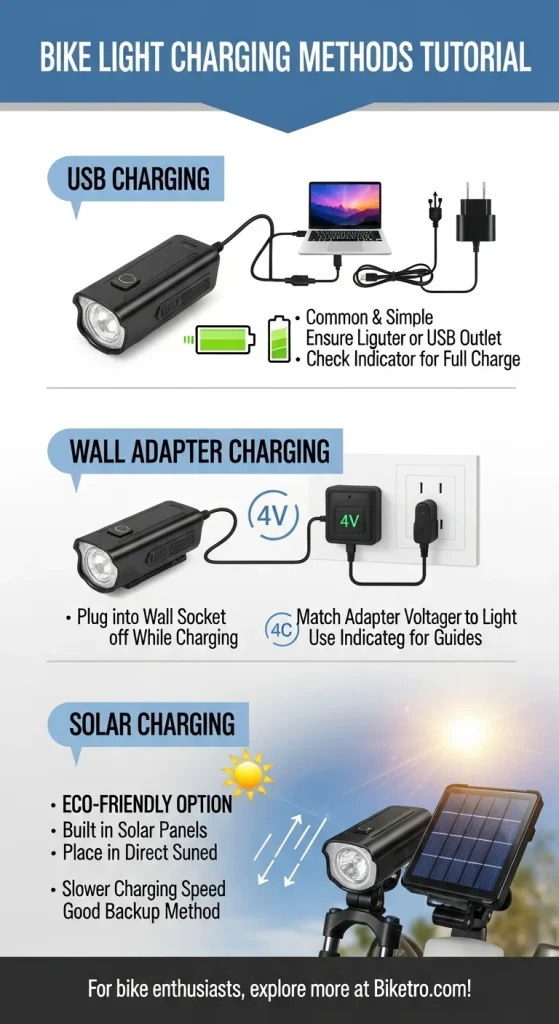
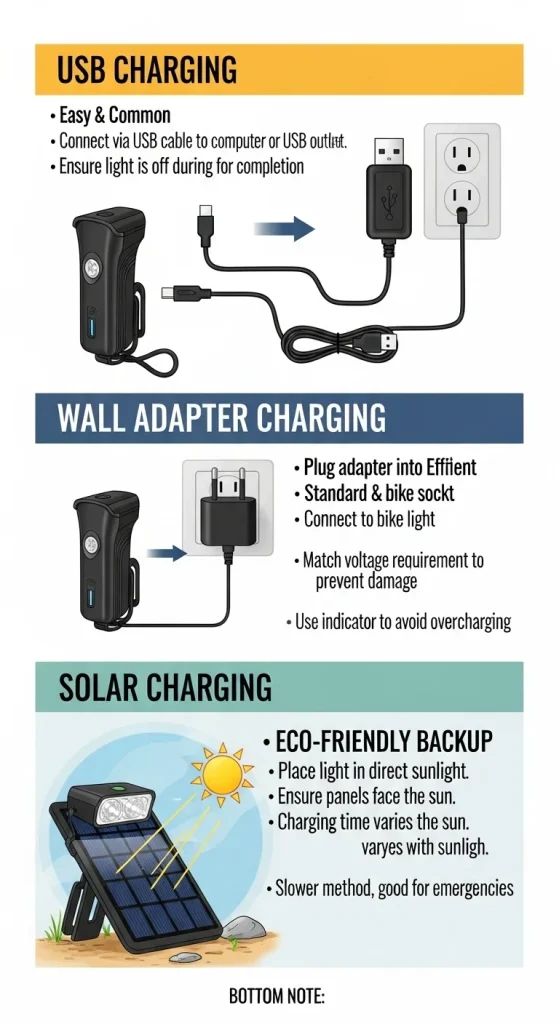
Most bike lights come with a USB port. This is a simple charging method. Plug the USB cable into the light. Connect the other end to a computer or USB outlet. Make sure the light is off while charging. Charging time varies. Check the light’s indicator. It will show when charging is complete.
Some bike lights use a wall adapter. Plug the adapter into the wall socket. Connect the other end to the bike light. Ensure the adapter’s voltage matches the light’s requirement. Overcharging can damage the battery. Use the light’s charging indicator for guidance. This ensures the battery is fully charged.
Solar charging is eco-friendly. Some bike lights have built-in solar panels. Place the light in direct sunlight. Ensure the panels face the sun. Charging depends on sunlight strength. This method is slower. Cloudy days may not provide enough power. It’s a good backup option.

Credit: www.youtube.com
Safety Tips
Ensure your bike light is off before charging to avoid damage. Use the correct charger to prevent overheating. Keep the charging area dry and away from flammable materials for safety.
Avoiding Overcharging
Bike lights can break if overcharged. Always use a timer or alarm. This helps to stop charging on time. Check the battery level often while charging. Some chargers have lights. Green means full, red means charging. Use these lights to avoid overcharging. Smart chargers are best because they stop when full. Always follow the instructions for your charger and light.
Handling Wet Conditions
Keep the bike light dry when it rains. Water can damage the light easily. Use a waterproof cover if needed. Some lights are water-resistant. Check the packaging to know. Avoid opening the light in rain. This can let water in. If the light gets wet, dry it quickly. Use a soft cloth to wipe it. This keeps the light working well.
Maintenance Tips
Charging a bike light efficiently extends its lifespan. Use the correct charger and connect it securely. Monitor the charging indicator to avoid overcharging.
Regular Battery Checks
Always check your bike light’s battery. A weak battery can make lights dim. Replace or recharge the battery often. Use a clean cloth to wipe the contacts. This ensures good connection. Check for any corrosion. Corrosion can hurt battery life. Keep spare batteries handy. This way, you’re always ready.
Proper Storage
Store your bike light in a dry place. Moisture can damage the light. Avoid extreme temperatures. Heat or cold can harm the battery. Remove the battery if storing for long. This prevents leaks and damage. Keep the light away from sharp objects. Scratches can reduce brightness. Use a protective case if possible. It adds an extra layer of safety.

Credit: www.amazon.sa
Troubleshooting Common Issues
Bike lights often face charging issues due to faulty cables or incorrect port connections. Ensure a secure connection and use compatible cables for optimal charging performance. Regularly check for dirt in ports and clean them gently to prevent charging interruptions.
Identifying Charging Problems
Bike lightsoften face charging issues. Check the power sourcefirst. Is the outlet working? Sometimes, a faulty cable can be the issue. Use a different cable to test. Ensure the connectionis secure. Look for any visible damage on the light. If the light is old, the battery might be weak.
Solutions For Non-responsive Lights
- Try a different charging cable.
- Check for battery damage.
- Reset the light if possible.
- Consult the light’s manual for help.
- Contact customer service if issues persist.
Frequently Asked Questions
How To Charge A Rechargeable Led Light?
Charge a rechargeable LED light by connecting it to a power source using its USB cable. Ensure the device is turned off during charging. Check the indicator light for charging status. Typically, full charging takes a few hours. Follow the manufacturer’s instructions for optimal charging and battery lifespan.
How Long Does It Take To Charge A Bike Light?
Charging a bike light typically takes 2 to 5 hours, depending on the model and battery capacity. USB-powered lights might charge faster. Always check the manufacturer’s instructions for specific details on charging times and ensure the light is fully charged for optimal performance and safety during rides.
Why Is My Bike Light Not Charging?
Your bike light might not charge due to a faulty cable, damaged battery, or a defective charging port. Check connections, try a different cable, or inspect for visible damage. If the problem persists, consider replacing the battery or contacting the manufacturer for assistance.
How To Charge Plus Rear Bike Light?
Charge the Plus Rear Bike Light using the included USB cable. Connect it to a USB power source. Ensure the light’s charging port is clean and dry before plugging in. The LED indicator will show charging status. Charge fully before use for optimal performance.
Conclusion
Charging a bike light is simple and essential. Always read the manual first. Follow the steps for the specific charging method. Keep track of charging time. Ensure connections are secure. Proper charging extends battery life. Safety is crucial when handling electronics.
Regularly check the light’s functionality. A well-charged light keeps you visible. Visibility enhances safety during night rides. Invest time in learning your device. Regular maintenance pays off with longer use. Enjoy safe, well-lit cycling adventures. Remember, a charged light means peace of mind.
Keep your rides safe and bright.



