
This guide walks you through the complete process of how to put on a rear bike rack safely and correctly. Whether you’re carrying groceries, gear, or panniers, we’ll help you install your rack with confidence and avoid common mistakes.
[FEATURED_IMAGE_PLACEHOUNTER]
Key Takeaways
- Check compatibility first: Not all racks fit all bikes—verify your frame has mounting points or brake mounts before buying.
- Use the right tools: A basic set of Allen keys and a wrench are usually enough, but always follow your rack’s manual.
- Install from the bottom up: Start with the lower arms attached to the axle or dropout, then connect the upper supports to the seat stays.
- Tighten evenly and check alignment: Uneven tension can warp the rack or damage your frame—always double-check symmetry.
- Test before loading: Give the rack a firm shake after installation to ensure it’s secure before adding weight.
- Maintain regularly: Check bolts every few rides, especially after bumpy terrain or long trips.
- Balance your load: Distribute weight evenly and avoid overloading—most racks support 20–40 lbs max.
How to Put on a Rear Bike Rack: A Complete Step-by-Step Guide
Adding a rear bike rack is one of the smartest upgrades you can make to your bicycle. Whether you’re commuting to work, running errands, or heading out on a weekend tour, a rear rack gives you reliable cargo space without sacrificing balance or control. But if you’ve never installed one before, the process might seem a little intimidating—especially with all those bolts, clamps, and confusing diagrams.
Don’t worry! Installing a rear bike rack is simpler than it looks, and with the right approach, you can do it in under 30 minutes. In this guide, we’ll walk you through every step of how to put on a rear bike rack, from checking compatibility to testing your setup. We’ll also share practical tips, troubleshooting advice, and safety reminders so you can ride confidently with your new gear.
By the end of this article, you’ll know exactly how to install a rear rack on road bikes, mountain bikes, hybrids, and even some smaller frames. Let’s get started!
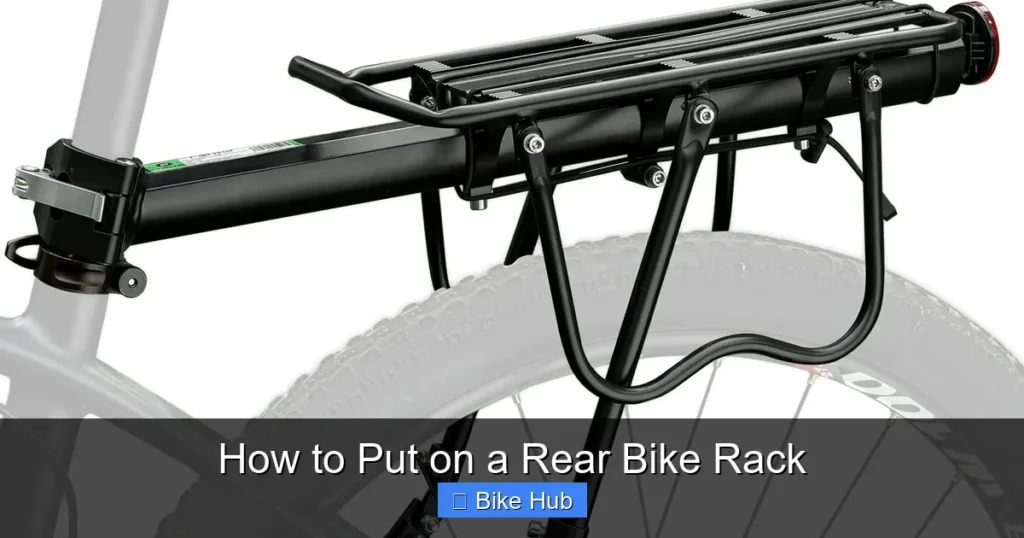
Step 1: Choose the Right Rack for Your Bike
Visual guide about How to Put on a Rear Bike Rack
Image source: cdn.thewirecutter.com
Before you even think about installation, make sure you’ve got the right rack. Not all racks fit all bikes—compatibility is key.
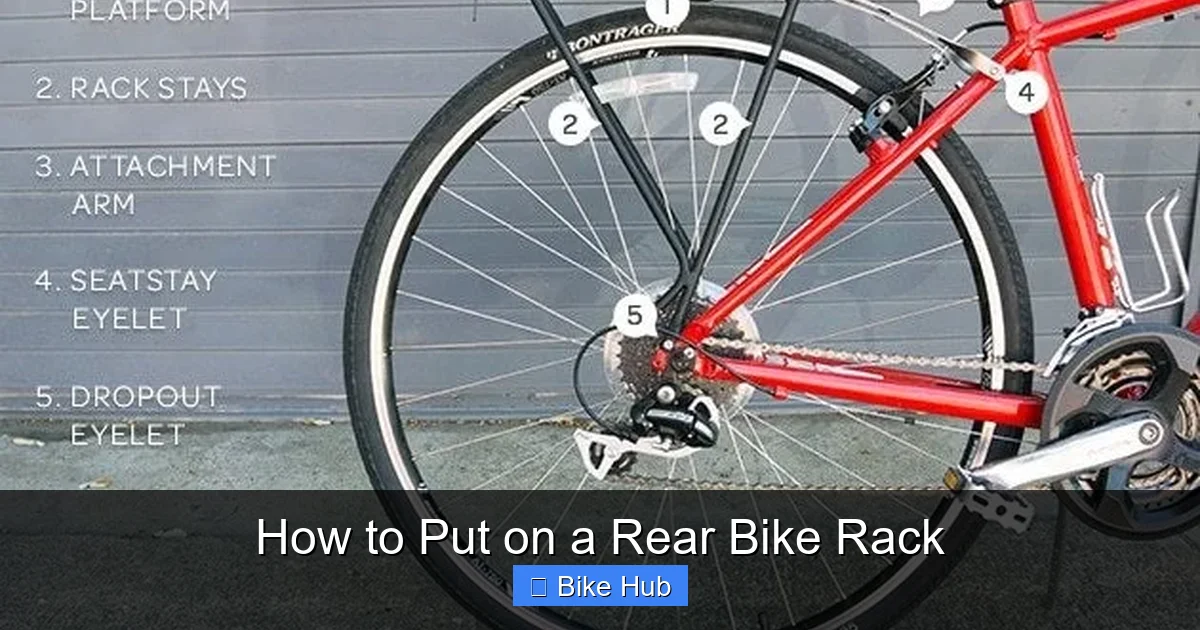
Most rear racks attach in two places:
– The **wheel axle** (or dropout) at the bottom
– The **seat stays** (the tubes that run from the seat post down to the rear wheel)
Some bikes—especially older models or full-suspension mountain bikes—don’t have traditional mounting holes. In those cases, you may need a rack that uses **strap-on clamps** or attaches to the brake caliper mount.
💡 Pro Tip: If you’re unsure, check your bike’s manual or look for small threaded holes near the rear dropouts and along the seat stays. If they’re there, you’re good to go!
Also consider your intended use:
– For **commuting or grocery runs**, a basic aluminum rack works great.
– For **bike touring**, look for a sturdy steel rack with multiple attachment points.
– For **smaller frames or folding bikes**, check out our guide on how to fit a rack on a small bike frame for specialized tips.
Step 2: Gather Your Tools and Parts
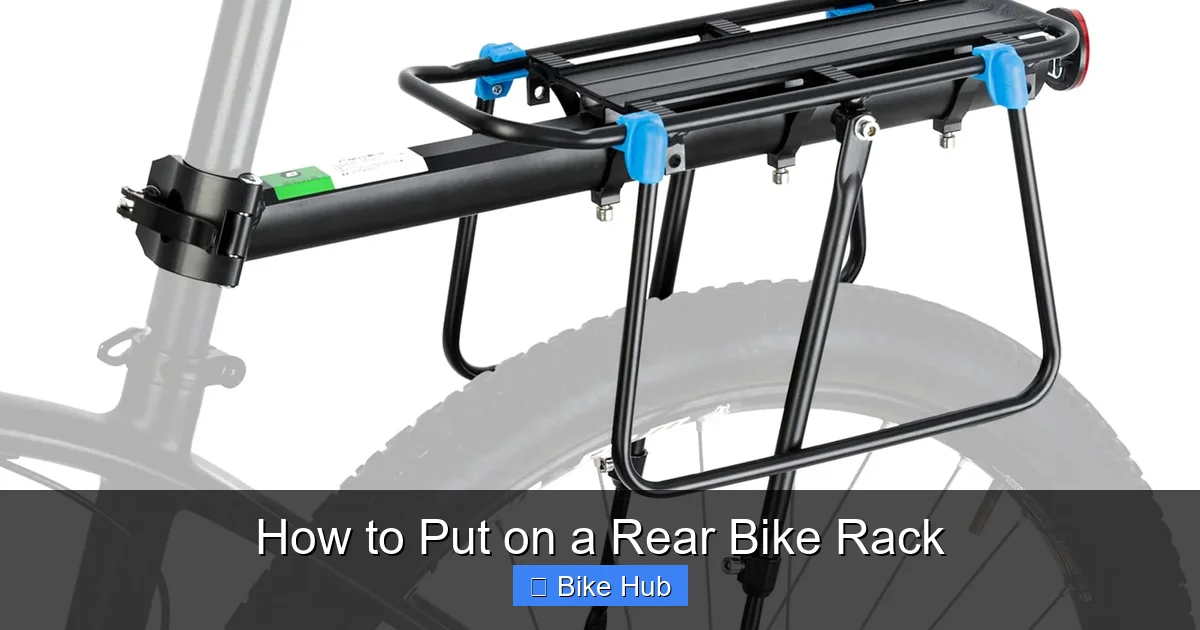
Visual guide about How to Put on a Rear Bike Rack
Image source: m.media-amazon.com
Most rear bike racks come with everything you need—mounting bolts, washers, nuts, and sometimes even spare straps. But it’s always smart to have your own toolkit ready.
You’ll typically need:
– A set of **Allen keys** (usually 4mm, 5mm, and 6mm)
– A **wrench** (often 10mm or 13mm)
– A **ruler or measuring tape** (to check alignment)
– Optional: **Threadlocker** (like Loctite) to prevent bolts from loosening over time
Lay out all the parts from your rack kit and match them to the instruction manual. Many racks include different bolt lengths for different frame types—so don’t assume they’re interchangeable.
Step 3: Prepare Your Bike
Before installing, give your bike a quick once-over:
– Remove any existing rear light or reflector that might interfere.
– Clean the seat stays and dropout area so bolts sit flush.
– If your bike has a rear derailleur, note that some racks may limit access—plan accordingly.
Now, flip your bike upside down or place it in a repair stand. This gives you better access to the rear wheel and frame. If you don’t have a stand, leaning it against a wall works too—just be careful not to scratch the paint.
Step 4: Attach the Lower Mounting Arms
This is where the rack connects to the bike’s rear axle. It’s the most stable part of the installation, so take your time.
For Quick-Release or Thru-Axle Wheels:
1. Loosen the rear wheel slightly (but don’t remove it).
2. Slide the lower arms of the rack into the dropout slots on both sides.
3. Re-tighten the axle securely. The rack arms should sit snugly between the dropout and the wheel hub.
For Bolt-On Wheels:
1. Remove the rear wheel completely.
2. Place the rack’s lower arms into the dropout slots.
3. Reinstall the wheel and tighten the nuts firmly.
⚠️ Important: Never ride with a loose rear wheel. Always double-check that the axle is fully tightened after installing the rack.
Step 5: Secure the Upper Supports to the Seat Stays
Now it’s time to connect the top of the rack to the seat stays. This prevents the rack from twisting or swaying while riding.
Most racks come with **U-brackets** or **clamp plates** that wrap around the seat stays. Here’s how to attach them:
1. Position the upper arms of the rack so they’re level and symmetrical.
2. Slide the U-bracket over the seat stay and align it with the rack’s mounting hole.
3. Insert the bolt through the rack, bracket, and seat stay, then secure it with a washer and nut.
4. Tighten gradually, alternating sides to keep the rack centered.
💡 Pro Tip: Use rubber pads or electrical tape between the clamp and frame to prevent scratches and reduce vibration.
If your bike doesn’t have seat stay mounts, some racks use **straps or zip ties** as an alternative. While not as rigid, they can work in a pinch—just avoid heavy loads.
Step 6: Check Alignment and Tighten All Bolts
With both ends attached, step back and inspect your work.
– Is the rack level? (Use a spirit level or eyeball it against the ground.)
– Are both sides equally spaced from the tire?
– Does the rack wobble when you press down on it?
If everything looks good, go back and tighten every bolt. Use a torque wrench if you have one—over-tightening can strip threads or crack carbon frames.
Then, give the rack a firm shake. If it moves more than a millimeter, something’s loose. Recheck all connections.
Step 7: Test Before You Load
Before you strap on panniers or toss in your backpack, take a short test ride—without any weight.
Ride around the block and pay attention to:
– Any unusual noises (rattling, creaking)
– Rubbing between the rack and tire or frame
– Stability when braking or turning
If all feels solid, you’re ready to load up!
For tips on carrying gear safely, check out our guide on how to balance weight on a bike rack—it covers everything from pannier placement to max load limits.
Troubleshooting Common Installation Issues
Even with careful installation, problems can pop up. Here’s how to fix the most common ones:
Rack Rubs Against the Tire
This usually means the rack is too low or misaligned. Loosen the upper mounts slightly and raise the rack until there’s at least 1 inch of clearance. Re-tighten and test again.
Bolts Won’t Tighten Fully
Check if you’re using the correct bolt length. Too long, and it hits the tire; too short, and it won’t grip. Swap in the right size from your kit.
Rack Feels Wobbly Under Load
This often happens if the lower arms aren’t seated properly in the dropouts. Remove the wheel, reseat the arms, and reinstall. Also, ensure your rear axle is torqued to spec.
No Seat Stay Mounts
Some road or carbon bikes lack these. Consider a rack that mounts only to the axle (like the Tubus Fly) or use a clamp-on model. Alternatively, explore how to install a front bike rack as a secondary option.
Maintaining Your Rear Rack
A well-maintained rack lasts for years. After every few rides—especially on rough terrain—do a quick bolt check. Vibrations can loosen fasteners over time.
Also, clean your rack regularly to prevent rust and corrosion. A damp cloth and mild soap are usually enough. For aluminum racks, avoid harsh chemicals that can degrade the finish.
If you notice cracks, bends, or excessive rust, replace the rack immediately. Safety first!
Conclusion
Putting on a rear bike rack doesn’t have to be complicated. With the right tools, a bit of patience, and this step-by-step guide, you can install a secure, reliable rack in under half an hour. Whether you’re hauling groceries, camping gear, or just a spare tube, a rear rack opens up a world of possibilities for your rides.
Remember: always check compatibility, tighten bolts evenly, and test before loading. And if you’re planning a long-distance trip, don’t miss our guide on how to pack a bike for touring with a rack—it’s packed with smart packing strategies for adventure cyclists.
Now go enjoy the freedom of carrying more, riding farther, and exploring smarter—all thanks to your newly installed rear bike rack!


