
Oiling your dirt bike air filter is essential for trapping dirt and protecting your engine. This guide walks you through the process safely and effectively, ensuring maximum filtration without over-oiling.
Keeping your dirt bike running strong starts with a well-maintained air filter. One of the most overlooked yet critical maintenance tasks is properly oiling your air filter. Without it, dirt and debris can slip past the filter and into your engine, causing wear, reduced performance, and costly repairs. But oiling it incorrectly—like using too much or the wrong type of oil—can be just as bad.
In this guide, you’ll learn exactly how to oil dirt bike air filter the right way. We’ll walk you through each step, from removing the filter to reinstalling it, with practical tips to avoid common mistakes. Whether you’re a weekend warrior or a competitive rider, this routine will help extend your engine’s life and keep your bike performing at its best.
Key Takeaways
- Use only air filter-specific oil: Never use motor oil or WD-40—these can damage the filter and engine.
- Clean the filter thoroughly before oiling: A dirty or clogged filter won’t absorb oil properly and reduces performance.
- Apply oil evenly and sparingly: Over-oiling restricts airflow and can cause oil to enter the engine.
- Let the filter dry completely before reinstalling: This ensures proper adhesion of dirt particles during rides.
- Check your owner’s manual for maintenance intervals: Most filters need cleaning every 5–10 hours of riding in dusty conditions.
- Store unused filter oil properly: Keep it sealed and away from heat to maintain effectiveness—learn more in our guide on how to store bike lubricant.
Why Oiling Your Dirt Bike Air Filter Matters
Your air filter’s job is to stop dirt, sand, and dust from entering the engine while allowing clean air to flow in. Most modern dirt bikes use foam filters that rely on a thin layer of oil to trap fine particles. Without oil, the foam acts like a sieve—letting tiny abrasive particles through.
Over time, this buildup wears down internal components like pistons, rings, and cylinder walls. In extreme cases, it can lead to engine seizure. On the flip side, an over-oiled filter can restrict airflow, reduce power, and even allow excess oil to enter the intake system, fouling spark plugs or damaging sensors.
That’s why getting the oiling process right is so important. It’s not just about slapping on some oil—it’s about precision, cleanliness, and using the right products.
Tools and Materials You’ll Need
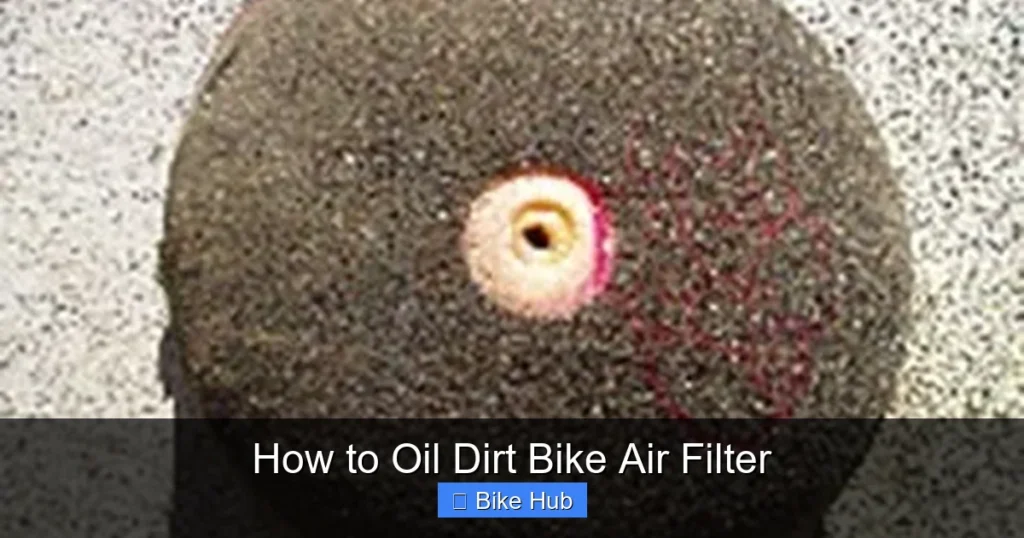
Visual guide about How to Oil Dirt Bike Air Filter
Image source: dirtbikemoto.com
Before you begin, gather these essentials:
- Air filter cleaning kit (includes cleaner and oil)
- Clean rags or paper towels
- Bucket or container for soaking
- Gloves (to protect your hands from chemicals and oil)
- Screwdriver or socket wrench (depending on your bike’s airbox cover)
- Compressed air (optional, for drying)
- Fresh air filter oil (never substitute with motor oil!)
Many riders prefer all-in-one kits like those from Twin Air or K&N, which include both cleaner and oil designed specifically for foam filters. These are formulated to break down grime without damaging the foam.
Step-by-Step: How to Oil Dirt Bike Air Filter
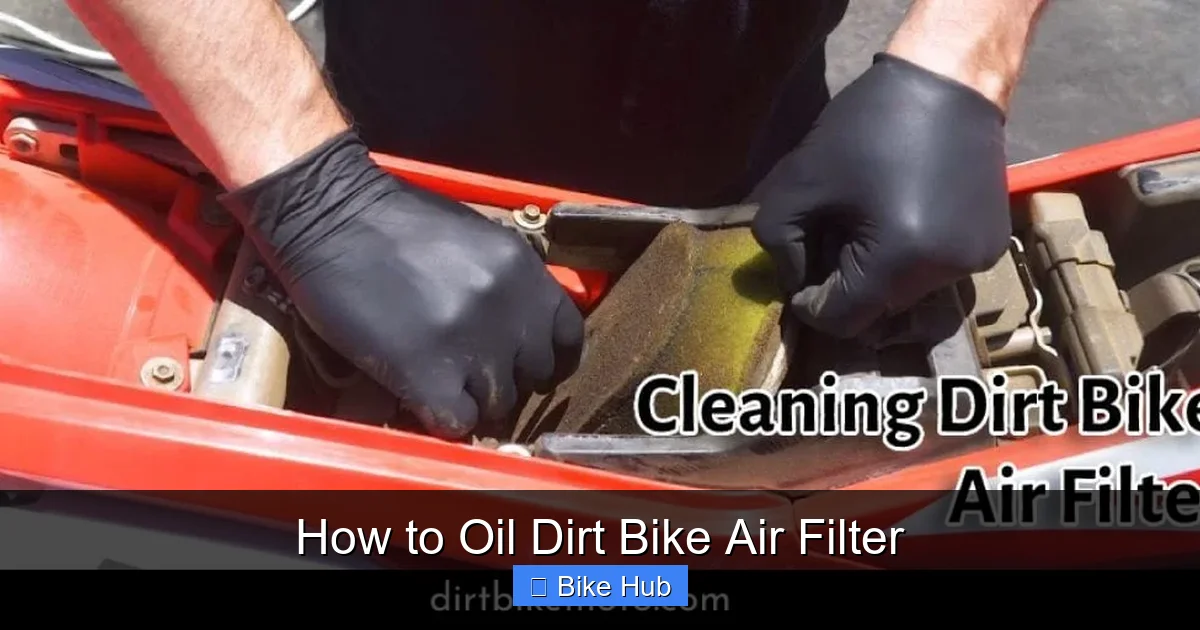
Visual guide about How to Oil Dirt Bike Air Filter
Image source: dirtbikemoto.com
Step 1: Remove the Air Filter
Start by turning off your bike and letting it cool completely. Locate the airbox—usually under the seat or side panel. Use your screwdriver or wrench to remove the cover. Gently pull out the air filter, being careful not to tear the foam.
Tip: Take a photo of how the filter sits before removing it. This helps when reinstalling, especially if you have a dual-stage filter.
Step 2: Clean the Airbox
While the filter is out, wipe down the inside of the airbox with a clean, dry rag. Remove any loose dirt, oil residue, or debris. A dirty airbox can recontaminate a freshly cleaned filter within hours of riding.
Step 3: Clean the Filter
Place the filter in a bucket and spray it generously with air filter cleaner. Let it soak for 10–15 minutes—this breaks down embedded oil and dirt. Then, gently squeeze and rinse the filter under warm (not hot) water. Avoid wringing or twisting, as this can damage the foam structure.
Rinse until the water runs clear. If you’re using a dedicated cleaner, follow the manufacturer’s instructions—some require multiple rinses.
Step 4: Dry the Filter Completely
Shake out excess water and place the filter on a clean towel. Let it air-dry for at least 30–60 minutes. You can speed this up with compressed air, but never use heat (like a hair dryer), as it can degrade the foam.
Important: The filter must be completely dry before applying oil. Any moisture will prevent proper oil absorption and may lead to mold or mildew.
Step 5: Apply the Oil
Put on gloves to keep oil off your hands. Pour a small amount of air filter oil into a clean container—don’t apply it directly from the bottle to avoid contamination.
Submerge the filter in the oil and work it in by gently squeezing. The goal is to get an even, light coating—not a dripping mess. Think “damp,” not “soaked.”
After applying, squeeze out any excess oil. You should see a uniform golden color throughout the foam. If it looks patchy or overly dark in spots, you’ve used too much.
Pro Tip: Some riders prefer the “bag method”—place the filter in a zip-top bag with oil, massage it in, then remove and squeeze out excess. This gives more control.
Step 6: Reinstall the Filter
Once the filter is evenly oiled and no longer dripping, place it back into the airbox exactly as it was. Make sure it seats properly and the seal is tight. Reattach the airbox cover securely—loose covers can let unfiltered air in.
Double-check that no dirt got into the airbox during the process. A quick visual inspection saves headaches later.
Troubleshooting Common Issues
Filter Still Looks Dirty After Cleaning?
If grime remains after cleaning, the filter may be too far gone. Foam filters have a lifespan—typically 20–30 cleanings—depending on usage. When the foam starts to crumble or lose elasticity, it’s time for a replacement.
Engine Running Rich or Losing Power?
This could be a sign of over-oiling. Excess oil can clog the filter pores or enter the carburetor/injection system. Remove the filter, clean it again, and re-oil with less product.
Oil Leaking from the Airbox?
Definitely over-oiled. Drain the filter by placing it between two clean rags and pressing firmly. Reinstall only when no more oil comes out.
Filter Not Fitting Properly?
Check for warping or damage. Also, ensure you’re using the correct model for your bike. Universal filters often don’t seal as well as OEM or brand-specific ones.
Maintenance Tips for Long-Lasting Performance
– Clean and re-oil your filter after every ride in dusty conditions. For less harsh environments, every 2–3 rides is usually sufficient.
– Always carry a spare pre-oiled filter when riding remote trails—this lets you swap quickly without cleaning on the go.
– Store your air filter oil in a cool, dry place. Exposure to heat or air can degrade its effectiveness. For best practices, read our guide on how to store bike lubricant.
– Inspect the filter housing gasket regularly. A cracked or missing gasket compromises the entire filtration system.
When to Replace Instead of Re-Oil
Even with perfect maintenance, foam filters wear out. Signs it’s time for a new one include:
– Tears or holes in the foam
– Loss of elasticity (doesn’t spring back when squeezed)
– Persistent dirt leakage despite proper cleaning
– Oil not absorbing evenly
Replacing your filter every 1–2 years (or sooner with heavy use) is a smart investment in engine longevity.
Final Thoughts
Oiling your dirt bike air filter might seem like a small task, but it has a huge impact on your bike’s health and performance. By following these steps—cleaning thoroughly, drying completely, and applying the right amount of oil—you’ll keep your engine breathing clean air and running smoothly for miles.
Remember, consistency is key. Make filter maintenance part of your regular riding routine, just like checking tire pressure or chain tension. And if you’re prepping for a long off-road adventure, don’t forget to review our tips on how to prepare a mountain bike for long rides—many of the same principles apply to dirt bikes too.
With a little care, your air filter will do its job silently and effectively, so you can focus on what matters: the ride.


