
Building a bobber bike is a rewarding DIY project that blends style, simplicity, and performance. This guide walks you through choosing the right frame, stripping unnecessary parts, upgrading components, and adding custom touches to create a clean, stripped-down motorcycle with classic appeal.
Key Takeaways
- Start with the right base: Choose a vintage-style cruiser or standard motorcycle with a strong frame and reliable engine.
- Strip it down: Remove fenders, mirrors, and excess bodywork to achieve the signature minimalist bobber look.
- Upgrade the suspension and wheels: Install shorter rear shocks and consider a springer or rigid front end for authentic style and improved handling.
- Focus on safety and legality: Ensure lights, brakes, and signals meet local road regulations—don’t sacrifice function for form.
- Customize thoughtfully: Add paint, chrome, or leather accents to reflect your personal style while maintaining balance and rideability.
- Test and tune: After assembly, perform a thorough safety check and fine-tune the bike before hitting the road.
- Maintain regularly: Bobbers have exposed parts—regular cleaning and lubrication prevent rust and wear.
Introduction: What Is a Bobber Bike?
A bobber bike is a custom motorcycle known for its stripped-down, minimalist design. Originating in the 1930s and 1940s, bobbers were built by riders who removed unnecessary parts—like fenders, lights, and heavy accessories—to make their bikes lighter and faster. Today, bobbers are celebrated for their raw, industrial charm and timeless aesthetic.
In this guide, you’ll learn how to build a bobber bike from the ground up. Whether you’re a seasoned mechanic or a passionate beginner, we’ll walk you through selecting the right base bike, modifying the frame, upgrading key components, and adding custom finishes. By the end, you’ll have a unique, head-turning ride that’s as fun to build as it is to ride.
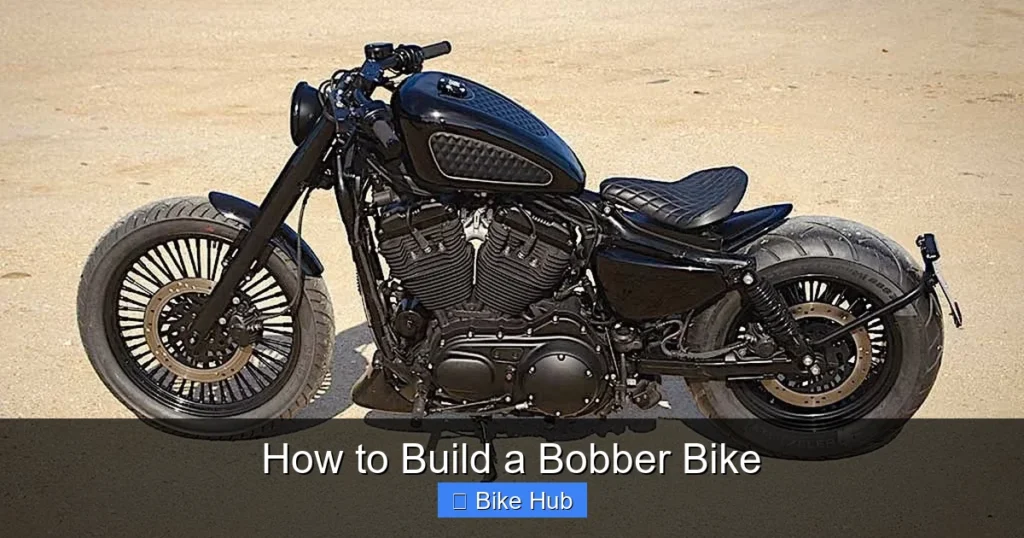
Step 1: Choose the Right Base Motorcycle
Visual guide about How to Build a Bobber Bike
Image source: bikebound.com
The foundation of any great bobber is a solid base bike. Look for a used cruiser or standard motorcycle with a strong frame and a reliable engine. Popular choices include Harley-Davidson Sportsters, Honda CB series, or Yamaha Virago models.
What to Look For:
- Frame condition: Avoid rusted or cracked frames. A clean, straight frame ensures structural integrity.
- Engine reliability: Choose a bike with a well-maintained engine. Check for leaks, smoke, or unusual noises.
- Availability of parts: Pick a model with accessible aftermarket support for easier customization.
Tip: Visit local classifieds, motorcycle forums, or salvage yards. A slightly used bike with minor cosmetic flaws can be a perfect starting point.
Step 2: Strip Down the Bike
The essence of a bobber is simplicity. Begin by removing non-essential components to reduce weight and clean up the lines.
Remove the Following:
- Rear fender (often shortened or removed entirely)
- Front fender (optional—some bobbers keep a small front fender)
- Mirrors, turn signals, and unnecessary lights
- Passenger seat and foot pegs
- Excess wiring and brackets
Use basic hand tools like wrenches, screwdrivers, and wire cutters. Label wires before disconnecting them to simplify reassembly later.
Safety Note:
Even if you remove some lights, ensure your bike has at least a headlight, brake light, and turn signals to comply with road laws. Consider LED options for a modern touch with low power draw.
Step 3: Modify the Frame and Suspension
Bobbers often feature a lowered or “raked” look. This involves modifying the rear suspension and sometimes the front end.
Shorten the Rear Shocks:
Install shorter rear shocks (typically 10–12 inches) to lower the rear end. This gives the bike a aggressive, slammed stance. You can buy pre-made short shocks or have them custom-built.
Consider a Rigid or Springer Front End:
For an authentic vintage look, replace the telescopic forks with a rigid or springer front end. A springer adds classic style and slight suspension, while a rigid setup is lighter but offers no front suspension.
Tip: If you’re new to suspension work, consult a professional or detailed guide. Improper installation can affect handling and safety.
Step 4: Upgrade Wheels and Tires
Bobbers often feature spoked wheels and narrow tires for a classic look.
Choose the Right Wheels:
- Spoked wheels add vintage charm and are lightweight.
- Ensure the wheels match your bike’s hub and axle size.
- Consider powder-coated or chrome finishes for visual impact.
Tire Selection:
Use narrow, whitewall or blackwall tires. A common setup is a 16-inch rear wheel with a 130/90 tire and a 19-inch front with a 90/90 tire. Check tire compatibility with your wheel width.
For tire installation tips, see our guide on how to install tubeless bike tires—even though it’s written for bicycles, the principles of proper seating and inflation apply to motorcycle tires as well.
Step 5: Customize the Exhaust and Intake
A bobber’s exhaust system is both functional and stylish. Most builders opt for short, straight pipes or low-mount staggered duals.
Install Shorty or Straight Pipes:
These give a deep, aggressive sound and reduce weight. Make sure the exhaust clears the rear wheel and foot controls.
Upgrade the Air Intake:
Replace the stock air filter with a high-flow filter or a custom intake. This improves airflow and adds to the raw aesthetic.
Note: Check local noise and emissions laws. Some areas restrict loud exhausts or modified intakes.
Step 6: Rebuild the Electrical System
With fewer components, wiring becomes simpler—but you still need a reliable electrical system.
Simplify the Wiring Harness:
Remove unused wires and consolidate the harness. Use heat-shrink tubing and zip ties to keep things neat.
Install a Minimalist Lighting System:
Use compact LED lights for the headlight, taillight, and turn signals. They’re bright, energy-efficient, and easy to mount.
For help with bike lighting, check out our guide on how to install lights on a fat tire bike—the mounting and wiring techniques are transferable to motorcycles.
Step 7: Add Custom Finishes and Accessories
Now it’s time to make your bobber uniquely yours.
Paint and Finish:
Choose a bold color or classic black. Consider powder coating for durability. Strip the old paint carefully using sandblasting or chemical removers.
Saddle and Handlebars:
Install a solo seat with a minimalist design. Leather saddles age beautifully and add character. Choose low-rise or ape hanger handlebars based on your riding style.
Chrome and Polish:
Polish engine cases, wheels, and hardware for a show-quality shine. Use chrome accents sparingly—overdoing it can clash with the bobber’s raw vibe.
Troubleshooting Common Issues
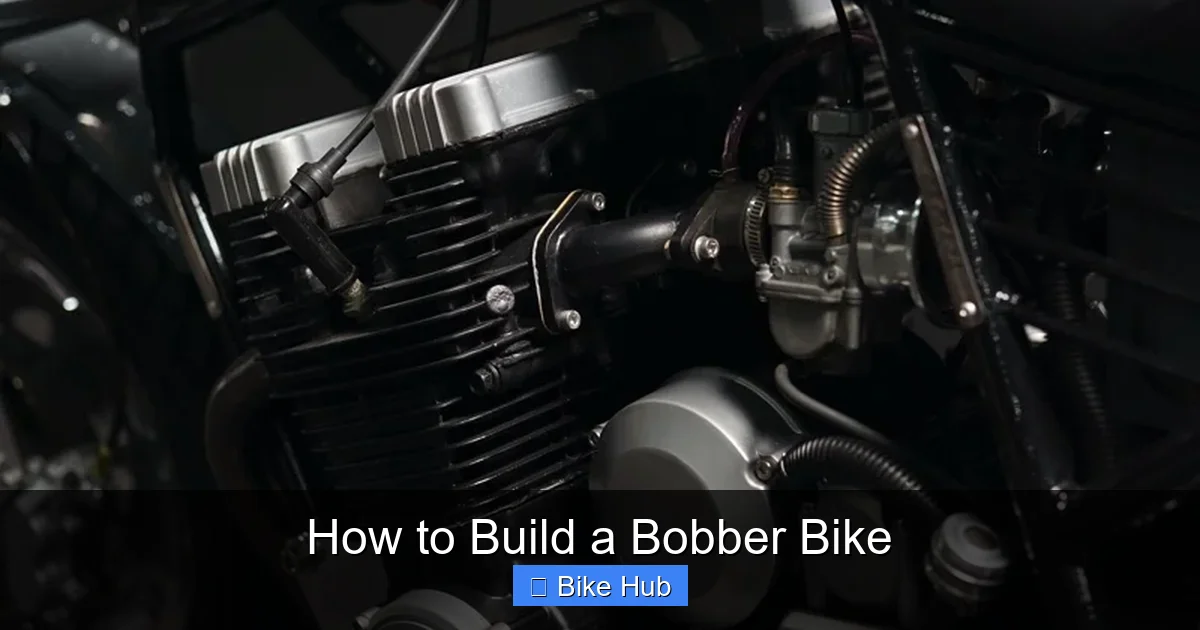
Visual guide about How to Build a Bobber Bike
Image source: bikebound.com
Even experienced builders run into problems. Here’s how to handle common issues:
- Bike won’t start after reassembly: Check fuel flow, spark plugs, and electrical connections. Ensure the kill switch is off.
- Handling feels unstable: Verify suspension alignment and tire pressure. A lowered bike may need steering damper adjustments.
- Excessive vibration: Balance the wheels and check engine mounts. Loose components can amplify vibrations.
- Overheating: Ensure proper airflow around the engine. Avoid covering cooling fins with paint or accessories.
If you’re dealing with frame rust, our guide on how to protect a bike frame from rust offers excellent prevention and treatment tips—essential for keeping your bobber in top shape.
Final Safety Check and Test Ride
Before your first ride, perform a thorough inspection:
- Test all lights and signals
- Check brake function and fluid levels
- Verify tire pressure and tread
- Ensure bolts and fasteners are tight
- Start the engine and listen for unusual noises
Take a short test ride in a safe, controlled area. Pay attention to handling, braking, and throttle response. Make adjustments as needed.
Conclusion: Enjoy Your Custom Bobber
Building a bobber bike is more than a mechanical project—it’s a creative journey. You’ve transformed a standard motorcycle into a personalized machine that reflects your style and passion.
Remember, safety and legality should always come first. While the bobber aesthetic celebrates minimalism, never compromise on essential functions like brakes, lights, and structural integrity.
With regular maintenance—like cleaning the chain, checking tire wear, and protecting against rust—your bobber will deliver years of reliable, stylish rides. Share your build online, join rider communities, and enjoy the pride that comes with a custom creation.
Now, fire up that engine and hit the open road. Your bobber is ready.


