
Lowering your dirt bike can improve control, boost confidence, and make mounting easier—especially for shorter riders. This guide walks you through safe, effective methods like adjusting suspension, changing seat height, and selecting the right tires.
Key Takeaways
- Lowering improves stability: A lower center of gravity helps with balance and reduces the risk of tipping, especially for beginners or shorter riders.
- Adjust suspension first: Most dirt bikes allow you to reduce preload or use sag settings to lower ride height without major modifications.
- Seat height matters: Trimming or replacing the seat foam can reduce seat height by 1–2 inches safely and affordably.
- Smaller tires lower the bike: Switching to shorter rear tires (e.g., 18” instead of 19”) can drop height significantly, but check clearance first.
- Test before riding hard: Always test your lowered bike in a safe area to ensure handling feels natural and brakes work properly.
- Don’t overdo it: Lowering too much can cause bottoming out, poor suspension travel, and unsafe handling on rough terrain.
- Consult your manual: Always refer to your bike’s service manual before making changes to avoid warranty issues or damage.
How to Lower My Dirt Bike: A Complete Step-by-Step Guide
If you’re struggling to touch the ground when your dirt bike is at a stop, you’re not alone. Many riders—especially those under 5’8″—face this challenge. Fortunately, lowering your dirt bike can make a big difference in comfort, control, and confidence. Whether you’re a beginner or an experienced rider looking for better handling, this guide will show you how to lower your dirt bike safely and effectively.
In this guide, you’ll learn practical methods to reduce your bike’s height, including suspension adjustments, seat modifications, tire swaps, and more. We’ll also cover what to avoid, how to test your changes, and when to seek professional help. By the end, you’ll know exactly how to lower your dirt bike without sacrificing performance or safety.
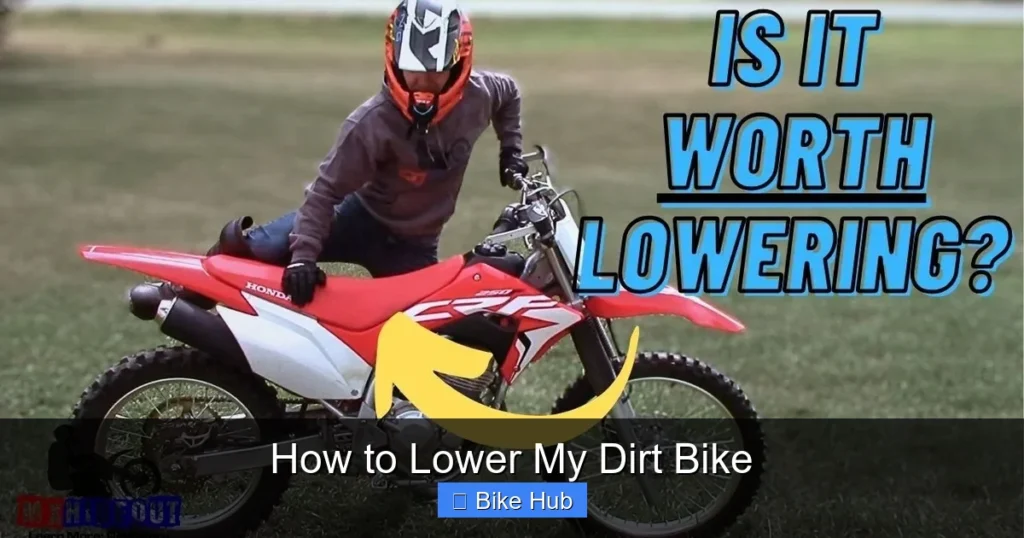
Why Lower Your Dirt Bike?
Visual guide about How to Lower My Dirt Bike
Image source: dirtbikemoto.com
Before diving into the how-to, let’s talk about the why. Lowering your dirt bike isn’t just about looking cool—it has real benefits:
- Better ground contact: Being able to place both feet flat on the ground increases stability at stops and low speeds.
- Increased confidence: New riders feel more secure when they can easily catch themselves.
- Easier mounting and dismounting: Getting on and off becomes simpler, especially on uneven terrain.
- Improved control in tight spots: A lower center of gravity helps with slow-speed maneuvers and technical trails.
However, lowering too much can hurt performance. It may reduce suspension travel, cause the frame to bottom out on bumps, or affect handling at high speeds. That’s why it’s important to make smart, measured changes.
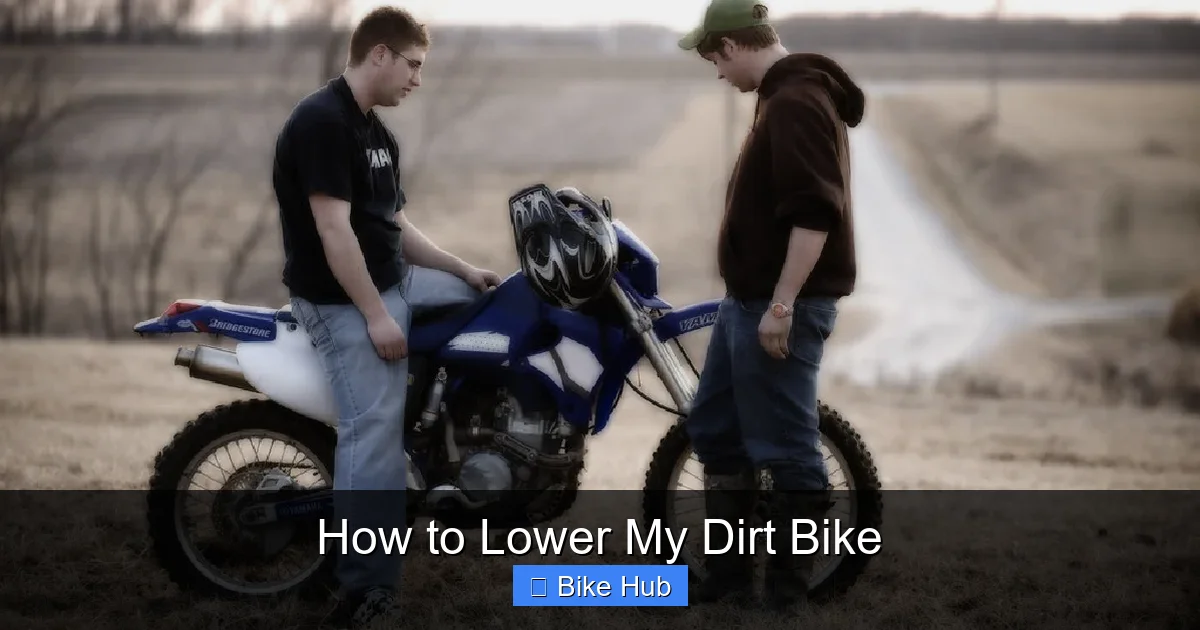
Method 1: Adjust Your Suspension

Visual guide about How to Lower My Dirt Bike
Image source: dirtbikemoto.com
The suspension system is the most common and effective way to lower a dirt bike. Most modern dirt bikes have adjustable front forks and rear shocks that let you control ride height.
Step 1: Check Your Current Sag
Sag is the amount your bike sinks under your weight. It’s a key indicator of proper suspension setup. To measure it:
- Have someone help you sit on the bike in full gear.
- Mark the rear shock shaft or fork tubes at a reference point.
- Get off and measure how much the suspension compressed.
Ideal sag is usually 30–35% of total travel. If it’s too little, your bike sits too high.
Step 2: Reduce Preload
Preload adjusts how stiff the spring is. Reducing preload lowers the bike slightly:
- Locate the preload adjuster on your rear shock (usually a collar near the spring).
- Turn it counterclockwise to reduce preload (consult your manual for exact steps).
- Make small adjustments—¼ turn at a time—and test ride.
Note: Some bikes have preload washers that need to be removed or repositioned.
Step 3: Lower the Forks in the Clamps
You can also lower the front end by sliding the forks up in the triple clamps:
- Loosen the triple clamp bolts (top and bottom).
- Slide the forks up by 5–10mm.
- Retighten bolts to manufacturer specs.
This lowers the front without changing geometry drastically. Don’t go beyond 10mm unless you know what you’re doing.
Method 2: Modify or Replace the Seat
The seat is the easiest part to change and can reduce height by 1–2 inches.
Option A: Trim the Seat Foam
If you’re handy with tools, you can shave down the foam:
- Remove the seat and take off the cover.
- Use a sharp knife or electric carving tool to carefully remove foam from the bottom.
- Reattach the cover and test for comfort.
Tip: Remove foam evenly to avoid lumps. Start with ½ inch and add more if needed.
Option B: Buy a Lower Seat
Many manufacturers offer low-profile seats for popular models. These are designed to reduce height without sacrificing comfort. Brands like Seat Concepts and SDG make aftermarket seats that drop height by up to 2 inches.
Option C: Use a Seat Pad or Gel Insert
Some riders add a thin gel pad or memory foam layer to raise their position slightly—wait, that’s the opposite! Actually, if you’ve already lowered the bike too much, a thin pad can help you reach the pegs better. But for lowering, stick to trimming or replacement.
Method 3: Swap to Shorter Tires
Changing your rear tire size is a more advanced method but can lower the bike significantly.
Choose a Smaller Rear Tire
Most dirt bikes come with 19” or 21” front wheels and 18” or 19” rear wheels. Switching to an 18” rear tire (if your bike supports it) can drop the rear by up to 1 inch.
- Check your bike’s manual to see if 18” wheels are compatible.
- Ensure the new tire has the same width and load rating.
- You may need to adjust the rear sprocket or chain length.
Warning: Don’t go too small. A mismatched tire can cause chain rub, poor handling, or damage to the swingarm.
Consider Narrower Tires
Narrower tires (e.g., 110/90 instead of 120/90) can also reduce height slightly. They’re lighter and may improve acceleration, but check clearance with your fender and chain.
Method 4: Lower the Footpegs
Some riders lower the footpegs to reduce leg reach. This doesn’t lower the bike itself but makes it feel lower.
- Remove the footpeg mounts.
- Drill new holes ½ inch lower or use aftermarket low-profile pegs.
- Reinstall and test for comfort.
Caution: Lowering pegs too much can cause them to hit the ground in turns or on bumps. Only do this if you ride mostly flat terrain.
Method 5: Install a Lowering Link
A lowering link (or dogbone) replaces the stock linkage on the rear suspension. It changes the leverage ratio and lowers the bike by 1–2 inches.
- Popular brands include Fastway, Works Connection, and Pivot Works.
- Installation requires removing the rear shock and swingarm pivot.
- Follow the kit instructions carefully—improper installation can be dangerous.
This method is effective but best left to experienced mechanics or riders with mechanical skills.
Troubleshooting Common Issues
After lowering your bike, you might run into a few problems. Here’s how to fix them:
Bike Bottoms Out on Bumps
If the suspension hits the bump stops too easily, you’ve likely reduced travel too much. Try:
- Increasing preload slightly.
- Reverting to a taller tire or seat.
- Adding air to air-sprung forks (if applicable).
Poor Handling at Speed
A lower center of gravity can make the bike feel twitchy. Check:
- Fork height in clamps—don’t go beyond 10mm.
- Tire pressure—too low can worsen handling.
- Suspension settings—rebound and compression may need adjustment.
Chain or Sprocket Rub
Lowering the rear can change chain alignment. Inspect:
- Chain tension—adjust if needed.
- Sprocket alignment—use a straightedge to check.
- Chain guide clearance—ensure it doesn’t hit the tire.
Final Tips Before You Ride
Once you’ve made your changes, follow these steps:
- Test in a safe area: Ride slowly in a parking lot or empty field. Practice stopping, turning, and balancing.
- Check all bolts: Make sure suspension, wheels, and footpegs are tight.
- Adjust your riding style: A lower bike may feel different—be patient as you adapt.
- Keep records: Note what you changed so you can reverse it if needed.
And remember: if you’re unsure about any modification, consult a professional mechanic. Safety always comes first.
Conclusion
Lowering your dirt bike doesn’t have to be complicated or expensive. With the right approach—whether it’s adjusting suspension, trimming the seat, or swapping tires—you can make your bike more comfortable and easier to control. Just remember to make gradual changes, test thoroughly, and never sacrifice safety for height.
Whether you’re tackling tight trails or just want to feel more confident at stops, these methods will help you get the most out of your ride. And if you’re preparing for a long ride after lowering your bike, don’t forget to check out our guide on how to prepare a mountain bike for long rides to ensure everything is in top shape.
Now get out there, stay safe, and enjoy the ride!


