
This guide walks you through how to remove speed limiter on electric bike using safe, practical methods. You’ll learn about legal considerations, tools needed, and how to test your bike after modification.
Key Takeaways
- Check local laws first: Removing the speed limiter may make your e-bike illegal to ride on public roads in many areas.
- Use manufacturer-approved methods: Some brands allow speed adjustments via official apps or settings menus—always try these before hardware mods.
- Common methods include wire cutting, app tuning, or display reprogramming: Each has risks and requires basic technical skill.
- Test in a safe environment: After removal, ride slowly at first to ensure stability, braking, and motor performance are unaffected.
- Warranty may be voided: Modifying your e-bike can cancel manufacturer support—weigh the benefits against potential repair costs.
- Prioritize safety gear: Higher speeds increase risk—wear a helmet, use lights, and consider upgrading brakes.
- Not all e-bikes are the same: Research your specific model before attempting any changes—what works for one bike may damage another.
How to Remove Speed Limiter on Electric Bike
If you’ve ever felt your electric bike holding you back—literally—you’re not alone. Most e-bikes come with a built-in speed limiter that caps your top speed at 20 mph (32 km/h) in the U.S. or 25 km/h in Europe. While this is great for safety and legal compliance, some riders want more speed for commuting, hill climbing, or just the thrill of going faster.
In this guide, we’ll show you how to remove speed limiter on electric bike using safe, tested methods. We’ll cover everything from checking your local laws to testing your bike after the change. Whether you’re a DIY enthusiast or just curious, this step-by-step walkthrough will help you make an informed decision.
Why Do E-Bikes Have Speed Limiters?
Before jumping into removal, it’s important to understand why speed limiters exist. Most e-bikes are classified as “pedelecs”—motorized bikes that assist only when you pedal and cut off at a certain speed. This classification keeps them legal under bike lane rules and avoids motorcycle licensing requirements.
The limiter is usually set by the motor controller or display unit. It monitors wheel speed via a sensor and stops motor assistance once you hit the limit. While this protects riders and complies with regulations, it can feel restrictive on open roads or steep hills.
Is It Legal to Remove the Speed Limiter?
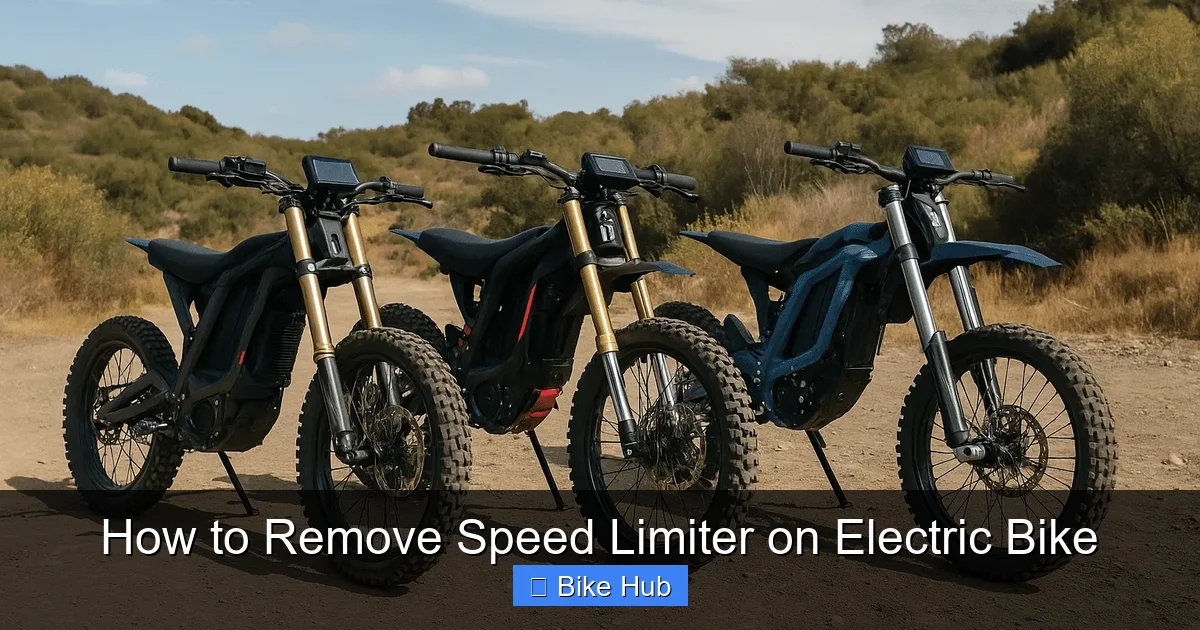
Visual guide about How to Remove Speed Limiter on Electric Bike
Image source: boltbikers.com
This is the most critical step: check your local laws.
In the U.S., federal law defines a low-speed electric bicycle as one that:
– Has fully operable pedals
– Has a motor under 750 watts
– Cuts off assistance at 20 mph
If you remove the limiter and exceed 20 mph with motor help, your bike may be reclassified as a motor vehicle—requiring registration, insurance, and a license.
In the EU, the limit is 25 km/h (about 15.5 mph). Going beyond this can void insurance and lead to fines.
Tip: Some areas allow modified e-bikes on private property only. Always confirm regulations with your city or state transportation department before proceeding.
Tools and Materials You’ll Need
Depending on your method, you may need:
- Multimeter (to test connections)
- Wire cutters and electrical tape
- Screwdrivers (Phillips and flathead)
- Smartphone with manufacturer app (e.g., Bosch, Shimano, or Bafang)
- Computer and USB cable (for firmware updates)
- Replacement display or controller (optional)
Always work in a clean, well-lit area and disconnect the battery before starting.
Method 1: Use the Manufacturer’s App or Settings
Many modern e-bikes allow speed adjustments through official apps. This is the safest and most reversible method.
Step 1: Check Compatibility
Look up your e-bike model online. Brands like Bosch, Shimano, and Bafang often have companion apps (e.g., Bosch eBike Connect, Shimano E-Tube) that let you adjust settings.
Step 2: Download and Pair the App
Install the app on your phone, enable Bluetooth, and pair it with your bike’s display unit. Follow the on-screen instructions.
Step 3: Adjust Speed Settings
Navigate to “Assist Level” or “Speed Limit” in the app. Some apps allow you to increase the cutoff speed or disable the limiter entirely. Save the changes and test.
Example: On a Bafang M600 system, you can use the Bafang app to raise the speed limit from 20 mph to 28 mph.
Step 4: Test Safely
Take your bike to a quiet, open area. Gradually increase speed while monitoring motor response. Ensure brakes and handling feel stable.
Tip: If the app doesn’t allow changes, your firmware may be locked. Check for updates or contact the manufacturer.
Method 2: Modify the Speed Sensor Wire
This method involves tricking the sensor that detects wheel speed. It’s common on budget e-bikes with simple wiring.
Step 1: Locate the Speed Sensor
Find the sensor near the rear wheel hub or bottom bracket. It’s usually a small magnet on the wheel and a sensor on the frame.
Step 2: Identify the Signal Wire
The sensor has three wires: power, ground, and signal. Use a multimeter to confirm which is the signal wire (it pulses when the wheel spins).
Step 3: Cut or Bypass the Signal Wire
Carefully cut the signal wire and insulate the ends with electrical tape. This prevents the controller from receiving speed data, effectively disabling the limiter.
Warning: This method can cause erratic behavior or damage the controller if done incorrectly. Only proceed if you’re confident in your skills.
Step 4: Test and Monitor
Reconnect the battery and test ride. The motor should now assist beyond the original limit. Watch for overheating or unusual noises.
Method 3: Reprogram the Display or Controller
Advanced users can flash custom firmware to override speed limits.
Step 1: Identify Your Controller
Open the battery compartment or remove the display to find the controller model (e.g., KT, Bafang, Lunacycle).
Step 2: Download Custom Firmware
Search for open-source firmware like “E-Bike Tuner” or “Bafang Config Tool.” These allow you to edit speed, power, and pedal assist levels.
Step 3: Connect and Flash
Use a USB cable to connect the controller to your computer. Follow the software instructions to upload the new settings.
Caution: Flashing firmware incorrectly can brick your controller. Always back up original settings first.
Step 4: Reassemble and Test
Reconnect all components and take a short test ride. Monitor motor temperature and battery drain.
Method 4: Replace the Display Unit
Some riders swap their stock display for one with higher speed limits.
Step 1: Choose a Compatible Display
Look for displays that support higher speeds (e.g., 28 mph or 45 km/h). Ensure it matches your motor brand and voltage.
Step 2: Install the New Display
Disconnect the old display and connect the new one using the same wiring harness. Secure it to the handlebar.
Step 3: Configure Settings
Use the new display’s menu to adjust speed limits. Some units have hidden menus—check online forums for your model.
Troubleshooting Common Issues
Motor Cuts Out at High Speed
This could mean the controller is still limiting power. Double-check your settings or try a different method.
Battery Drains Faster
Higher speeds use more power. Consider upgrading to a higher-capacity battery if range drops significantly.
Bike Feels Unstable
At speeds over 20 mph, handling changes. Ensure your tires are properly inflated and consider upgrading to puncture-resistant tires. For tips, see our guide on how to check bike tire pressure.
Brakes Feel Weak
Stock brakes may not handle higher speeds. Upgrade to hydraulic disc brakes for better stopping power. Learn more in our article on how to change road bike brake pads.
Safety Tips After Removal
Removing the speed limiter increases risk. Follow these safety practices:
- Always wear a helmet—consider one with MIPS technology
- Install bright front and rear lights for visibility
- Use reflective clothing, especially at night
- Practice emergency braking in a safe area
- Avoid busy streets until you’re comfortable at higher speeds
For night riding, check out our guide on how to install lights on a fat tire bike—many tips apply to all e-bike types.
Final Thoughts
Learning how to remove speed limiter on electric bike can unlock your bike’s full potential—but it comes with responsibilities. Always prioritize safety, legality, and proper maintenance.
Start with the least invasive method (like using an app), and only move to hardware changes if necessary. Test thoroughly, upgrade safety gear, and respect traffic laws.
Remember: a faster bike is only as good as your ability to control it. Ride smart, stay safe, and enjoy the ride.



