
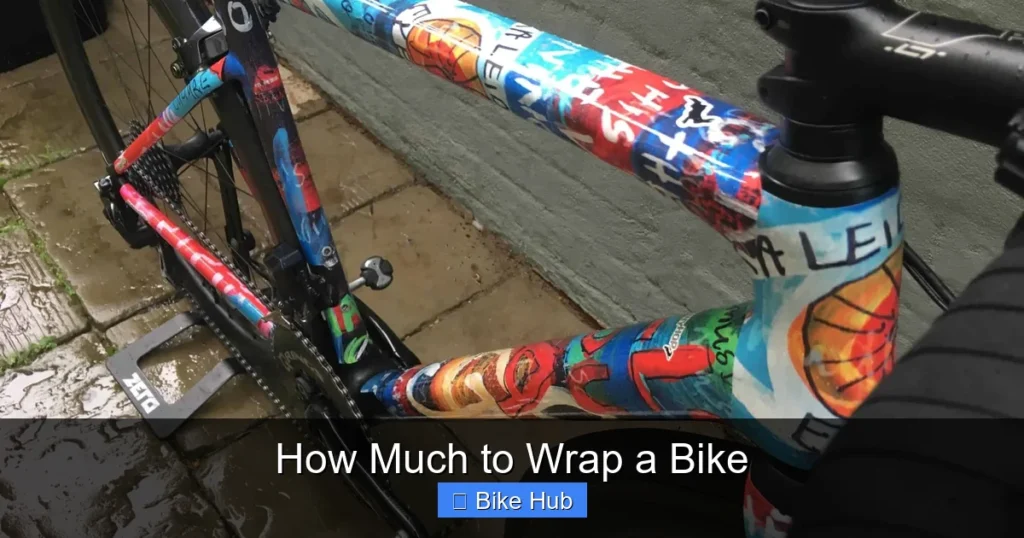
Wrapping your bike properly protects it from scratches, dust, and damage during storage or transport. This guide explains exactly how much wrap you need based on bike type, plus tips for efficient application.
Key Takeaways
- Measure your bike frame and wheels before buying wrap to avoid shortages or waste.
- Use high-quality stretch film or foam wrap—cheap materials tear easily and offer less protection.
- Plan for 30–50 feet of wrap for a standard road or mountain bike, depending on coverage level.
- Wrap in sections: start with the frame, then handlebars, wheels, and drivetrain.
- Overlap each layer by 50% to ensure full coverage and secure hold.
- Protect high-risk areas like the chainstay, fork, and derailleur with extra layers.
- Store or transport immediately after wrapping to maintain tightness and prevent dust buildup.
How Much to Wrap a Bike: A Complete Guide
Whether you’re storing your bike for the winter, shipping it across the country, or preparing it for a long tour, knowing how much to wrap a bike is essential. Wrapping protects your investment from scratches, moisture, dirt, and accidental impacts. But too little wrap leaves parts exposed—while too much is wasteful and costly.
This guide walks you through everything you need to know: from measuring your bike and choosing the right materials, to applying the wrap like a pro. By the end, you’ll have a securely wrapped bike ready for any journey or storage situation.
Why Wrapping Your Bike Matters
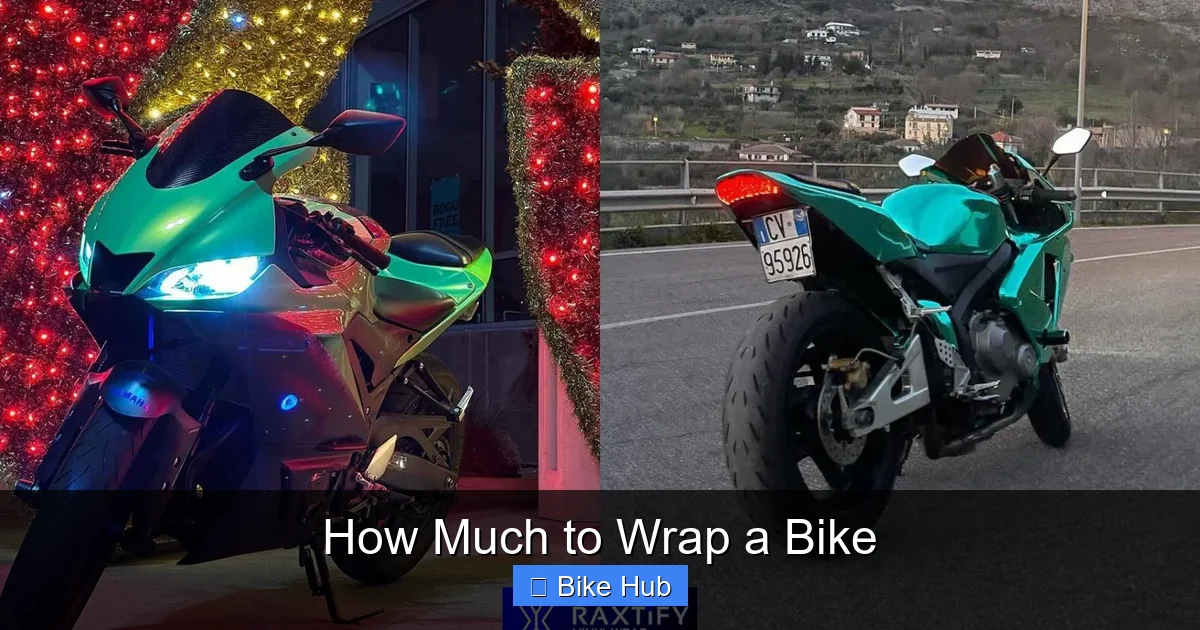
Visual guide about How Much to Wrap a Bike
Image source: cdn.shopify.com
Bikes are precision machines with delicate components. The frame, especially on carbon or painted aluminum models, can scratch easily. Drivetrains collect grime when exposed, and brake rotors can get contaminated. Even during short-term storage, dust and humidity can cause rust or degrade lubricants.
Wrapping your bike:
– Prevents surface damage during transport
– Keeps dirt and moisture out during storage
– Reduces the need for deep cleaning later
– Protects against accidental bumps in garages or bike racks
For example, if you’re shipping your mountain bike to a race venue, a proper wrap can mean the difference between arriving race-ready and dealing with a scratched frame or misaligned derailleur. Similarly, if you’re storing a recumbent bike in a damp shed, wrapping it helps avoid corrosion—especially important if you follow tips from our guide on how to store a recumbent bike.
How Much Wrap Do You Actually Need?
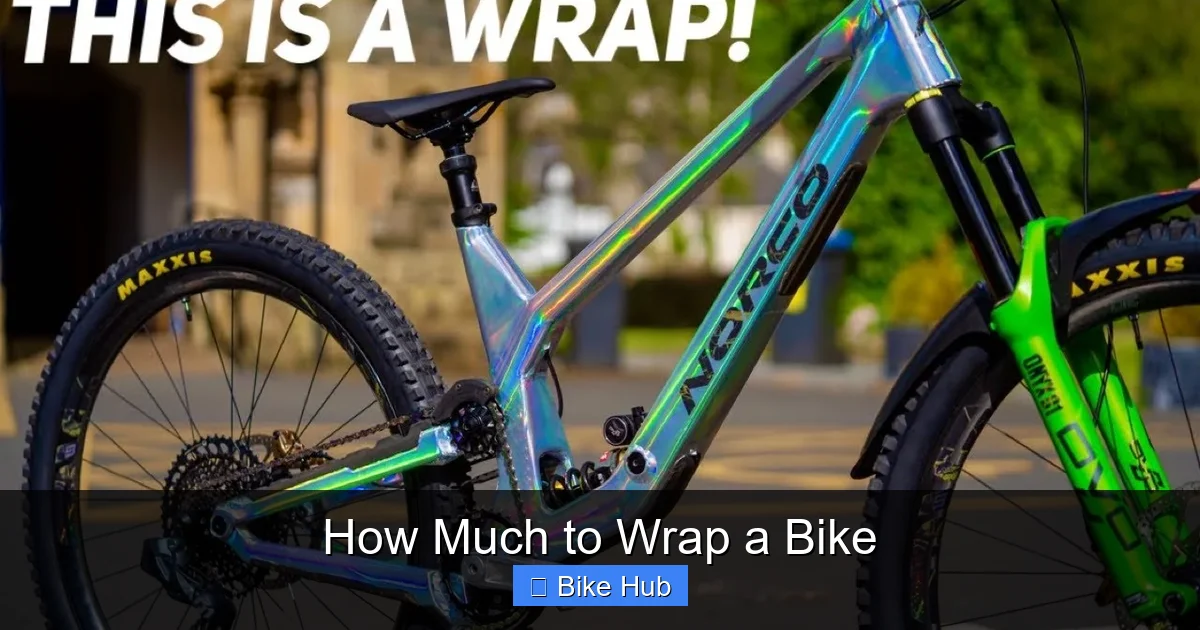
Visual guide about How Much to Wrap a Bike
Image source: i.ytimg.com
The amount of wrap required depends on your bike type, wrap material, and how thoroughly you want to protect it. Here’s a general breakdown:
Standard Road or Mountain Bike
– 30 to 40 feet of 12–18 inch wide stretch film
– Covers frame, handlebars, wheels, and drivetrain with 2–3 layers
Fat-Tire Bike or Full-Suspension Mountain Bike
– 40 to 50 feet due to larger wheels and more complex frame geometry
– Extra wrap needed for rear suspension arms and wide tires
BMX or Kids’ Bike
– 20 to 30 feet—smaller size means less material needed
Recumbent or Touring Bike
– 50+ feet—longer frames and additional components (like racks or fairings) require more coverage
Pro Tip: Always buy 10–15% extra wrap to account for mistakes, overlaps, or unexpected tears.
Choosing the Right Wrap Material
Not all wraps are created equal. Here are the best options:
Stretch Film (Plastic Wrap)
– Most common and affordable
– Self-adhering—no tape needed
– Ideal for short-term storage or transport
– Look for 80-gauge or thicker for durability
Foam Pipe Insulation or Pool Noodles
– Great for protecting high-impact zones (top tube, chainstay)
– Cut to size and slit open to wrap around tubes
– Often used in combination with stretch film
Bubble Wrap
– Excellent for cushioning
– Best for shipping or long-distance transport
– Use under stretch film for added protection
Specialty Bike Bags or Covers
– Reusable and eco-friendly
– Not “wrap” in the traditional sense, but offer full coverage
– Ideal for frequent travelers
For most DIY wrapping jobs, a combo of foam padding and stretch film works best. If you’re preparing for a rainy race or wet storage, consider moisture-resistant materials—similar to what’s recommended in our article on how to prepare for a rainy bike race.
Step-by-Step: How to Wrap Your Bike
Follow these steps to wrap your bike efficiently and effectively.
Step 1: Clean Your Bike
Before wrapping, give your bike a thorough wash. Dirt and grease trapped under the wrap can cause corrosion or stains. Use a gentle bike cleaner and dry completely. This is especially important if you’ve just returned from a muddy trail—check out our guide on how to clean a road bike drivetrain for best practices.
Step 2: Protect Sensitive Areas
Wrap high-risk zones first:
– Use foam tubing on the top tube, down tube, and chainstay
– Cover the derailleur cage with a small piece of bubble wrap
– Protect brake rotors with cardboard or plastic shields
Step 3: Start with the Frame
Begin at the head tube. Wrap the stretch film around the frame in a spiral motion, moving toward the rear. Overlap each pass by 50% to ensure full coverage. Keep tension even—too loose and it slips; too tight and it may tear.
Step 4: Wrap the Handlebars and Stem
Fold the handlebars toward the frame (if possible) to reduce bulk. Wrap the bars and stem together, securing any loose cables. Use extra layers around the brake levers and shifters.
Step 5: Cover the Wheels
Remove the wheels if you’re shipping or storing long-term. Wrap each wheel separately:
– Start at the hub and spiral outward to the rim
– Cover the tire and sidewall completely
– Secure the valve stem with a small piece of tape to prevent punctures
If keeping wheels on, wrap them in place, ensuring the film doesn’t interfere with brake pads or drivetrain.
Step 6: Secure the Drivetrain
The chain, cassette, and chainrings are prone to damage. Wrap the entire rear triangle and drivetrain area with 2–3 layers. Avoid covering the chain with anything that could trap moisture—ensure it’s dry first.
Step 7: Final Wrap and Seal
Once all components are covered, do a final pass around the entire bike. This binds everything together and prevents shifting during transport. Tuck loose ends under the wrap or use a small piece of tape if needed.
Troubleshooting Common Wrapping Problems
Wrap Keeps Slipping Off
This usually happens when the film isn’t stretched enough or the surface is greasy. Clean the frame again and apply more tension as you wrap.
Tears in the Film
Use thicker gauge wrap (90–100 gauge) for heavy-duty jobs. Avoid sharp edges—pad them with foam first.
Difficulty Accessing Components Later
If you plan to unwrap and ride soon, consider using removable straps or Velcro wraps for areas like the handlebars and seat post.
Moisture Trapped Inside
Never wrap a wet bike. Always dry thoroughly and avoid plastic-only wraps for long-term storage—consider breathable covers instead.
When to Re-Wrap or Unwrap
– Short-term storage (1–3 months): One good wrap is usually enough.
– Long-term storage (6+ months): Check every 2–3 months. Re-wrap if the film loosens or tears.
– After transport: Unwrap immediately and inspect for damage. Clean and re-lubricate the chain.
Final Thoughts
Knowing how much to wrap a bike isn’t just about buying the right amount of material—it’s about protecting your ride with care and precision. A well-wrapped bike stays cleaner, lasts longer, and performs better. Whether you’re prepping for a cross-country move, winter storage, or a weekend race, take the time to wrap it right.
With the right materials, a little planning, and these step-by-step tips, you’ll keep your bike in top condition no matter where life takes you.



