
Transitioning from a balance bike to a pedal bike is a big milestone for young riders. This guide walks you through the process step by step, helping your child build confidence, coordination, and independence on two wheels.
Key Takeaways
- Start with the right pedal bike: Choose a lightweight, properly sized bike with adjustable seat height to match your child’s balance bike experience.
- Remove pedals initially: Let your child practice gliding and balancing on the new bike without pedals before adding them back.
- Focus on balance first: Since balance bikes teach natural balance, use that foundation before introducing pedaling.
- Practice in a safe, open space: Use flat, smooth areas like empty parking lots or quiet sidewalks to reduce fear and distractions.
- Encourage, don’t rush: Let your child progress at their own pace—patience builds confidence and prevents frustration.
- Use proper safety gear: Always wear a helmet, and consider knee and elbow pads for extra protection during early rides.
- Celebrate small wins: Positive reinforcement helps kids stay motivated and excited about learning to ride.
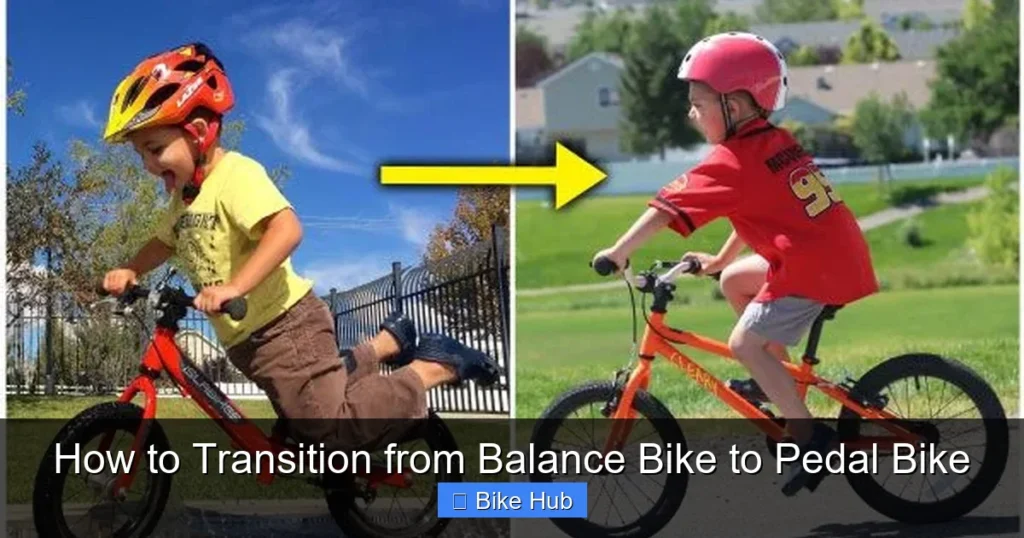
How to Transition from Balance Bike to Pedal Bike
Moving from a balance bike to a pedal bike is an exciting step for both kids and parents. Balance bikes are fantastic tools—they teach children balance, steering, and coordination without the complexity of pedals. But when the time comes to upgrade, many parents wonder: How do I help my child make the switch smoothly?
The good news? Because your child has already mastered balance on a balance bike, the transition to a pedal bike is often faster and less stressful than teaching a beginner from scratch. This guide will walk you through each step, from choosing the right bike to celebrating that first successful ride. You’ll learn practical tips, troubleshooting advice, and how to keep your child safe and confident throughout the process.
Step 1: Choose the Right Pedal Bike

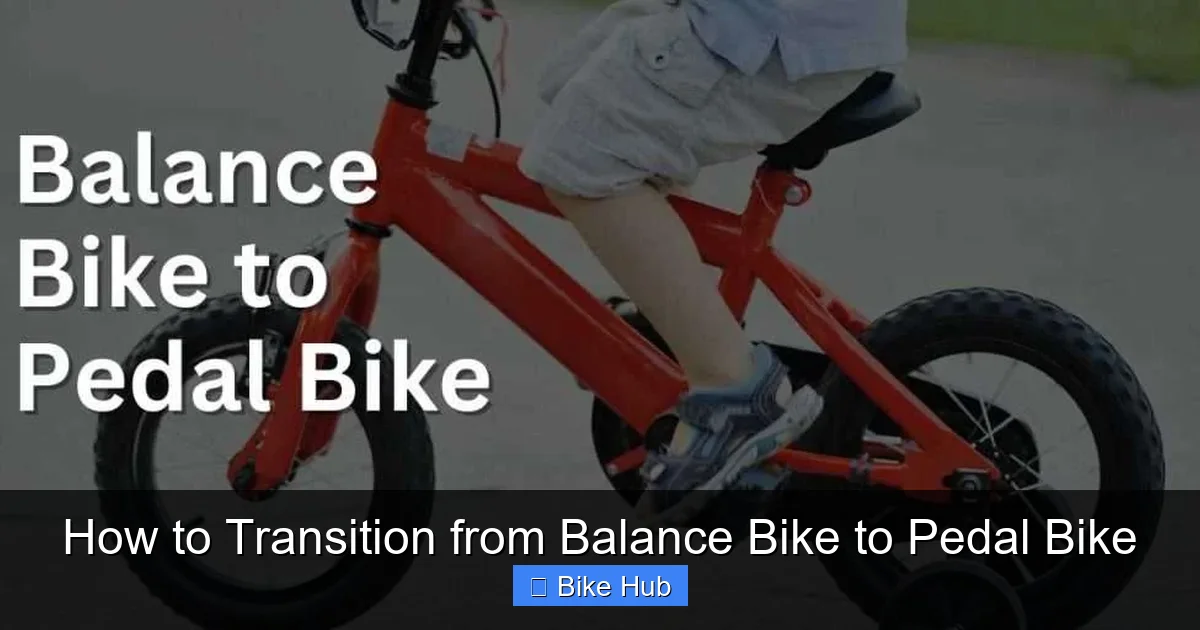
Visual guide about How to Transition from Balance Bike to Pedal Bike
Image source: babame.com
Before your child even touches a pedal bike, make sure you’ve picked the right one. A well-fitted bike makes all the difference.
Look for a lightweight frame
Children need to be able to lift, control, and stop their bike easily. Heavy bikes can be intimidating and hard to manage. Aim for a bike that weighs less than 30% of your child’s body weight. Aluminum frames are usually lighter than steel.
Ensure proper sizing
Your child should be able to stand over the bike with both feet flat on the ground. When seated, they should reach the handlebars comfortably without stretching. Most kids transition to pedal bikes between ages 3 and 6, but size matters more than age.
Check adjustable features
Look for a bike with an adjustable seat and handlebars. This allows room for growth and ensures a comfortable fit during the learning phase. A seat that’s too high can make balancing difficult, while one that’s too low may cause inefficient pedaling.
Consider hand brakes vs. coaster brakes
Many pedal bikes for young riders come with coaster brakes (pedal backward to stop). While simple, they can delay the development of hand-eye coordination. If your child is ready, a bike with hand brakes teaches better control and prepares them for future bikes. Just make sure the levers are sized for small hands.
Step 2: Prepare the Bike for Learning
Visual guide about How to Transition from Balance Bike to Pedal Bike
Image source: babame.com
Once you have the right bike, set it up to mimic the balance bike experience as much as possible.
Remove the pedals
This is a game-changer. By removing the pedals, your child can use the bike like a balance bike—gliding with their feet and focusing on steering and balance. Most bikes allow easy pedal removal with basic tools.
Lower the seat slightly
Lower the seat so your child can easily put both feet down. This boosts confidence and gives them a safety net while they get used to the new bike’s weight and feel.
Check tire pressure and brakes
Make sure the tires are properly inflated—this affects handling and speed. Also, test the brakes to ensure they work smoothly. For more on tire care, check out our guide on how to check bike tire pressure.
Step 3: Practice Gliding and Balancing
Now it’s time to ride—without pedals.
Start on a slight incline
Find a gentle slope, like a quiet driveway or park path. Gravity helps with momentum, so your child can focus on balancing instead of pushing off.
Encourage coasting
Have your child push off with their feet, then lift them to glide. Remind them to look ahead, not down at their feet. This builds confidence and reinforces the balance skills they learned on their balance bike.
Use verbal cues
Say things like, “Look where you want to go,” or “Feet up, glide!” Positive, simple instructions help kids stay focused and calm.
Practice stopping
Teach them to use their feet to slow down and stop. If the bike has hand brakes, introduce them gently—let your child practice squeezing the levers while stationary first.
Step 4: Reattach the Pedals and Introduce Pedaling
Once your child is comfortable gliding and balancing, it’s time to add pedals.
Reattach the pedals securely
Use a wrench to ensure they’re tight. Loose pedals can be dangerous and cause frustration.
Start with one foot on a pedal
Have your child sit on the seat, place one foot on a pedal in the 2 o’clock position (slightly forward), and push off with the other foot. This gives them momentum to start pedaling.
Hold the bike (but don’t hold too tight)
You can hold the back of the seat or the handlebars lightly to steady the bike, but avoid holding too tightly—your child needs to feel the bike move naturally to balance. Let go for short moments as they gain confidence.
Practice starting and stopping
Pedaling is new, so expect some wobbles. Practice in short bursts: start, pedal a few times, then stop. Repeat until it feels natural.
Step 5: Build Confidence with Practice
Like any skill, riding takes repetition. Keep sessions short, fun, and pressure-free.
Choose safe practice areas
Empty parking lots, quiet cul-de-sacs, or smooth park paths are ideal. Avoid busy streets or uneven terrain until your child is fully confident.
Use games and challenges
Turn practice into play. Set up cones to weave through, or play “red light, green light” to practice stopping and starting.
Celebrate progress
Did they pedal five feet without falling? That’s a win! Praise effort, not just success. This builds a growth mindset and keeps kids motivated.
Be patient
Some kids pick it up in a day. Others take weeks. That’s okay. Rushing can lead to fear or resistance. Let your child set the pace.
Troubleshooting Common Challenges
Even with the best preparation, hiccups happen. Here’s how to handle them.
“My child is scared to let go of the balance bike.”
That’s normal. Try letting them ride both bikes on the same day—start with the balance bike, then switch to the pedal bike. This builds familiarity.
“They keep putting their feet down.”
This means they’re not yet confident in their balance. Go back to gliding without pedals. Practice more before reintroducing pedaling.
“The bike feels too big or heavy.”
Double-check the fit. If the bike is too large, consider a smaller model or a different brand known for lightweight designs.
“They don’t want to practice.”
Keep it fun. Take breaks, bring a favorite toy, or invite a friend to ride alongside. Avoid turning practice into a chore.
“They’re struggling with hand brakes.”
Practice squeezing the levers while the bike is stationary. You can also temporarily switch to a coaster brake bike if needed, then transition back later.
Safety Tips for a Smooth Transition
Safety should always come first.
Always wear a helmet
A properly fitted helmet is non-negotiable. For tips on avoiding hair damage from helmets, read our guide on how to avoid hair damage from bike helmet.
Wear protective gear
Knee and elbow pads can prevent scrapes and reduce fear of falling.
Check the bike before each ride
Inspect tires, brakes, and bolts regularly. A quick safety check prevents accidents.
Supervise closely
Stay within arm’s reach during early rides. Your presence provides emotional security and quick help if needed.
Teach road safety basics
Even in safe areas, teach your child to look both ways, avoid driveways, and stay visible.
When to Seek Help
Most kids learn to ride with patience and practice. But if your child shows persistent fear, refuses to try, or has coordination challenges, consider consulting a pediatrician or occupational therapist. Sometimes, underlying issues like low muscle tone or balance disorders can affect riding. Early support makes a big difference.
Conclusion
Transitioning from a balance bike to a pedal bike doesn’t have to be stressful. With the right bike, a supportive approach, and plenty of practice, your child will be pedaling confidently in no time. Remember: every wobble, fall, and triumph is part of the journey. Celebrate the process, not just the destination.
By following this guide, you’re not just teaching your child how to ride—you’re building confidence, independence, and a lifelong love for cycling. So grab that helmet, head to the park, and enjoy the ride together.


