
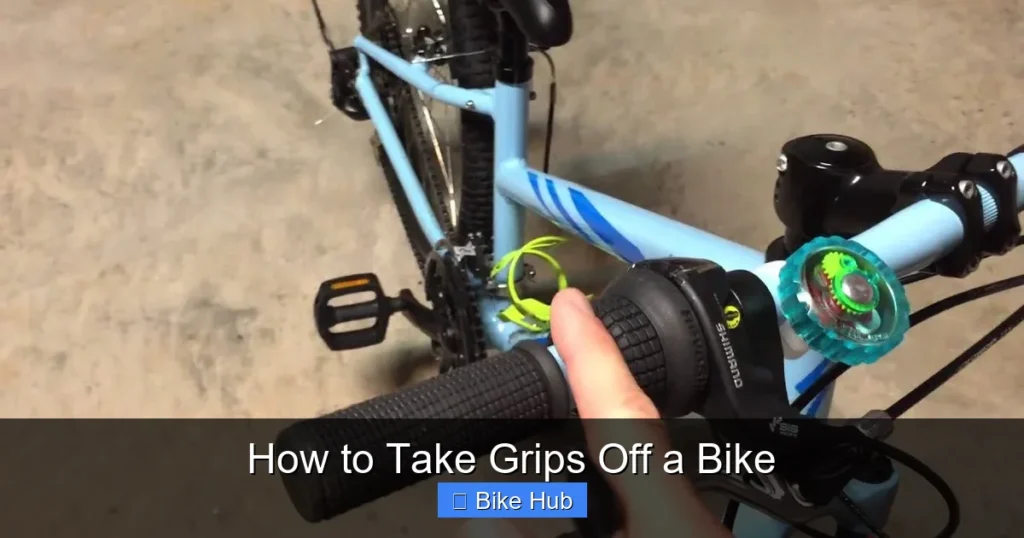
Removing bike grips doesn’t have to be a struggle. Whether you’re upgrading, replacing, or maintaining your handlebars, knowing the right techniques ensures a smooth, damage-free process. This guide covers everything from simple tricks to advanced methods for stubborn grips.
Key Takeaways
- Use soapy water or rubbing alcohol to loosen tight grips – These liquids act as lubricants that help slide grips off without tearing.
- Twist and pull gently instead of yanking – Aggressive pulling can damage the grip or handlebar.
- Compressed air can help separate stuck grips – Inserting air between the grip and bar breaks the seal effectively.
- Cut old grips off only as a last resort – Use a utility knife carefully if other methods fail.
- Clean handlebars before installing new grips – Dirt and residue prevent a secure fit.
- Choose the right tool for your grip type – Foam, rubber, and lock-on grips require different approaches.
- Work in a well-lit, dry area – Good visibility and dry conditions make the job easier and safer.
Quick Answers to Common Questions
Can I reuse bike grips after removing them?
Yes, if they’re not torn or damaged. Use lubricants like soapy water or alcohol to remove them gently, and store them properly to maintain their shape.
What’s the best liquid to use for removing grips?
Isopropyl alcohol is ideal because it evaporates quickly and doesn’t leave residue. Soapy water works well too and is gentler on foam grips.
Can I use WD-40 to remove bike grips?
Yes, but use it sparingly. WD-40 can degrade rubber over time, so it’s better as a last resort. Always clean the handlebar thoroughly afterward.
How do I remove grips without damaging the handlebars?
Avoid using sharp tools near the bar. Use lubricants, compressed air, or twist motions. If cutting, keep the blade parallel and away from the metal.
Are lock-on grips easier to remove?
Absolutely. Lock-on grips use a clamp system, so you just loosen the bolt and slide them off—no lubricants or force needed.
📑 Table of Contents
- Why You Might Need to Remove Bike Grips
- Tools and Supplies You’ll Need
- Method 1: The Soapy Water or Alcohol Trick
- Method 2: Using Compressed Air
- Method 3: The Twist-and-Pull Technique
- Method 4: Cutting the Grip Off (Last Resort)
- Special Cases: Lock-On Grips and Foam Grips
- Tips for a Clean and Safe Removal
- Installing New Grips: A Quick Note
- Conclusion
Why You Might Need to Remove Bike Grips
There are many reasons you might need to take grips off a bike. Maybe your current grips are worn out, cracked, or just uncomfortable. Perhaps you’re upgrading to ergonomic grips for better hand support on long rides. Or maybe you’re replacing handlebars, installing new brake levers, or performing maintenance that requires full access to the handlebar ends.
Whatever the reason, removing bike grips doesn’t have to be a frustrating ordeal. With the right tools and techniques, you can take grips off quickly and cleanly—without damaging your handlebars or the grips themselves (in case you want to reuse them). In this guide, we’ll walk you through several proven methods, from the simplest tricks to more advanced solutions for stubborn grips.
Tools and Supplies You’ll Need
Before you start, gather the right tools. Having everything ready will save time and prevent frustration. Most of these items are common household supplies, so you probably already have them.
Basic Tools
- Rubber mallet or soft hammer
- Compressed air (from a can or bike pump with a nozzle)
- Isopropyl alcohol or soapy water
- Utility knife or sharp blade (use with caution)
- Clean rag or paper towels
- Needle-nose pliers (optional)
Optional but Helpful
- Grip installation tool (often comes with new grips)
- Hairdryer (for heat-based removal)
- WD-40 or silicone spray (as a last-resort lubricant)
Always work in a clean, dry, and well-lit area. This helps you see what you’re doing and prevents slipping or accidents.
Method 1: The Soapy Water or Alcohol Trick
This is one of the easiest and most effective ways to remove tight grips. Both soapy water and isopropyl alcohol act as lubricants that reduce friction between the grip and the handlebar.
Step-by-Step Guide
- Mix a solution: Use warm water with a few drops of dish soap, or pure isopropyl alcohol (70% or higher).
- Apply the liquid: Use a spray bottle or a small brush to apply the solution around the inside edge of the grip. Aim for the gap between the grip and the handlebar.
- Twist and pull: Gently twist the grip back and forth while pulling it away from the center of the handlebar. The liquid will seep in and loosen the bond.
- Work it off slowly: Don’t rush. Continue adding liquid and twisting until the grip slides off completely.
Pro Tip: Alcohol evaporates quickly and won’t leave a sticky residue, making it ideal for rubber grips. Soapy water is gentler and works well for foam or softer grips.
Method 2: Using Compressed Air
If your grips are especially tight or glued on, compressed air can be a game-changer. This method uses air pressure to break the seal between the grip and the handlebar.
How It Works
By inserting a thin nozzle (like from a can of compressed air or a bike pump with a narrow tip) between the grip and the bar, you can blow air into the space. The air pushes the grip away from the bar, making it easy to slide off.
Step-by-Step Instructions
- Find the gap: Look for a small opening at the end of the grip where it meets the handlebar.
- Insert the nozzle: Carefully slide the tip of the air source into the gap. A bike pump with a Presta valve adapter works well.
- Blow air in short bursts: Don’t force it. Short puffs of air will gradually separate the grip.
- Twist and pull: As air enters, gently twist the grip and pull it outward. It should start to move freely.
Safety Note: Avoid using high-pressure air sources like air compressors unless you regulate the pressure. Too much force can damage the grip or handlebar.
Method 3: The Twist-and-Pull Technique
Sometimes, all you need is a little patience and the right motion. The twist-and-pull method is perfect for grips that aren’t glued or overly tight.
Best for Standard Rubber Grips
This technique works best on standard rubber grips that aren’t locked in place. It’s simple, requires no tools, and is gentle on your equipment.
How to Do It
- Hold the handlebar firmly: Use one hand to stabilize the bar.
- Twist the grip: With your other hand, rotate the grip in a circular motion—back and forth—while pulling it toward the end of the bar.
- Work gradually: Don’t try to remove it in one motion. Keep twisting and pulling until it slides off.
Tip: If the grip feels stuck, stop and try one of the lubrication methods above. Forcing it can tear the grip or damage the bar.
Method 4: Cutting the Grip Off (Last Resort)
If all else fails, you may need to cut the grip off. This method is destructive, so only use it if you’re replacing the grips and don’t plan to reuse them.
When to Use This Method
Cutting is ideal for old, brittle, or heavily glued grips that won’t budge. It’s also useful if you’re in a hurry and don’t have time for slower techniques.
Step-by-Step Cutting Process
- Use a sharp utility knife: A fresh blade ensures a clean cut.
- Cut lengthwise: Carefully slice along the length of the grip, avoiding the handlebar. Keep the blade parallel to the bar.
- Peel it open: Once cut, the grip should peel away easily.
- Clean the residue: Use a rag and alcohol to remove any leftover glue or debris.
Safety First: Always cut away from your body and wear gloves to protect your hands. Keep fingers clear of the blade path.
Special Cases: Lock-On Grips and Foam Grips
Not all grips are the same. Some have special designs that require different removal techniques.
Lock-On Grips
These grips use metal clamps or collars to secure them to the handlebar. They’re designed for easy installation and removal.
- Locate the clamp: Look for a small bolt or screw on the end of the grip.
- Loosen the bolt: Use an Allen key to unscrew it completely.
- Slide the grip off: Once the clamp is loose, the grip should slide right off.
Advantage: No lubricants or cutting needed. These are the easiest grips to remove and reinstall.
Foam Grips
Foam grips are lightweight and comfortable but can be tricky because they’re porous and absorb liquids.
- Use minimal liquid: Too much water or alcohol can degrade the foam.
- Twist gently: Foam grips are more fragile—avoid pulling too hard.
- Compressed air works well: It won’t soak into the material and can loosen the grip effectively.
Tips for a Clean and Safe Removal
No matter which method you use, these tips will help ensure a smooth process.
Work Slowly
Rushing increases the risk of tearing the grip or scratching the handlebar. Take your time, especially with older grips.
Protect Your Handlebars
Use a soft cloth or tape to cover the handlebar ends if you’re using a knife or pliers. This prevents scratches and dents.
Clean After Removal
Once the grip is off, wipe down the handlebar with a clean, dry cloth. Remove any glue, dirt, or residue before installing new grips.
Label Left and Right
If you’re removing both grips, mark them (e.g., with tape) so you don’t mix them up. Some grips are designed specifically for left or right sides.
Installing New Grips: A Quick Note
After removing old grips, you’ll likely want to install new ones. The process is similar—use soapy water or alcohol to lubricate the inside of the new grip, slide it on, and let it dry. For lock-on grips, simply tighten the clamp.
Make sure the grips are aligned properly with your brake levers and shifters. Comfort and control start with the right grip position.
Conclusion
Taking grips off a bike doesn’t have to be a battle. With the right approach—whether it’s using soapy water, compressed air, or a simple twist—you can remove them quickly and safely. Always start with the gentlest method and work your way up if needed.
Remember to clean your handlebars afterward and choose the right grips for your riding style. Whether you’re a casual rider or a mountain biking enthusiast, comfortable, secure grips make all the difference. Now that you know how to take grips off a bike, you’re ready to upgrade, maintain, or customize your ride with confidence.
Frequently Asked Questions
How do I remove glued-on bike grips?
Use isopropyl alcohol or a dedicated grip solvent to break down the adhesive. Apply it around the edge, let it sit for a few minutes, then twist and pull gently.
Can I use a hairdryer to remove grips?
Yes, heating the grip with a hairdryer softens the rubber and adhesive. Heat evenly, then twist and pull. Be careful not to overheat or burn the grip.
Why are my bike grips so hard to remove?
Over time, grips can fuse to the handlebar due to sweat, dirt, or adhesive. Using lubricants or compressed air helps break this bond.
Is it safe to cut bike grips off?
Yes, if done carefully. Use a sharp blade, cut lengthwise, and protect your hands and handlebars. Only do this if you’re replacing the grips.
Do I need special tools to remove bike grips?
Not necessarily. Most methods use household items like soapy water, alcohol, or compressed air. Lock-on grips only need an Allen key.
How long does it take to remove bike grips?
With the right method, it can take as little as 2–5 minutes per grip. Stubborn grips may take longer, especially if glued.



