
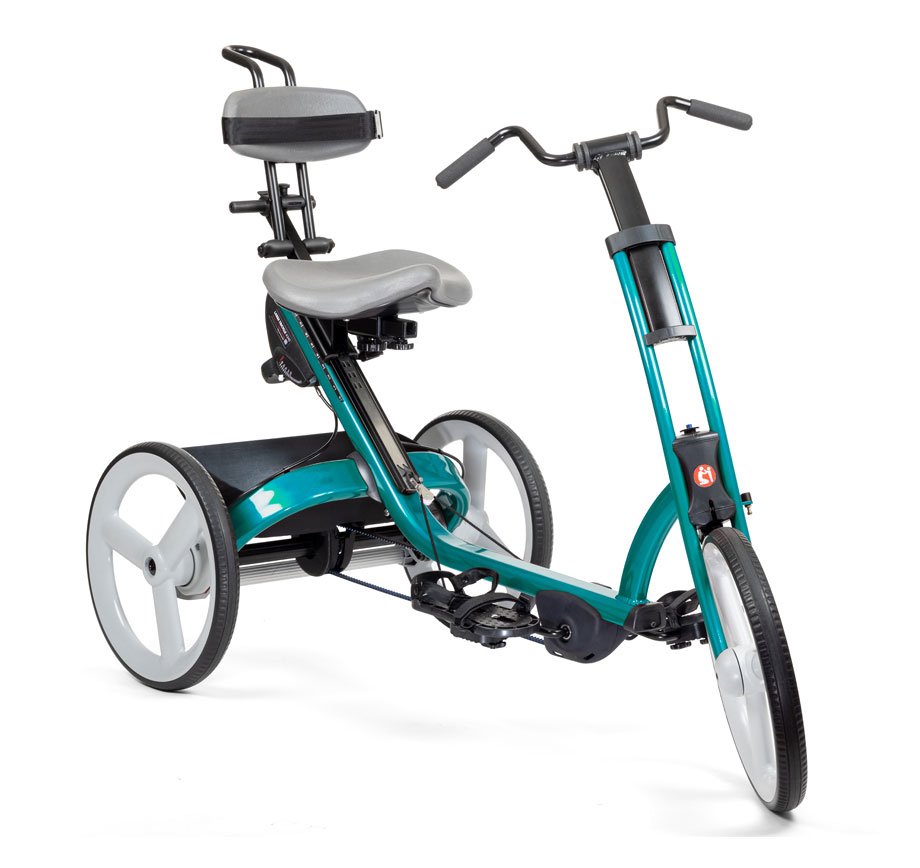
Choosing the right size for an adaptive bike can feel confusing, but it doesn’t have to be. Getting the perfect fit is key to comfort, safety, and enjoying every ride.
You want a bike that moves with you, not against you. You’ll discover simple steps to measure yourself and pick the best adaptive bike size. By the end, you’ll feel confident making a choice that matches your needs perfectly. Keep reading to find out how easy it is to get started on your ideal bike!

Credit: www.rifton.com
Choosing The Right Frame Size
Picking the right frame size is key for a good ride on an adaptive bike. A correct size helps with comfort and control.
This guide explains how to measure and adjust to find the best frame size for you or your rider.
Measuring Inseam Length
Inseam length is the distance from the crotch to the ground. It helps determine the right frame height.
Stand straight with feet about six inches apart. Measure from the floor to the crotch using a tape measure.
- Use a book or flat object to get an accurate crotch point
- Keep the tape measure straight
- Write down the measurement in inches or centimeters
Considering Rider Height
Rider height also helps select the right frame size. Taller riders need bigger frames, shorter riders need smaller ones.
Use height charts from bike makers to match height with frame size. This helps narrow down the best options.
| Rider Height | Recommended Frame Size |
|---|---|
| 4’0″ – 4’6″ (122-137 cm) | 12″ – 14″ |
| 4’7″ – 5’0″ (140-152 cm) | 14″ – 16″ |
| 5’1″ – 5’6″ (155-168 cm) | 16″ – 18″ |
| 5’7″ – 6’0″ (170-183 cm) | 18″ – 20″ |
Adjusting For Bike Type
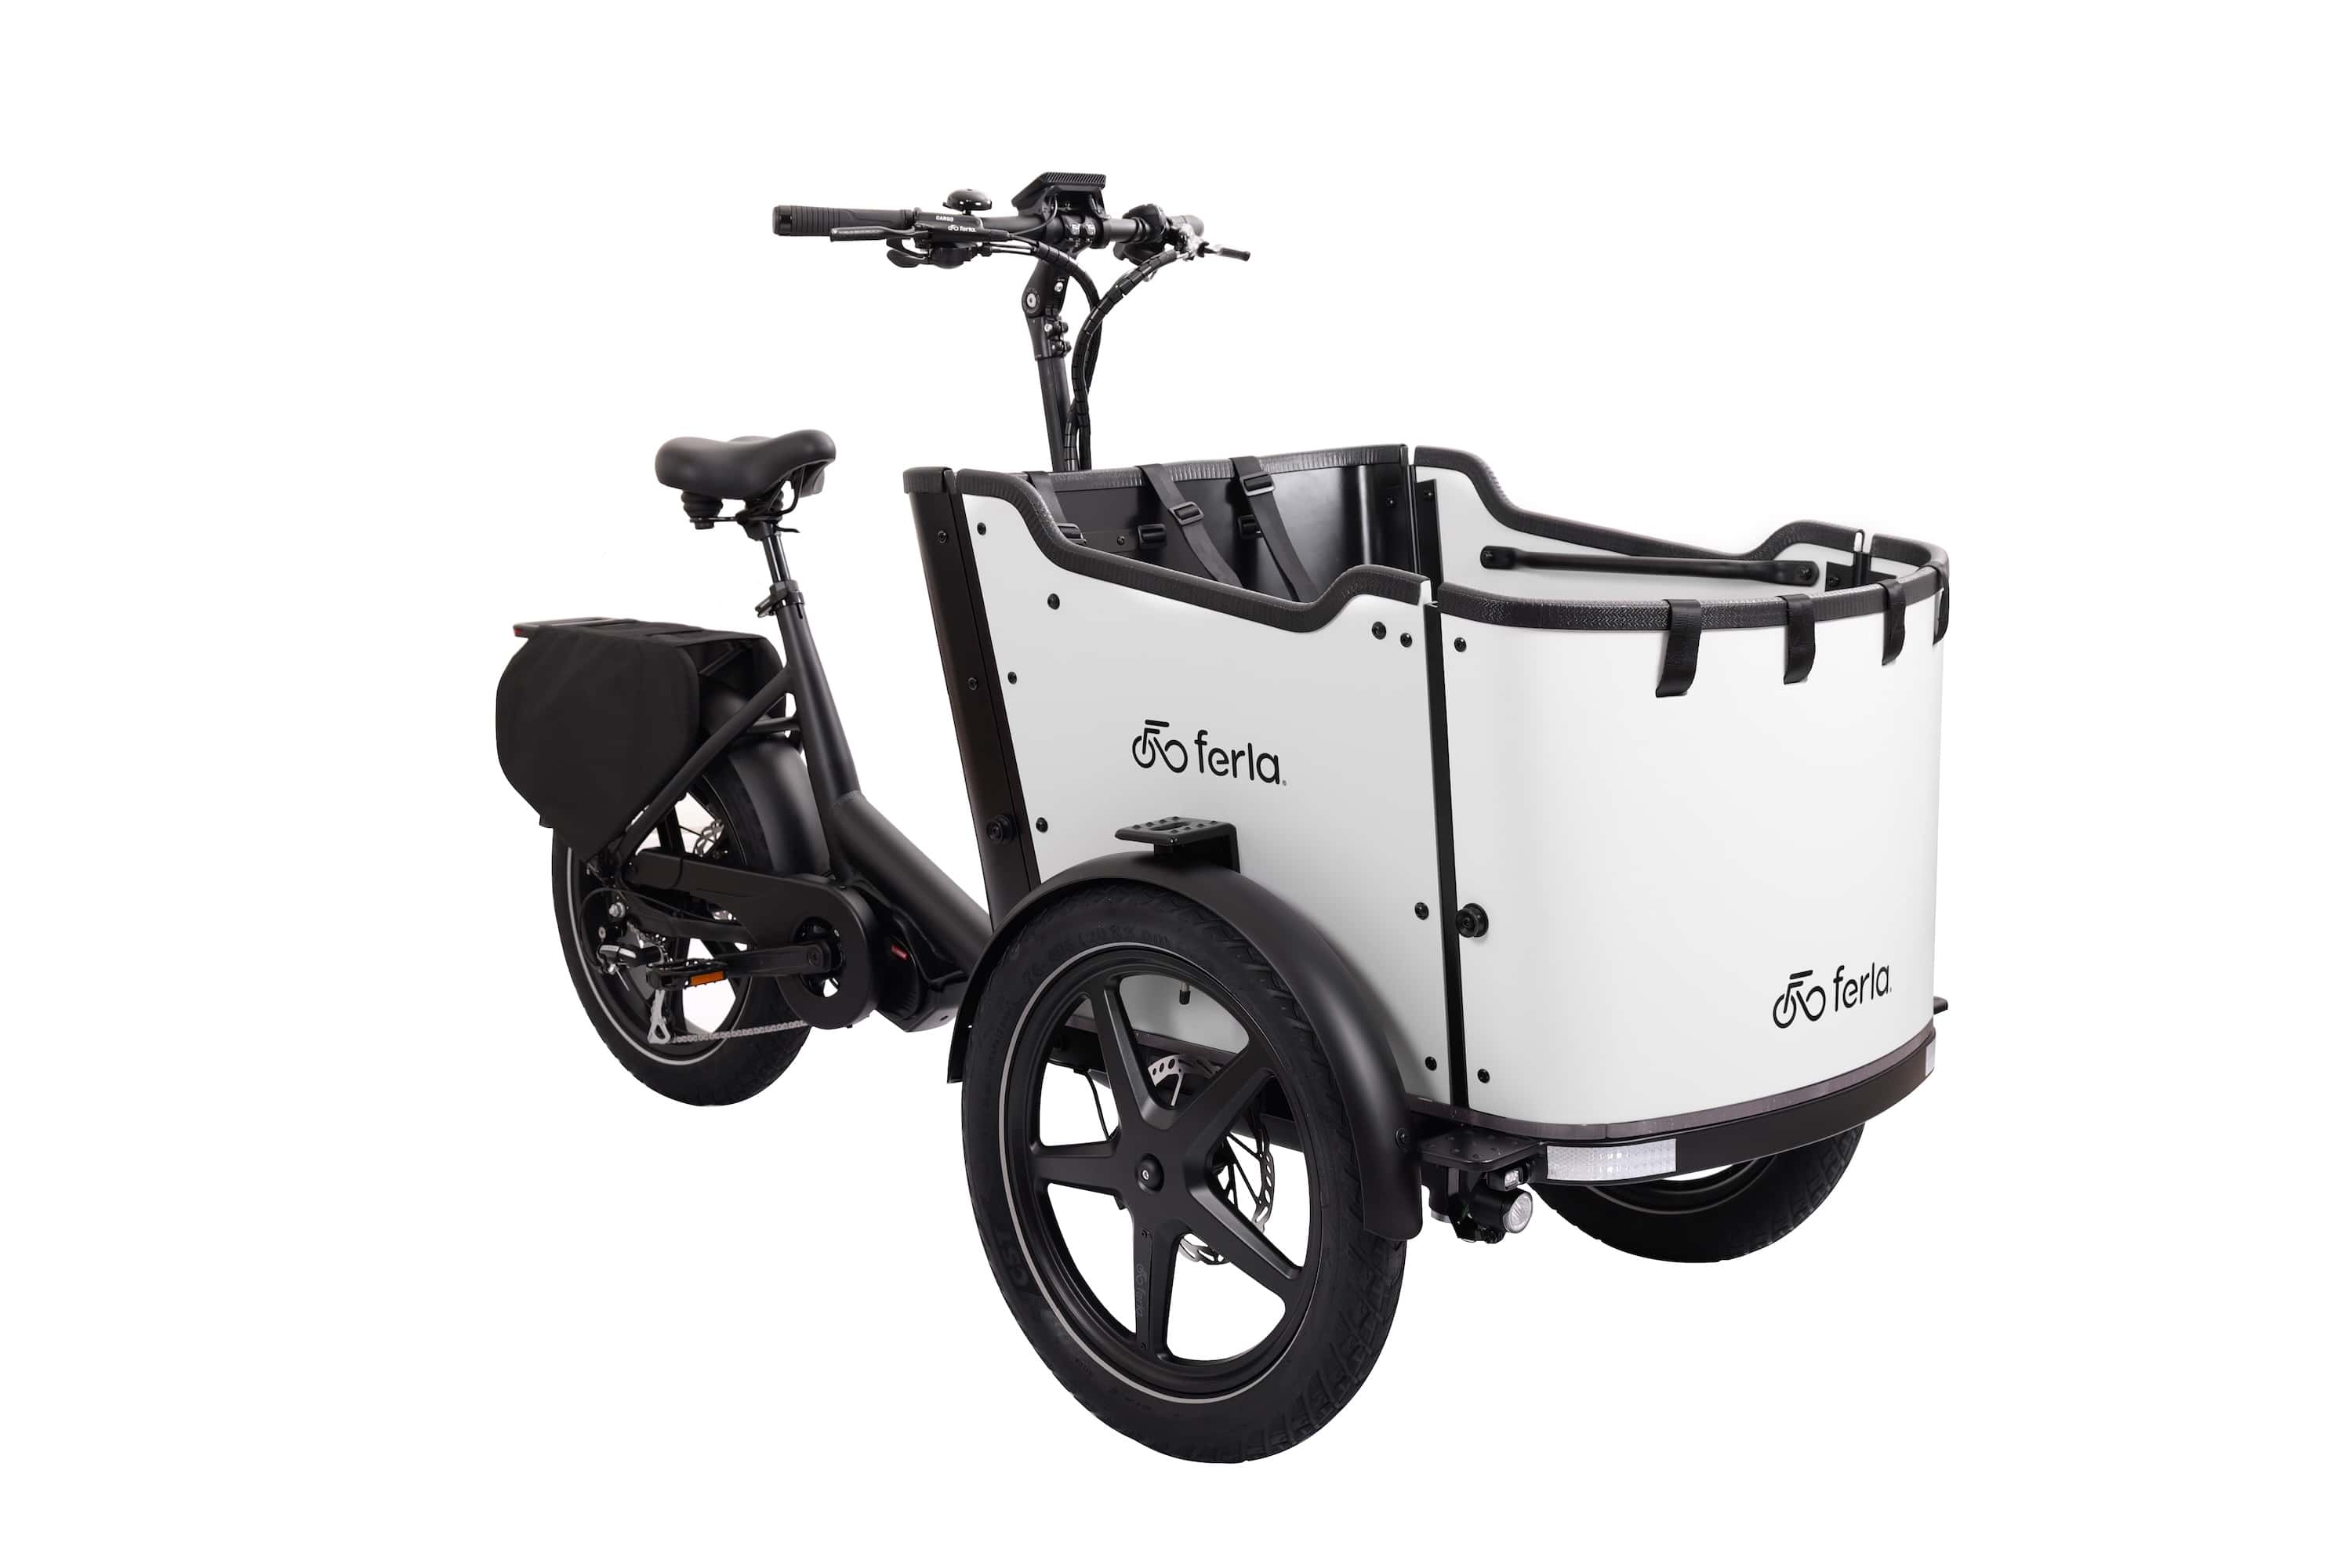
Adaptive bikes come in different types like trikes or recumbents. Frame size needs slight changes for each type.
Recumbent bikes may need longer frames for leg space. Trikes might require a wider frame for stability.
- Check specific size guides for each bike type
- Test the bike if possible to ensure comfort
- Adjust seat and handlebars to fit the rider well
Adjusting Seat And Handlebar
Correctly sizing an adaptive bike is key for a safe ride. Adjusting the seat and handlebars helps fit the bike to the rider’s body.
This guide explains how to set the seat height, position the handlebars, and ensure a comfortable reach.
Setting Seat Height
The seat height affects comfort and pedal efficiency. The rider should sit with feet flat on the ground when stopped.
Adjust the seat so the rider’s legs have a slight bend at the knee when the pedals are at the lowest point.
- Loosen the seat post clamp.
- Raise or lower the seat to the correct height.
- Tighten the clamp securely.
- Check that the seat is level and not tilted.
Positioning The Handlebars
Handlebars should be set so the rider can hold them without stretching or bending the wrists uncomfortably.
Adjust the height and angle of the handlebars to suit the rider’s arm length and comfort preferences.
| Adjustment | Purpose |
| Height | Keeps rider upright or leaned forward |
| Angle | Prevents wrist strain |
| Distance | Allows easy reach without overextending |
Ensuring Comfortable Reach
Comfortable reach helps the rider control the bike easily. Arms should be slightly bent when holding the handlebars.
Check these points to ensure a good reach:
- The rider’s back is straight, not stretched forward.
- Hands rest naturally on the handlebars.
- Shoulders stay relaxed without hunching.
- The rider can brake and shift gears comfortably.
Selecting Wheel Size
Choosing the right wheel size is key for an adaptive bike.
The wheel size affects comfort, control, and riding ease.
Standard Wheel Sizes
Adaptive bikes use various wheel sizes, from small to large.
- 12-inch wheels suit very young or small riders.
- 16-inch wheels fit children with some riding experience.
- 20-inch wheels work well for older kids or small adults.
- 24-inch wheels are common for teenagers and adults.
- 26-inch wheels match most adult adaptive bikes.
Impact On Stability And Control
Wheel size changes how stable and easy the bike feels.
| Wheel Size | Stability | Control | Speed |
| 12-inch | High | Easy | Low |
| 16-inch | Good | Good | Moderate |
| 20-inch | Moderate | Moderate | Good |
| 24-inch | Lower | Harder | High |
| 26-inch | Lowest | Hardest | Highest |
Matching Wheels To Rider Needs
Consider the rider’s size, strength, and skill when picking wheels.
- Small riders need smaller wheels for easier handling.
- Stronger riders may handle larger wheels for speed.
- New riders benefit from stable, smaller wheels.
- Experienced riders can use bigger wheels for distance.
- Medical or physical needs can affect wheel choice.
Credit: ferlafamilybikes.com
Customizing For Mobility Needs
Adaptive bikes help people with different mobility needs enjoy cycling safely. Choosing the right size and features makes riding easier and more comfortable.
Understanding how to adjust a bike for physical limitations ensures the best fit and support. This guide covers key areas to consider for customization.
Assessing Physical Limitations
Start by identifying the rider’s mobility challenges. Consider muscle strength, joint flexibility, and balance. These factors affect bike size and design choices.
- Measure leg length and arm reach carefully.
- Note any range of motion restrictions in joints.
- Check for conditions that affect sitting posture.
- Assess balance and coordination abilities.
Adaptive Accessories And Modifications
Adding accessories helps meet specific mobility needs. Some parts improve comfort, while others increase safety or ease of use.
| Accessory | Purpose | Benefit |
| Supportive Seat | Improves posture | Reduces strain on back |
| Hand Grips | Enhances grip | Increases control |
| Foot Straps | Keeps feet in place | Prevents slipping |
| Tricycle Conversion Kit | Adds stability | Helps with balance |
Working With Specialists
Consult therapists and bike fitters for expert advice. They help tailor the bike to the rider’s needs and make adjustments over time.
Tips from specialists:
- Get a professional assessment before buying.
- Test different bike sizes and setups.
- Adjust the bike regularly as needs change.
- Use custom parts designed for specific mobility issues.
Testing The Fit
Checking how well an adaptive bike fits is very important. A good fit helps riders stay safe and enjoy their ride.
Testing the fit means trying the bike and making small changes until it feels right. This guide explains how to do that.
Trial Rides
Start by taking short rides on the bike. This helps see how the bike feels and if it suits the rider’s size and needs.
Watch how the rider pedals, steers, and balances. Notice if any part feels too tight or loose.
Fine-tuning Adjustments
After the trial rides, make small changes to the seat, handlebars, and pedals. These changes improve comfort and control.
- Raise or lower the seat for better leg reach
- Adjust handlebar height and angle for easy steering
- Change pedal position to match foot size and strength
Keep adjusting until the rider feels stable and comfortable on the bike.
Monitoring Comfort And Performance
Watch the rider during longer rides to check comfort and performance. Look for signs of pain or fatigue.
Good fit means the rider can pedal smoothly, steer easily, and stay relaxed without strain.
- Check for sore spots or numbness after riding
- Notice if the rider can maintain speed without extra effort
- Make small tweaks if discomfort or poor control appears

Credit: www.youtube.com
Common Sizing Mistakes To Avoid
Sizing an adaptive bike correctly is very important. A wrong size can cause discomfort or reduce control.
Many people make simple mistakes when choosing the size. Avoid these errors to get the best fit.
Ignoring Personal Comfort
Comfort is key when sizing an adaptive bike. A bike that looks right may not feel good to ride.
Check how the seat feels and if you can reach the pedals without strain. Comfort affects riding time.
Overlooking Adjustment Options
Many adaptive bikes have parts you can adjust, like seats and handlebars. Don’t skip these options.
Adjustments help fit the bike better to the rider’s size and needs. Ignoring them limits comfort and safety.
- Seat height and position
- Handlebar reach and angle
- Pedal placement
- Backrest adjustments
Choosing Based On Appearance
Picking an adaptive bike just because it looks good can cause problems. Size and fit matter more than style.
A bike that fits well will be easier and safer to ride. Focus on size and comfort before looks.
Frequently Asked Questions
How Do I Measure For An Adaptive Bike?
Measure your inseam, torso, and arm length. These dimensions help select the right frame size and adjust the seat and handlebars properly.
What Is The Best Size For An Adaptive Bike?
Choose a size that allows comfortable foot reach and knee bend. Ensure the rider maintains good posture and easy control of the bike.
How Important Is Seat Adjustment On Adaptive Bikes?
Seat adjustment is vital for comfort and safety. Proper height and angle prevent strain and improve riding efficiency.
Can Adaptive Bikes Be Resized As A Child Grows?
Yes, many adaptive bikes offer adjustable frames and components. This flexibility accommodates growth and extends the bike’s usability.
Conclusion
Sizing an adaptive bike takes patience and care. Measure the rider’s height and leg length first. Check the bike’s frame size and seat height. Test the fit with short rides to feel comfort. Adjust handlebars and pedals as needed. A well-sized bike makes riding safer and more fun.
Take time to get it right. Your rider will enjoy every ride better. Keep these steps in mind for a perfect fit.



