
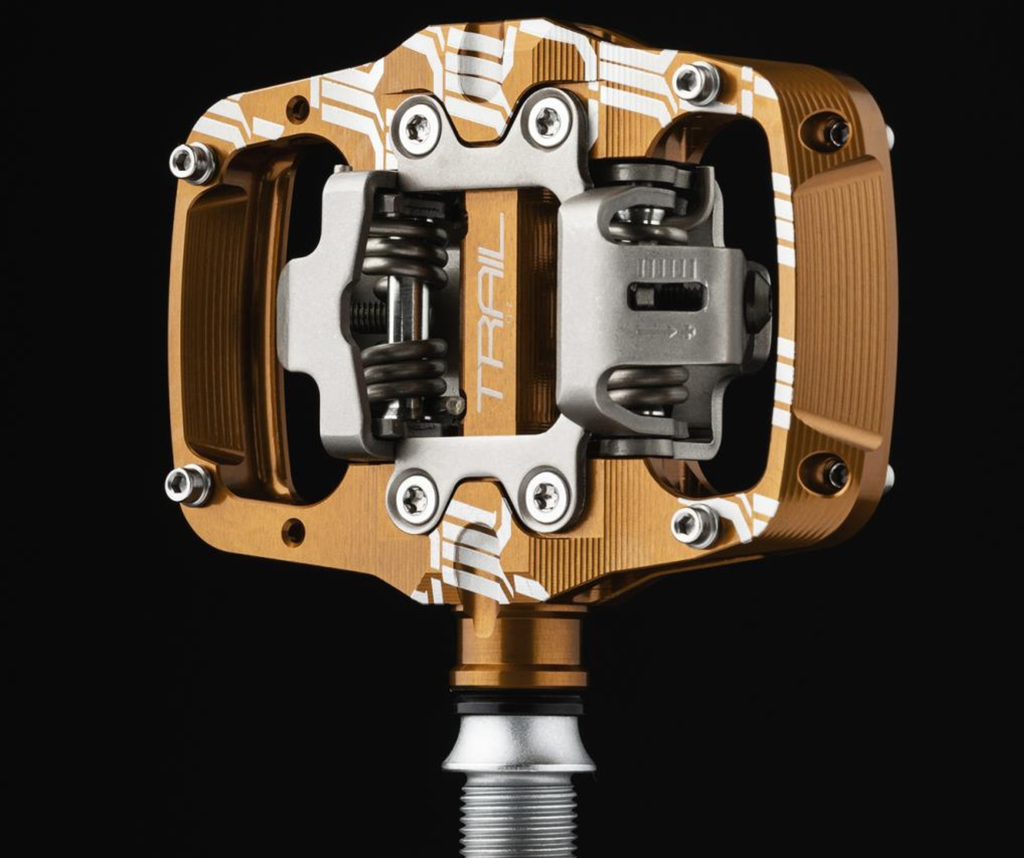
Are your e-MTB pedals feeling worn out or uncomfortable? Changing them might seem tricky, but it’s easier than you think.
Imagine riding with pedals that give you better grip, comfort, and control on every trail. In this guide, you’ll discover simple steps to replace your e-MTB pedals quickly and safely. By the end, you’ll be ready to upgrade your ride and enjoy smoother, more confident mountain biking.
Keep reading to unlock the secrets of pedal replacement that every e-MTB rider should know.
Tools Needed
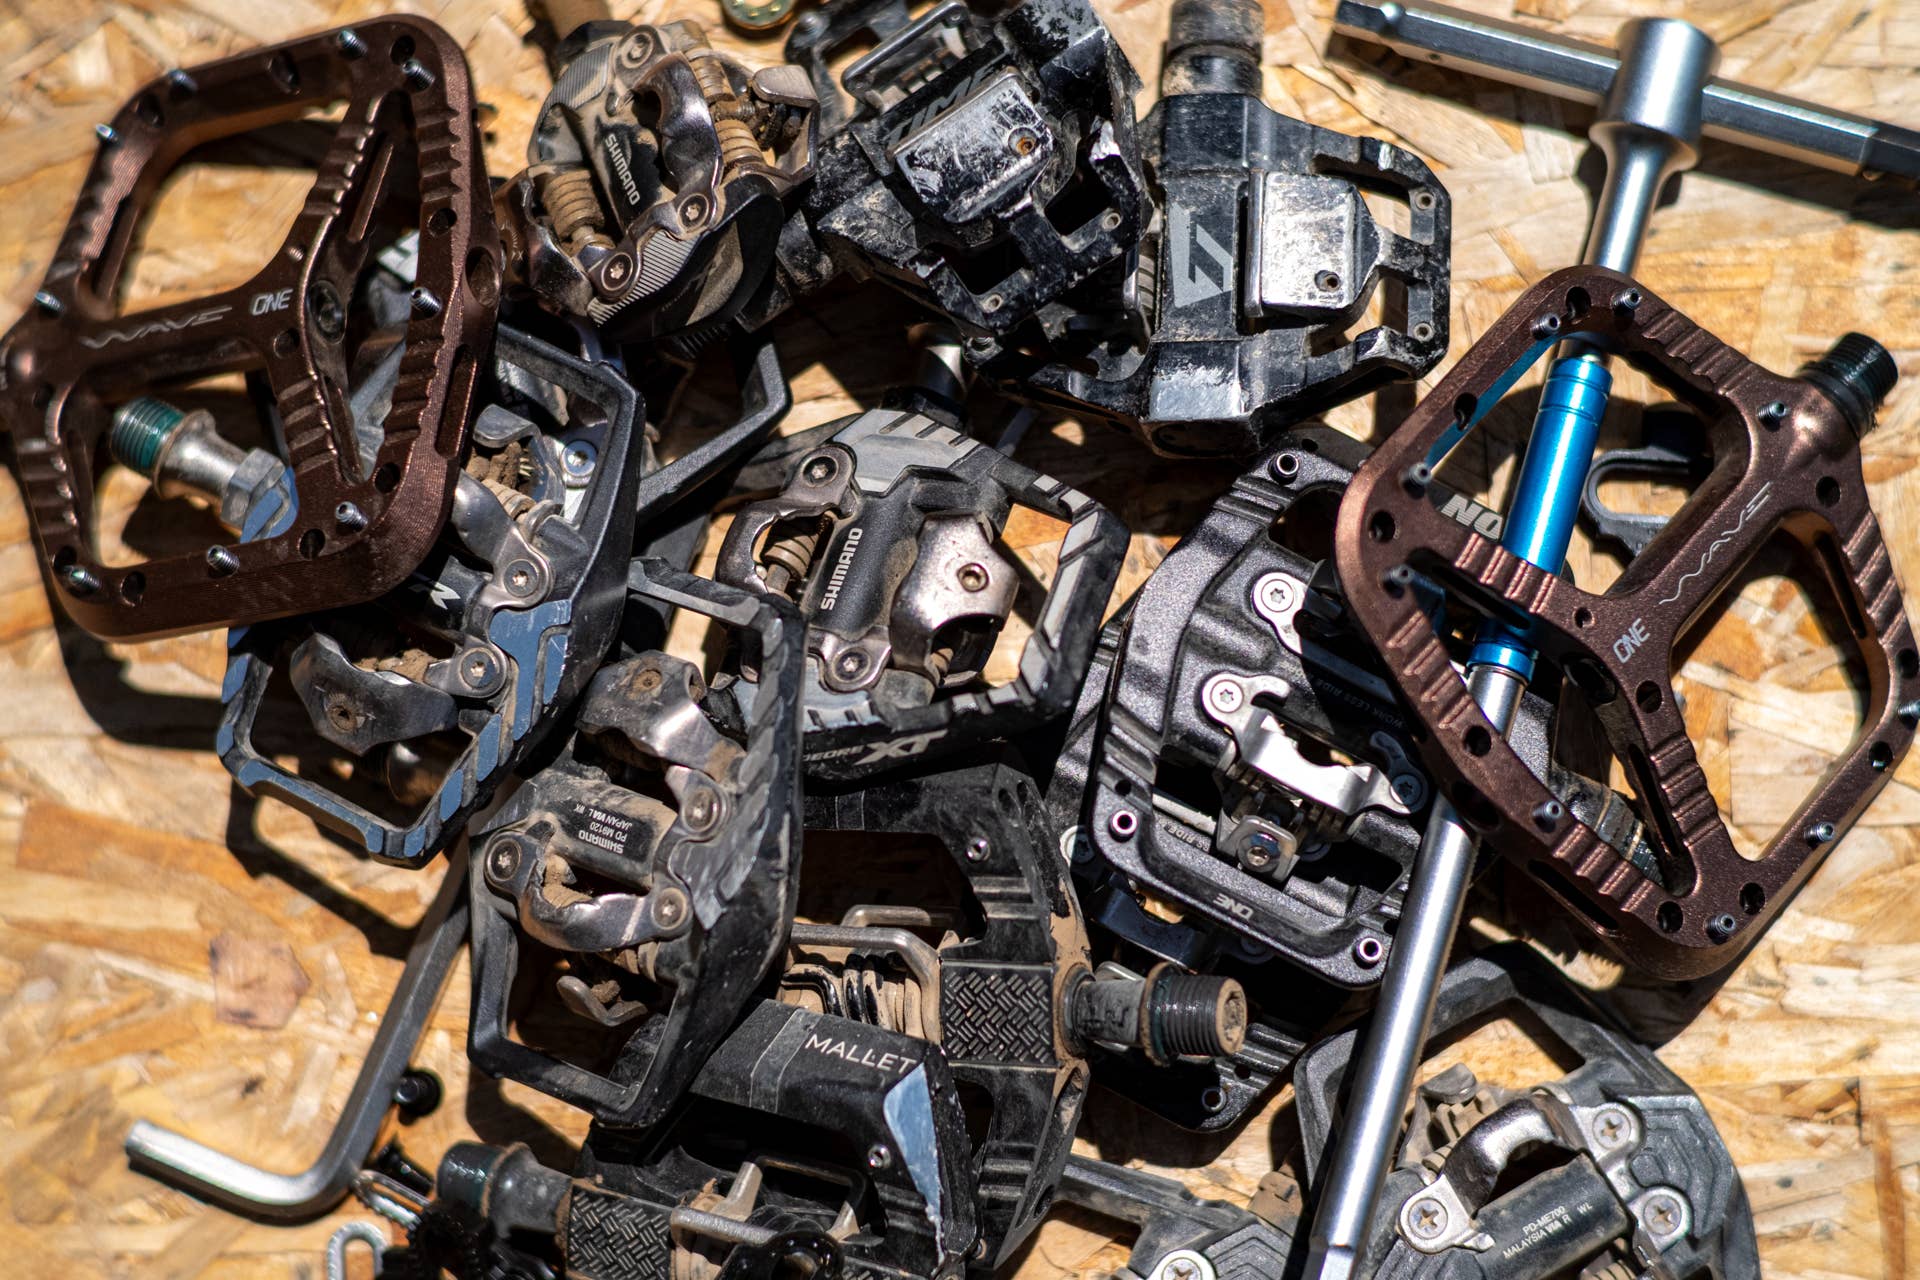
Choosing the right tool is key for pedal replacement. A pedal wrenchoffers a long handle for strong leverage. It fits most pedals and makes loosening tight pedals easier. An Allen keyfits inside the pedal axle. It’s compact and works well for tight spaces. Some pedals need a 15mm wrench, others a 6mm or 8mm Allen key. Check your pedal type before starting.
Grease helps pedals turn smoothly and stops rust. Apply a thin layer on pedal threads before installation. Cleaning supplies like a brush and cloth keep the pedal area free from dirt. Dirt can make pedals hard to remove later. Clean and grease well for the best results.
Credit: www.bikemag.com
Preparing Your E-mtb
Ensure the bike is stableto avoid accidents. Use a bike stand or lean it against a wall. Keep the bike on a flat surface for better balance.
Turn the pedals so they are easy to reach. This helps during removal and installation. Clear the area around the bike to have enough space.
- Wear gloves to protect your hands.
- Use safety glasses to guard your eyes from dirt.
- Keep tools nearby for quick access.
Removing Old Pedals
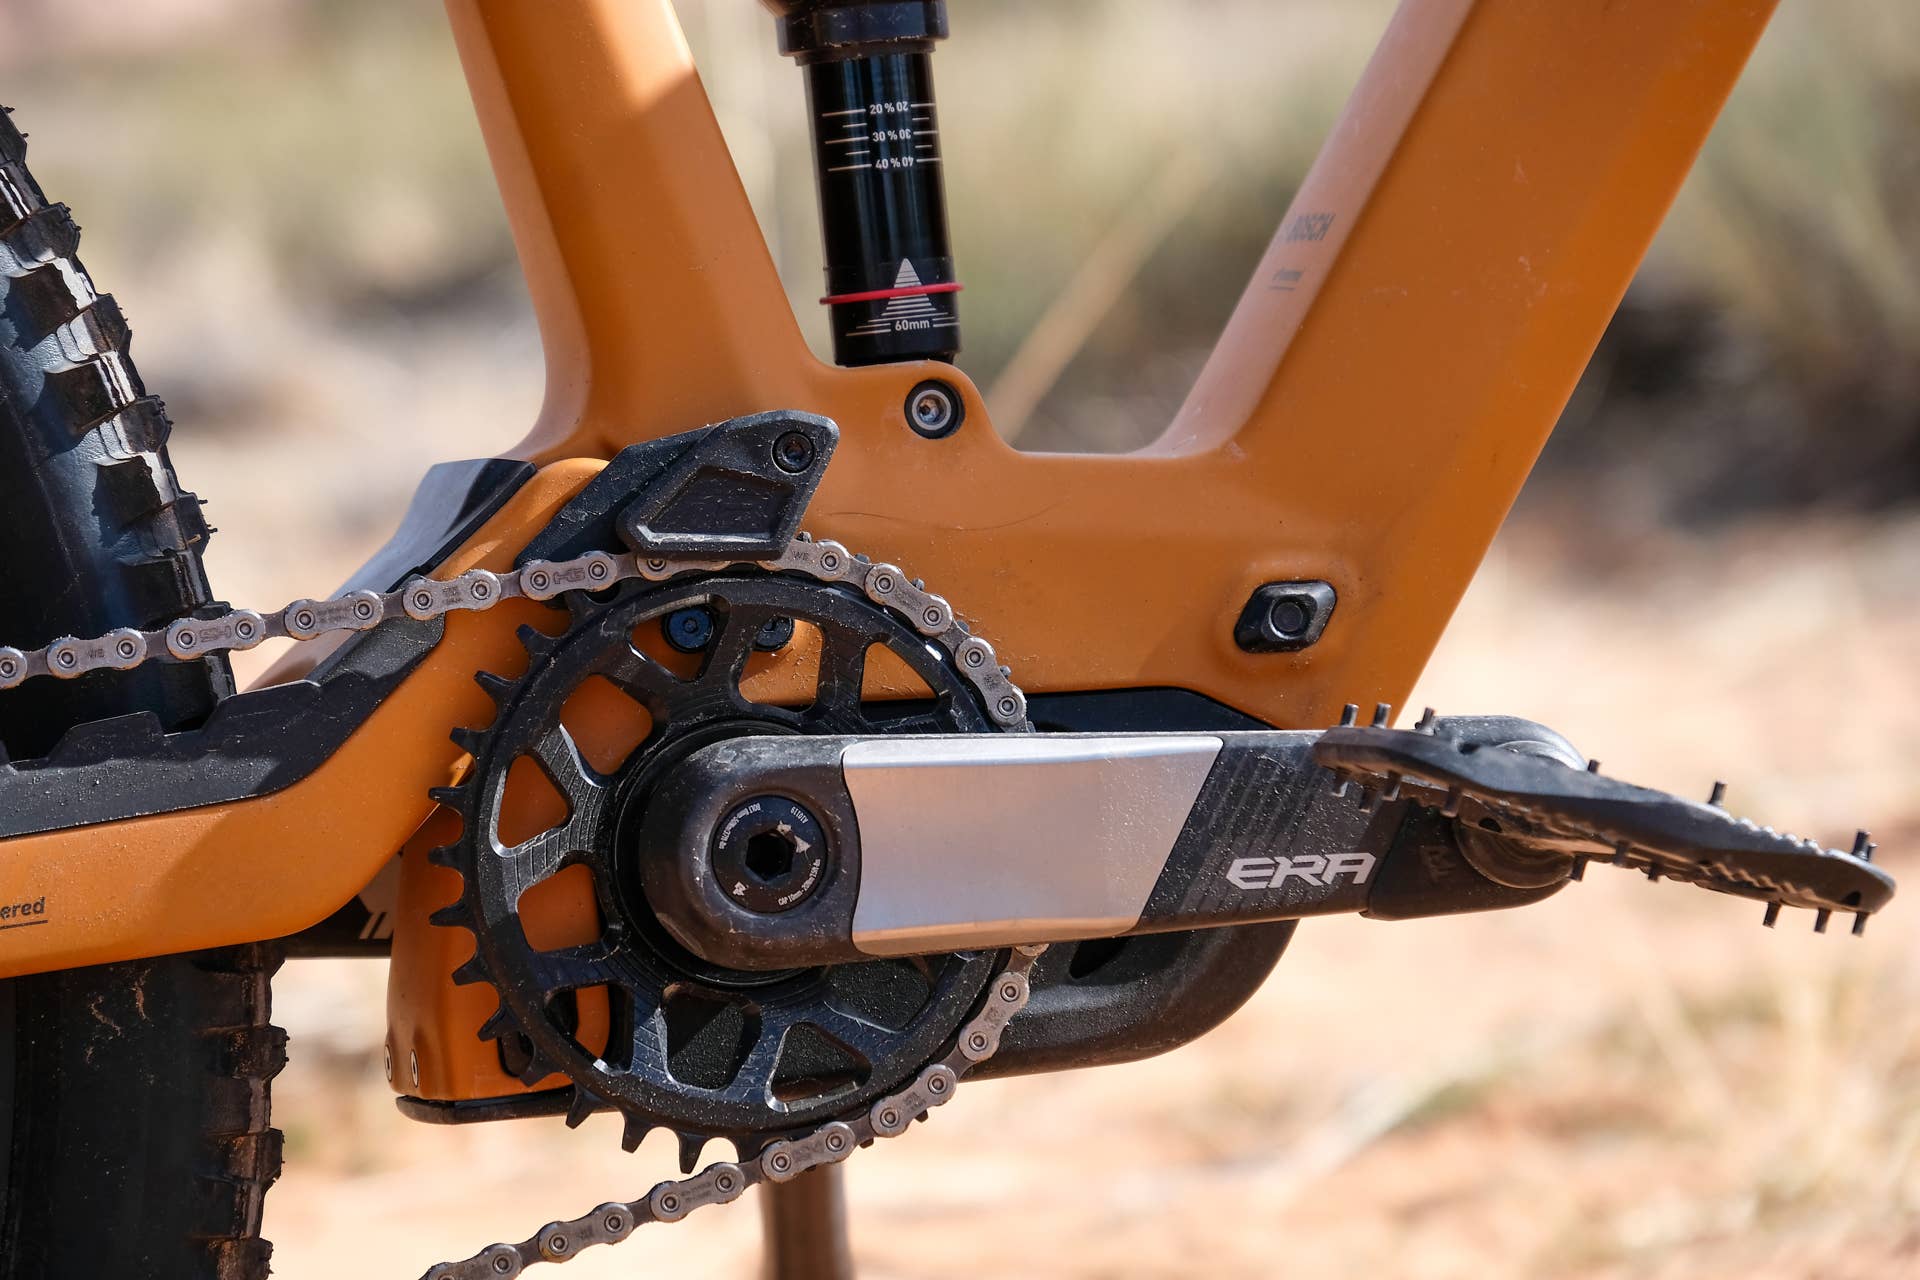
Pedals on e-MTBs have different threadsfor left and right sides. The right pedaltightens clockwise, while the left pedaltightens counterclockwise.
Look for the letters “L”or “R”on the pedal arms. This helps to avoid damage when removing or installing pedals.
- Use a pedal wrench or a 15mm spanner for best grip.
- Turn the right pedalcounterclockwise to loosen it.
- Turn the left pedalclockwise to loosen it.
- Apply steady pressure to avoid slipping or stripping the threads.
- Use some penetrating oil if the pedals are stuck.
Credit: www.bikemag.com
Installing New Pedals
Apply a small amount of greaseto the pedal threads. This helps prevent rustand makes future removal easier. Use grease sparingly to avoid mess.
Check the pedal’s side to identify the correct threading. The right pedal has a right-hand thread, and the left pedal has a left-hand thread.
Insert the pedal into the crank arm and turn it clockwiseto tighten the right pedal. Turn counterclockwiseto tighten the left pedal.
- Use a pedal wrench or Allen key for better grip.
- Do not overtighten to avoid damaging the threads.
- Tighten pedals firmly to prevent loosening during rides.
Final Checks
Check the pedals fit snugly on the crank arms. The threads should be tight to avoid wobbling. Use a wrench to ensure they are secure but avoid over-tightening. Pedals must spin freely without resistance or noise.
Look for correct pedal orientation. The right pedal has a right-hand thread; the left pedal has a left-hand thread. Installing pedals on the wrong side can damage the threads.
- Wear your usual riding shoes for the test ride.
- Ride on a flat and safe surface first.
- Check for any strange sounds or looseness.
- Feel the pedal grip and comfort.
- Stop and re-tighten if anything feels loose.

Credit: www.singletracks.com
Common Issues And Solutions
Replacing pedals on e-MTBs often causes issues like stuck pedals or stripped threads. Ensure proper tools and lubricate threads to ease removal. Securely tighten new pedals using a pedal wrench, observing correct threading direction.
Stuck Pedals
Pedals can get stuck due to dirt or rust. Use a wrench to turn the pedal. Apply some lubricant if needed. A few drops of oil can help loosen it. Turn the pedal counter-clockwise. Be gentle to avoid damage. If it’s too tight, try a rubber mallet. Tap lightly to loosen. Remember, patience is key here.Cross-threading Problems
Cross-threading happens when threads don’t align. Always start by hand. This ensures proper alignment. Use a wrench only when snug. If cross-threaded, remove the pedal. Check for any damaged threads. Fix with a thread file if necessary. Replace the pedal carefully. Align threads perfectly to avoid future issues. Proper care ensures smooth rides. `Frequently Asked Questions
How Do I Remove Pedals From An E-mtb?
Use a pedal wrench or Allen key to turn the pedal axle counterclockwise. Apply steady force to loosen it. Remember, the left pedal has a reverse thread, so turn it clockwise to remove.
What Tools Are Needed To Replace E-mtb Pedals?
You need a pedal wrench or 15mm spanner, and a 6mm or 8mm Allen key. These tools fit most E-MTB pedals for easy removal and installation.
How To Install New Pedals On An E-mtb?
Align the pedal threads with the crank arm holes. Turn the right pedal clockwise and left pedal counterclockwise. Tighten securely but avoid overtightening to prevent damage.
Can I Use Regular Bike Pedals On E-mtbs?
Yes, most regular pedals fit E-MTBs if the thread size matches. Check pedal compatibility for weight and durability before replacing.
Conclusion
Replacing pedals on your e-MTB is a simple task anyone can do. Just follow the steps carefully and take your time. Use the right tools to avoid damage. Check pedal direction before tightening. Remember to test your pedals before riding.
This small fix improves your bike’s performance and comfort. Keep your e-MTB ready for every ride by maintaining pedals regularly. You’ll enjoy smoother rides and better control every time. Easy maintenance saves money and stress in the long run. Give your e-MTB the care it needs and ride with confidence.



