
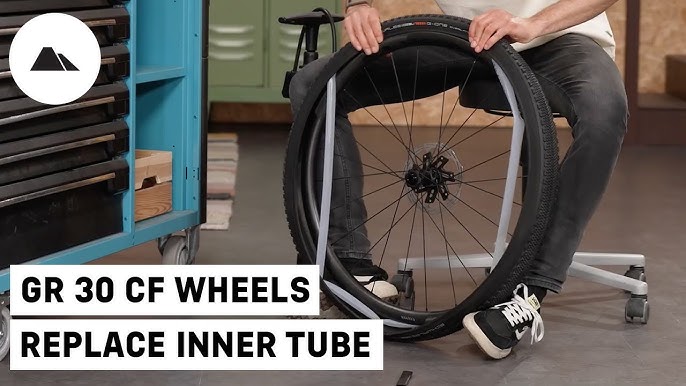
Imagine you’re ready for a refreshing bike ride, but just as you’re about to set off, you notice your tire is flat. Frustrating, right?
Don’t worry! Learning how to replace an inner tube on your bike can save you time and money, and it’s easier than you think. You don’t need to be a mechanic or have a toolbox full of specialized equipment. With a few simple tools and a little know-how, you can get back on the road quickly.
This guide will walk you through each step of the process, turning what seems like a daunting task into a straightforward DIY fix. Say goodbye to flat tire woes and hello to smooth rides. Stick with us, and you’ll master this essential biking skill in no time!
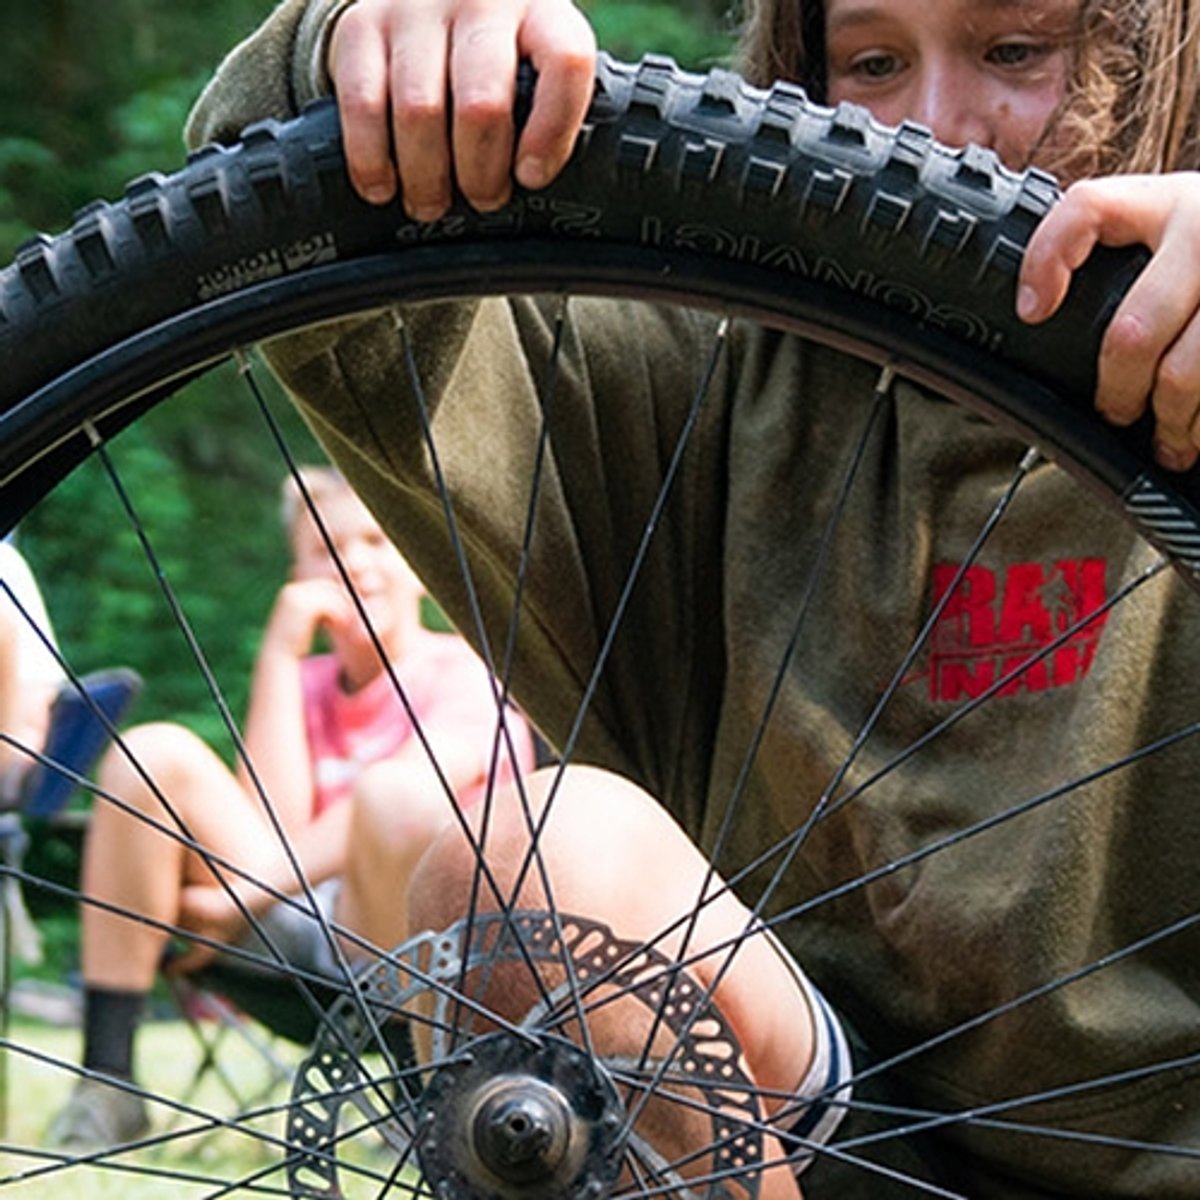
Credit: www.levelninesports.com
Tools Needed
To replace a bike’s inner tube, you need some basic tools. These tools help make the job easier and quicker. Here is a list of what you need:
- Tire levers– These help remove the tire from the rim.
- New inner tube– Ensure it fits your tire size.
- Bike pump– To inflate the new tube.
- Wrench– Useful if the wheel nuts are tight.
- Patch kit– In case the new tube needs a quick fix.
Having these tools ready makes the task smooth. Keep them handy for future use too. It’s always good to be prepared. Happy biking!

Credit: m.youtube.com
Removing The Wheel
First, turn the bike upside down. This makes it stable. Then, check if it has quick release levers. Loosen the lever by flipping it open. If there is no lever, use a wrench to loosen the bolts. Hold the tire firmly as you remove it. Be careful not to hurt your fingers.
If the bike has brakes, disconnect the brakes. This is important for easy removal. Pull the brake arms together and slide the cable out. Now, the wheel is ready to come off. Pull the wheel away from the bike frame gently. Place it aside in a safe spot. Now, you can start working on the inner tube.
Deflating The Tire
First, find the valve on your bike tire. It’s a small metal stem. Push down the little pin inside. This releases the air. Listen for a hissing sound. That means air is escaping. Keep holding until the tire is flat. Check by squeezing the tire. It should feel soft and floppy. Use a valve tool if needed. Be gentle. You don’t want to damage the valve. Make sure all the air is out. This makes the tube easier to remove. Finally, set aside the valve cap. You will need it later.
Removing The Tire
Insert the tire leverbetween the tire and rim. Push the lever to lift the tire over the rim. Use a second lever for more help. Hook the first lever to a spoke. Move the second lever along the tire. Keep lifting until the tire is free.
Gently pull the inner tubefrom the tire. Start at the valve stem. Be careful not to tear the tube. Feel around for any stuck spots. Wiggle the tube if needed. The tube will come out easily.
Inspecting The Tire
Begin by examining the tire’s surface for punctures or cuts. Check the valve for damage and assess tire pressure. Ensure the tire tread is in good condition before replacing the inner tube.
Checking For Damage
Look for any cuts, holes, or crackson the tire. Spin the wheel slowly. This helps you see any damage. Check the sidewalls too. They can have hidden problems. Use your fingers to feel for bumps or sharp objects. A small stone can cause a flat. If you find damage, fix it. Or you may need a new tire.
Cleaning The Tire
Use a damp cloth to wipe the tire clean. Remove any dirt and debris. This helps you see the tire better. Make sure to clean the rimtoo. It can collect dust. A clean tire is easier to inspect. It helps when you replace the tube.
Installing The New Inner Tube
Replacing an inner tube on a bike is simple. First, remove the wheel from the frame. Carefully deflate and remove the old tube. Insert the new tube inside the tire and fit it back onto the wheel. Inflate to the recommended pressure and reattach the wheel.
Partially Inflating The Tube
Gently unroll the new inner tube. Use a pump to add a little air. The tube should be round but not too firm. It helps to prevent pinching. Check if the valve is straight. A crooked valve can cause leaks. Make sure it fits the rim hole properly.
Positioning The Tube
Place the tube inside the tire. Start at the valve stem. Ensure the tube sits evenly inside the tire. Use your fingers to tuck it in. Be careful not to twist or pinch the tube. Align the tire bead with the rim edges. Work your way around the tire. Check the tube is smooth and even.
Reattaching The Tire
Reattaching the Tire Align the tire with the rim and gently push it back in place. Ensure the valve stem is straight. Use your hands to fit the tire completely onto the rim, checking for any pinches or misalignments.
Securing The Tire Bead
First, fit the tire bead inside the rim. Make sure it sits snugly. Use your fingers to push the bead in place. Work your way around the tire. Check that the bead is evenly seated. If not, adjust it with care. This prevents the tire from wobbling. An uneven bead can cause accidents. Always double-check your work.
Final Inflation
Attach the pump to the valve. Inflate the tube slowly. Watch the tire as it fills with air. Ensure the bead stays in place. Look for any bulges or uneven areas. Stop pumping if you see any. Release some air and adjust the bead. Inflate again until the tire feels firm. Use your hand to check pressure. A firm tire rolls better. Do not overinflate the tire. It can burst if too full.

Credit: m.youtube.com
Reinstalling The Wheel
Reinstalling the wheel is a simple task after replacing the bike’s inner tube. Ensure the tube is properly inflated and the tire is aligned. Carefully mount the wheel back onto the bike frame, securing it with nuts or quick-release levers for a smooth ride.
Aligning The Wheel
Align the wheel with the bike frame carefully. Ensure the brake pads fit correctly. Spin the wheel to check if it wobbles. Adjust the wheel until it spins smoothly. Make sure the tire is centered between the forks. This helps the bike ride straight.Securing The Axle
Place the axle back into the bike frame. Use a wrench to tighten the nuts. Ensure the axle is snug and secure. Do not overtighten the nuts. Check if the wheel can spin freely. Make sure the brakes work well. Test by squeezing the brake handle. Everything should feel firm and safe. `Testing The Repair
Ensure the new inner tube is properly installed by inflating it slightly. Check for any air leaks by feeling around the tube. Spin the wheel to confirm the tire is seated evenly and securely.
Checking Air Pressure
Use a pump to fill the inner tube with air. Make sure not to overfill. Check the pressure with a pressure gauge. The gauge should show the correct amount. Look for any hissing sounds. This might mean there is a leak. If the pressure is wrong, adjust it.
Ensuring Proper Alignment
Spin the bike wheel slowly. Watch how it moves. The wheel should spin evenly. If it wobbles, check the alignment. Adjust the wheel if it is not straight. Make sure the tire fits snugly in the rim. Tighten any loose bolts or nuts. This helps keep the bike safe.
Frequently Asked Questions
Can You Replace A Bike Tube Without Removing The Tire?
No, you can’t replace a bike tube without removing the tire. The tire must be partially removed to access the tube. This allows you to easily remove the old tube and insert a new one, ensuring proper alignment and inflation.
Do You Have To Take The Wheel Off To Replace The Inner Tube?
Yes, removing the wheel is necessary to replace the inner tube. First, detach the wheel from the bike. Then, remove the tire using tire levers. Carefully replace the inner tube, reassemble the tire, and finally reattach the wheel. This ensures proper installation and safety during rides.
How To Replace A Bike Tube Without Tools?
Deflate the tire completely. Use your hands to pry the tire bead off the rim. Remove the old tube and insert the new one. Carefully push the tire back onto the rim, ensuring the tube is not pinched. Inflate the tube slowly and check for proper seating.
How To Fix A Punctured Bike Inner Tube?
First, remove the wheel and deflate the tube completely. Locate the puncture by immersing the tube in water. Dry the tube, apply glue around the hole, and place a patch over it. Once dried, reassemble the wheel and inflate the tube.
Ensure the tire is properly seated.
Conclusion
Replacing an inner tube on a bike isn’t complicated. Just follow the steps carefully. Remember to check for sharp objects in the tire. They can cause another puncture. Keep your tools handy for next time. Practice makes the process easier.
Riding with a properly inflated tire feels great. Enjoy your smooth ride! Regular maintenance boosts your bike’s lifespan. Share these tips with fellow cyclists. They’ll appreciate your guidance. Safe cycling is fun and rewarding. Stay prepared and confident on your biking adventures.
Keep pedaling forward, and explore new paths!



