
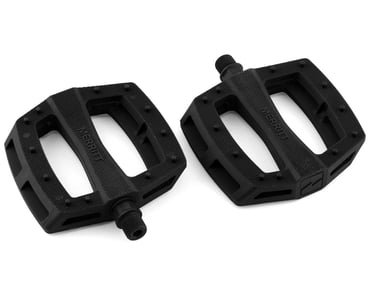
Are your dirt jump bike pedals worn out or damaged? Replacing them might seem tricky, but with the right steps, you can do it yourself quickly and safely.
Your pedals are key to control and performance, so keeping them in top shape makes every jump smoother and more fun. In this guide, you’ll learn exactly how to swap out your pedals without hassle. Stick with me, and by the end, you’ll feel confident to tackle this simple upgrade on your own.
Ready to get started? Let’s jump right in!
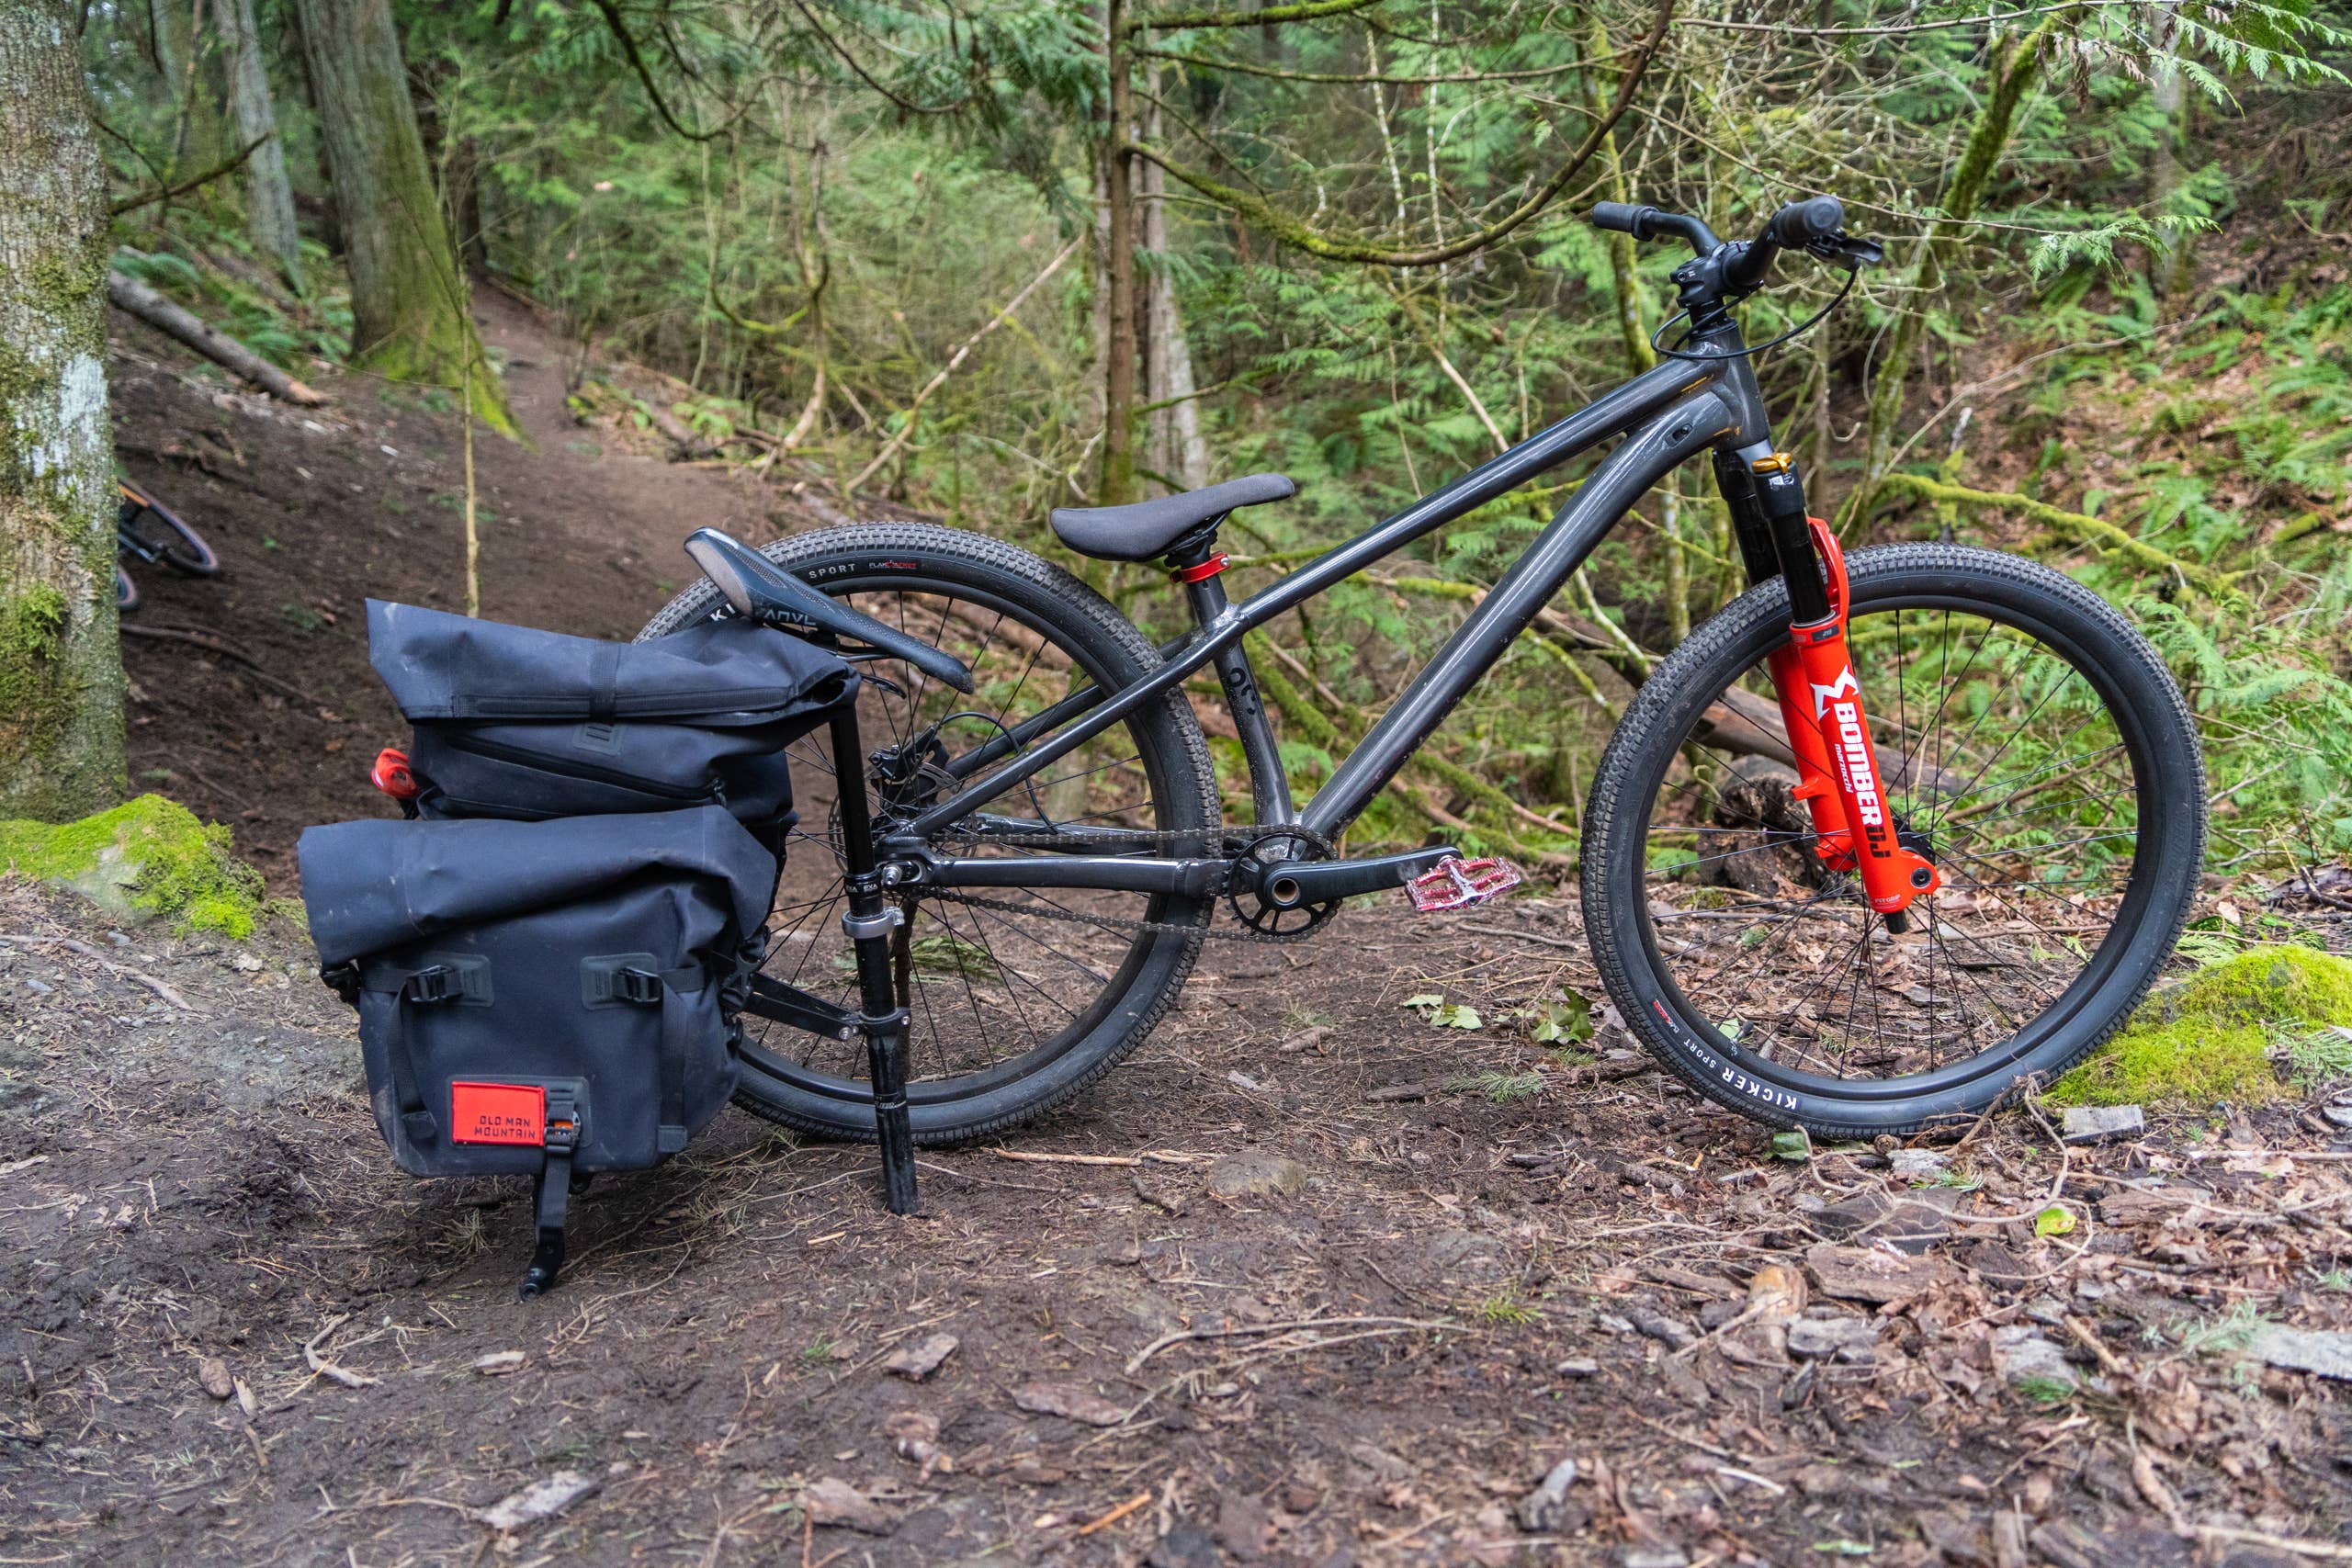
Credit: www.bikemag.com
Tools Needed
Replacing pedals on a dirt jump bike is easy with the right tools. Using proper tools helps avoid damage and makes the job faster.
Make sure you have the correct wrench or key and some cleaning supplies. These will help you remove old pedals and install new ones smoothly.
Pedal Wrench Vs Allen Key
Pedal wrenches are wide and thin. They give strong grip and leverage to loosen tight pedals. They fit pedals with flat wrench surfaces.
Allen keys fit inside the pedal axle. Most dirt jump bike pedals use 6mm or 8mm Allen keys. They are good for tight spaces where a pedal wrench cannot fit.
- Use pedal wrench for easy grip and power
- Use Allen key if pedal has hex socket on the axle
- Check your pedal type before choosing a tool
Grease And Cleaning Supplies
Grease prevents pedal threads from rusting and seizing. Apply a thin layer on the pedal spindle before installation.
Cleaning supplies help remove dirt and old grease. Use a rag and a brush to clean the pedal threads and crank arms.
- Water and mild soap for cleaning dirt
- Brush to scrub pedal threads
- Clean rag to wipe parts dry
- Grease for smooth pedal installation

Credit: www.danscomp.com
Removing Old Pedals
Removing old pedals from your dirt jump bike is a simple task. You only need the right tools and a safe approach.
Start by preparing your bike and then carefully loosen the pedals. This guide will help you do it step-by-step.
Positioning The Bike
Place your bike so it is steady and easy to work on. This helps avoid slips and damage.
- Use a bike stand if you have one.
- If no stand is available, flip the bike upside down.
- Make sure the bike is on a flat surface.
- Secure the bike to prevent it from moving.
Loosening Pedals Safely
Use the correct wrench and follow the right direction to loosen each pedal. Pedals have different threads on each side.
| Pedal Side | Thread Direction | Wrench Turn |
| Right (Drive Side) | Right-hand Thread | Turn counterclockwise to loosen |
| Left (Non-Drive Side) | Left-hand Thread | Turn clockwise to loosen |
Preparing New Pedals
Replacing dirt jump bike pedals needs careful preparation. New pedals must fit well and work smoothly.
Preparing pedals correctly helps avoid damage to your bike and pedals. It makes installation easier.
Checking Pedal Threads
Check pedal threads before installing new pedals. Threads should be clean and not damaged.
Damaged threads can cause pedals to loosen or break. Use a thread file if threads are dirty or rough.
- Look for dirt, rust, or metal shavings
- Make sure threads are not bent or stripped
- Use a brush or rag to clean threads
- Apply light oil if threads look dry
Applying Grease Properly
Apply grease on pedal threads before installation. Grease helps pedals screw in smoothly.
Grease also stops threads from rusting and makes future removal easier. Use enough grease, but do not overdo it.
- Use a bike-specific or general-purpose grease
- Spread a thin, even layer on all pedal threads
- Grease the spindle area where it enters the crank arm
- Wipe off any excess grease before installation

Credit: www.danscomp.com
Installing New Pedals
Replacing your dirt jump bike pedals improves control and safety. Knowing how to install new pedals correctly saves time and effort.
This guide explains pedal orientation and tightening tips for a secure fit.
Right Vs Left Pedal Orientation
Pedals have specific threads to match each side of the bike. The right pedal tightens clockwise. The left pedal tightens counterclockwise.
- The right pedal has a standard right-hand thread.
- The left pedal has a reverse left-hand thread.
- Installing pedals on the wrong side can damage the bike threads.
- Look for markings “R” or “L” on the pedal spindle.
Tightening Techniques
Use the correct tools and methods to tighten pedals firmly. Loose pedals can spin or fall off during rides.
| Tool | Use | Tip |
|---|---|---|
| Pedal wrench | Best for tight spaces | Use long handle for extra leverage |
| Allen key (6 or 8 mm) | Fits inside pedal axle | Hold bike steady to avoid slipping |
| Grease | Apply on threads before installation | Prevents seizing and eases removal |
Final Adjustments
After replacing your dirt jump bike pedals, it is important to make final adjustments. These steps ensure your pedals work smoothly and stay in place.
Proper final checks help avoid problems while riding. Take your time to test and secure the pedals correctly.
Testing Pedal Spin
Check how well your new pedals spin after installation. Smooth spinning means less effort when riding.
Hold the pedal and spin it by hand. It should turn freely without resistance or noise.
- Spin pedals slowly and listen for grinding sounds
- Check for any rough or stiff spots
- Make sure pedal spins smoothly in both directions
- If spinning is rough, adjust or re-lubricate pedal bearings
Ensuring Secure Fit
Confirm that the pedals are tightly fixed to the crank arms. Loose pedals can cause accidents or damage.
Use a pedal wrench to tighten the pedals firmly. Avoid overtightening, which can strip the threads.
- Check pedal tightness by hand first
- Use the correct tool for final tightening
- Tighten pedals until they feel secure and do not move
- Inspect pedal threads and crank arm for damage
- Recheck tightness after your first ride
Maintenance Tips
Replacing dirt jump bike pedals is important for smooth riding. Keeping pedals clean and checked helps them last longer.
Good pedal maintenance stops problems before they start. Regular care keeps your bike safe and fun to ride.
Regular Cleaning
Dirt and mud can clog your pedals. Clean pedals after every ride to avoid damage.
Use a brush and soapy water to scrub pedals. Dry them well before riding again.
- Remove pedals if very dirty
- Clean pedal body and axle
- Check for stuck debris in bearings
- Use grease on pedal threads before reinstalling
Routine Checks
Check pedals often for wear and damage. Look for cracks or loose parts.
Tighten pedals if they feel loose. Check that they spin smoothly without noise.
- Inspect pedal surface for grip wear
- Test pedal rotation for roughness
- Tighten pedal to crank arm securely
- Replace damaged pedals quickly
Frequently Asked Questions
How Do I Remove Old Dirt Jump Bike Pedals?
Use a pedal wrench or Allen key to loosen pedals. Turn counterclockwise for the right pedal and clockwise for the left. Apply steady force to avoid damage. Clean the threads before installing new pedals for a secure fit.
What Tools Are Needed To Replace Bike Pedals?
You need a pedal wrench or a 15mm open-end wrench. Some pedals require a 6mm or 8mm Allen key. Having grease helps for smooth installation. A rag is useful for cleaning the crank arm threads.
How To Install New Dirt Jump Bike Pedals Correctly?
Apply grease to pedal threads before installation. Screw the right pedal clockwise and the left pedal counterclockwise. Tighten firmly using a pedal wrench or Allen key. Check that pedals spin smoothly without wobbling.
How Often Should I Replace Dirt Jump Bike Pedals?
Replace pedals if damaged, cracked, or if bearings feel rough. Frequent jumps and tricks cause wear. Inspect pedals every few months for safety and performance. Timely replacement prevents injury and improves ride quality.
Conclusion
Replacing dirt jump bike pedals is easier than you think. With the right tools, anyone can do it. Take your time. Follow each step carefully. Secure the new pedals tightly. This ensures safety while riding. Regular maintenance keeps your bike in top shape.
Enjoy smoother rides and better performance. Always check your bike for any loose parts. This prevents accidents and keeps you safe. Now, get out there and enjoy your ride! Remember, practice makes perfect. Keep learning and improving your bike skills.
Your efforts will pay off on the trail. Happy biking!



