
Your bike helmet is one of the most important pieces of safety gear you own. It’s designed to protect your head during those thrilling rides, ensuring you stay safe on the roads or trails.
But what happens when the shell of your helmet gets damaged? Ignoring it could compromise your safety, yet replacing it might seem daunting. You might wonder if it’s even possible without buying a whole new helmet. Fortunately, you can replace your bike helmet shell with some guidance, saving money and extending the life of your gear.
This article will walk you through the steps, ensuring you feel confident and ready to tackle the task. By the end, you’ll have a helmet that’s as protective as it was on the day you bought it. So, let’s get started and make sure your next ride is as safe as possible!
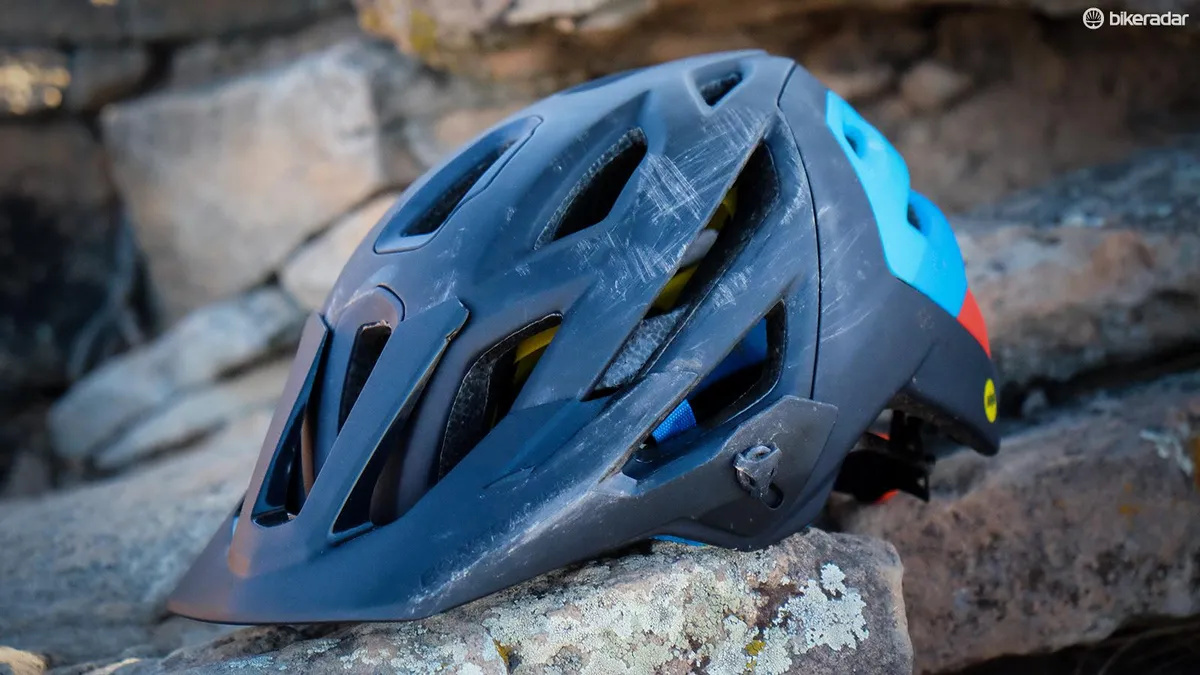
Credit: www.bikeradar.com
Choosing The Right Shell
Picking a new helmet shellrequires careful thought. Check if the new shell fits your helmet. Not all shells work with every helmet. Look for designs that match your helmet type. It’s like finding the right piece for a puzzle. This ensures safe use.
Assessing Helmet Compatibility
Check if the shell fits well. It should not wobble or slide. A good fit is like a snug cap. Test how it feels on your head. You should feel comfortable and safe. Make sure it does not block your view. Clear vision is important for safety.
Selecting Quality Materials
Look for strong materials. Good shells are made of durable plastics. They protect your head in case of falls. Lightweight materials are easier to wear. Heavy ones can cause neck strain. Check for labels or marks of quality. They show if the shell meets safety standards.
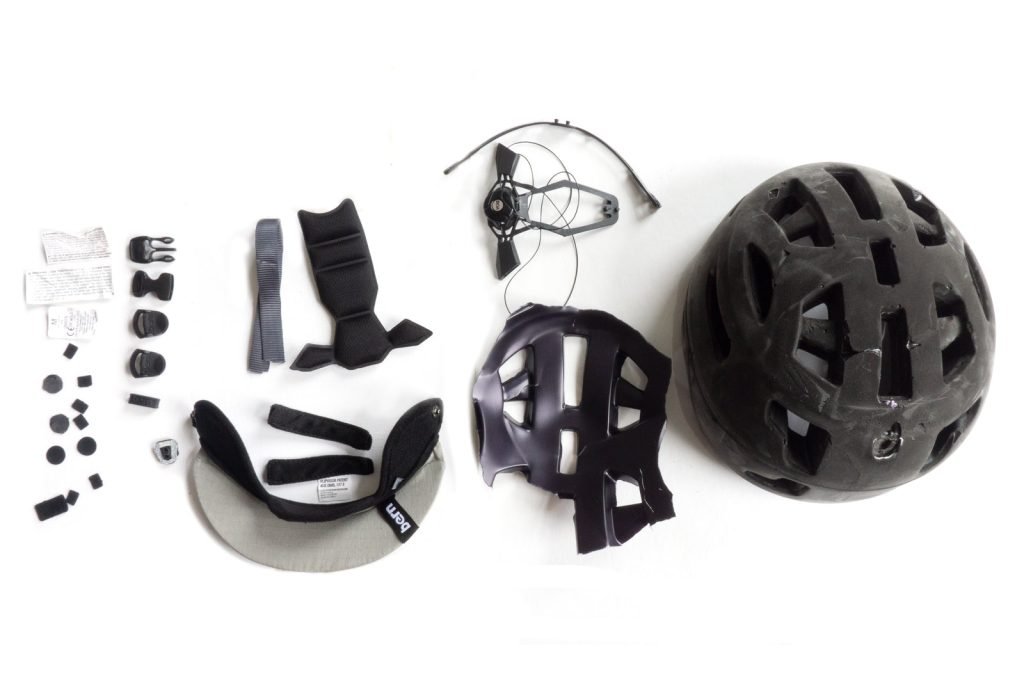
Tools And Materials Needed
Tools and Materials Needed Gather a replacement helmet shell, a screwdriver, and adhesive tape. Ensure you have a clean workspace.
Essential Tools
- Phillips screwdriver
- Flathead screwdriver
- Allen wrench
- Utility knife
Recommended Materials
A new helmet shell is the first thing you’ll need. Look for a shell that fits your helmet size. Helmet adhesive is also important. Make sure it is strong and safe. Safety goggles will protect your eyes. Work gloves keep your hands safe from scratches. You’ll also need sandpaper for smoothing edges.
Ensure all tools are ready before starting. This makes the process easier and faster. Preparing in advance helps avoid mistakes. Always double-check that you have everything.
Preparing The Helmet
Start by gathering a soft cloth and some warm water. Gently wipe the helmet’s surface with the cloth. Remove all dirt and dust from the helmet. Use mild soap if needed for stubborn spots. Ensure that the helmet is completely dry before moving on. A clean helmet ensures a better fit for the new shell.
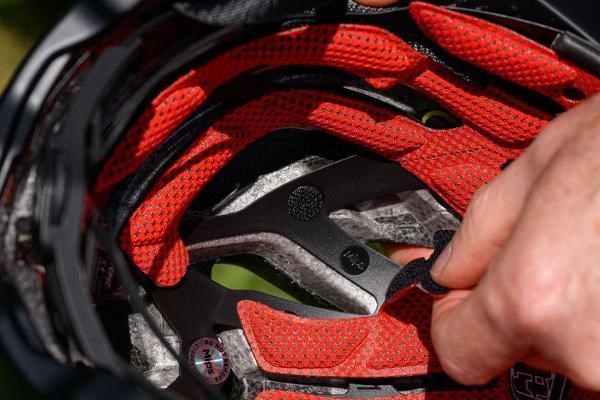
Begin by checking the helmet for any screws or fasteners. Unscrew them carefully using a screwdriver. Once all screws are removed, gently lift the old shell. If the shell is glued, use a thin tool to pry it off. Take care not to damage the foam underneath. Dispose of the old shell safely.
Attaching The New Shell
Attaching the new shell to your bike helmet is simple. Align the shell with the helmet’s base. Press firmly until it clicks into place.
Positioning The Shell
Place the new shell on the helmet. Make sure it covers the entire surface. Align it with the edges. Check that it sits comfortably on the helmet.
Securing The Shell
Use strong adhesive to attach the shell. Press it firmly to ensure it sticks. Check for any loose parts. Adjust if necessary to keep it secure.
Final Adjustments
Secure the new shell on the helmet, ensuring a snug fit. Check for any gaps or loose areas. Adjust straps for comfort and safety.
Ensuring Proper Fit
A helmet should fit snugly on your head. Adjust the straps so they form a “V” under each ear. Tighten the chin strap; it should be secure but comfortable. You should fit no more than one finger between the strap and your chin. Check if the helmet sits level on your head. It should not tilt forward or backward. The front edge should be two finger-widths above your eyebrows. This ensures the helmet covers your forehead properly.
Testing Helmet Stability
Gently shake your head side to side. The helmet should not move. If it does, tighten the straps more. Push the helmet up from the back, it should not slide forward. Test the helmet by nodding your head. It should stay in place. Make sure the helmet feels comfortable. If it pinches or feels loose, adjust again. A good fit keeps you safe on your bike rides.
Credit: www.tredz.co.uk
Maintenance Tips
Replacing a bike helmet shell requires careful attention. First, remove the old shell gently to avoid damage. Next, align the new shell with the helmet base and press firmly until it fits securely.
Regular Inspections
Check the helmet shell for cracks or damage. Look at the straps and buckles. Ensure they are not worn out. Test the fit on your head. It should be snug and secure. Replace any broken parts immediately. A damaged helmet won’t protect your head.
Proper Storage
Store your helmet in a cool, dry place. Avoid direct sunlight or heat. Sun can weaken the helmet material. Keep it away from sharp objects. They might scratch or dent the shell. Use a helmet bag for extra protection. This helps keep it clean and safe.

Credit: 365cycles.com
Frequently Asked Questions
How To Replace A Bike Helmet Visor?
To replace a bike helmet visor, remove the screws or clips securing it. Detach the old visor carefully. Align the new visor with the attachment points. Secure it with screws or clips. Ensure it’s tightly fixed. Check the visor’s position and adjust if necessary.
Enjoy your ride with a fresh visor!
Are All Helmet Shells The Same Size?
Helmet shells vary in size to fit different head dimensions. Different brands and models offer multiple shell sizes. Always check the size chart to ensure a proper fit. A well-fitting helmet enhances safety and comfort while riding. Choose the right size for optimal protection.
What Is The 2 2 2 Rule When Fitting A Helmet On Your Head?
The 2 2 2 rule for helmet fitting ensures proper safety. Keep two fingers above your eyebrows, two fingers’ width strap below your chin, and ensure two fingers can fit between the strap and your chin. This rule guarantees a snug and secure fit, optimizing protection while riding.
What Is The 5 Year Rule For Helmets?
The 5-year rule suggests replacing helmets every five years due to material degradation and safety concerns. Regular use, exposure to sunlight, and sweat can weaken the helmet’s structure. Ensuring optimal protection is crucial, so check for signs of wear and damage.
Always prioritize safety by considering helmet replacement every five years.
Conclusion
Replacing a bike helmet shell is simple and important. A well-fitted shell ensures safety. Always choose high-quality materials. Inspect for cracks or damage regularly. Follow the steps shared here to replace it efficiently. Safety should always be your priority when cycling.
An updated helmet boosts protection and confidence. Cycling is fun and safe with the right gear. Keep your helmet in good shape. Enjoy a worry-free ride every time. Your helmet keeps you safe on the road. Stay protected and ride with peace of mind.


