

Nothing stops playtime faster than a flat tire on your child’s bike. When a puncture happens, you might feel stuck or unsure how to fix it quickly.
But what if you could repair that puncture yourself, saving time and getting your little one back on the road in no time? In this guide, you’ll discover simple, step-by-step tips to fix kids’ bike punctures easily—no special skills needed.
Keep reading, and you’ll gain the confidence to handle these common bike troubles like a pro.
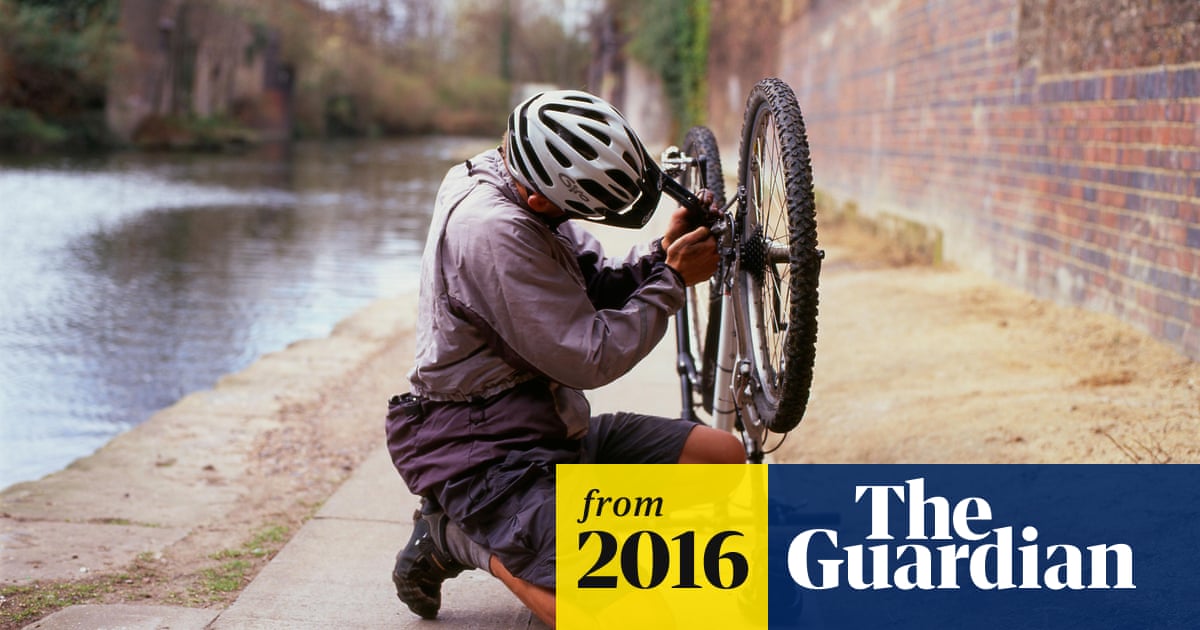
Credit: www.theguardian.com
Tools Needed
Fixing a puncture on a kid’s bike is easier with the right tools. Having these tools ready helps you repair quickly and get back to riding.
This guide lists the must-have tools and some optional items that make repairs smoother.
Essential Repair Kit
These tools are necessary for most puncture repairs on kids’ bikes. Keep them in a small bag or box for easy access.
- Tire levers – to remove the tire from the rim
- Patch kit – includes patches, glue, and sandpaper
- Air pump – to inflate the tire after repair
- Spare inner tube – useful if the puncture is too large to patch
- Adjustable wrench – to remove the wheel if needed
Optional Helpful Tools
These tools are not always needed but can make the repair process easier and faster.
| Tool | Use |
| Valve core remover | Helps remove the valve core for faster tube deflation |
| Gloves | Keeps hands clean and protected |
| Multi-tool | Includes various small tools like screwdrivers and Allen keys |
| Water and bucket | To find the puncture by bubbling air bubbles |
Identifying The Puncture
Fixing a flat tire on a kid’s bike starts by finding the puncture. This helps you know where the air is escaping.
Look carefully at the tire and tube to spot the hole. This makes repair faster and easier.
Removing The Wheel
Take off the wheel to check the tire and tube well. Most kids’ bikes have a quick-release or nuts holding the wheel.
Loosen the nuts or flip the quick-release lever to free the wheel. Pull the wheel off the bike frame carefully.
- Shift the bike into the lowest gear (rear wheel only)
- Open the brake if needed to remove the wheel
- Unscrew nuts or open quick-release lever
- Pull the wheel away from the bike
Locating The Leak
Find the exact spot where air escapes. Inflate the tube slightly to hear or feel the leak.
If you cannot hear air, use water and soap on the tube. Bubbles will form at the puncture site.
- Pump air into the tube
- Listen and feel for escaping air
- Or dip the tube in soapy water
- Watch for bubbles showing the leak
Checking The Tire
Look inside and outside the tire for sharp objects. Small pieces of glass or thorns can cause flats.
Remove any debris you find. Check the tire carefully to prevent new punctures after repair.
- Inspect tire surface for cuts or holes
- Run fingers inside tire to find sharp objects
- Remove any nails, glass, or thorns
- Replace tire if it is badly damaged
Removing The Tire
Fixing a puncture on a kid’s bike starts with removing the tire. You must take off the tire carefully to reach the inner tube. This process is simple if you know the right steps.
Removing the tire helps you find the hole and repair it. Follow each step to avoid damaging the tire or tube.
Deflating The Tube
Start by letting all the air out of the tube. You can do this by pressing the valve to release the air. Make sure the tube is fully deflated before removing the tire.
Deflating the tube makes the tire easier to remove. It also stops the tube from snapping back while you work.
Using Tire Levers
Tire levers help lift the tire off the rim without damage. Insert one lever under the tire edge and push it up. Use a second lever a few inches away to lift more of the tire.
- Insert the first tire lever under the tire bead
- Lift the tire slightly over the rim edge
- Use a second lever to continue lifting around the tire
- Be careful not to pinch the tube with the levers
Taking Off The Tire
After lifting the tire with levers, slide your hand around the rim. Pull the tire bead off the rim completely. This frees the tire so you can remove the tube and fix the puncture.
Keep one side of the tire on the rim until the tube is out. This helps avoid stretching or damaging the tire during repair.
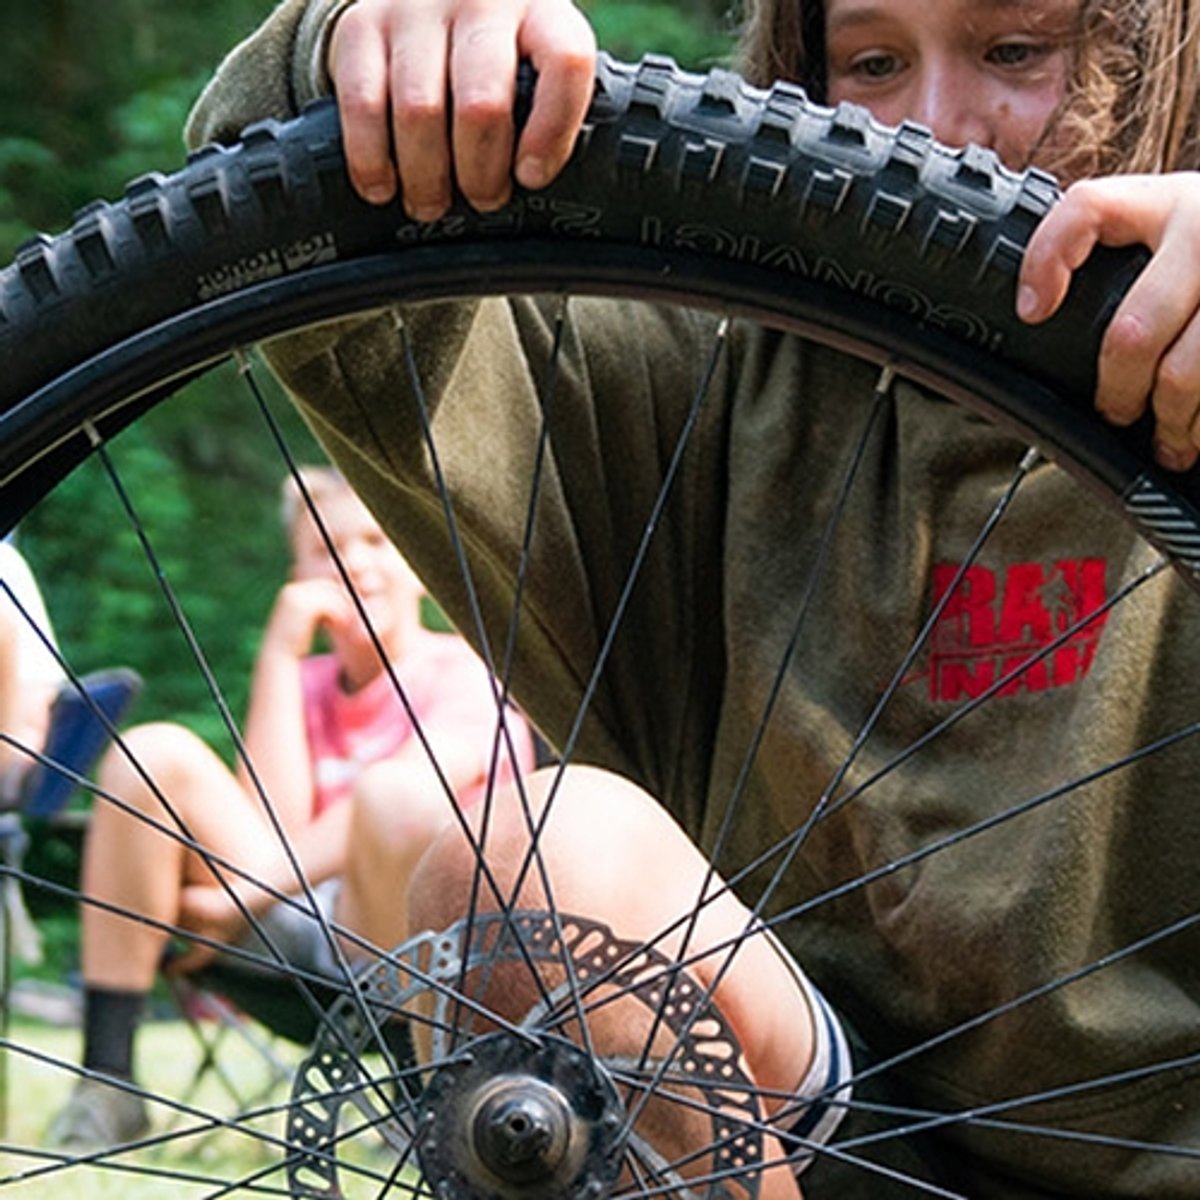
Credit: www.levelninesports.com
Patching The Tube
Punctures on kids’ bike tubes are common but easy to fix. Patching the tube helps you avoid buying new ones often. This guide shows simple steps to patch the tube properly.
Gather your patch kit and some tools before you start. Clean work and patience make the patch last longer.
Preparing The Surface
Find the hole in the tube by inflating it slightly and listening for air leaks. Mark the spot. Dry the tube and clean around the hole carefully.
- Use sandpaper to roughen the tube surface near the hole.
- Wipe off dust and dirt with a clean cloth.
- Make sure the area is dry before applying glue.
Applying The Patch
Spread a thin layer of rubber glue over the roughened area. Let the glue become tacky but not dry.
| Patch Application Tips | Reason |
| Press patch firmly on the glued spot | Ensures strong bond |
| Hold in place for 1 minute | Prevents air bubbles |
| Check edges for good seal | Avoids leaks |
Waiting Time
Allow the patch to set fully before reinserting the tube. Wait at least 10 minutes for the glue to dry well.
- Keep the tube still and flat while drying.
- Do not inflate the tube too soon.
- Test the patch by inflating slowly and checking for leaks.
Reassembling The Wheel
After fixing the puncture, it is time to put the wheel back together. Doing this carefully helps the bike work well and stay safe.
Follow simple steps to place the tube, seat the tire, and inflate it correctly. This will make the bike ready to ride again.
Placing The Tube Back
Put the tube inside the tire gently. Make sure it is not twisted or pinched. Align the valve stem with the hole on the rim.
Check that the tube sits evenly all around the tire. This avoids new punctures or damage when you inflate the tire.
Seating The Tire
Push the tire edges back onto the rim carefully. Start opposite the valve and work your way around the wheel.
Use your thumbs to press the tire bead inside the rim. Check that the tube is not caught between the tire and rim.
- Begin near the valve stem for better control
- Work slowly to avoid pinching the tube
- Make sure the tire sits evenly all around
Inflating The Tire
Start inflating the tire slowly. Watch the tire and rim to make sure the tube stays in place.
Inflate to the pressure recommended on the tire sidewall. Use a pump with a gauge for accuracy.
- Check the tire for any bulges or uneven spots
- Stop inflating if the tire looks damaged
- Secure the valve cap after inflation
Final Checks
After fixing a puncture on a kid’s bike, it is important to do some final checks. These checks make sure the bike is safe and ready to ride.
Take time to check the tire inflation, look for leaks, and put the wheel back on properly. This helps keep the bike working well.
Ensuring Proper Inflation
Check the tire pressure with a pump that has a gauge. Inflate the tire to the recommended pressure. This number is usually on the side of the tire.
Proper inflation helps the bike ride smoothly and makes the tire last longer. Avoid overinflating or underinflating the tire.
Testing For Leaks
After inflating, check if air is escaping from the tire. Listen for hissing sounds near the patch or valve.
You can also put soapy water on the patch area. If bubbles form, there is still a leak that needs fixing.
- Spray or dab soapy water on the tube
- Look closely for bubbles forming
- Fix leaks if bubbles appear
Reattaching The Wheel
Place the wheel back into the bike frame carefully. Make sure it fits snugly and straight between the forks.
Tighten the nuts or quick-release lever firmly. Check that the wheel spins freely without wobbling or rubbing the brakes.
- Align the wheel with the frame
- Tighten nuts or close the quick-release
- Spin the wheel to check for smooth movement
- Ensure brakes do not rub the tire
Preventive Tips
Fixing punctures on kids’ bikes is easier with good prevention. Taking care of tires helps avoid flat tires on the road.
Simple habits like checking tires and using the right pressure keep bikes ready to ride. This guide covers key tips for parents.
Regular Tire Inspection
Look at the tires often to find damage early. Check for cuts, cracks, or worn spots on the rubber.
- Remove small stones or glass pieces stuck in the tire
- Check the tire sidewalls for any bulges or bubbles
- Look at the tread depth to see if it is too smooth
- Listen for any unusual sounds when the bike rolls
Choosing Durable Tires
Select tires made from strong materials to last longer and resist punctures. Some tires have special layers to protect inside tubes.
| Tire Type | Features | Best Use |
| Standard Tires | Basic rubber, affordable | Casual riding on smooth surfaces |
| Puncture-Resistant Tires | Extra protective layer inside | Rough paths and frequent rides |
| Thick Tread Tires | Deep grooves for grip | Off-road or dirt trails |
Proper Inflation Habits
Keep tires inflated to the correct pressure. Too low pressure causes flats. Too high pressure may burst the tire.
- Check tire pressure weekly using a gauge
- Inflate tires to the number on the sidewall
- Adjust pressure if riding on rough or soft ground
- Keep a small pump handy for quick fixes

Credit: www.amazon.in
Frequently Asked Questions
How Do I Find The Puncture On A Kids’ Bike Tire?
To find a puncture, inflate the tire and listen for hissing sounds. Submerge the tire in water to spot bubbles. Mark the puncture spot for easy repair.
What Tools Are Needed To Fix A Kids’ Bike Puncture?
You need tire levers, a patch kit, sandpaper, and a pump. These tools help remove the tire, prepare the tube, and fix the hole efficiently.
How Long Does It Take To Repair A Bike Puncture?
Typically, repairing a puncture takes about 15 to 30 minutes. It depends on your experience and the damage extent on the tire tube.
Can I Repair A Puncture Without Removing The Tire?
Removing the tire is recommended for proper repair. Fixing without removal is possible but may lead to incomplete patching and tube damage.
Conclusion
Fixing punctures on kids’ bikes is simple and rewarding. Gather the right tools. Follow the step-by-step guide. Your child will be back to riding soon. Regularly check the tires for any damage. This prevents future issues. Encourage your kids to learn basic bike care.
It builds their confidence and independence. Plus, it saves you time and money. Remember, practice makes perfect. Happy biking and safe journeys!


