

This guide shows you how to remove speed limiter from bike models like e-bikes and scooters. You’ll learn safe methods, tools needed, and important safety tips to avoid damage or injury.
Key Takeaways
- Understand your bike type: Only certain bikes (like e-bikes or scooters) have speed limiters—traditional bikes don’t need this modification.
- Check local laws first: Removing speed limiters may be illegal in your area. Always verify regulations before making changes.
- Use proper tools: A multimeter, screwdrivers, and sometimes a tuning device are essential for safe removal.
- Follow step-by-step instructions: Rushing can damage your motor or controller. Take your time and double-check connections.
- Test carefully after removal: Start with short rides at low speeds to ensure everything works correctly.
- Consider warranty implications: Modifying your bike may void the manufacturer’s warranty—proceed with caution.
- Prioritize safety: Higher speeds increase risk. Always wear protective gear and maintain your brakes and tires.
How to Remove Speed Limiter from Bike: A Complete Guide
If you’ve ever felt your electric bike or scooter holding you back—literally—you’re not alone. Many manufacturers install speed limiters to comply with local laws or safety standards. But if you’re on private property, have proper training, and understand the risks, you might want to know how to remove speed limiter from bike systems safely.
This guide walks you through the process step by step. We’ll cover what speed limiters are, which bikes have them, legal considerations, tools you’ll need, and detailed removal methods. Whether you ride an e-bike, electric scooter, or motorized bicycle, this guide will help you make informed decisions—without compromising safety.
What Is a Speed Limiter?
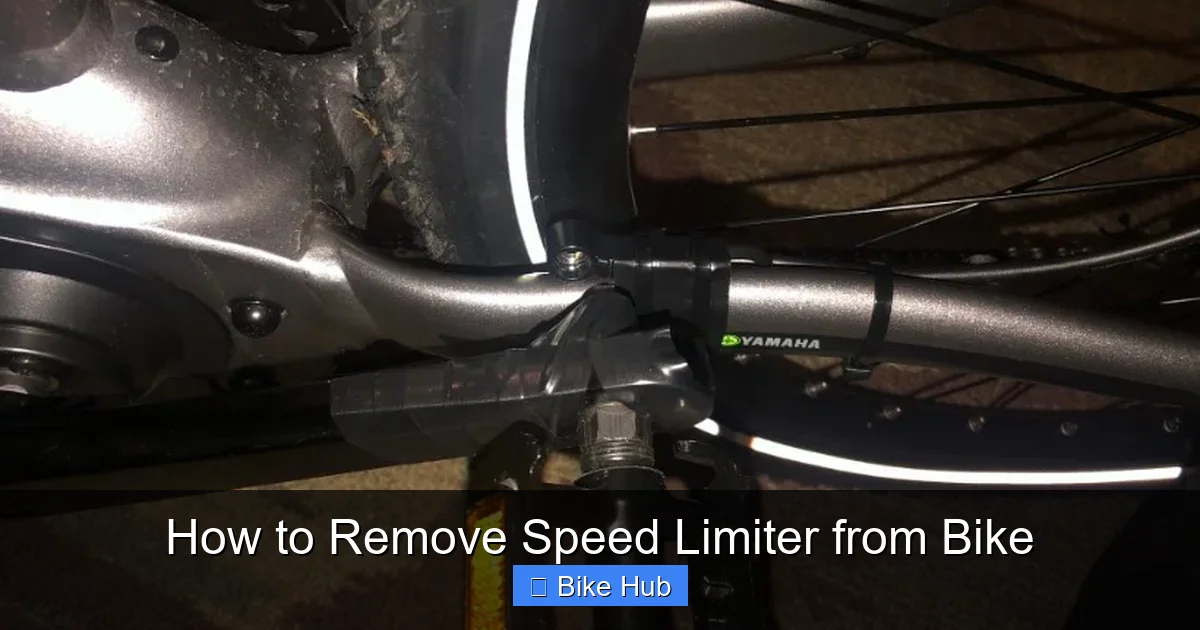
Visual guide about How to Remove Speed Limiter from Bike
Image source: electricalwheel.com
A speed limiter is a built-in feature that caps how fast your bike can go. On electric bikes (e-bikes), it’s usually set at 20 mph (32 km/h) in the U.S. or 25 km/h in Europe to meet legal definitions of “low-speed electric bicycles.” Scooters and motorized bikes often have similar limits.
These limiters are typically controlled by the bike’s controller unit, which monitors wheel speed via a sensor. Once the limit is reached, the controller cuts power to the motor—even if you keep pedaling or pressing the throttle.
While meant for safety and compliance, some riders find these limits too restrictive, especially on open roads or private trails.
Is It Legal to Remove a Speed Limiter?
Visual guide about How to Remove Speed Limiter from Bike
Image source: electricalwheel.com
Before doing anything, check your local laws. In many places, removing a speed limiter turns your e-bike into a motor vehicle, requiring registration, insurance, and a license. For example:
– In the U.S., federal law defines e-bikes as having motors under 750W and speeds under 20 mph.
– In the EU, Class A e-bikes must not exceed 25 km/h without pedaling.
– Some states and countries ban modifications entirely.
If you’re caught riding an illegally modified bike on public roads, you could face fines or lose insurance coverage. Always research your local regulations first.
Which Bikes Have Speed Limiters?
Not all bikes have speed limiters. Here’s a quick breakdown:
- Electric bikes (e-bikes): Most come with factory-set limiters.
- Electric scooters: Nearly all have speed caps for safety and compliance.
- Motorized bicycles (with gas engines): Some have limiters, especially newer models.
- Traditional pedal bikes: No limiters—these don’t apply.
If you’re riding a standard road or mountain bike, there’s no limiter to remove. This guide focuses on electric and motorized models.
Tools You’ll Need
Gather these tools before starting:
- Phillips and flathead screwdrivers
- Multimeter (to test voltage and connections)
- Wire strippers and electrical tape
- Zip ties (for securing loose wires)
- Tuning device or app (for advanced models)
- Owner’s manual (for wiring diagrams)
Having the right tools prevents mistakes and keeps your bike safe during modification.
Step-by-Step: How to Remove Speed Limiter from Bike
Follow these steps carefully. Rushing can damage your motor, controller, or battery.
Step 1: Identify Your Bike’s Controller
The controller is the brain of your e-bike. It’s usually located under the seat, near the battery, or inside the frame. Look for a small black box with multiple wires connected to it.
Consult your owner’s manual to confirm its location. If you don’t have one, search online using your bike’s make and model.
Step 2: Locate the Speed Sensor
Most e-bikes use a wheel speed sensor—a small magnet on the wheel spoke and a sensor on the fork or frame. When the wheel spins, the sensor counts rotations and sends data to the controller.
This sensor is key to the limiter. Bypassing or adjusting it can remove the speed cap.
Step 3: Disconnect the Battery
Safety first! Always disconnect the battery before working on electrical components. This prevents shocks or short circuits.
Remove the battery pack or unplug the main power connector. Wait 5–10 minutes for capacitors to discharge.
Step 4: Access the Controller Wiring
Use screwdrivers to open the controller housing. Be gentle—wires are fragile.
Look for the wire connected to the speed sensor. It’s usually a thin wire (often yellow or green) running from the sensor to the controller.
Step 5: Bypass the Speed Sensor (Simple Method)
One common way to remove the limiter is to disconnect or short the speed sensor wire.
- Carefully disconnect the sensor wire from the controller.
- Twist the exposed ends together or connect them with a small jumper wire.
- Secure with electrical tape or heat shrink tubing.
This tricks the controller into thinking the wheel isn’t spinning fast, so it won’t cut power.
Tip: Some bikes may not respond well to this method. Test carefully.
Step 6: Use a Tuning Device (Advanced Method)
Many modern e-bikes support tuning via Bluetooth or USB. Brands like Bafang, Shimano, and Bosch offer apps or dongles that let you adjust speed limits.
- Download the official app (e.g., Bafang Go, Shimano E-Tube).
- Connect your phone to the bike’s motor via Bluetooth.
- Navigate to “Speed Limit” settings and increase or disable the cap.
This method is cleaner and reversible. It’s ideal if your bike supports it.
Step 7: Reassemble and Test
Once the modification is done:
- Reconnect the battery.
- Reattach any covers or panels.
- Turn on the bike and test at low speed.
Start in a safe, open area. Gradually increase speed while monitoring motor response, battery drain, and brake performance.
Troubleshooting Common Issues
After removing the limiter, you might face these problems:
Bike Won’t Start
– Check all connections. A loose wire can prevent power flow.
– Ensure the battery is fully charged.
– Reset the controller by turning the bike off for 10 minutes.
Motor Cuts Out at High Speed
– The controller may still detect overspeed. Try adjusting the sensor gap or using a tuning app.
– Overheating can also cause shutdowns. Let the motor cool between tests.
Erratic Speed or Jerking
– Loose sensor wires can cause false readings. Secure all connections.
– A damaged speed sensor may need replacement.
Battery Drains Faster
Higher speeds use more power. Expect reduced range. Consider upgrading to a higher-capacity battery if needed.
Safety Tips After Removal
Removing the limiter increases risk. Follow these safety practices:
- Wear a helmet: Always protect your head. If you need help with gear, check out our guide on how to remove bike helmet visor for better visibility.
- Check brakes regularly: Higher speeds require stronger stopping power. Learn how to change road bike brake pads to maintain performance.
- Inspect tires: Ensure they’re rated for higher speeds. Visit our guide on how to choose road bike tires for safe options.
- Avoid wet or slippery roads: Increased speed reduces traction.
- Ride in designated areas: Use private trails or tracks where high-speed riding is allowed.
Should You Remove the Speed Limiter?
Ask yourself:
– Do I understand the legal risks?
– Am I prepared for higher speeds?
– Is my bike mechanically sound?
If you’re unsure, consult a professional mechanic. Some shops offer tuning services that keep your bike safe and legal.
Remember: Speed limiters exist for a reason. Removing them increases fun—but also responsibility.
Conclusion
Learning how to remove speed limiter from bike systems can unlock faster rides, but it’s not a decision to take lightly. Always prioritize safety, legality, and proper maintenance.
Use the right tools, follow steps carefully, and test your bike in a controlled environment. And if you’re upgrading other parts—like tires or brakes—make sure they match your new speed capabilities.
With the right approach, you can enjoy a faster, more responsive ride—without compromising safety.



