
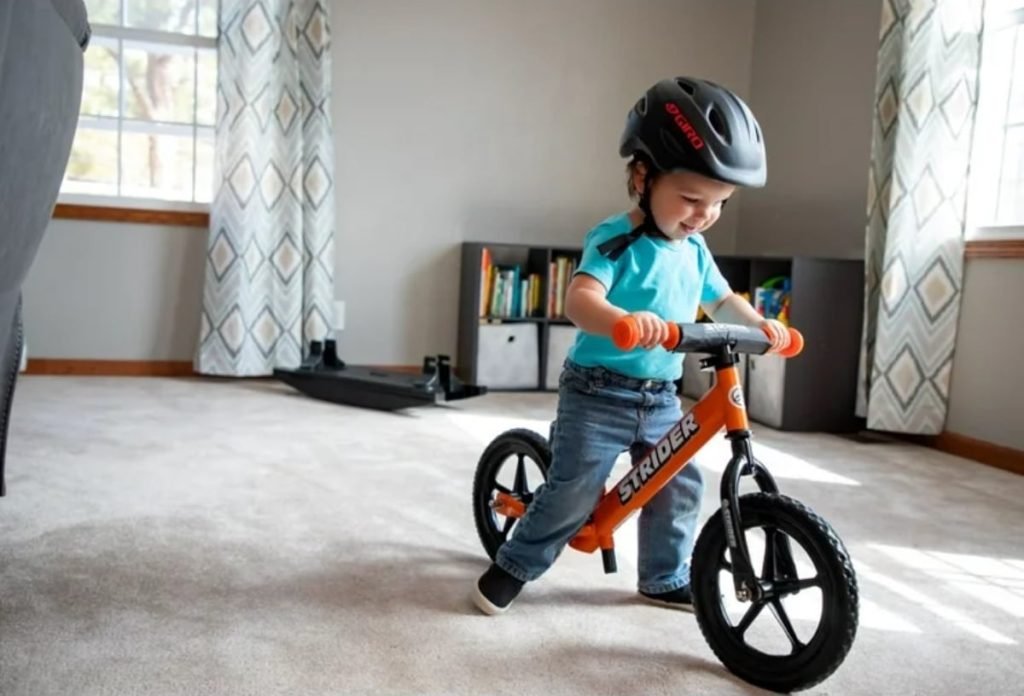
Are you struggling to remove the pedals from your toddler’s bike? It might seem tricky at first, but with the right steps, you can do it quickly and safely.
Removing pedals helps your little one learn to balance better before moving on to pedaling. In this guide, you’ll discover simple tips and easy tools to get the job done without frustration. Keep reading, and you’ll be ready to make your toddler’s bike just right for their next big adventure.
Tools Needed
Removing pedals from toddler bikes requires the right tools. Using proper tools makes the task easier and safer.
Below are the main tools you will need to remove pedals smoothly without damaging the bike or hurting yourself.
Wrench Types
You need a wrench to loosen and remove the pedals. There are a few types suitable for this job depending on your bike model and pedal size.
- Adjustable Wrench:Fits different pedal sizes by adjusting the jaw width.
- 15mm Pedal Wrench:Designed for bike pedals with a thin profile for better grip.
- Socket Wrench:Useful if the pedal has a bolt head instead of flats for a wrench.
Optional Lubricants
Lubricants help loosen tight pedals and protect threads from rust. They are not always necessary but can make removal easier.
| Lubricant Type | Purpose | Application |
| Penetrating Oil | Loosens rusted or stuck pedals | Apply to pedal threads and wait a few minutes |
| Grease | Protects threads during reassembly | Use on pedal threads before screwing back on |
| WD-40 | General lubricant and rust remover | Spray on pedal area for quick loosening |

Credit: hubbardscupboard2010.com
Preparing The Bike
Removing pedals from a toddler’s bike requires careful preparation. Getting the bike ready helps make the process safe and easy.
This guide covers how to position the bike and the safety steps to follow before removing the pedals.
Positioning The Bike
Place the bike on a flat, stable surface. This stops it from moving while you work.
- Use a bike stand if available
- Turn the bike upside down resting on the seat and handlebars
- Make sure the bike is steady before starting
- Keep the pedals easily reachable
Safety Measures
Safety is important to avoid injury. Follow these steps before removing the pedals.
| Safety Tip | Reason |
| Wear gloves | Protect your hands from sharp edges |
| Use the correct wrench size | Prevent slipping and damage |
| Work in a well-lit area | See parts clearly and avoid mistakes |
| Keep small parts away from children | Prevent choking hazards |
Removing The Pedals
Removing pedals from toddler bikes is a simple task. It helps with maintenance or replacement. You need basic tools and a little care to do it safely.
This guide explains how to identify pedals, loosen them, and remove them completely. Follow each step carefully for the best results.
Identifying Left And Right Pedals
Toddler bike pedals have a left and a right side. They are not interchangeable because of the thread direction. Knowing which pedal is which is important to avoid damage.
- The right pedal screws in clockwise.
- The left pedal screws in counterclockwise.
- Look for “L” or “R” markings on the pedal spindle.
- If no markings exist, check the threading direction carefully.
Loosening The Pedals
Use a pedal wrench or a suitable spanner to loosen the pedals. Turn the wrench in the correct direction based on the pedal side. You may need to apply steady pressure.
- Place the bike securely so it won’t move.
- Attach the wrench to the pedal spindle.
- For the right pedal, turn the wrench counterclockwise.
- For the left pedal, turn the wrench clockwise.
- Keep turning until the pedal starts to move.
Removing The Pedals Completely
Once loose, unscrew the pedals by hand. Be careful to avoid dropping them or scratching the bike frame. You can clean or replace pedals as needed.
| Pedal Side | Thread Direction to Remove |
| Right | Turn counterclockwise |
| Left | Turn clockwise |
Troubleshooting Common Issues
Removing pedals for toddlers can sometimes be tricky. Common problems include stuck pedals and stripped threads.
Knowing how to handle these issues will make the process easier and safer for both you and your child.
Stuck Pedals
Pedals can get stuck due to rust, dirt, or over-tightening. Use these tips to loosen them without damage.
- Apply a lubricant like WD-40 to the pedal threads.
- Let the lubricant sit for 10 minutes to penetrate.
- Use a pedal wrench or adjustable spanner for better grip.
- Turn the pedal counterclockwise to loosen.
- If it still won’t budge, try tapping gently with a rubber mallet.
Stripped Threads
Stripped threads happen when pedals are cross-threaded or forced too hard. This makes removal harder.
| Problem | Solution |
| Pedal spins but does not loosen | Use a thread repair kit or take it to a bike shop. |
| Threads are damaged on crank arm | Replace crank arm or use a thread insert. |
| Pedal stuck due to stripped threads | Try using locking pliers for extra grip or apply heat carefully. |
Reinstalling Or Replacing Pedals
Removing pedals from toddler bikes is simple and safe. After removal, you might want to reinstall or replace them.
This guide helps you choose new pedals and install them properly for your toddler’s bike.
Choosing New Pedals
Select pedals that fit the bike and are safe for toddlers. Look for pedals with good grip and the right size.
Plastic pedals are light and safe. Metal pedals are strong but heavier. Pick what works best for your child.
- Check pedal size matches the crank arms
- Choose pedals with non-slip surfaces
- Pick pedals made from durable materials
- Consider pedals with reflectors for visibility
Proper Installation Tips
Clean the crank threads before installing new pedals. This helps the pedals screw in smoothly and stay tight.
Remember, pedals have left and right sides. Install them on the correct sides to avoid damage.
- Apply a small amount of grease on pedal threads
- Right pedal screws clockwise
- Left pedal screws counterclockwise
- Tighten pedals firmly but do not overtighten
- Check pedals regularly for tightness

Credit: www.reddit.com
Maintenance Tips
Removing pedals for toddlers requires regular care to keep parts working well. Good maintenance helps pedals last longer and stay safe.
Focus on simple checks and proper lubrication to avoid problems. These small steps save time and effort in the future.
Regular Checks
Look over the pedals and crank arms often. Check for loose bolts or parts that may be worn out. Tighten any loose screws to keep pedals steady.
- Inspect pedals for cracks or damage
- Make sure pedals spin smoothly without noise
- Check that pedal threads fit tightly in crank arms
- Look for rust or dirt buildup around pedal parts
- Confirm pedals are the right size for your toddler’s bike
Lubrication Routine
Keep pedal parts moving easily by applying lubricant regularly. Lubrication stops rust and reduces friction between moving pieces.
| Lubrication Task | Frequency | Tools Needed |
|---|---|---|
| Apply grease to pedal bearings | Every 3 months | Grease, cloth, small brush |
| Lubricate pedal axle threads | Before reattaching pedals | Bike grease or oil |
| Clean old grease and dirt | Monthly | Rag, mild cleaner |
Credit: kidcruiser.nl
Frequently Asked Questions
How Do I Remove Toddler Bike Pedals Safely?
Use a pedal wrench or adjustable spanner to loosen the pedals. Turn counterclockwise on the right side and clockwise on the left. Apply steady pressure to avoid stripping the threads. Wear gloves for better grip and safety.
What Tools Are Needed To Remove Toddler Pedals?
A pedal wrench or adjustable spanner is essential. Some pedals may need an Allen key. Check the pedal type before starting. Having the right tools makes removal easier and prevents damage.
Can I Remove Pedals Without Professional Help?
Yes, you can remove pedals at home with basic tools. Follow the correct directions for each pedal side. Be cautious to avoid injury or bike damage. Watching tutorial videos can help beginners.
Why Remove Pedals From Toddler Bikes?
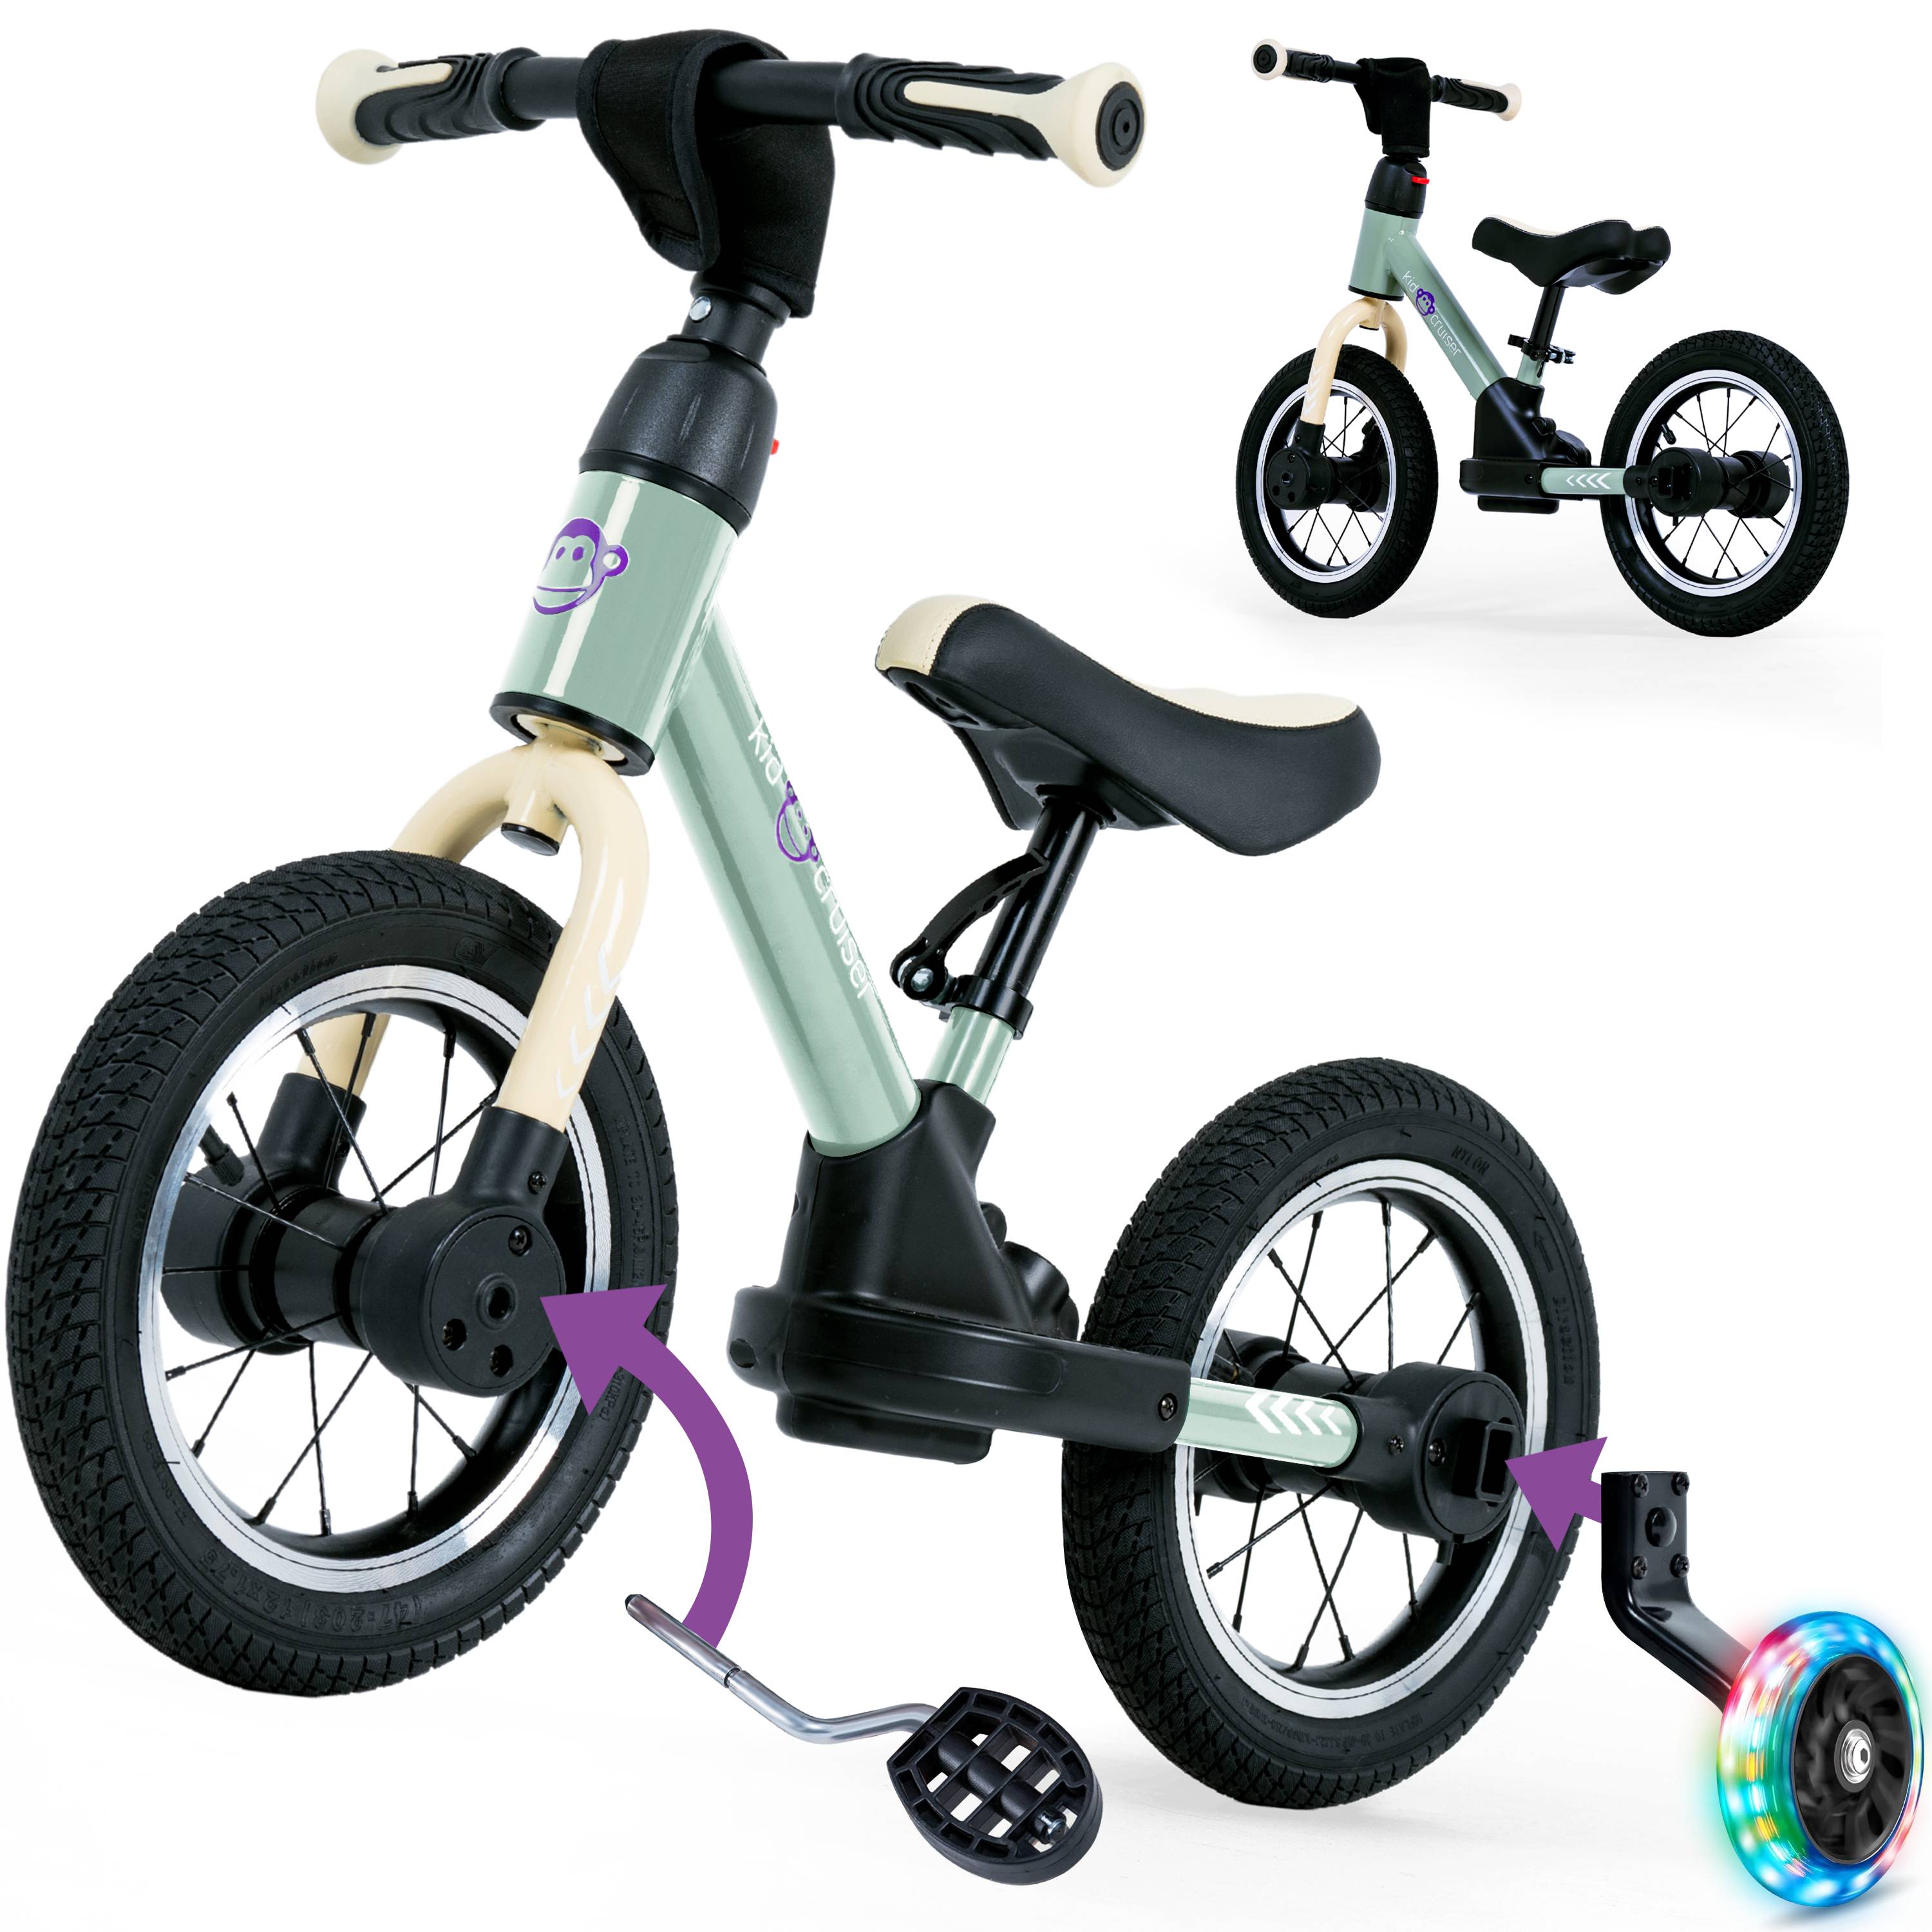
Removing pedals aids in converting bikes to balance bikes. It helps toddlers focus on balance before pedaling. This transition improves coordination and confidence in young riders.
Conclusion
Removing pedals for toddlers is simple with the right tools. Take your time and follow each step carefully. This helps keep the bike safe and easy for little riders. Always check that everything is tight and secure before letting your child ride.
Regular bike care makes learning to ride more fun. Keep practicing, and soon your toddler will enjoy riding without pedals. Safe, steady progress matters most.



