
Are you looking to remove BMX stunt pegs from your bike but don’t know where to start? Removing those pegs might seem tricky at first, but with the right steps, you can do it quickly and safely.
Whether you want to switch up your ride or fix a problem, this guide will walk you through the easiest way to take off your BMX stunt pegs. Keep reading, and you’ll be able to tackle this task with confidence—no special tools or experience needed!
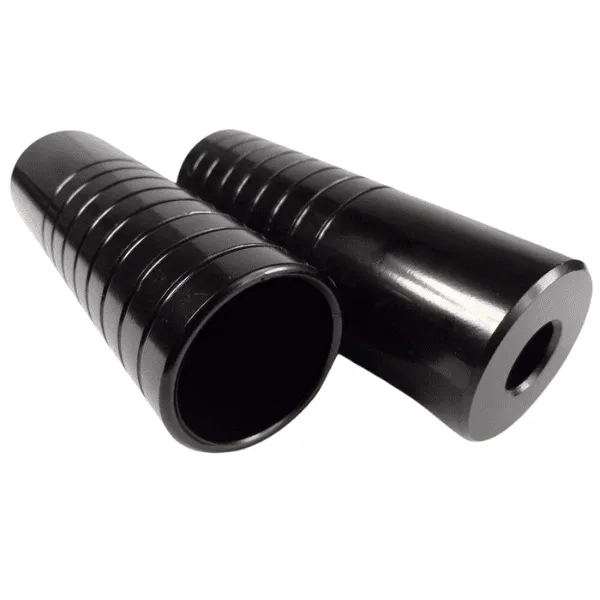
Credit: www.walmart.com
Tools Required
Removing BMX stunt pegs requires the right tools to make the job smooth and safe. Without proper equipment, you might damage your bike or struggle longer than needed. Gathering these tools beforehand saves time and frustration.
Socket Wrench Or Spanner
A socket wrench or spanner is essential for loosening the bolts holding the pegs. Most BMX pegs use standard sizes like 14mm or 15mm, so having a set of common sizes helps. I once tried using an adjustable wrench, but it slipped and scratched my bike frame—avoiding that by using the right tool is worth it.
Allen Key (hex Wrench)
Some BMX pegs are secured with Allen bolts instead of regular nuts. Having a set of Allen keys on hand ensures you can handle various bolt types. You might be surprised how often you’ll need different sizes when dealing with BMX components.
Rubber Mallet
If the pegs are stuck tight, a rubber mallet helps to gently tap them free without damaging the bike. Using a metal hammer risks denting the frame or bending the peg. I once pried a peg loose this way, and it saved me from having to buy a replacement.
Penetrating Oil
Rust or dirt can cause pegs to seize on the axle. Applying penetrating oil before attempting removal loosens the grip and reduces effort. Let the oil sit for a few minutes—has this small step ever saved you from hours of frustration?
Cleaning Rag
After loosening the pegs, wiping away grease and dirt keeps your hands clean and prevents slipping. A simple rag or old towel works perfectly. Keeping your workspace tidy also helps you spot any parts that might fall during removal.

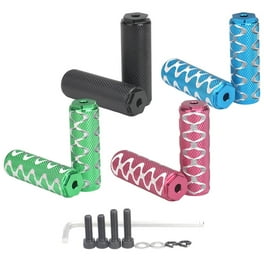
Credit: www.reddit.com
Safety Precautions
Removing BMX stunt pegs might seem straightforward, but ignoring safety can turn a simple task into a painful experience. You need to protect yourself and your bike from damage during the process. Taking a few precautions not only prevents injuries but also saves time and frustration.
Wear Protective Gear
Always wear gloves to protect your hands from sharp edges and slipping tools. Eye protection is crucial too—small metal fragments or dirt can fly up unexpectedly. Don’t skip these simple items; they make a big difference.
Use The Right Tools
Using the wrong tool can strip bolts or cause slips. Make sure your wrench or socket fits snugly on the peg bolts. If you’ve struggled with stuck pegs before, consider a penetrating oil to loosen rusted parts safely.
Secure Your Bike
Your bike should be stable before you start. Use a bike stand or lean it securely against a wall to prevent tipping. Have you ever tried to remove a peg while the bike wobbled? It’s a quick path to frustration or injury.
Work In A Clear, Well-lit Area
Good lighting helps you see what you’re doing clearly and avoid mistakes. A clutter-free space means fewer chances of tripping or losing small parts. Think about where you’ve done bike maintenance before—was it easy to move and focus?
Check The Pegs And Bolts First
Inspect pegs and bolts for damage or rust before starting. A damaged peg might require extra care or professional help. Knowing what you’re dealing with can save you from sudden surprises mid-task.
Positioning The Bike
Positioning your BMX bike correctly before removing stunt pegs can make the entire process smoother and safer. If your bike isn’t steady, you might struggle to loosen the pegs or risk scratching your frame. Taking a moment to set your bike in the right spot will save you time and frustration.
Choosing A Stable Surface
Start by placing your bike on a flat, hard surface. Avoid soft grass or uneven ground where your bike can wobble. Concrete or a garage floor works best to keep the bike steady while you work.
Have you noticed how much easier it is to work on your bike when it’s solidly planted? Stability reduces the risk of the bike tipping over and causing injury or damage.
Using A Bike Stand Or Support
If you have a bike stand, use it to hold your BMX upright. This frees up both your hands and keeps the bike balanced. No stand? Lean the bike gently against a wall or sturdy object.
Supporting the bike properly means you can focus fully on removing the pegs without needing to hold the bike steady. It turns a tricky job into a manageable one.
Positioning The Pegs For Easy Access
Rotate the pedals and handlebars so the stunt pegs face upward or outward. This positioning gives you clear access to the bolts or nuts holding the pegs in place. It reduces the chance of slipping or missing the hardware.
Imagine trying to reach a screw buried under the bike frame—it’s frustrating and inefficient. Proper peg positioning puts everything right where your tools can reach.
Loosening The Pegs
Loosening the BMX stunt pegs is the first key step to remove them safely. It requires the right tools and knowledge about the peg type. Doing this carefully prevents damage to your bike and the pegs.
Identifying The Peg Type
Check the peg’s shape and how it attaches to the axle. Some pegs screw on directly, while others use bolts or nuts. Look for:
- Threaded pegs that twist off by turning counterclockwise
- Bolted pegs with visible nuts or bolts on the inside
- Slip-on pegs that may have locking pins or clips
Knowing your peg type helps you choose the right way to loosen it. It avoids stripping or damaging the parts.
Using The Right Wrench
Match the wrench size to the peg’s nuts or bolts. Usually, BMX pegs use 14mm or 15mm wrenches.
- Use an adjustable wrench if you don’t have the exact size
- Apply steady pressure to avoid rounding the nut
- Turn counterclockwise to loosen the peg
Sometimes, pegs can be tight from dirt or rust. Use penetrating oil and let it sit for a few minutes. This helps the wrench turn the nut smoothly.
Removing The Pegs
Removing BMX stunt pegs can be straightforward, but it sometimes requires patience and the right approach. Whether you’re swapping pegs or just maintaining your bike, knowing how to properly take them off saves time and frustration. Let’s focus on the key actions to get those pegs off without damaging your bike.
Turning The Wrench
Start by positioning your wrench firmly on the peg’s bolt. You want a snug fit to avoid stripping the bolt head. Turn the wrench counterclockwise to loosen the peg.
If the peg moves easily, keep turning until it comes off. If it feels stuck, don’t force it too hard right away—apply steady pressure instead. Sometimes a little back-and-forth motion can help loosen things up.
Handling Stubborn Pegs
Stubborn pegs can test your patience. If the peg won’t budge, try spraying a little penetrating oil around the bolt. Let it sit for 10-15 minutes to seep into rusted or tight spots.
Another trick is to use a longer wrench or a breaker bar to increase your leverage. Just be careful not to apply so much force that you damage the bolt or your bike’s frame.
Have you ever faced a peg that just wouldn’t come off? Sometimes tapping gently around the peg with a rubber mallet can help loosen it too. Don’t rush—slow and steady usually wins the battle here.
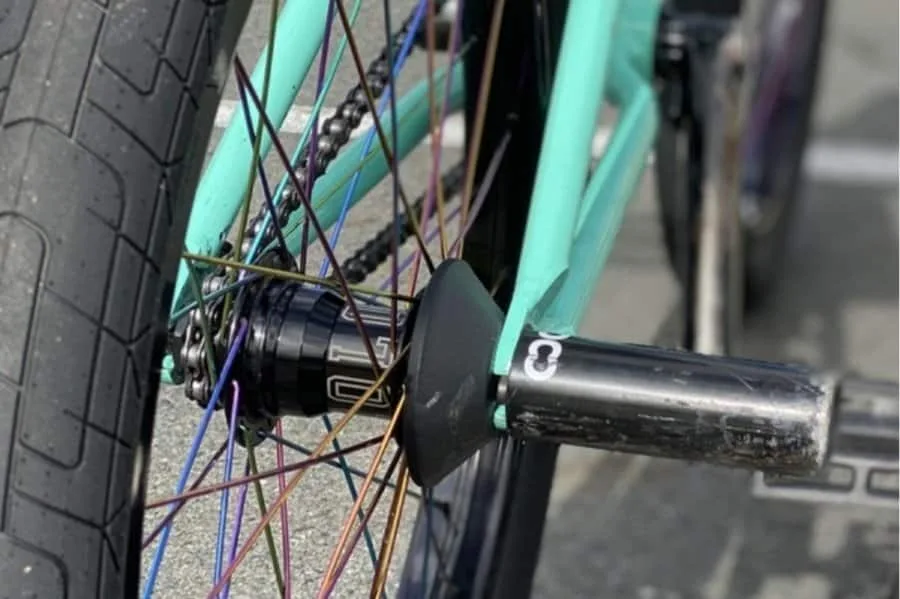
Credit: hdcmfg.com
Inspecting The Axle
Before you start removing BMX stunt pegs, it’s crucial to inspect the axle carefully. The axle holds the pegs in place, and understanding its condition can save you time and prevent damage. Taking a moment to check the axle gives you a clear idea of what tools you’ll need and how much effort the removal will require.
Check For Rust And Wear
Look closely at the axle surface for any signs of rust or wear. Rust can cause the pegs to stick tightly, making removal harder than expected. If you notice corrosion, applying a lubricant beforehand can help loosen the pegs.
Identify The Axle Type
Axles come in different types, such as hollow or solid, and each requires a specific approach. Knowing the axle type helps you pick the right wrench or socket size. It also prevents stripping the axle or damaging your bike during removal.
Look For Damage Or Bends
Examine the axle for any bends or cracks that might affect the removal process. A bent axle may need professional attention rather than a simple DIY fix. Ignoring damage could lead to bigger problems once the pegs are off.
Assess Peg Attachment
Check how the pegs are attached—whether they’re secured by nuts, bolts, or pins. Sometimes, pegs might have locking mechanisms or special hardware that require extra steps. Understanding this ensures you won’t be caught off guard mid-removal.
Plan Your Tools
After inspecting, gather the necessary tools based on your axle and peg setup. Common tools include socket wrenches, Allen keys, or adjustable spanners. Having everything ready before you start will make the process smoother and faster.
Cleaning And Maintenance
Cleaning and maintenance keep your BMX stunt pegs and axle in top shape. Dirt and grime can cause rust and make removal hard. Regular care helps parts last longer and work smoothly.
Cleaning The Threads
Start by wiping the threads on the pegs and axle with a dry cloth. Use a small brush to remove dirt stuck in the grooves. For tough grime, apply a mild degreaser and scrub gently. Rinse with water and dry completely to avoid rust.
Lubricating The Axle
Apply a light layer of lubricant to the axle threads after cleaning. This reduces friction and stops the threads from seizing. Use grease or a bike-specific lubricant for best results. Wipe off any extra oil to prevent dirt buildup.
Reinstalling Or Storing Pegs
After removing BMX stunt pegs, deciding what to do next is key. You might want to reinstall the pegs soon or store them safely for later. Proper care ensures the pegs stay in good shape and ready for action.
When To Reinstall
Reinstall pegs if you plan to do tricks again soon. They provide extra grip and balance during stunts. Also, put them back if you want to customize your bike’s look.
Avoid reinstalling if the pegs or bike parts need fixing. Check for damage before putting them back on. Use the right tools to avoid stripping bolts or hurting threads.
Proper Storage Tips
Store pegs in a dry place to stop rust and corrosion. Use a small box or container to keep them safe and clean.
- Wrap pegs in a soft cloth to prevent scratches.
- Keep bolts and screws together in a labeled bag.
- Store away from heavy items that could cause dents.
Regularly check stored pegs for rust or damage. Clean and oil them before storing if needed. This helps keep them ready for your next ride.
Frequently Asked Questions
How Do I Remove Bmx Stunt Pegs Safely?
Use a wrench to loosen the peg bolt counterclockwise. Apply penetrating oil if stuck. Remove gently to avoid damaging the bike.
What Tools Are Needed To Remove Bmx Stunt Pegs?
You need a wrench or socket set matching the peg bolt size. Penetrating oil helps loosen rusted bolts. Gloves protect your hands.
Can I Remove Bmx Stunt Pegs Without Damaging The Bike?
Yes, by using proper tools and gentle force. Avoid hammering or twisting aggressively. Apply lubricant to ease removal and protect threads.
Why Are My Bmx Stunt Pegs Hard To Remove?
They may be rusted or tightly fastened. Dirt and corrosion increase resistance. Using penetrating oil and proper tools helps loosen them effectively.
Conclusion
Removing BMX stunt pegs is simple with the right tools and steps. Take your time to avoid damage to your bike. Clean the area before reattaching new parts or riding again. Regular maintenance keeps your bike safe and fun to use.
Try these tips next time you need to remove pegs easily. Your BMX will stay in good shape with little effort. Easy and quick—just how bike repairs should be.


