
Imagine cruising down the road on your bike, with the sun shining and your fenders gleaming in vibrant colors. Sounds amazing, right?
Painting your bike fenders is a simple yet effective way to refresh your ride and express your personality. But how do you get started without making a mess or damaging your bike? You’re in the right place! This guide will show you exactly how to paint your bike fenders with ease.
You’ll discover the tools you need, the steps to follow, and tips to ensure a flawless finish. Whether you’re a seasoned DIY enthusiast or new to painting, these practical insights will make the process enjoyable and rewarding. So, are you ready to transform your bike into a masterpiece? Let’s dive in and unleash your creativity!

Credit: www.tiktok.com
Choosing The Right Paint
Acrylic paint is great for bike fenders. It sticks well and lasts long. Enamel paint gives a shiny finish. It dries hard and is scratch-resistant. Spray paint covers evenly and is easy to use. Pick a color you love!
- Weather: Choose paint that handles rain and sun.
- Durability: Pick paint that doesn’t chip easily.
- Ease of use: Spray paint is simple to apply.
- Finish: Do you want a matte or shiny look?
Gathering Essential Tools
Get a good paintbrush or spray paint. Choose high-quality paint for bikes. A small roller can help with even coats. Tape is useful to cover areas you don’t want painted.
Wear a mask to avoid breathing paint fumes. Use gloves to protect your hands. Safety goggles keep your eyes safe. A work apron can protect clothes from paint spills.
Soap and water help clean the fenders first. Get a cloth to wipe them dry. Use sandpaper to smooth rough spots. A tack cloth removes dust before painting.
Preparing Bike Fenders
Painting bike fenders requires careful preparation. Clean the surface thoroughly to remove dirt and grease. Sand down any rough spots to ensure smooth paint application. Finally, apply a primer to enhance paint adhesion and durability.
Removing Fenders From The Bike
First, locate the bolts holding the fenders. Use a wrench to loosen them. Be careful not to lose the bolts. After removing, set the fenders aside. Keep the bolts in a safe place. This helps when you put the fenders back.
Cleaning And Degreasing
Wash the fenders with warm water and soap. Use a sponge for scrubbing. Remove all dirt and grease. For tough spots, use a degreaser spray. Make sure the fenders are completely clean. Rinse with water and let them dry.
Sanding For A Smooth Surface
Get sandpaper with a fine grit. Rub it gently on the fenders. This makes the surface smooth. Sanding helps the paint stick better. Wipe away any dust with a cloth. Check for any rough spots. Sand again if needed.
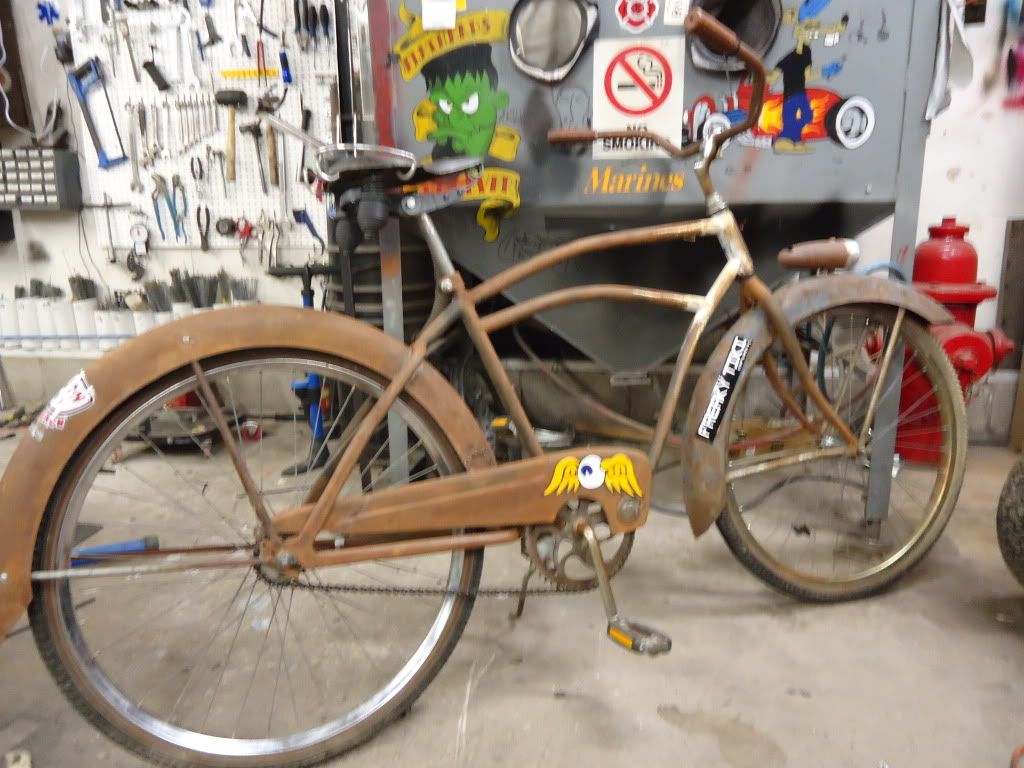
Credit: ratrodbikes.com
Priming The Fenders
Priming the fenders ensures a smooth and even surface for painting. It helps the paint adhere better and last longer. Use a primer suitable for metal or plastic, depending on your fender material.
Importance Of Primer
Primer helps paint stick better. It makes surfaces smooth and even. Prevents rust on metal fenders. Primer is a base for the paint. It makes colors shine bright. Without primer, paint might peel off. Primer is essential for long-lasting paint jobs.
Applying Primer Coats
Start with clean fenders. Shake the primer can well. Apply a thin coat first. Let it dry completely. Add a second coat for better coverage. Make sure the surface is smooth. Check for any missed spots. Avoid thick layers of primer. Thick primer can cause bumps. Smooth coats lead to better painting results.
Applying The Base Coat
Applying the base coat is crucial for a smooth finish on bike fenders. Ensure the surface is clean and dry before application. Use even strokes with a spray or brush to cover the area uniformly, allowing proper drying time for optimal results.
Techniques For Even Coverage
Use a spray can for smooth paint. Hold it 6 inches away. Start with thin layers. Move your hand in sweeping motions. Avoid staying on one spot too long. This stops drips and blobs. Overlap each pass a little. This helps cover the whole area. Patience is key for a nice finish.
Drying Time Considerations
Let each coat dry fully. Check the paint can for times. Usually, it takes about 30 minutes. Touch to test if it’s dry. Only add another coat when dry. This keeps the paint from smudging. Dry times might change if it’s cold or wet. Paint indoors for better control.
Adding Finishing Touches
Achieving a smooth finish on bike fenders involves careful sanding and priming. Choose vibrant colors for a striking look. Apply multiple coats and let each dry completely for durability and shine.
Applying Clear Coat
Clear coat makes the fenders shine beautifully. Start by cleaning the surface. Use a soft cloth to remove dust. Spray clear coat evenly over the paint. Wait for it to dry. Apply two or three layers for better results. Each layer should dry completely. This helps protect the paint. It also gives a glossy finish.
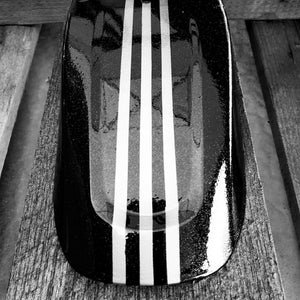
Customizing With Designs
Add fun designs to your bike fenders. Use stencils for neat shapes. Paint inside the stencil carefully. Pick bright colors that stand out. You can use stickers too. They stick easily and look cool. Try drawing your own patterns. Be creative and unique. Make your bike look special.
Reinstalling Fenders
Preparing bike fenders for painting involves cleaning and sanding the surface. Apply primer to ensure better paint adhesion. Use spray paint in smooth, even strokes for a glossy finish. Let the paint dry completely before reinstalling the fenders.
Checking Fit And Alignment
Place the fenders back on the bike. Make sure they fit snugly. Check if they align with the wheels. Adjust if they look crooked. Proper alignment avoids rubbing. Ensure both front and back fenders are straight. Adjusting screws can help. Use a wrench if needed. Double-check the alignment before securing.
Securing Properly
Use bolts to attach fenders. Tighten them carefully. Loose bolts can cause wobble. Secure each bolt firmly. Check every connection point. Ensure no part is loose. Use washers for extra hold. They prevent screws from slipping. Test the fender by shaking it. It should not move. A secure fit means safety.
Maintenance Tips
Painting bike fenders can refresh their look and protect them. Clean the fenders thoroughly and sand them lightly. Apply primer before painting for a smooth finish.
Cleaning Painted Fenders
Use a soft cloth to wipe fenders. Avoid scratches by using gentle motions. Mild soap and water work best for cleaning. Rinse thoroughly to remove all soap. Dry with a clean towel to prevent spots. Inspect for any damage regularly. Small scratches need quick attention.
Long-term Care
Regular checks keep fenders looking new. Look for chips and rust often. Touch-up paint can fix minor damage. Store your bike indoors when possible. Cover fenders during bad weather. This helps avoid unnecessary wear. Keep the bike clean to protect the paint. A well-kept bike lasts longer.

Credit: www.youtube.com
Frequently Asked Questions
Can I Paint Plastic Fenders?
Yes, you can paint plastic fenders. Clean and sand the surface first. Use a plastic primer for better adhesion. Choose high-quality paint suitable for plastics to ensure durability. Finish with a clear coat for added protection and shine.
What Paint To Use On Bike Fairings?
Use acrylic or polyurethane paint for bike fairings. These paints are durable and resist chipping. Clean the surface thoroughly before painting. Apply a primer for better adhesion and finish. Ensure the area is well-ventilated. Consider using a clear coat for added protection and shine.
What Type Of Paint Is Used To Paint Bikes?
Acrylic enamel or polyurethane paints are commonly used for painting bikes. They provide durability and a glossy finish. Ensure the paint is suitable for metal surfaces and compatible with clear coats for added protection. Always prepare and prime the bike frame before painting for the best results.
How To Paint Aluminum Fenders?
Clean the aluminum fenders thoroughly. Sand the surface to remove oxidation. Apply a self-etching primer. Let it dry completely. Use an enamel or acrylic paint, spraying evenly. Allow proper drying time between coats. Finish with a clear topcoat for protection.
Conclusion
Painting bike fenders is a rewarding task. It adds personal style and protection. Follow the steps carefully for a smooth finish. Choose the right paint for durability. Clean and prepare the fenders well. This ensures paint sticks properly. Let each layer dry before adding another.
Patience is key for a perfect result. Enjoy the process and the final look. Your bike will stand out with vibrant colors. A little effort brings big rewards. Ready to ride with style? Your custom-painted fenders await!


