
Are you ready to take your cycling experience to the next level? Mounting a rack on your bike with disc brakes might be just the upgrade you need.
Whether you’re planning a long-distance adventure or simply want a convenient way to carry your essentials, a bike rack can be a game-changer. But here’s the catch: mounting a rack on a bike with disc brakes can be tricky if you’re unsure where to start.
Imagine cruising down the road with all your gear securely attached, making your ride smoother and more enjoyable. In this guide, we’ll walk you through each step, ensuring you avoid common pitfalls and get the most out of your bike setup. You deserve a hassle-free experience, and we’re here to make sure you get it. Keep reading to discover how easy it can be to transform your bike into a versatile and efficient companion.

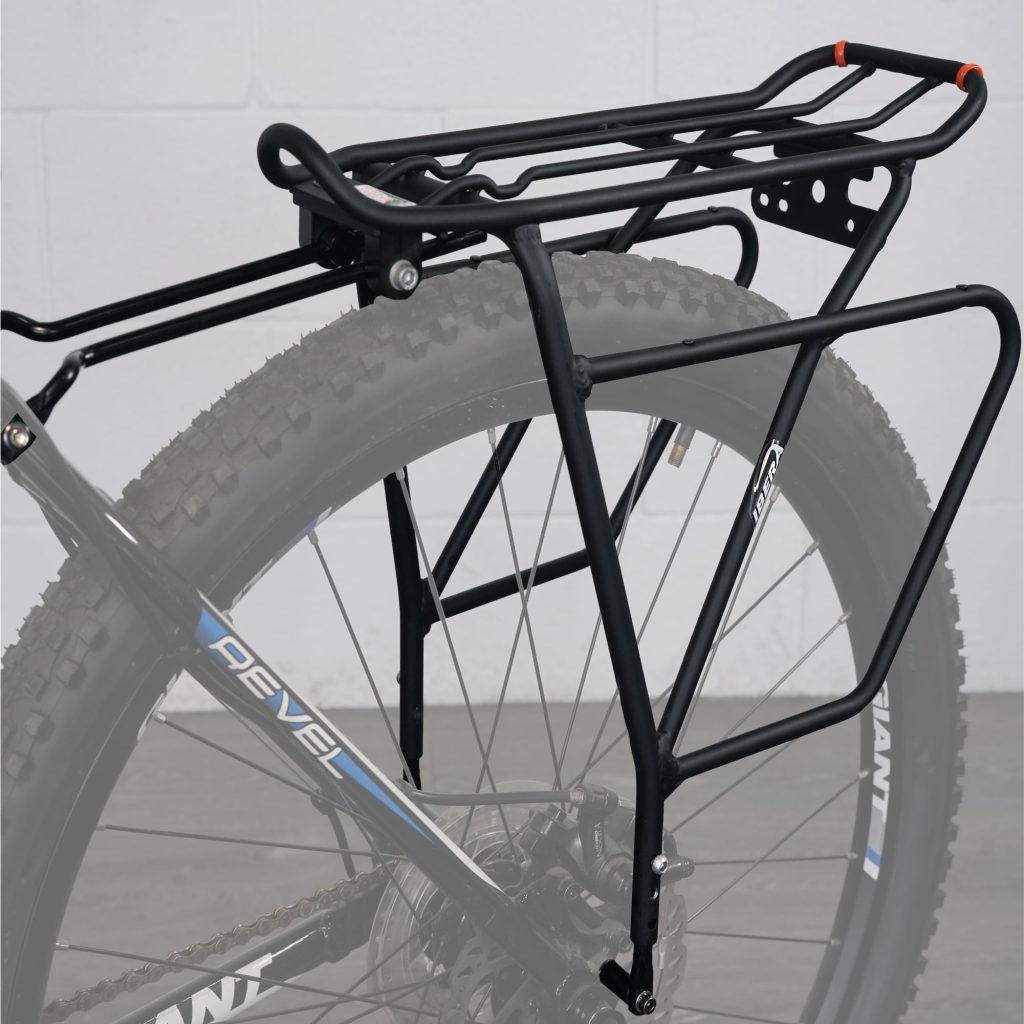
Credit: www.amazon.com
Tools And Materials Needed
To mount a rack with disc brakes, gather the right tools. First, you need a wrench. A wrench helps tighten bolts. Next, grab a screwdriver. It helps with screws. Also, have some Allen keys. They fit snugly into Allen bolts.
Don’t forget the rackitself. Ensure it’s suitable for disc brakes. You will also need boltsand washers. These keep the rack steady. A torque wrenchis useful too. It helps tighten bolts properly.
Keep some lubricanthandy. It eases the tightening process. Lastly, have a ragor cloth. It’s for cleaning surfaces. Having these tools ensures a smooth installation.

Credit: www.amazon.com
Preparing The Bike
Preparing your bike for a rack with disc brakes requires careful alignment. Ensure the rack fits without obstructing the brake calipers. Adjust mounting brackets to accommodate disc brakes, securing the rack firmly and evenly.
Check Compatibility
Ensure your bike rack fits your bike’s frame. Some racks might not suit disc brakes. Check the rack’s mounting pointsand your bike’s frame. Look for strong attachment points. This ensures safe and stablemounting.
Remove The Wheel
First, loosen the wheel’s quick-release leveror remove the axle. Carefully pull the wheel out. Ensure no cables or parts are damaged. Keep the wheel safely aside. Removing the wheel makes rack installation easier.
Choosing The Right Rack
Choosing the Right Rack Mounting a rack with disc brakes requires attention to detail and the right tools. Ensure compatibility with your bike frame and brake system. Adjust the rack’s position to avoid interference with the brake calipers.
Types Of Racks
- Rear Racks: These racks go above the back wheel. They can carry lots of weight.
- Front Racks: These racks sit above the front wheel. They are perfect for smaller loads.
- Side Racks: These racks attach to the sides of the bike. They are great for balance.
Features To Consider
Durability is key for long-lasting racks. Choose racks made from strong materials like steel or aluminum. Compatibility with disc brakes is crucial. Make sure the rack fits around the brake system. Weight capacity matters for carrying heavy loads. Check the maximum weight the rack can hold. Ease of installation helps for quick setup. Look for racks with simple mounting systems.
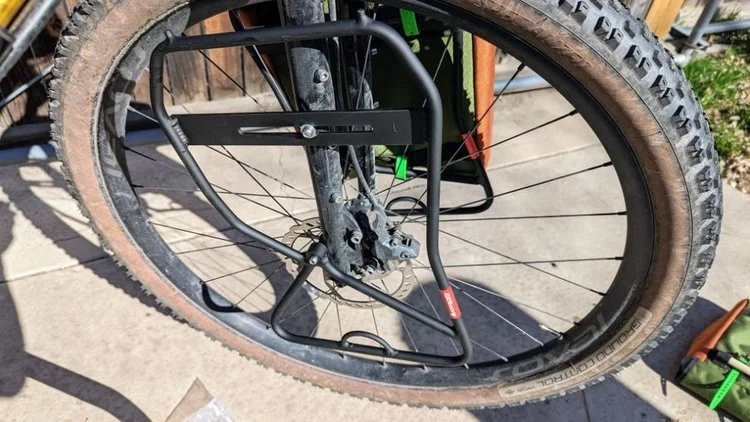
Credit: www.treelinereview.com
Positioning The Rack
Aligning with Disc Brakesis important. First, check the brake position. Ensure the rack doesn’t touch the brakes. Hold the rack in place. See if it fits well. The space between the rack and brakes should be clear. Adjust the rack if needed. Keep the bike balanced.
Balancing Weight Distributionis crucial for safe rides. Place heavy items at the bottom. Light items go on top. This helps the bike stay steady. Check the rack’s position again. Make sure it doesn’t tilt. Tighten all screws. This secures the rack in place.
Attaching The Rack
First, find the front mounts on your bike frame. Use a wrench to loosen the bolts. Slide the rack arms into the mounts. Make sure the rack is straight. Tighten the bolts with the wrench. Check if the rack is firm. It should not wobble. Adjust if needed until it feels secure.
Locate the rear mounts near the back wheel. Loosen the bolts using a wrench. Align the rack arms with these mounts. Insert the arms securely. Tighten the bolts firmly. Ensure the rack is stable. It should hold weight without moving. Double-check all bolts. They must be tight to keep the rack safe.
Adjusting For Stability
Mounting a rack with disc brakes requires careful alignment. Ensure the rack fits without interfering with the brake system. Use spacers if needed for a secure fit and maintain proper brake function.
Tightening Bolts
Ensure the rack is steady by tightening all bolts. Use a wrench for firm grip. Loose bolts can cause rack instability. Check each bolt twice for safety. Properly tightened bolts keep the rack secure. Double-check the tightness to ensure safety.
Testing Rack Alignment
Align the rack by checking its position. Look for any tilting or uneven sides. Use a level tool to ensure straightness. Adjust the rack until it is perfectly aligned. Aligned racks prevent any wobbling during rides.
Final Checks
Ensure the rack is secure and all bolts are tightened. Confirm the disc brakes are aligned properly. Test the brakes to guarantee they function correctly before riding.
Inspecting Rack Installation
Make sure the rack is tightly attached. Check all bolts and screws. They should be firm and secure. Ensure the rack doesn’t wobble. It should sit evenly on the bike. Look for any loose parts. Tighten them immediately. A stable rack ensures a safe ride. Inspect the alignment with the bike’s frame. Adjust if necessary. A properly aligned rack helps balance the bike.
Reattaching The Wheel
Place the wheel back in its position. Align it with the bike frame. Ensure the disc brakes fit properly. Attach the wheel securely using the axle. Tighten the axle nuts or quick release lever. Spin the wheel to check if it moves smoothly. Ensure the brakes do not rub the wheel. Adjust the brakes if needed. A correctly attached wheel ensures smooth rides.
Tips For Safe Usage
Keep your bike rack in good shape with simple care. Wipe it clean after each ride. Check for loose screws weekly. Ensure disc brakes stay dirt-free. They need special attention. Use a soft cloth to clean them. This keeps them working well. Inspect the rack for signs of wear. Replace any damaged parts.
Know your rack’s weight limit. Do not overload it. Heavy loads can damage your bike. Always check the manual for guidance. Stay within the recommended weight. Overloading can be risky. It affects bike balance. Keep both wheels on the ground when loading. This helps maintain stability. Ensure the load is evenly distributed. It keeps the ride safe and smooth.
Frequently Asked Questions
Can You Hang A Bike With Disc Brakes?
Yes, you can hang a bike with disc brakes. Use a suitable wall or ceiling mount to avoid damage. Make sure the mount supports the bike’s weight and secures the wheel and frame properly. Regularly check for any pressure on the brake components to ensure safety.
Is It Illegal To Have A Bike Rack On The Back Of Your Car?
Bike racks on cars are generally legal, but they must comply with local regulations. Ensure visibility of license plates and taillights. Check your area’s laws for specific requirements. Proper installation is crucial for safety and legality.
How To Install Rear Wheel With Disc Brakes?
Align the wheel with the frame. Insert the axle into the dropouts. Tighten the axle nuts securely. Attach the disc brake rotor to the wheel hub. Ensure brake pads align with the rotor. Spin the wheel to check alignment. Adjust as necessary for smooth rotation and effective braking.
Do You Need A Special Frame For Disc Brakes?
Disc brakes require frames with specific mounts for calipers. Not all frames support disc brakes. Ensure compatibility when choosing your bike frame. Consult with a professional or check specifications to avoid mismatches. Proper installation ensures efficient braking performance and safety.
Always prioritize frames designed for disc brake systems.
Conclusion
Mounting a rack with disc brakes is straightforward with the right approach. Start by checking compatibility between your bike and the rack. Gather essential tools like a wrench and screwdriver. Carefully follow the steps mentioned in the guide to ensure a secure fit.
Regularly inspect the rack for any signs of wear or damage. This helps in maintaining safety and efficiency while riding. Remember to balance weight on the rack for smoother rides. With practice, mounting becomes quicker and easier. Enjoy more versatile biking adventures with your new setup.
Safe travels!


