
Imagine you’re biking through a serene trail just as the sun begins to set. The thrill of the ride is exhilarating, but without proper lighting, your adventure could quickly turn hazardous.
That’s where mounting a front bike light comes into play. Whether you’re a seasoned cyclist or just getting started, having a reliable front light is crucial for your safety and enjoyment. But how do you mount it correctly to ensure optimal visibility?
This article is your go-to guide for mastering the art of front bike light installation. Dive in, and soon you’ll be riding confidently, knowing you’re illuminated and safe for any adventure, day or night.
Choosing The Right Front Bike Light
Picking the right bike light is essential for safety. A good light helps you see and be seen. Look for lights with bright LEDs. They shine farther and last longer. Waterproof lights are great for rainy days. Check if the light fits your bike’s handlebar. Some handlebars are thick, others thin. Battery life is important too. You don’t want the light to die fast.
There are rechargeable lights and those with replaceable batteries. Rechargeable ones are eco-friendly. Battery ones can be changed quickly. Decide which is better for you. Some lights have multiple modes. Flashing modes save battery. Steady modes offer bright, constant light. Choose a light that suits your riding needs. Consider the light’s weight. Heavy lights can slow you down. A balance between brightness and weight is key.
Credit: medium.com
Essential Tools And Materials
Gather all the necessary tools. A screwdriver is essential. You need a wrench too. Make sure you have a bike light. Don’t forget the mounting brackets. Some bikes need extra clips. Check if your light requires batteries. Charge them if needed. A cloth helps clean the area. You need a measuring tape. It helps you find the best spot. Rubber pads can protect your bike. They prevent scratches. An adjustable spanner can be useful. It makes the job easier. A flashlight might help at night. Ensure everything is ready before starting.
Preparing Your Bike For Installation
First, make sure your bike is stable. Place it on a flat surface. This prevents any tipping or falling. Check the handlebars for space. Ensure there’s enough room for the light. Clean the area where the light will sit. Dirt and grime can affect the grip.
Gather all tools you need. A screwdriver and a small wrench are usually enough. Keep them close by for easy access. Verify the light and its mount fit together. This ensures a snug fit on the handlebars. Keep the light and mount parts ready. Organize them for easy assembly. This saves time and effort during the installation.
Identifying The Mounting Location
Choose a spot on the handlebarsfor your bike light. This helps you see better. Check if the handlebars are cleanand dry. The light should not block your view or any controls.
Ensure the light is easy to reach. You might need to adjust it while biking. Consider the size of your light. Some lights need more space on the handlebars.
Test the light position before tightening it. Make sure it points straight and doesn’t move. A good position improves your safety on the road.
Attaching The Mounting Bracket
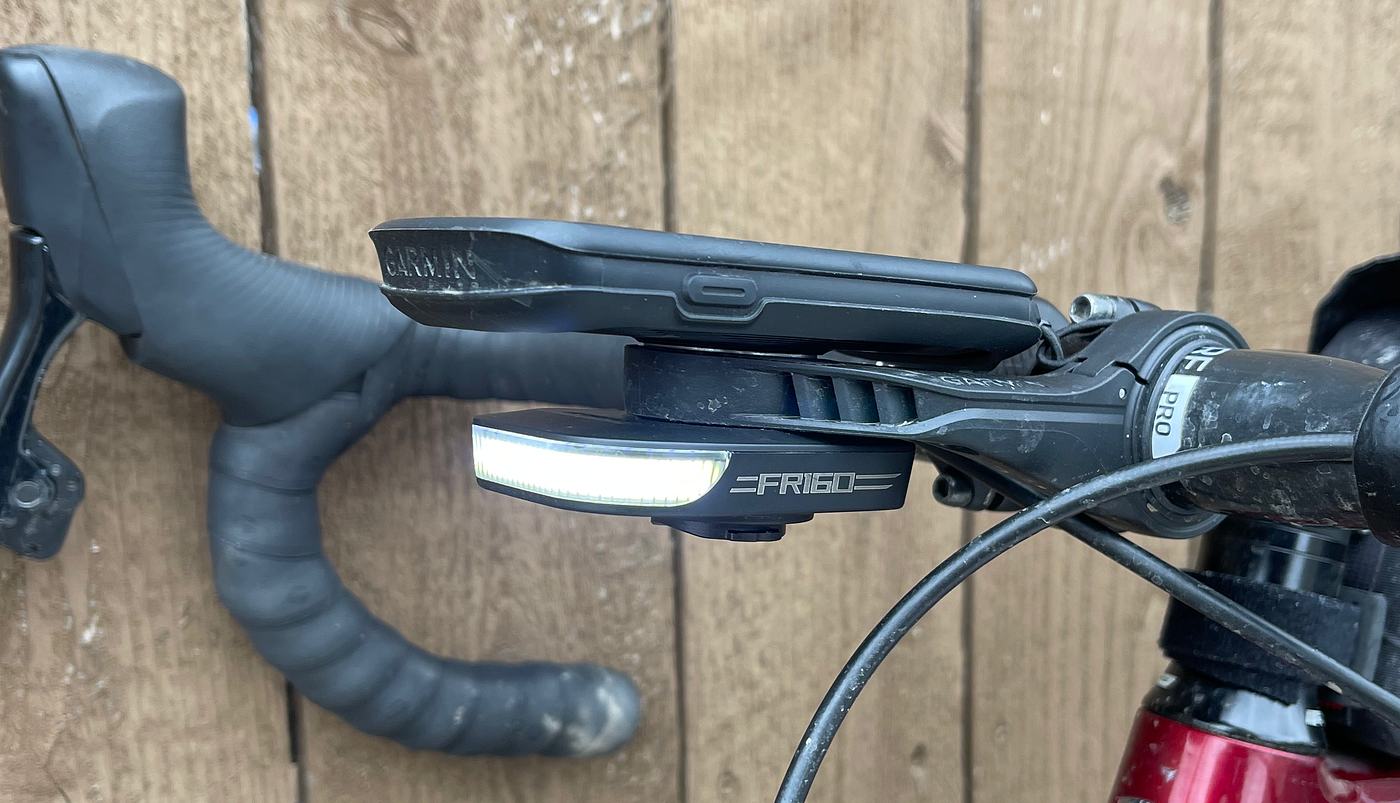
Secure the mounting bracket by aligning it with the handlebar. Tighten the screws firmly to ensure stability. Make sure the bracket is positioned correctly for optimal light visibility during rides.
Securing The Bracket
Choose the best spot on your bike handle. The bracket must fit well. Hold the bracket steady. Use a screwdriver to tighten the screws. Make sure the bracket does not move. It must be strong and secure. Check if it wobbles. If it does, tighten more. The bracket should not slip. Test it by lightly shaking the handle.
Adjusting For Stability
Check the angle of the light. Make sure it points forward. Adjust the bracket if needed. The light should be straight. Test the light by riding a short distance. Notice any movement. If the light shakes, tighten the bracket again. The light must stay firm during the ride. Ensure safety by checking often.
Installing The Light Unit
First, hold the light unit in your hand. Make sure it faces forward. Look for the bracket on your bike. Place the light on the bracket. Ensure the light is straight. Use your fingers to adjust it. Check if it points ahead. Aligning helps you see better. It also helps others see you.
Check the bracket’s tightness. It should not move around. Use a screwdriver if needed. Tighten the screws carefully. Don’t overdo it. Feel the light with your hand. It should stay in place. Wiggle it a bit to test. If it stays, it fits well. A proper fit keeps the light safe. Riding at night is safer with a firm light.
Testing The Light Functionality
Secure the bike light onto the handlebar using the provided clamp. Ensure the light faces forward for optimal visibility. Test the light functionality by turning it on and checking brightness and angle.
Checking Brightness Levels
Switch on the front bike light. Observe the brightness. Ensure it is clear. Adjust settings if needed. Check in dark areas. Is the light bright enough? Verify power levels. Replace batteries if dim.
Verifying Light Angles
Position the light correctly. Check if it points forward. Is the road visible? Adjust angles if necessary. Ensure the light covers your path. Test in different positions. Make sure it doesn’t blind others.

Credit: www.facebook.com
Maintenance Tips
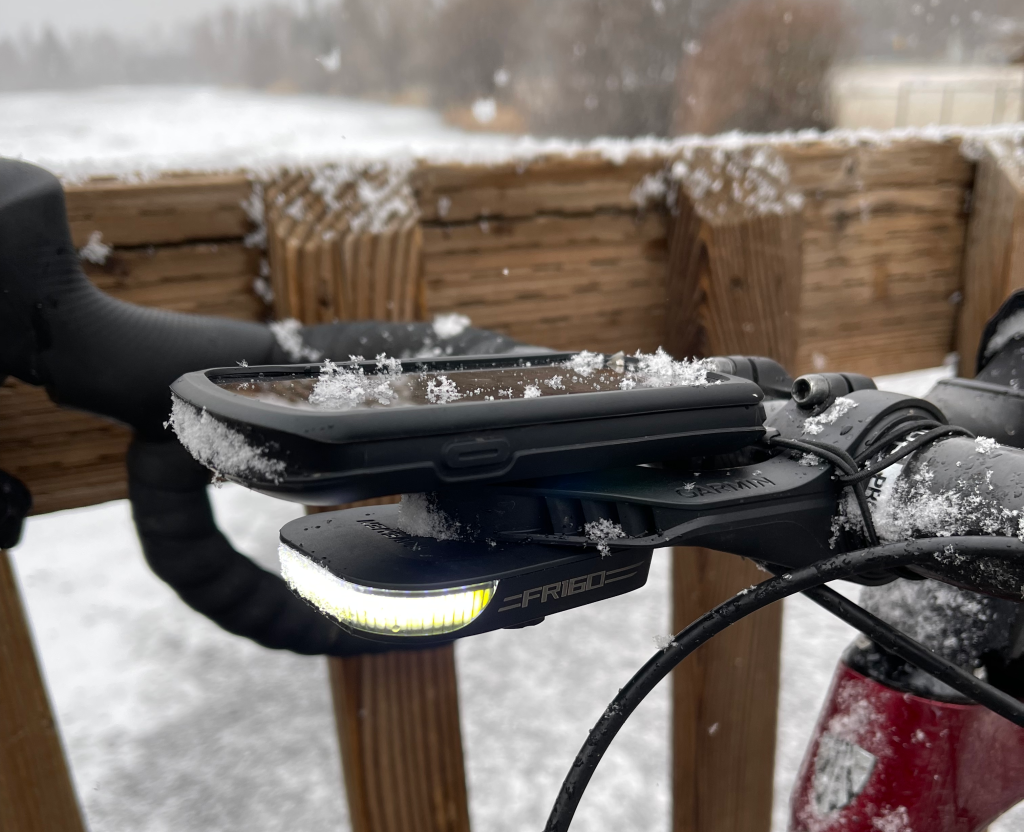
Mounting a front bike light requires securing the bracket to the handlebars. Ensure the light is firmly attached for stability. Adjust the angle for optimal visibility during rides.
Cleaning The Light
Keep your bike light clean for better performance. Use a soft clothto wipe off dirt and dust. Avoid using harsh chemicalsthat can damage the light. Make sure the light is off before cleaning. Check the lens for scratches or cracks. Clean the lens gently to avoid damage. A clean light shines brighter and lasts longer.
Battery Replacement Guidelines
Replace the battery when the light dims. Use the correct type of batteryfor your light. Check your light’s manual for battery type. Open the battery compartment carefully. Remove old batteries and dispose of them properly. Insert new batteries, ensuring the correct polarity. Close the compartment securely. Test the light to make sure it works.

Credit: www.reddit.com
Frequently Asked Questions
How Far Should The Front Headlight Be Visible For A Bicycle?
Bicycle front headlights should be visible from a distance of at least 500 feet. This ensures safety and visibility to oncoming traffic. Make sure your headlight meets this requirement for optimal nighttime riding.
What Is The Angle Of The Front Light On A Bike?
The front light angle on a bike should illuminate the road without blinding oncoming traffic. Aim it slightly downward, usually between 5 to 15 degrees, for optimal visibility. Adjust the angle based on riding conditions to ensure safety and enhance night visibility.
Proper alignment improves road illumination effectively.
Where To Mount A Bike Tail Light?
Mount a bike tail light on the seat post or rear rack. Ensure it’s visible and secure. Position it at an optimal height, typically between 24-48 inches from the ground. The light should face directly backward for maximum visibility to drivers and other cyclists.
Do Bike Lights Go On The Front Or Back?
Bike lights should be installed both on the front and back. Front lights help you see ahead, while rear lights make you visible to others. Ensure lights are bright and properly positioned for maximum safety during night rides.
Conclusion
Mounting a front bike light is simple. Start with gathering your tools. Follow the step-by-step instructions in the guide. Secure the light firmly to ensure safety during rides. Check the alignment of the light for optimal visibility. Test the brightness to ensure it meets your needs.
Regular maintenance will keep your light working well. Riding safely at night is essential. Enjoy brighter and safer rides. Stay visible and protect yourself. With these steps, you’re ready to hit the road confidently. Always prioritize safety and visibility on every ride.


