
Imagine cruising down the street on your bike, turning heads with every pedal. Your bike is an extension of your personality, but something feels missing.
If you’re looking to add a personal touch to your ride, custom bike fenders might be the perfect solution. Not only do they enhance your bike’s style, but they also protect you from dirt and debris. You might be wondering, “How do I even begin to make custom bike fenders?
” Don’t worry; this guide is here to help you craft fenders that reflect your unique style and ensure your bike stands out from the crowd. Whether you’re a seasoned DIY enthusiast or just starting out, creating custom fenders can be a fun and rewarding project. Let’s explore how you can transform your bike and make it truly yours. Dive in, and you’ll soon discover that the process is simpler than you think!
Materials And Tools Needed
To make custom bike fenders, gather all your supplies. You need plastic sheets. These will form the fender base. Metal rods are essential. They provide structure and support. Have some sandpaper handy. It smooths out rough edges.
Paint is useful for color and design. Use drills for making holes. These help in attaching the fenders. Screws are crucial for securing parts. Wrenches help tighten bolts. They ensure everything stays firm.
Rulers are needed for measuring. Accurate measurements make perfect fenders. Markers are good for marking cut lines. Safety goggles protect your eyes. Keep them on at all times. Gloves protect your hands. Make sure to wear them.
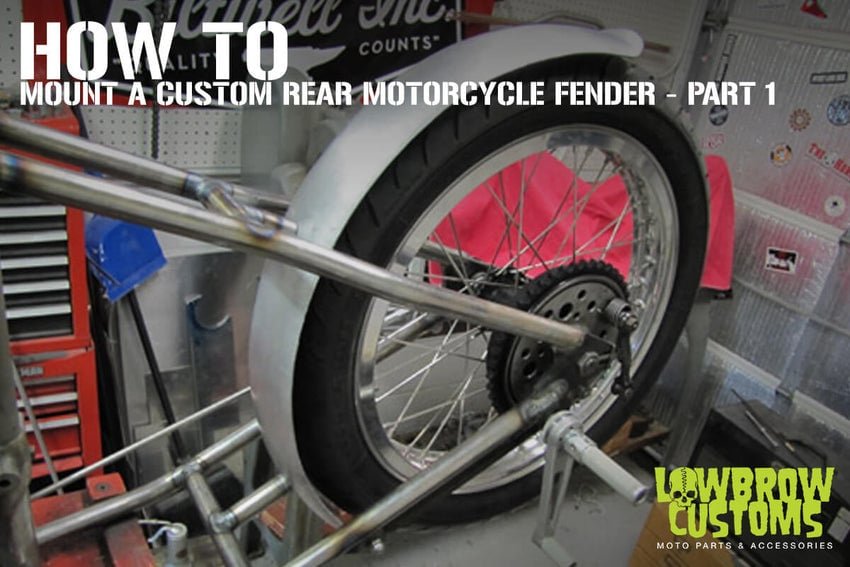
Credit: www.lowbrowcustoms.com
Choosing The Right Design
Picking the perfect design is fun and creative. Consider the styleof your bike. Is it classic or modern? Think about the shapeyou like. Curved or straight? Your bike fender should match your bike’s look.
Color is important too. Choose a color that stands out or blends in. A bright color might be eye-catching. A soft color can be more subtle. Think about where you ride most. Muddy paths or city roads? This affects your design choice.
Materials matter as well. Plastic is lightweight and easy to shape. Metal is strong and shiny. Decide which fits your needs and style best.
Measuring Your Bike
First, use a tape measure to find the wheel size. Measure from the center of the wheel to the tire’s edge. Write down this number. Next, measure the tire width. Place the tape across the tire, going from side to side. Record this width. These measurements help in making the fender fit well.
Check the distance between the tire and the frame. This tells you how much space you have for the fender. Measure from the top of the tire to the fork or frame. Remember to measure both the front and back wheels. This ensures the fenders fit perfectly on both sides.
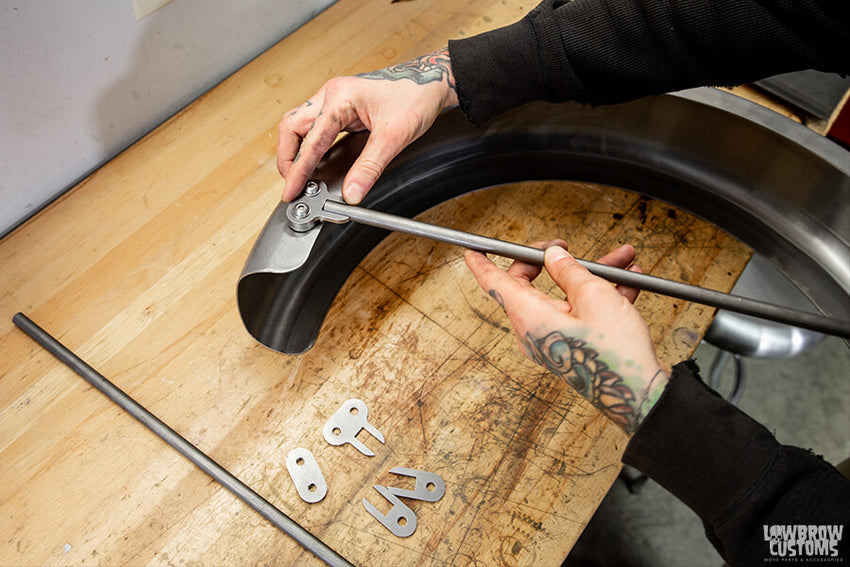
Credit: www.lowbrowcustoms.com
Cutting The Fender Shape
Start with a clean, flat piece of metal. This metal will be your base. Measure the size you need for your bike. Make sure the length and width are correct. Use a pencil to draw the fender shapeon the metal.
Get a pair of strong metal scissors. Carefully cut along the lines you drew. Take your time to cut smoothly and evenly. This will help the fender look nice. Check the edges after cutting. They should be smooth and safe to touch. If not, use sandpaper to make them smooth.
Hold the cut piece to your bike. Make sure it fits well and looks good. If it doesn’t fit, mark where changes are needed. Cut or sand again as needed. Now your fender shape is ready for the next step!
Shaping And Forming The Fenders
Start by choosing the right materialfor your custom bike fenders. Common choices include metalor plastic. Use a marker to draw the desired shapeon the material. Carefully cut along the lines with scissors or a utility knife. Make sure to wear protective glovesto avoid injuries.
Bend the material slowly to create the desired curve. You can use a heat gun to make bending easier. Be gentle to avoid cracks or breaks. Once shaped, smooththe edges with sandpaper. This will prevent sharp edges that could damage the bike or tires.
Test the fit on your bike. Adjust if needed by trimming or reshaping. Ensure the fenders are not too tight or loose. This helps them perform well and last longer.
Sanding And Smoothing Edges
Start with a rough sandpaper to remove big bumps. Sandpaper with lower gritworks best. Next, use a medium grit to even out the surface. This helps in making edges smoother. Finally, use fine sandpaperfor a soft finish. Remember, the smoother the edges, the safer the fenders. Always move the sandpaper in one direction. This avoids scratches and keeps edges neat.
Check the edges with your fingers. Feel for any rough spots. If found, sand them again. Dust off the fender with a clean cloth. This helps to see the smoothness clearly. Smooth edges make your bike look great. Plus, they prevent damage to clothes or skin.
Painting And Finishing
Creating custom bike fenders involves selecting the right materials and designing unique shapes. Painting and finishing techniques ensure the fenders are durable and visually appealing. Proper preparation and application enhance the final look.
Preparation
Clean the fender with soap and water. Dry it well to remove all moisture. Use sandpaper to make the surface smooth. This helps the paint stick better. Wipe it with a damp cloth to remove dust.
Priming
Apply a thin layer of primer. Let it dry completely. Primer helps the paint last longer. It also makes the color look even. Use a spray can for an even coat.
Painting
Choose your favorite color. Shake the spray can well. Apply light coats of paint. Let each coat dry before adding another. This prevents drips and uneven spots.
Finishing Touches
- Use clear coat for shine.
- Apply two layers for extra protection.
- Let it dry for a day.
Installing The Fenders
First, gather all the needed tools. You’ll need a wrench and a screwdriver. Make sure the bike is stable. You can use a stand to hold it.
Next, position the fender correctly. It should cover the wheel. Align it with the tire. This prevents water from splashing.
Use the bolts provided in the kit. Tighten them with a wrench. Ensure the fender does not wobble. It should be firm and stable.
Check the clearance between the tire and fender. There should be enough space. This prevents rubbing or noise while riding. Double-check the alignment once secured.
- Keep the fender center with the wheel.
- Ensure all bolts are tight.
- Test ride the bike to check the fit.
If adjustments are needed, loosen the bolts slightly. Adjust the fender position, then retighten.
Testing For Fit And Functionality
Place the fender on your bike. Check if it fits well. Ensure the fender does not touch the tire. Adjust if needed. Tighten all screws properly. This keeps the fender stable.
Ride your bike slowly. Listen for strange sounds. Check if the fender moves. Adjust again if needed. Make sure it does not wobble. Test the bike on different roads. This checks the fender’s durability.
- Ensure fender does not touch the tire.
- Tighten screws for stability.
- Listen for unusual sounds.
- Check for any movement.
- Test on different road surfaces.
Maintenance Tips
Keep your custom bike fenders clean. Use a soft cloth and mild soap. This helps remove dirt and grime. Check for any loose screws or bolts. Tighten them to avoid rattles. Look for scratches or dents. Repair them promptly to prevent rust. Apply a protective wax. This keeps the fenders shiny and new.
Inspect the fenders regularly. Look for signs of wear and tear. Replace damaged parts. This ensures your bike stays safe. Store your bike in a dry place. Moisture can harm the fenders. Protect them from harsh weather.
- Wash with mild soap.
- Tighten loose screws.
- Repair scratches quickly.
- Wax for protection.
- Regular inspection.
- Safe storage.
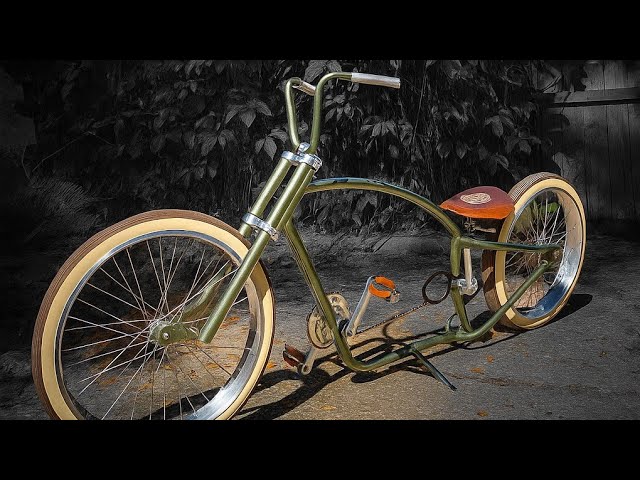
Credit: www.youtube.com
Frequently Asked Questions
How To Make Diy Bike Fenders?
Cut old plastic bottles to fit above the bike wheels. Secure them with zip ties or metal clips. Trim edges for smoothness. Ensure stability by tightening all attachments. Decorate with paint or stickers for a personalized touch. Test the fenders in wet conditions to confirm effectiveness.
Can You Add Fenders To Any Bike?
Yes, fenders can be added to most bikes. Ensure compatibility with your bike model and wheel size. Check for mounting points and clearance. Consider universal fenders if specific ones aren’t available. Proper installation enhances riding in wet conditions by reducing splashback.
Always follow manufacturer guidelines for best results.
Is It Illegal To Have No Front Fender On A Motorcycle?
Laws vary by location. Some places require front fenders for safety and to reduce debris spray. Check local motorcycle regulations to ensure compliance. Riding without a front fender might result in fines or legal issues if it’s mandatory in your area.
Always prioritize safety and legal requirements.
How Wide Should Bike Fenders Be?
Bike fenders should be 10-20mm wider than the tire for optimal coverage. This width ensures effective protection against mud and water. Always match fender width with your tire size for best results. Check compatibility with your bike’s frame and fork before purchasing.
Conclusion
Custom bike fenders add style to your ride. They shield against mud and dirt. Creating them is fun and rewarding. Start by gathering materials and tools. Measure and cut with care. Attach securely for long-lasting protection. Paint or decorate for a personal touch.
Show off your creativity on the road. Friends will admire your handiwork. Remember, practice makes perfect. Each project gets easier. Enjoy the process and learn. Your bike becomes uniquely yours. Ready to start crafting your fenders? Dive in and make your bike shine!


