
Your child’s safety depends a lot on how well their bike brakes work. If the brakes aren’t in good shape, accidents can happen easily.
You want to keep your kid safe every time they ride. But maintaining brakes on kids’ bikes doesn’t have to be complicated or expensive. You’ll discover simple, step-by-step tips to check and care for the brakes. By following these easy tricks, you’ll feel confident that your child’s bike is ready to stop quickly whenever they need.
Keep reading to learn how to keep those brakes working perfectly!
Signs Of Brake Wear
Brakes on kids’ bikes need regular checks to keep them safe. Worn brakes can cause accidents.
Look for signs that the brakes need fixing or replacing. This guide shows common signs of brake wear.
Noisy Brakes
Noisy brakes often mean the brake pads are worn down or dirty. Listen for squeaking or grinding sounds.
- Squeaking when you press the brake lever
- Grinding noise as the wheel turns
- Clicking sounds during braking
Reduced Stopping Power
If the bike takes longer to stop, the brakes may be worn or loose. This is dangerous for young riders.
| Issue | Possible Cause | Action |
| Brake lever feels loose | Brake cable stretched | Tighten or replace cable |
| Bike slows down slowly | Brake pads thin | Replace brake pads |
| Brake lever pulls too close | Brake pads worn out | Check and adjust pads |
Visible Brake Pad Damage
Check the brake pads for cracks or missing pieces. Worn pads look thin and uneven.
- Pads less than 3 mm thick
- Cracks or chunks missing
- Uneven wear on the pad surface
Replace the pads if you see these signs to keep brakes working well.
Tools Needed For Brake Maintenance
Keeping the brakes on kids’ bikes working well is very important. You need some basic tools to check and fix the brakes safely.
This guide shows the tools you need for general brake care and some special tools made just for brakes.
Basic Toolkit Essentials
You can start brake maintenance with a simple set of tools. These tools help you handle most small fixes and adjustments.
- Adjustable wrench for nuts and bolts
- Screwdrivers with flat and Phillips heads
- Pliers for gripping and pulling cables
- Allen keys (hex wrenches) in various sizes
- Clean cloth to wipe dirt and grease
- Lubricant to keep parts moving smoothly
These tools are useful not only for brakes but also for other bike parts. Having them ready saves time and effort.
Brake-specific Tools
Some tools are made to work only on bike brakes. These help you fix problems more easily and correctly.
- Cable cutters designed for bike brake cables
- Brake pad spreader tool to separate pads
- Torque wrench to tighten bolts to the right strength
- Brake bleeding kit for hydraulic brakes (if the bike has them)
- Replacement brake pads and cables for quick swaps
Using the right brake tools keeps the brakes safe and working well. It also helps avoid damage during repairs.
Cleaning Brake Components
Keeping the brakes on kids’ bikes clean helps them work well and last longer. Dirt and grime can stop brakes from working properly.
Regular cleaning keeps the brake parts smooth and safe for riding. It also stops damage from dirt build-up.
Removing Dirt And Debris
Start by wiping the brake parts with a dry cloth. This removes loose dirt and dust.
Use a soft brush to clean tight spots like brake pads and calipers. Avoid hard scrubbing to protect parts.
- Brush brake pads gently
- Clear dirt from cables and levers
- Remove any stones or twigs stuck in brakes
Using Safe Cleaning Agents
Use mild soap and water to clean brake parts. Strong chemicals can harm rubber and metal parts.
Apply cleaning agents with a soft cloth. Rinse with water and dry well to stop rust and damage.
- Choose gentle soap or bike-specific cleaner
- Do not use oil or grease near brakes
- Dry all parts before riding again
Credit: www.bikemag.com
Adjusting Brake Cables
Keeping kids’ bike brakes in good shape is important for safety. Adjusting the brake cables helps the brakes work well. This guide shows how to check and tighten the cables.
Brake cables can get loose over time. Checking the tension and tightening cables is simple and keeps the bike safe to ride.
Checking Cable Tension
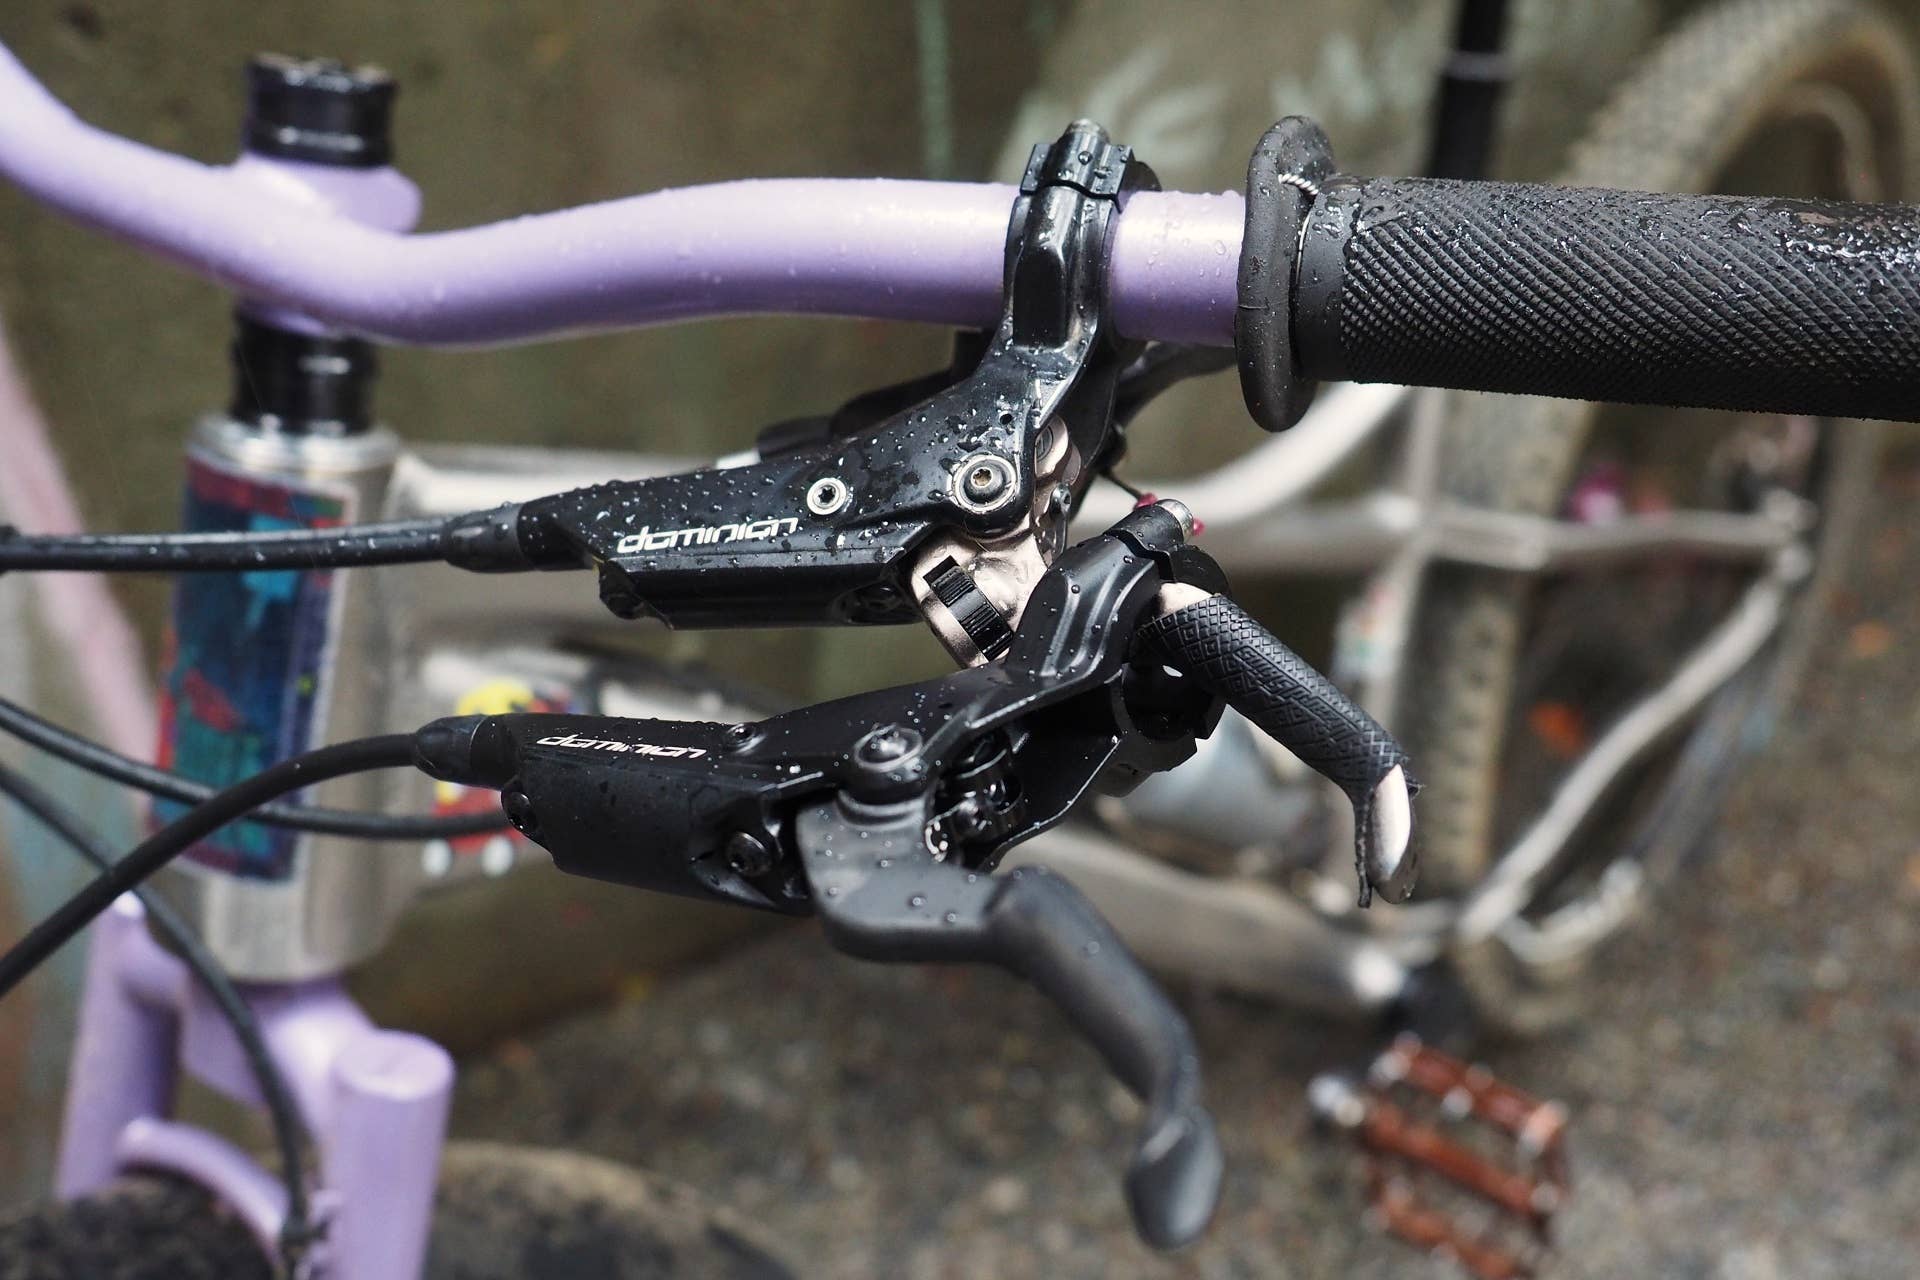
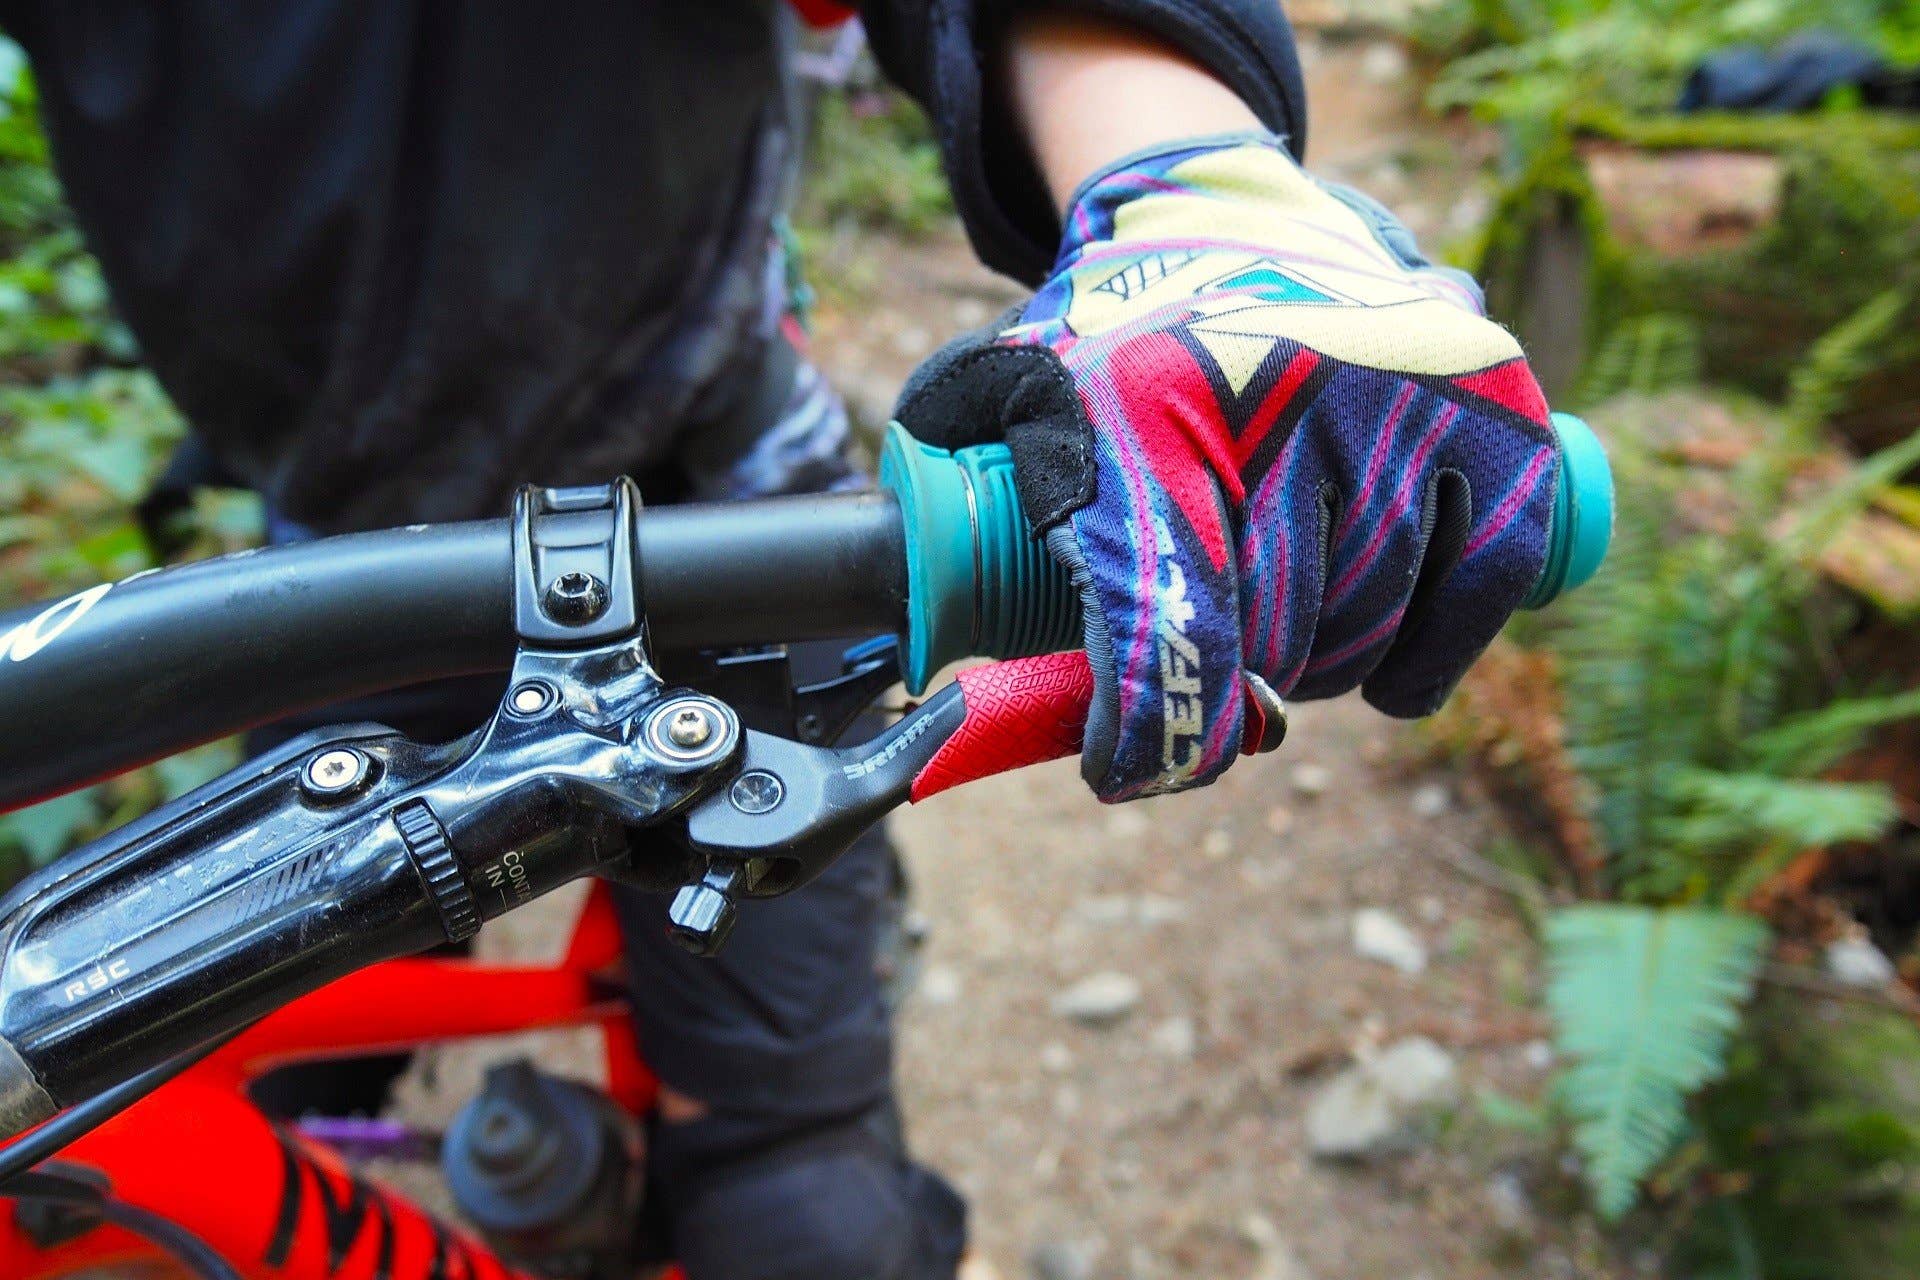
Start by squeezing the brake lever. The brake pads should touch the wheel rim firmly. If the lever feels loose or the pads barely move, the cable tension is low.
- Pull the brake lever gently.
- Watch how the brake pads move.
- Check for slack in the cable.
- Look for frayed or damaged cable parts.
Tightening Loose Cables
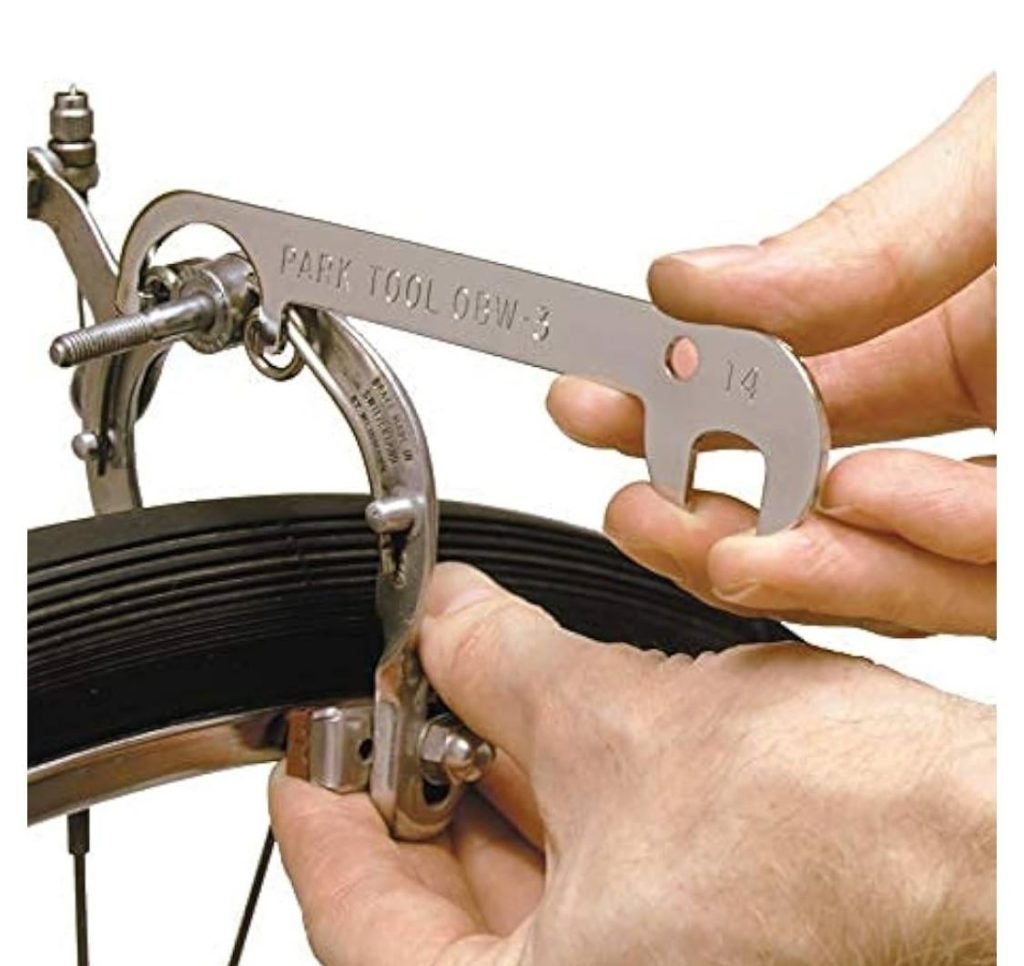
To tighten a loose brake cable, use the barrel adjuster or the cable anchor bolt. The barrel adjuster is near the brake lever or caliper. The anchor bolt holds the cable at the brake arm.
| Method | How to Tighten | Tools Needed |
| Barrel Adjuster | Turn the adjuster counterclockwise to tighten cable tension. | No tools needed |
| Cable Anchor Bolt | Loosen bolt, pull cable tight, then retighten bolt. | Wrench or Allen key |
Replacing Brake Pads
Kids’ bike brakes need regular care to keep them working well. Replacing brake pads is a key part of brake maintenance.
Worn-out pads can make it hard for kids to stop safely. This guide helps you know when to replace pads and how to do it.
When To Replace Pads
Brake pads wear down with use. Check them often to keep your child safe.
- If the pad surface is less than 3 millimeters thick, it needs replacing.
- Look for cracks, tears, or hard spots on the pads.
- If the brakes squeak or don’t stop the bike quickly, pads may be worn.
- Check if the bike takes longer to stop than usual.
Step-by-step Replacement Guide
Follow these steps to change brake pads safely and correctly.
- Loosen the wheel if needed to access the brake pads.
- Use a screwdriver or Allen key to remove the old pads from the brake arms.
- Clean the brake arms and rims to remove dirt and grease.
- Insert the new brake pads into the holders, making sure they face the rim.
- Tighten the screws to secure the new pads firmly.
- Check that the pads touch the rim evenly and do not hit the tire.
- Test the brakes by squeezing the brake levers and adjusting if needed.
-22b588ddf893d0e6f73be89c6bde1fda958d3904.jpg)
Credit: www.bikemag.com
Testing Brake Performance
Keeping brakes in good shape is important for kids’ bike safety. Testing brake performance helps find problems early.
Regular checks make sure brakes work well and stop the bike quickly. This guide shows how to test brakes simply.
Manual Brake Check
First, inspect the brake parts by hand. Look for wear or loose cables. Check if brake pads touch the wheel rim evenly.
- Squeeze brake levers and feel resistance.
- Make sure brake pads are not too worn.
- Check cables are tight and not frayed.
- Look for any dirt or debris on pads and rims.
- Test if brakes release smoothly after squeezing.
Test Ride Safety Tips
After the manual check, take the bike for a slow ride. Try braking gently on a flat surface first.
| Test | What to Watch For |
| Light Brake Pull | Bike slows smoothly without jerking |
| Strong Brake Pull | Stops quickly without skidding |
| Brake Release | Wheels spin freely after release |
| Noise Check | No squealing or rubbing sounds |
Preventive Tips For Brake Longevity
Keeping brakes on kids’ bikes in good shape helps ensure safe rides. Regular care extends their life and improves performance.
Simple steps can prevent brake problems and save time and money on repairs. Focus on inspection and storage to keep brakes working well.
Regular Inspection Schedule
Check brakes often to spot wear or damage early. Inspect brake pads, cables, and levers before each ride or at least once a week.
- Look for worn brake pads that are less than 3 mm thick.
- Test brake levers to ensure they feel firm and stop the bike quickly.
- Check cables for fraying or rust and replace if needed.
- Make sure brake arms move freely without sticking.
- Clean brake parts to remove dirt and debris.
Proper Storage Practices
Store the bike in a dry, cool place to protect brakes from moisture and rust. Avoid leaving the bike outside in rain or sun for long periods.
| Storage Condition | Effect on Brakes |
| Dry and cool | Prevents rust and keeps parts working |
| Wet or humid | Causes rust and brake failure |
| Direct sunlight | Can dry out rubber brake parts |
| Covered indoors | Protects brakes and bike from damage |
Credit: www.bikemag.com
Frequently Asked Questions
How Often Should Kids’ Bike Brakes Be Checked?
Kids’ bike brakes should be checked every two weeks or before each ride. Regular checks ensure safety and proper function. Frequent use can wear out brake pads quickly, so timely inspections prevent accidents and maintain effective stopping power.
What Are Signs Of Worn Brakes On Kids’ Bikes?
Signs include squeaking sounds, reduced stopping power, and brake pads appearing thin. If brakes feel loose or unresponsive, they likely need adjustment or replacement. Prompt action keeps the bike safe and reliable for your child.
How Can I Adjust Kids’ Bike Brake Tension?
To adjust brake tension, locate the barrel adjuster near the brake lever. Turn it clockwise to tighten or counterclockwise to loosen. Proper tension ensures brakes engage quickly without sticking, providing safe and smooth stopping.
What Tools Do I Need To Maintain Kids’ Bike Brakes?
Basic tools include a screwdriver, Allen wrenches, and a bike stand. These help with brake pad replacement, cable adjustments, and tightening bolts. Having the right tools makes brake maintenance easier and more effective.
Conclusion
Regular brake checks ensure kids’ bikes stay safe. Simple steps make a difference. Clean and adjust brakes often. Replace worn-out parts promptly. Always listen for unusual sounds. A well-maintained bike means worry-free rides. Encourage kids to report any issues. Teach them basic maintenance skills.
Safety and fun go hand in hand. By caring for brakes, you boost their confidence. Remember, a smooth ride starts with good brakes. Keep your child’s biking adventures safe and enjoyable.



