
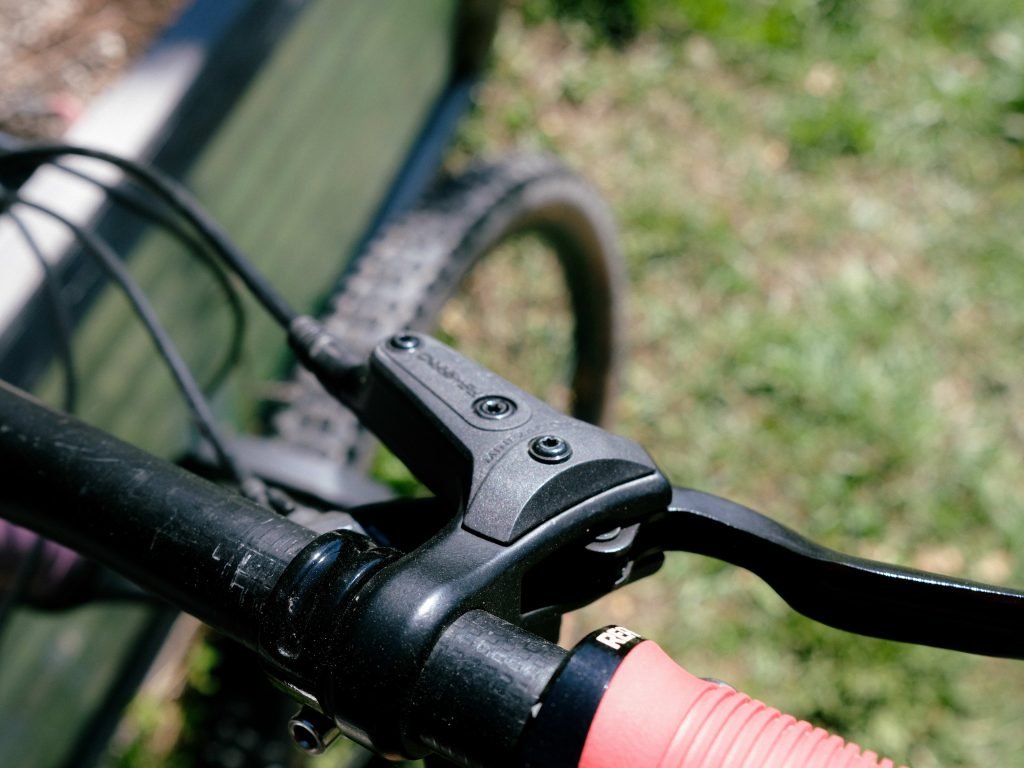
Your bike’s brakes are your lifeline when you’re out on a bikepacking adventure. Imagine cruising down a steep trail and suddenly feeling your brakes fade—that’s a scary moment you want to avoid.
Keeping your brakes in top shape isn’t just about safety; it’s about enjoying every mile with confidence. In this guide, you’ll discover simple, practical tips to maintain your brakes so they perform flawlessly, no matter how tough the terrain gets.
Stick with me, and you’ll never have to worry about brake troubles ruining your ride again.
Brake Types For Bikepacking
Choosing the right brakes is key for safe bikepacking trips. Brakes help control speed and stop the bike on rough trails.
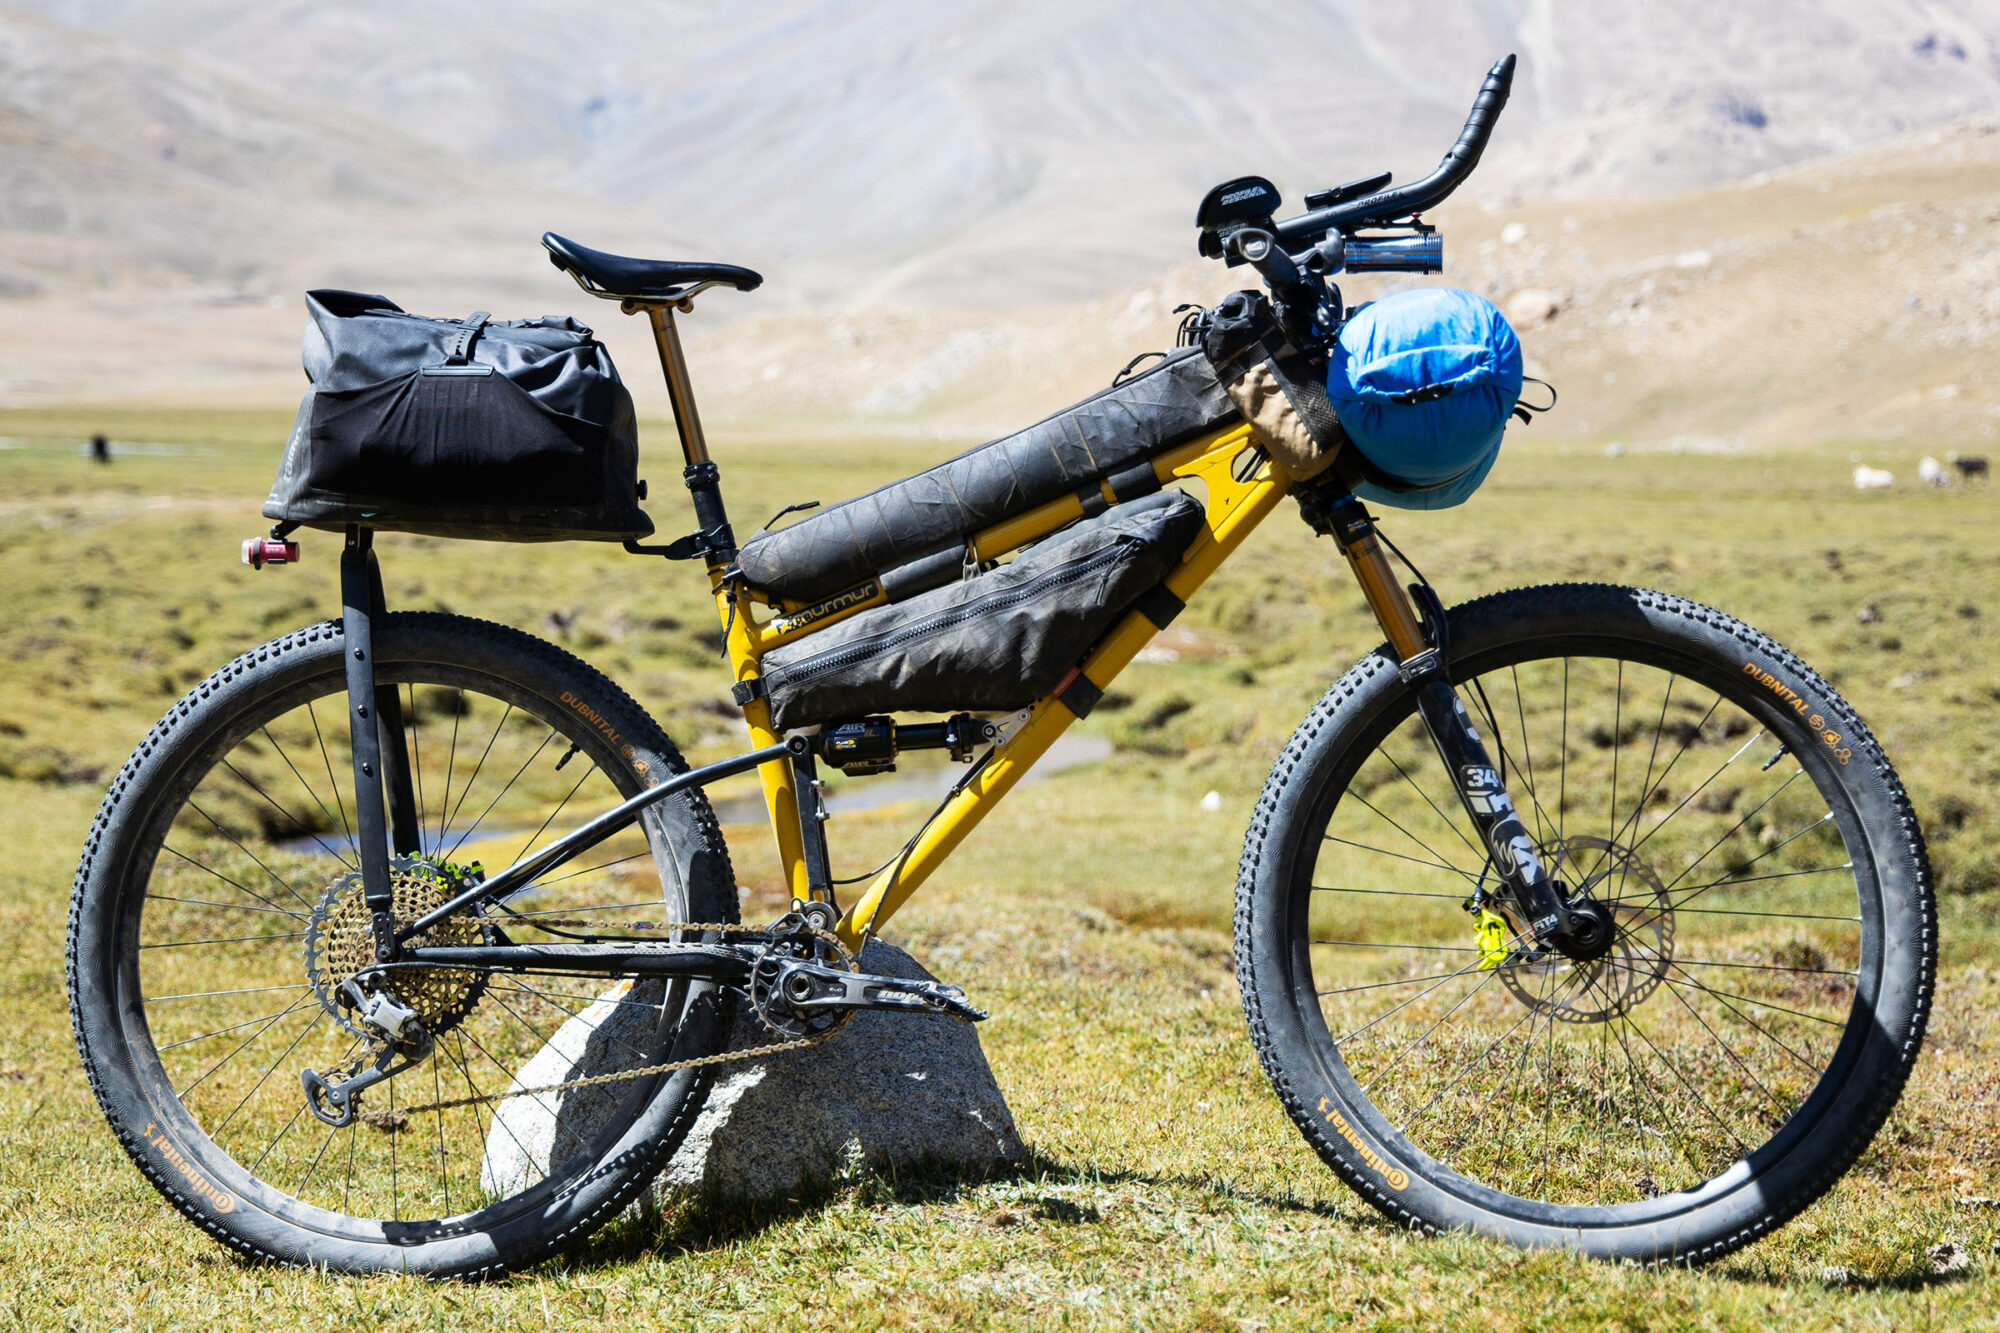
There are two main types of brakes used in bikepacking: mechanical and hydraulic. Each type works differently and suits different riders.
Mechanical Vs Hydraulic
Mechanical brakes use a cable to pull the brake pads against the wheel or rotor. Hydraulic brakes use fluid to push the pads and offer stronger stopping power.
- Mechanical brakes are simpler and easier to repair on the trail.
- Hydraulic brakes provide smoother and more powerful braking.
- Mechanical brakes weigh less and cost less.
- Hydraulic brakes need less hand force and work better in wet conditions.
Pros And Cons On Trails
| Brake Type | Pros | Cons |
| Mechanical | Easy to fix with basic tools Lower cost Lighter weight | Less stopping power More hand effort needed Cable can stretch or freeze |
| Hydraulic | Strong and consistent braking Works well in mud and rain Less hand fatigue | More complex repairs Higher cost Heavier weight |
Credit: bikepacking.com
Pre-trip Brake Check
Checking your bike’s brakes before a trip keeps you safe on the trail. A thorough brake check helps avoid accidents and bike damage.
Spend time inspecting all brake parts and fixing small issues. This saves trouble during your bikepacking adventure.
Inspecting Brake Pads
Look at the brake pads closely. They should not be too thin or cracked. Worn pads reduce stopping power and can damage the rims or discs.
- Check pad thickness; replace if less than 3mm
- Look for uneven wear or hard spots
- Clean pads and braking surface of dirt and oil
- Make sure pads contact the rim or disc fully when brakes engage
Checking Brake Fluid And Cables
For hydraulic brakes, check the fluid level and condition. For mechanical brakes, inspect the cables for rust or frays.
| Brake Type | Check | Action Needed |
| Hydraulic | Fluid level and leaks | Top up or fix leaks |
| Mechanical | Cables and housing | Replace frayed or rusty cables |
Adjusting Brake Tension
Proper brake tension helps you control speed and stop quickly. Loose brakes feel spongy, tight brakes drag on the wheel.
To adjust brake tension:
- Loosen the barrel adjuster or cable bolt slightly.
- Pull the brake lever to check feel and pad contact.
- Tighten or loosen until brakes engage firmly but don’t rub.
- Test brakes by spinning the wheel and applying pressure.
Essential Tools And Supplies
Maintaining brakes is very important during bikepacking trips. Proper tools and supplies keep brakes working well.
Carry the right items to fix and clean brakes on the trail. This helps you stay safe and ride smoothly.
Brake Pads And Replacement Parts
Bring extra brake pads suited for your bike’s brakes. Pads wear out fast on long trips and rough trails.
Also pack small replacement parts like bolts and washers. These parts can loosen or break during your ride.
- Spare brake pads for your brake type
- Replacement bolts and nuts
- Small wrench or multi-tool
- Zip ties for quick fixes
Cleaning Materials
Keep your brakes clean to avoid noise and poor stopping power. Dirt and mud reduce brake performance.
Bring cleaning cloths and brushes to remove grime. Use a small brush for hard-to-reach parts.
- Microfiber cloths or rags
- Soft brush or old toothbrush
- Isopropyl alcohol or bike-specific cleaner
- Water bottle for rinsing
Lubricants And Fluids
Lubricate brake levers and pivot points to keep them smooth. Do not apply lubricant on brake pads or rims.
Carry brake fluid if you have hydraulic brakes. Check and refill fluid to maintain good brake pressure.
- Light bike lubricant for pivots and cables
- Brake fluid compatible with your brakes
- Small syringe or container for fluid
- Protective gloves for handling fluids
Credit: www.calltoadventure.uk
Cleaning Brakes On The Trail
Keeping your bike brakes clean during bikepacking trips is very important. Dirt and dust can reduce brake power and cause wear.
Quick cleaning on the trail helps keep brakes working well and keeps you safe on rough paths.
Removing Dirt And Debris
Brake parts collect dirt, mud, and small stones on the trail. Removing these stops damage and poor braking.
Use a soft brush or cloth to clear away dirt from brake pads and rotors carefully.
- Brush off loose dirt from brake pads
- Wipe rotor surface with a clean cloth
- Remove stuck stones from brake parts
Avoiding Contamination
Oils and grease can make brakes slippery. Keep all oily substances away from brake pads and rotors.
Do not touch brake surfaces with dirty or oily hands. Use clean gloves if possible.
- Store oil and grease away from brakes
- Use a cloth to hold brake parts if needed
- Keep hands clean and dry near brakes
Quick Cleaning Techniques
Use simple tools and water for fast brake cleaning on the trail. Avoid harsh chemicals that harm brake parts.
Spray water gently and wipe with a dry cloth. Let brakes dry before riding again.
- Carry a small brush and clean cloth
- Use water sparingly on brake parts
- Dry brakes thoroughly after cleaning
Adjusting Brakes Mid-adventure
Brakes are vital for safety on bikepacking trips. Adjusting them during your ride keeps you in control. Learning simple fixes helps avoid long stops or accidents.
This guide covers tightening brake cables, aligning brake pads, and bleeding hydraulic brakes. Follow these tips to maintain smooth braking on the trail.
Tightening Brake Cables
Loose brake cables cause weak braking or long lever travel. Tightening cables restores proper brake feel and power. Use barrel adjusters or tools to fix cable tension.
- Turn the barrel adjuster counterclockwise to tighten the cable
- If needed, loosen the cable bolt and pull the cable tight by hand
- Tighten the bolt back to secure the cable
- Check brake lever feel; it should engage brakes firmly with little lever pull
- Test brakes carefully before riding fast or downhill
Aligning Brake Pads
Brake pads that rub or hit the rim unevenly reduce braking power and cause noise. Proper pad alignment ensures smooth stops and prevents rim damage.
| Pad Position | How to Check | Adjustment Tip |
|---|---|---|
| Height | Pad should sit flat on rim, not touching tire | Loosen pad bolts and slide up or down |
| Angle | Front of pad slightly touches rim first (toe-in) | Adjust by twisting pad before tightening bolts |
| Centering | Pad should hit rim evenly on both sides | Adjust brake arm springs or cable tension |
After adjustments, spin the wheel and squeeze the brake to check for rubbing. Repeat alignment as needed until brakes work smoothly.
Bleeding Hydraulic Brakes
Hydraulic brakes lose power if air enters the system. Bleeding removes air and restores firm lever feel. Carry a small bleed kit for emergencies on long trips.
- Prepare your bleed kit and brake fluid according to your brake model
- Attach the syringe or bleed tool to the brake caliper and lever
- Open bleed valves and slowly push fluid through to remove bubbles
- Close valves and clean any spilled fluid immediately
- Test brake lever for firmness before riding
Credit: www.otesports.co.uk
Handling Brake Issues In Remote Areas
Bikepacking takes you far from help. Your brakes are key for safety. Knowing how to fix brake problems on the trail is important.
This guide covers temporary fixes and safe riding tips. These help when your brakes fail in remote places.
Temporary Fixes For Brake Failures
If your brakes fail, try quick fixes to slow down or stop. These fixes are not permanent but can prevent accidents.
- Tighten the brake cable using a multi-tool if loose.
- Use a zip tie to hold a loose brake lever in place.
- Apply the front brake gently to avoid wheel lockup.
- Use your feet to slow down on gentle slopes.
- Shift weight back to improve rear brake grip.
Safe Riding Practices With Compromised Brakes
Riding with weak brakes needs caution. Adjust your speed and position for safety.
| Practice | Reason |
| Ride slower | Gives more time to stop safely |
| Use lower gears | Reduces speed without heavy braking |
| Keep more distance | Prevents sudden stops and collisions |
| Avoid steep descents | Less risk of losing control |
| Look for smooth paths | Easier to control bike with weak brakes |
Post-trip Brake Maintenance
After a long bikepacking trip, your bike’s brakes need care. Dirt, dust, and wear can affect their performance.
Regular maintenance keeps brakes safe and ready for your next adventure.
Deep Cleaning And Inspection
Clean your brakes to remove mud, dust, and grime. Use a soft brush and mild soap with water.
Check the brake pads and discs for cracks or deep scratches. Look for any oil or grease on the braking surface.
- Remove wheels for better access
- Use isopropyl alcohol to clean discs
- Dry parts completely before reassembling
- Inspect cables or hydraulic lines for damage
Replacing Worn Components
Replace brake pads if they are thin or uneven. Worn pads reduce stopping power and can damage rotors.
Check rotor thickness with a gauge or ruler. Replace rotors if they are bent or too thin.
- Use manufacturer’s guidelines for pad thickness
- Choose pads that match your brake type
- Tighten new parts securely
- Test brakes before riding again
Storing Brakes For Longevity
Store your bike in a dry place to prevent rust and corrosion on brake parts.
Avoid pressing brake levers during storage to keep pads from sticking to rotors.
- Keep bike off the ground to protect wheels
- Cover bike to block dust and moisture
- Check brakes before next ride
Frequently Asked Questions
How Often Should I Check My Bike Brakes During Bikepacking?
Check your bike brakes before every ride and after long descents. Regular inspections prevent brake failure and ensure safety.
What Are The Signs Of Worn Bike Brake Pads?
Look for thin pads, squealing sounds, or reduced stopping power. Replace pads immediately if any signs of wear appear.
How Can I Clean My Bike Brakes On The Trail?
Use a clean cloth and rubbing alcohol to wipe brake surfaces. Avoid oily substances, which reduce braking efficiency and cause slipping.
What Tools Do I Need For Brake Maintenance On Bikepacking Trips?
Carry a multi-tool with hex wrenches, a brake pad spacer, and a small brush. These help with quick adjustments and cleaning.
Conclusion
Maintaining brakes ensures safe bikepacking adventures. Regular checks prevent unexpected issues. Clean brake pads and rotors often. Adjust cables for smooth operation. Replace worn parts promptly. Carry essential tools on your trips. Practice these habits for peace of mind. Your adventures will be safer and more enjoyable.
Keep learning about bike maintenance. It’s an investment in safety and fun. Happy bikepacking!



