
Lowering your dirt bike can improve stability, boost confidence, and make it easier to handle—especially for shorter riders. This guide walks you through the process safely, covering suspension adjustments, lowering links, and seat modifications.
Key Takeaways
- Assess your needs first: Determine how much you need to lower your bike based on your height, riding style, and terrain.
- Use proper tools and safety gear: Always work in a stable environment with jack stands, wrenches, and eye protection.
- Adjust suspension settings: Start with sag and preload adjustments before making permanent changes.
- Consider lowering links: These are the most common and effective way to reduce seat height without major modifications.
- Test ride carefully: After lowering, take slow, controlled rides to evaluate handling and make fine-tuned adjustments.
- Maintain proper geometry: Avoid over-lowering, which can compromise handling and safety.
- Consult a professional if unsure: When in doubt, seek help from a qualified mechanic to avoid damage or injury.
Introduction: Why Lower Your Dirt Bike?
Whether you’re a beginner struggling to touch the ground or an experienced rider looking for better control on tight trails, lowering your dirt bike can make a big difference. A lower seat height improves confidence, reduces fatigue, and helps you maneuver more easily—especially on technical terrain or during slow-speed maneuvers.
In this guide, you’ll learn exactly how to lower your dirt bike safely and effectively. We’ll cover everything from simple suspension tweaks to installing lowering links, plus tips for testing and fine-tuning your setup. By the end, you’ll have a bike that fits you perfectly—without sacrificing performance or safety.
Step 1: Determine How Much to Lower Your Bike
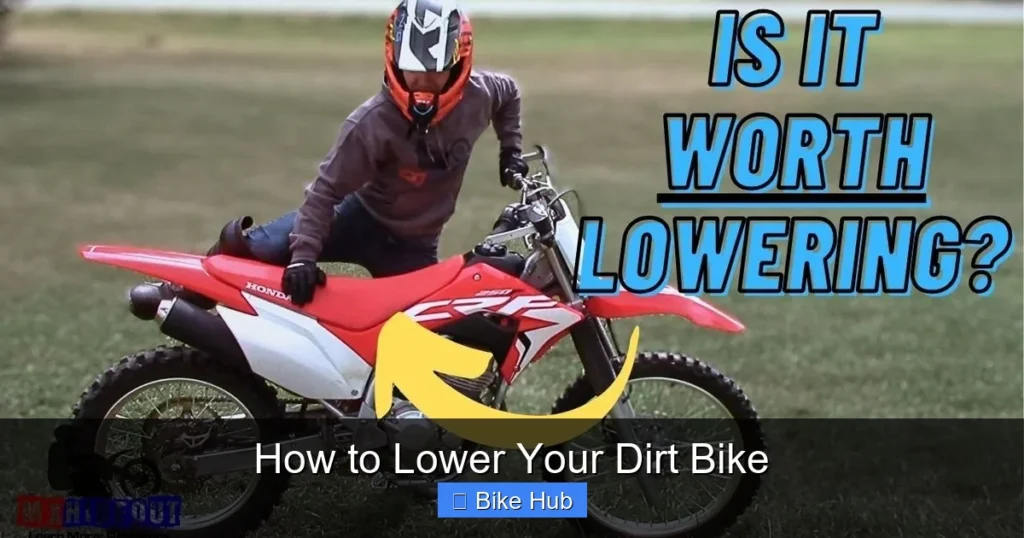
Before making any changes, figure out how much lower you actually need to go. Most riders lower their bikes by 1 to 3 inches (2.5 to 7.5 cm), but going too far can hurt handling and ground clearance.
Visual guide about How to Lower Your Dirt Bike
Image source: dirtbikemoto.com
Measure Your Current Seat Height
- Stand next to your bike on level ground.
- Measure from the ground to the top of the seat.
- Compare this to your inseam—ideally, you should be able to place both feet flat on the ground when seated.
Consider Your Riding Style
- Trail and enduro riders: May benefit from 1–2 inches of lowering for better balance.
- Motocross riders: Usually avoid lowering to maintain suspension travel and jump performance.
- Beginners or shorter riders: Often lower by 2–3 inches for confidence and control.
Pro tip: If you’re unsure, start with a small adjustment—like 1 inch—and test it before going further.
Step 2: Adjust Your Suspension Settings
The easiest and safest way to lower your dirt bike is by tuning the suspension. This method doesn’t require permanent modifications and can be reversed anytime.

Visual guide about How to Lower Your Dirt Bike
Image source: wallpapers.com
Check and Adjust Sag
Sag is how much the suspension compresses under your weight. Proper sag ensures optimal handling and ride height.
- With gear on, sit on the bike and have someone measure from a fixed point (like the axle) to a point on the swingarm.
- Get off and measure again. The difference is your static sag.
- Most dirt bikes need 30–35% sag. If it’s too little, the bike sits too high.
Reduce Preload on the Rear Shock
Most rear shocks have a preload collar. Loosening it allows the spring to compress more, lowering the rear end.
- Use a spanner wrench to turn the collar counterclockwise.
- Make small adjustments (¼ turn at a time) and recheck sag.
- Don’t remove all preload—this can damage the shock.
Lower the Forks in the Clamps
Raising the forks in the triple clamps effectively lowers the front end.
- Loosen the upper and lower triple clamp bolts.
- Lift the forks up by 5–10 mm (about ¼ to ½ inch).
- Tighten bolts to manufacturer torque specs.
Note: This changes steering geometry slightly. Avoid moving forks more than 10 mm unless you’re experienced.
Step 3: Install Lowering Links
If suspension tweaks aren’t enough, lowering links are the next best option. These replace your stock linkage and drop the rear end by 1–3 inches.
Choose the Right Lowering Links
- Buy links specifically designed for your bike model.
- Check reviews and ensure they’re made from high-strength steel or aluminum.
- Popular brands include Works Connection, Pro Circuit, and Hammerhead.
Install the Lowering Links
- Place the bike on a stand so the rear wheel is off the ground.
- Remove the rear shock and stock linkage (follow your service manual).
- Install the new lowering links using the provided hardware.
- Reinstall the shock and torque all bolts to spec.
- Double-check that nothing binds when the suspension moves.
Safety tip: Always use a torque wrench. Over-tightening can strip threads; under-tightening can cause failure.
Step 4: Modify or Replace the Seat
If you still need more height reduction, consider modifying the seat.
Trim the Seat Foam
- Remove the seat cover carefully (use a staple remover).
- Use a sharp knife to trim ½ to 1 inch of foam from the top.
- Re-cover the seat with durable material like vinyl.
Buy a Lower Seat
Some manufacturers offer low-profile seats. These are pre-made and often provide better comfort than DIY cuts.
Warning: Don’t cut too much foam—it affects comfort and safety in crashes.
Step 5: Test Ride and Fine-Tune
After lowering your bike, it’s time to test it out—safely.
Start with a Slow Test Ride
- Ride in a safe, flat area like an empty parking lot.
- Check for proper ground contact when stopped.
- Test braking, turning, and throttle response.
Evaluate Handling
- Does the bike feel stable at low speeds?
- Is the suspension still absorbing bumps well?
- Are you scraping parts (like footpegs or exhaust) on turns?
Make Final Adjustments
If the bike feels too low or unstable:
- Raise the forks slightly in the clamps.
- Add a bit of preload back to the shock.
- Consider switching to a less aggressive lowering link.
Troubleshooting Common Issues
Lowering your bike can sometimes lead to problems. Here’s how to fix them:
Bike Feels Too Low or Unstable
- You may have lowered it too much. Revert some changes.
- Check that suspension travel isn’t bottoming out.
- Ensure tire pressure is correct—too low can exaggerate the drop.
Reduced Ground Clearance
- Avoid rocky or deep-rut terrain until you’re confident.
- Consider raising the skid plate or adding protection.
- Use caution on jumps—lowered bikes have less suspension travel.
Steering Feels Heavy or Twitchy
- This can happen if you moved the forks too far up.
- Lower the forks slightly in the clamps.
- Check that all linkage bolts are properly torqued.
When to Seek Professional Help
While many riders can lower their bikes at home, some situations call for a mechanic:
- You’re unsure about torque specs or suspension settings.
- The bike feels unsafe after adjustments.
- You’re installing complex parts like adjustable linkage.
A professional can also help with how to maintain bike wheels and ensure your suspension is balanced after lowering.
Conclusion: Ride Confident and Safe
Lowering your dirt bike doesn’t have to be intimidating. With the right approach—starting with suspension tweaks, using quality lowering links, and testing carefully—you can create a setup that fits your body and riding style.
Remember: safety comes first. Don’t sacrifice handling for height. And always double-check your work before hitting the trails. Whether you’re learning how to 360 spin on a dirt jump bike or just want to plant both feet at stops, a properly lowered bike gives you the confidence to ride your best.
Now go enjoy that perfect fit—and ride with control!


