
If you love long rides and carrying your gear with ease, installing racks on your touring bike is a game-changer. But you might be wondering where to start or how to do it right.
This guide will walk you through each step, making the process simple and stress-free. By the end, you’ll know exactly how to add sturdy racks that fit your bike perfectly and keep your load secure. Ready to upgrade your ride and make every trip smoother?
Let’s dive in.
Credit: cycletraveloverload.com
Choosing The Right Rack
Different types of racks suit various touring needs. Front rackshold light loads and help balance your bike. Rear rackscarry heavier bags and panniers. Some racks are adjustable, fitting many bike sizes. Consider what you will carry most often.
| Material | Weight | Durability | Cost |
|---|---|---|---|
| Aluminum | Light | Good | Moderate |
| Steel | Heavier | Very strong | Lower |
| Carbon Fiber | Very light | Less durable | High |
Check rack mounting pointson your bike frame. Some bikes have holes or eyelets for rack bolts. Others need special adapters. Make sure the rack fits your bike’s size and shape. Compatibility avoids damage and ensures safety.
Gathering Tools And Supplies
Gather toolsto fit racks on your touring bike. Basic tools include:
- Allen wrenchesfor bolts.
- Screwdriversfor small screws.
- Adjustable wrenchfor nuts.
- Pliersfor gripping parts.
- Socket setfor tight bolts.
Extra hardware and parts help secure racks firmly:
- Mounting boltsmatching your bike frame.
- Washersto prevent damage.
- Spacersto fit rack gaps.
- Zip tiesfor cable management.
- Rack adaptersif your bike lacks mounts.
Preparing Your Bike
Start by cleaning the mounting areason your bike. Dirt and grease can stop racks from fitting well. Use a cloth and mild soap to wipe these spots. Let them dry completely before moving on.
Check for any existing accessorieslike bottle holders or reflectors. These might get in the way. Remove them carefully with the right tools. Keep screws and parts safe for later use or replacement.
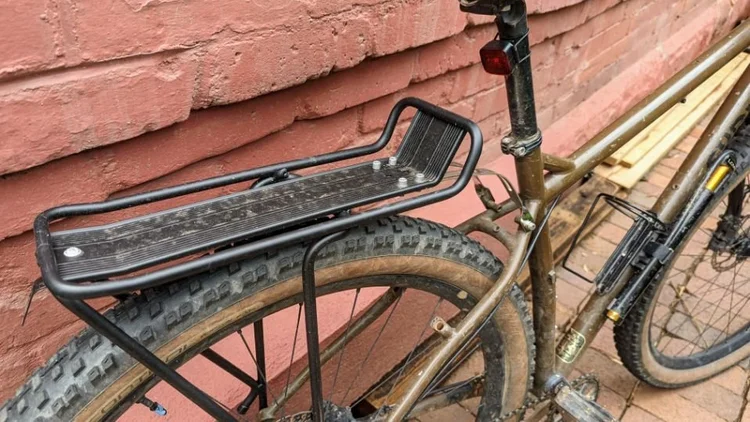
Installing The Rear Rack
Start by aligning the rackwith the bike’s mounting points. These points are usually near the rear wheel axle and seat stays. Make sure the rack sits evenly and straightto avoid wobbling.
Use the provided bolts to secure the rackto the frame. Tighten them well, but do not over-tighten to avoid damage. Check the bolts after a short ride.
Adjust the rack for stabilityby ensuring it does not move side to side. Some racks have adjustable arms or brackets. Use these to keep the rack firm and balanced.
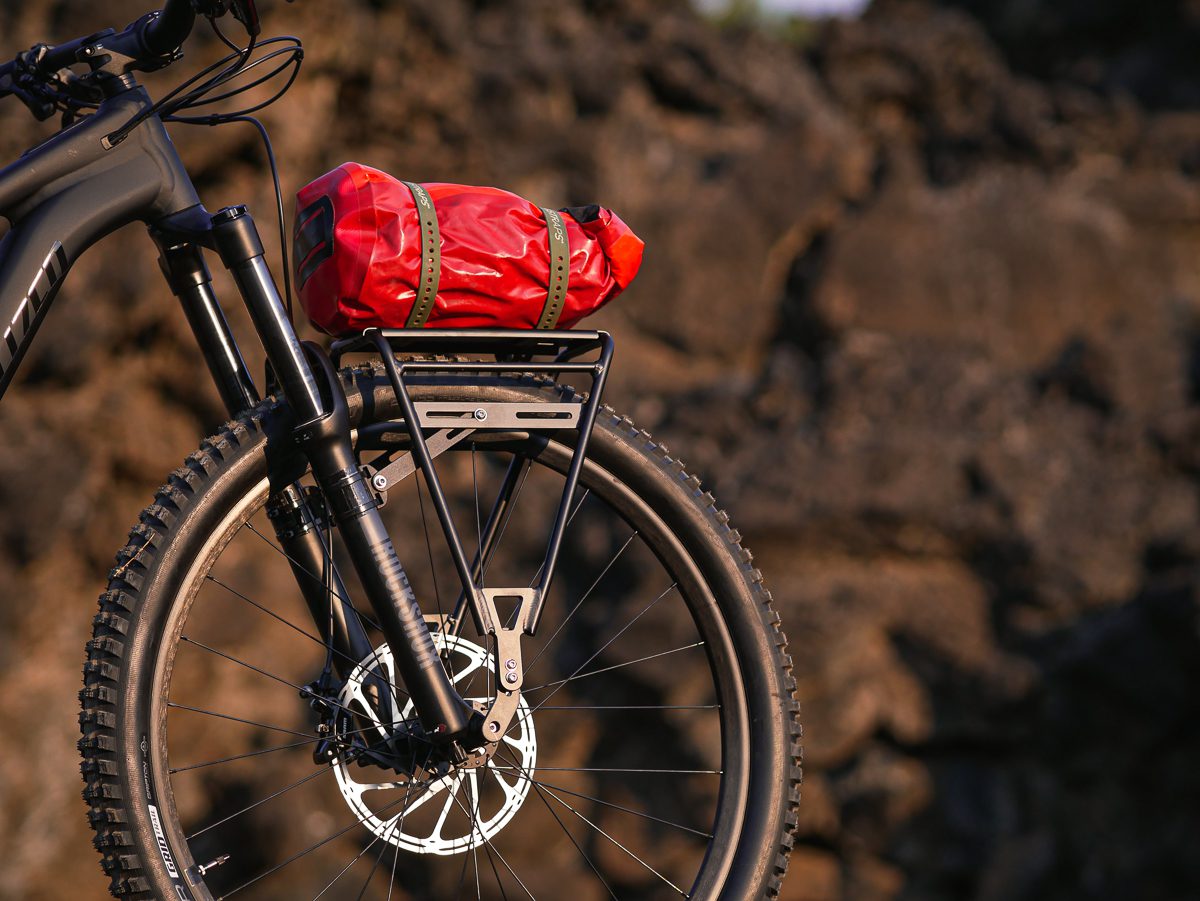
Installing The Front Rack
Attach the front rack to the fork mountsusing bolts. These mounts are near the front wheel. Make sure the rack fits well and does not touch the tire.
Check for proper clearancebetween the rack and tire. Leave enough space so the wheel spins freely. Also, ensure the rack does not block the brake parts.
- Use a wrench to tighten all boltsfirmly.
- Test the rack by pushing down gently.
- Make sure it does not move or wobble.
Credit: www.treelinereview.com
Final Checks And Adjustments
Ensure all bolts are tight and the rack sits evenly on the bike frame. Check for any wobbling or misalignment before your ride. Adjust straps or brackets to secure the rack firmly in place.
Ensuring Rack Stability
Make sure the rack is tightly fixed. Check all the bolts and screws. They should not be loose. Wiggle the rack gently. It should not move at all.
Checking For Interference
Look for any parts touching the rack. The pedals and wheels should move freely. Ensure no cables are pinched. Adjust the rack if needed.
Test Ride And Re-tighten
Take a short ride. Feel how the bike moves. Listen for any unusual sounds. Stop and check the rack again. Tighten any loose parts. Ensure everything is secure before a long trip.
Tips For Maintaining Your Racks
Keep racks clean and check bolts regularly to avoid rust and loosening. Tighten screws gently to prevent damage and ensure stability. Store your bike in a dry place to protect racks from weather wear.
Check your bike racks often. Look for loose bolts and screws. Tighten them if needed. Examine for rust or damage. Replace any broken parts. This keeps your racks safe and strong. Keep your racks clean. Use a damp cloth to wipe dirt. Dry them well. Apply a light oil on moving parts. This helps them work smoothly. A clean rack lasts longer. Fix small issues quickly. Use the right tools. Learn basic repair skills. This saves time and money. If unsure, ask a bike shop for help. Keeping racks in good shape makes rides safer. `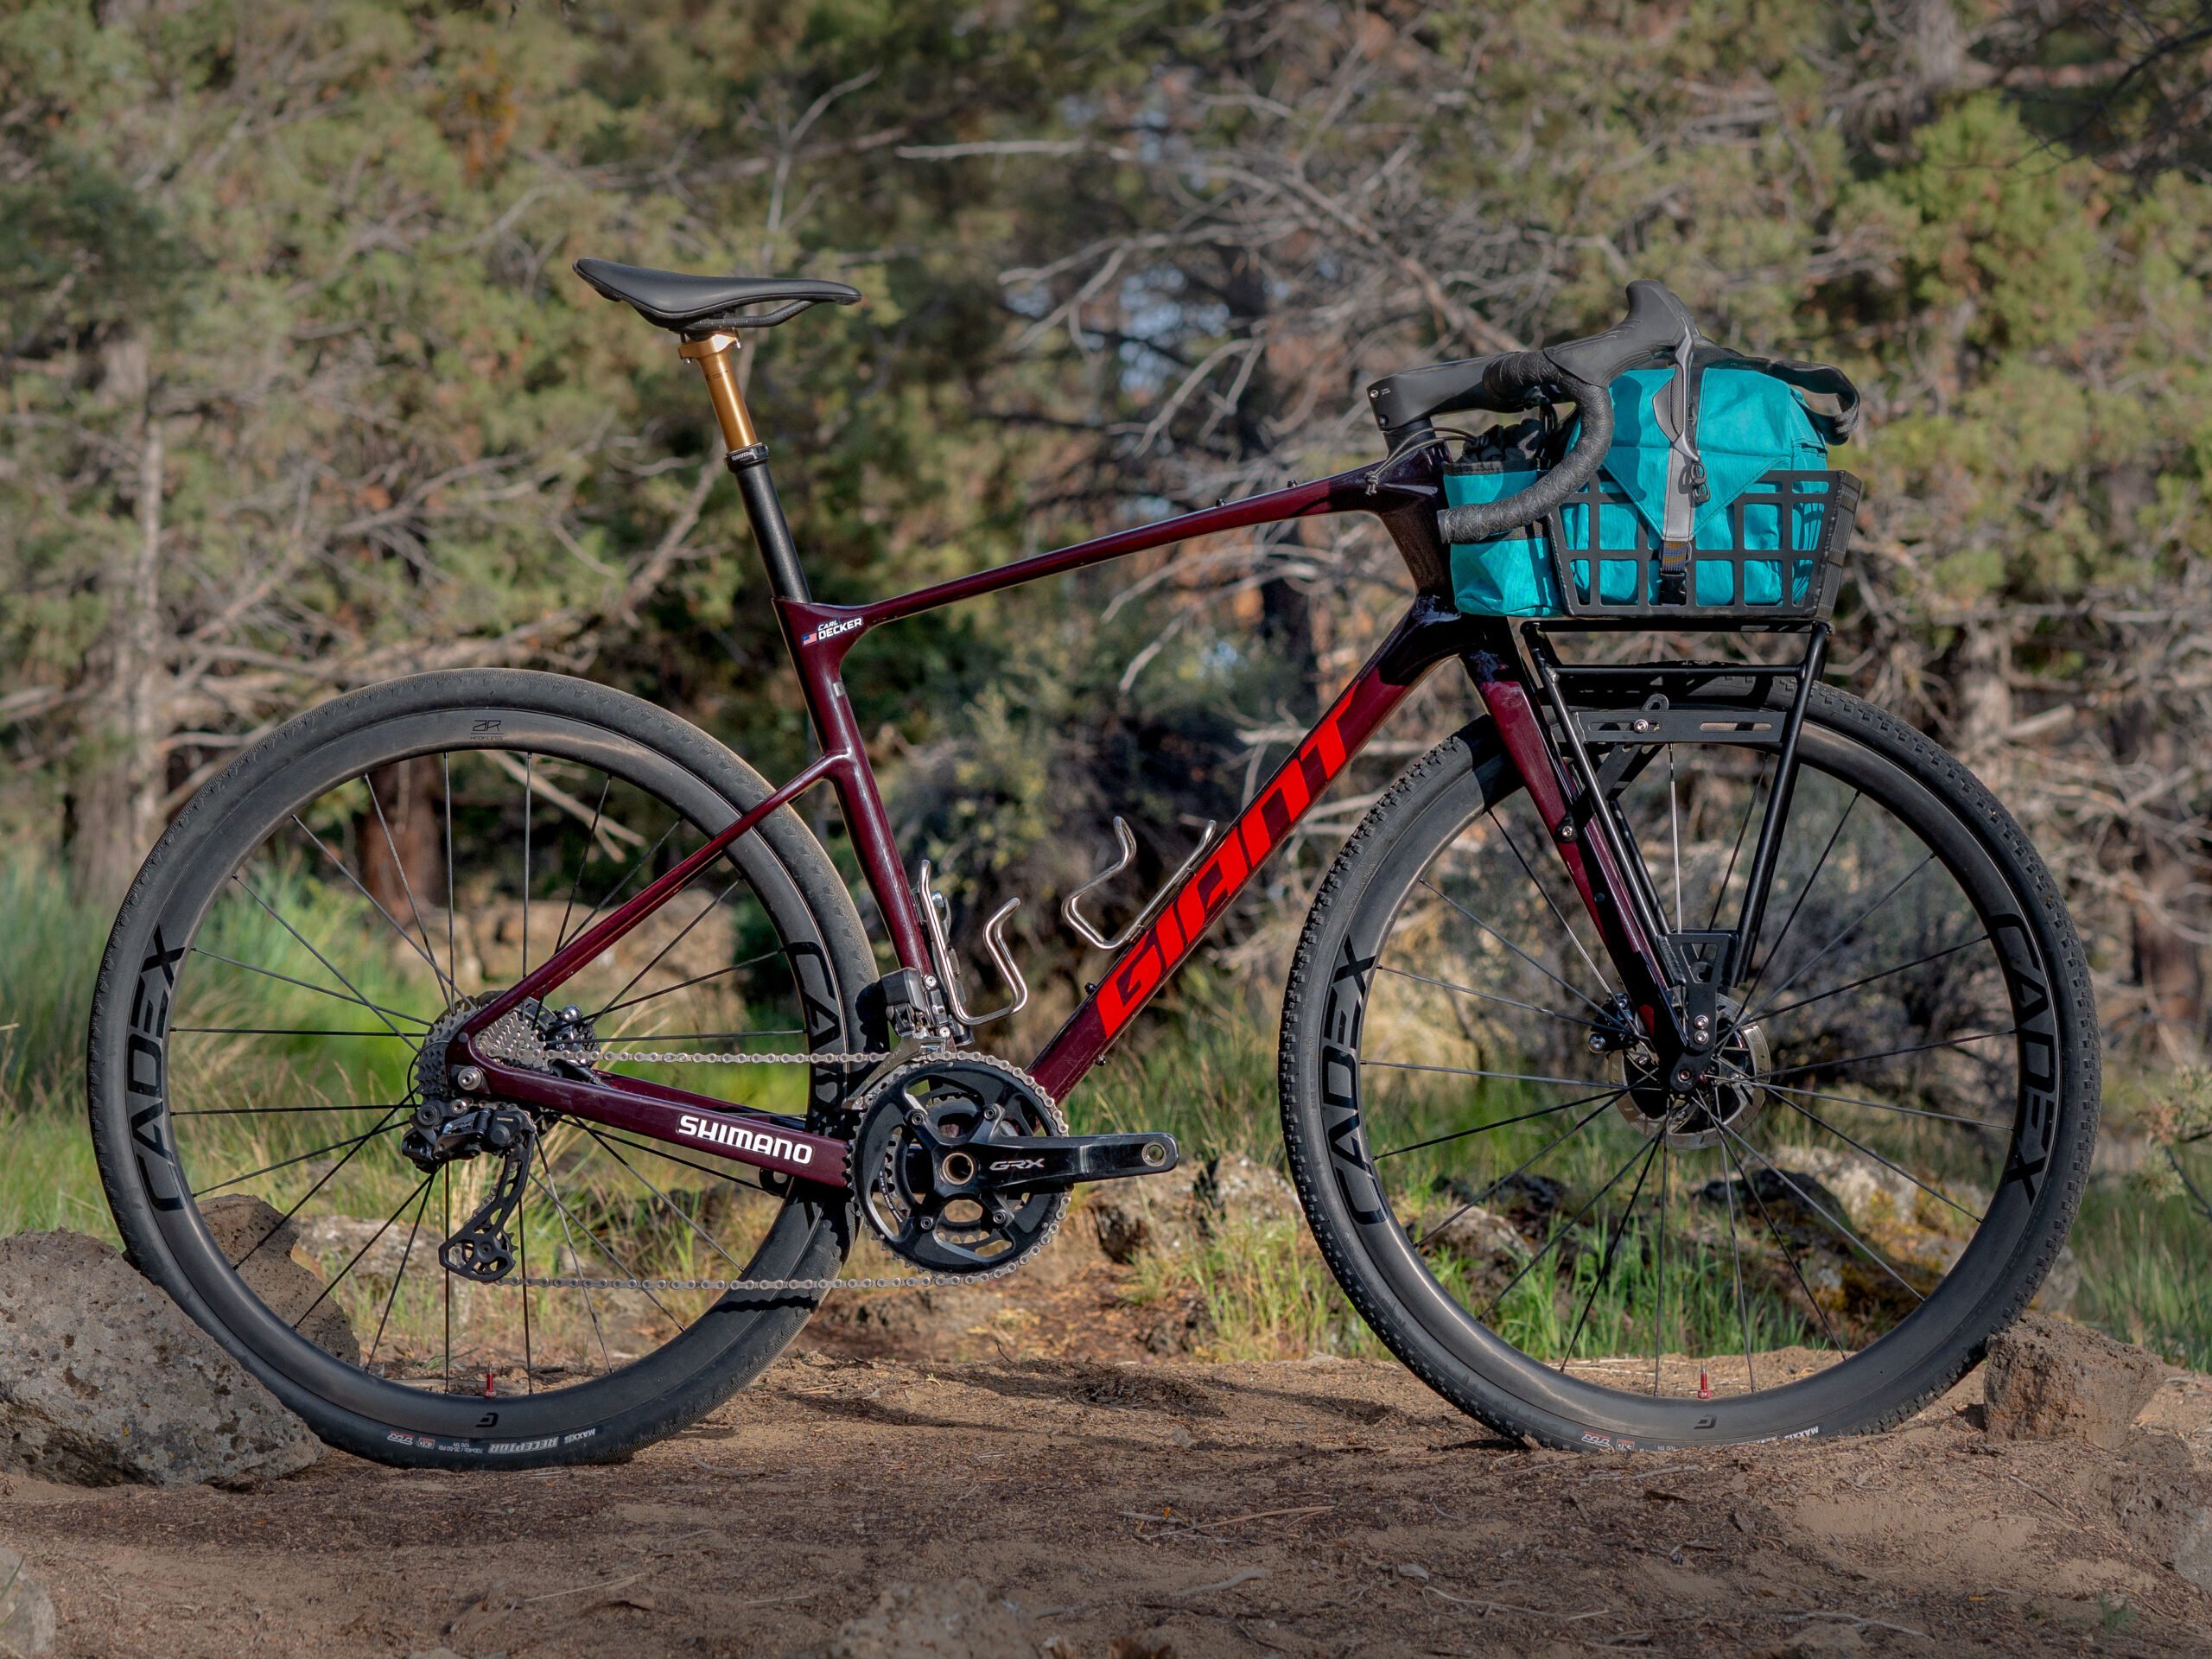
Credit: cycletraveloverload.com
Frequently Asked Questions
What Tools Are Needed To Install Racks On A Touring Bike?
You need Allen keys, screwdrivers, and a wrench set. A torque wrench helps ensure bolts are tight without damage. These tools make installation easier and safer.
How Do I Choose The Right Rack For My Touring Bike?
Select a rack compatible with your bike’s frame and wheel size. Consider weight capacity and material for durability. Check if it supports your luggage type.
Where Should I Mount The Rack On A Touring Bike?
Mount rear racks on the seat stays or rear dropout mounts. Front racks attach to fork mounts or front dropouts. Proper placement ensures stability and balance.
Can I Install Bike Racks Without Frame Eyelets?
Yes, use clamp-on racks designed for frames without eyelets. These secure tightly but might add extra weight. Ensure clamps don’t damage your bike’s finish.
Conclusion
Installing racks on your touring bike can make your trips easier and more organized. Follow the steps carefully to ensure a secure fit. Check your bike’s frame and use the right tools for the job. Take your time and double-check all bolts before riding.
A well-installed rack helps carry your gear safely. Enjoy your ride with added convenience and peace of mind. Simple steps lead to better bike touring experiences. Keep your bike ready for every adventure ahead.


