
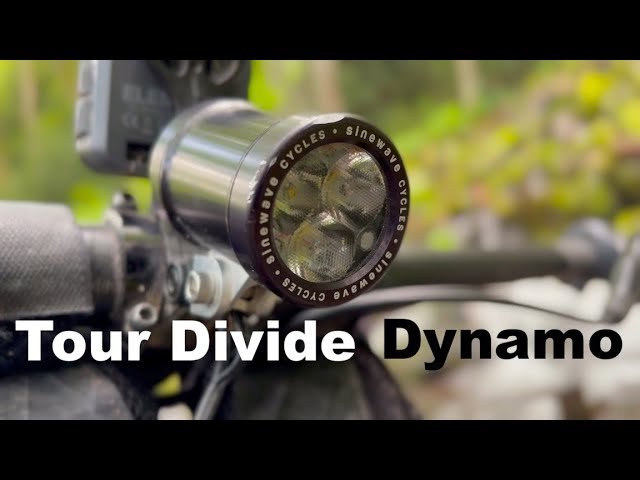
If you love long rides and want reliable lighting without worrying about batteries, installing a dynamo hub on your touring bike is a game-changer. But how do you get started?
You might feel unsure about the tools or steps involved. Don’t worry—this guide breaks down the entire process into simple, easy-to-follow instructions. By the end, you’ll know exactly how to install a dynamo hub, making your rides safer and more enjoyable.
Ready to upgrade your bike and never run out of light? Let’s dive in!

Credit: alpkit.com
Choosing The Right Dynamo Hub
Dynamo hubscome in different types, mainly hub dynamosand bottom bracket dynamos. Hub dynamos are the most common and fit inside the front wheel hub. Bottom bracket dynamos attach near the pedals but are less common on touring bikes.
Compatibility is key. Most touring bikes work well with 12mm or 15mm thru-axle hub dynamos. Check your wheel size and axle type before buying. Some hubs fit only specific bike frames or fork widths.
| Feature | Hub Dynamo | Bottom Bracket Dynamo |
|---|---|---|
| Location | Front wheel hub | Near pedals |
| Common on Touring Bikes | Yes | No |
| Power Output | 3W at 6V (standard) | Varies |
| Efficiency | High | Moderate |
Power output usually is 3 watts at 6 volts. This is enough for lights and charging small devices. Efficiency matters for less pedal resistance. Look for hubs with low dragfor easier riding.
Tools And Materials Needed
Essential tools include a Phillips screwdriverand an adjustable wrench. A hex key sethelps with bolts on the hub. Use pliersto hold small parts tight. A wire cutteris useful for trimming excess wire.
Additional supplies might be electrical tapeor heat shrink tubingto protect wiring. A multimetercan check electrical connections. Have some lubricantready for smooth assembly. Carry extra nuts and boltsin case of missing pieces.
Preparing Your Bike
Start by shifting your bike to the smallest gear. This makes wheel removal easier. Unlock the brake if your bike has rim brakes. Open the quick-release lever or use a wrench to loosen the axle nuts.
Hold the wheel firmly and pull it out from the fork dropouts. Keep the tire clear of the brake pads to avoid damage. Place the wheel aside in a safe spot.
Check the fork and dropouts carefully. Look for any cracks or damage. Make sure the dropouts are clean and free of dirt.
Inspect the fork alignment by sight. Misaligned forks can cause poor wheel fit. Use a ruler or straight edge if needed to check alignment.
Ensure the fork dropout width matches your dynamo hub. Most touring bikes have standard widths, but confirm to avoid fitting issues.
Installing The Dynamo Hub
Place the dynamo hubcarefully into the fork dropouts. Make sure the hub fits snugly inside the slots. The hub axle should sit evenly on both sides of the fork.
Use the axle nutsto secure the hub. Tighten them by hand first, then use a wrench to make them firm. Avoid over-tightening, as this can damage the fork or hub.
Check that the wheel is alignedstraight in the fork. Spin the wheel to ensure it does not rub against the brake pads or fork legs. Adjust the hub position if needed to center the wheel.
Wiring The Dynamo Hub
Start by finding the best path for the wires. Keep wires away from moving parts. This helps to avoid damage. Use zip ties to hold wires in place. Make sure the path is clear and safe.
Attach the wires to your bike lights. Match the positive wire to the positive terminal. Connect the negative wire to the negative terminal. Check if lights work by spinning the wheel. If not, check the connections again.
Cover the cables with protective tubing. This prevents wear and tear. Secure the tubing with tape if needed. Check regularly to ensure everything stays in place.

Credit: www.reddit.com
Testing The Installation
Test the dynamo hub by spinning the wheel and checking the light output. Ensure the connection is secure and the lights work steadily. Adjust as needed for smooth operation and reliable power.
Checking Wheel Rotation
Spin the wheel gently. It should turn smoothly. Listen for any strange sounds. No noise means it’s working well. Feel for any vibrations. A smooth spin is important. Check if the wheel is straight. It must not wobble. Ensure the hub is tight. Loose hubs can cause problems. Safety is key for every ride.
Verifying Light Functionality
Turn on the bike light. It should shine brightly. Check it in a dark room. Ensure it stays on while you pedal. If the light flickers, check the connections. The wires should be secure. The light must not dim quickly. A steady light ensures safety at night. Test it again after a short ride. Good lights help others see you.
Maintenance Tips
Check the hub and wiring for any signs of wear or damage regularly. Make sure the connections are tight and clean. Keep the hub free from dirt and moisture to avoid rust. Spin the wheel to hear any unusual sounds. A smooth and quiet spin means the hub works well.
| Issue | Cause | Solution |
|---|---|---|
| Weak or no light | Loose wiring or dirty contacts | Clean and tighten all connections |
| Hub feels rough | Dirt inside the hub or worn bearings | Clean the hub and replace bearings if needed |
| Noise during riding | Damaged internal parts | Inspect and repair or replace the hub |

Credit: www.reddit.com
Frequently Asked Questions
What Tools Are Needed To Install A Dynamo Hub?
You need cone wrenches, a torque wrench, grease, and spoke wrenches. Having a bike stand helps. These tools ensure proper installation and alignment.
How Do I Align The Dynamo Hub On Touring Bikes?
Align the hub so the axle fits snugly in the dropouts. Adjust the wheel center and spokes evenly. Proper alignment ensures smooth rotation and efficient power generation.
Can I Install A Dynamo Hub Without Wheel Rebuilding?
Yes, if your current wheel is compatible and spokes can be reused. Otherwise, rebuilding the wheel with the dynamo hub is recommended for durability and safety.
How To Connect Wiring For Dynamo Hubs Correctly?
Route wires along the fork and frame, securing with zip ties. Connect to the bike light following polarity markings. Proper wiring avoids damage and ensures consistent power output.
Conclusion
Installing dynamo hubs on touring bikes improves lighting and safety. Follow the steps carefully for a secure fit. Check all connections before your ride. Regular maintenance helps keep the hub working well. Enjoy longer trips with reliable power on the road.
Simple tools and patience make the process easier. This upgrade adds convenience without extra weight. Start your journey with confidence and better visibility.


