
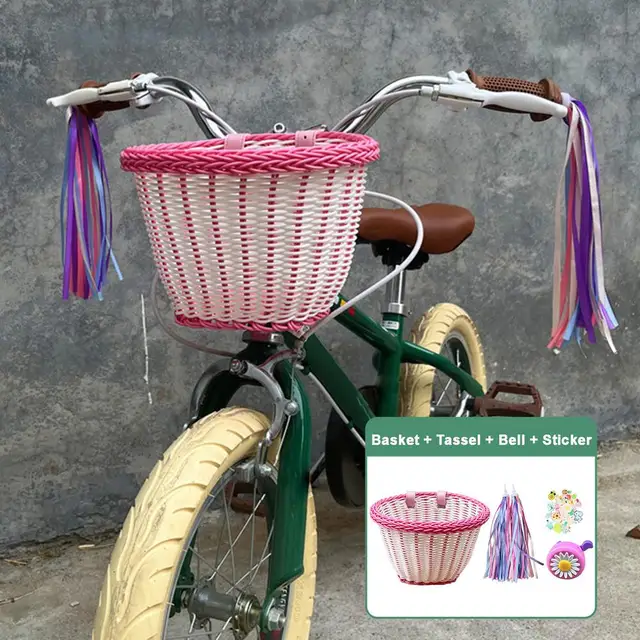
If you want to make your child’s bike more fun and practical, adding a bell and basket is a great idea. These simple accessories not only brighten up the bike but also improve safety and convenience.
Imagine your child ringing their bell to alert others and carrying their favorite toys in a handy basket. Sounds perfect, right? In this guide, you’ll learn exactly how to install a bell and basket on your kid’s bike quickly and easily.
Keep reading—you’ll be surprised how simple it is to give your child’s bike a fresh, new look and added functionality.
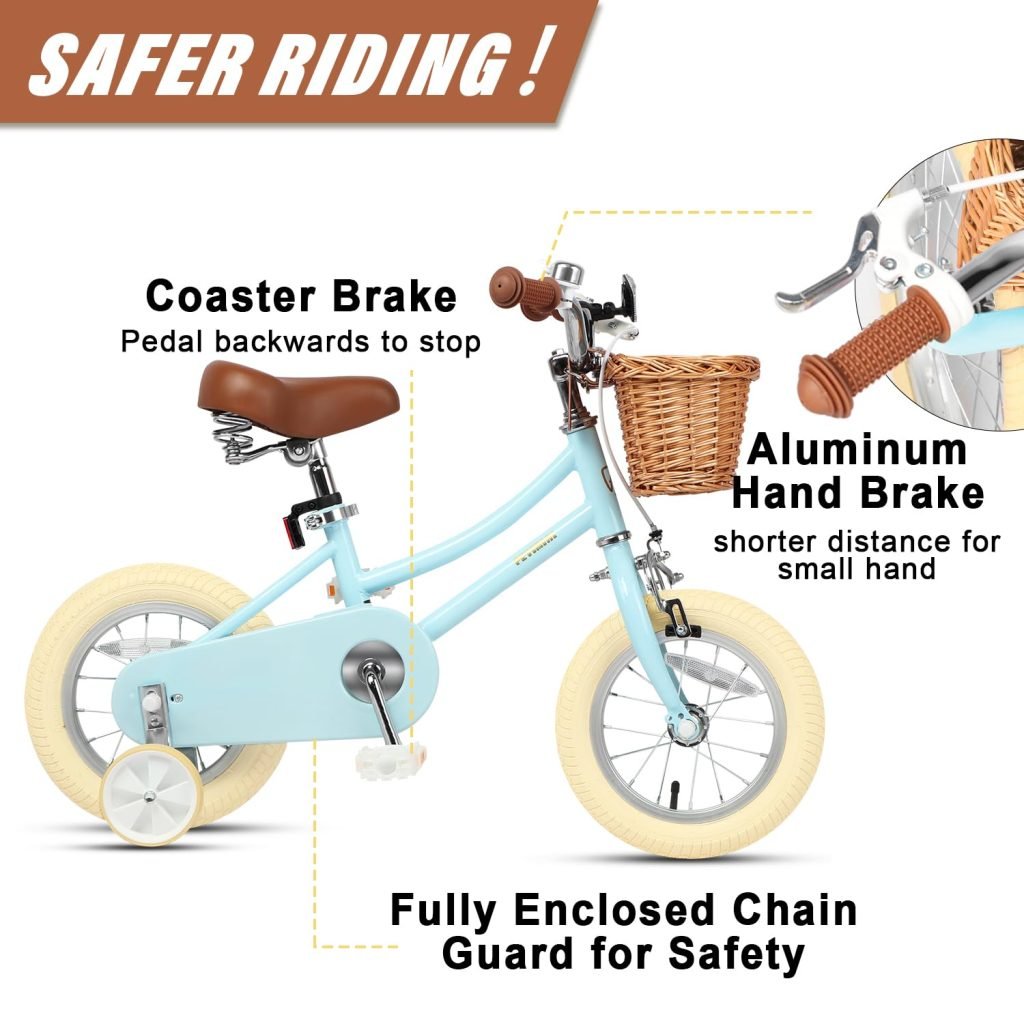
Credit: www.aliexpress.com
Choosing The Right Bell And Basket
Adding a bell and basket to a kids’ bike makes riding safer and more fun. Picking the right ones is important for comfort and style.
This guide helps you find the best bell and basket for your child’s bike. Learn about types, sizes, and materials.
Types Of Bells For Kids’ Bikes
Bells come in many shapes and sounds. Choose one that is loud enough to alert others but easy for kids to use.
- Classic dome bell: simple and clear sound
- Thumb lever bell: easy to ring with one hand
- Electronic bell: louder with multiple tones
- Animal-shaped bell: fun designs that kids like
Selecting A Basket Size And Style
Basket size depends on what your child will carry. Style should match the bike and be easy to attach.
| Basket Type | Size | Best For |
| Front wire basket | Medium | Small toys, snacks |
| Rear basket | Large | Books, sports gear |
| Fabric basket | Small | Light items, easy storage |
| Plastic basket | Medium | Durable and weatherproof use |
Materials And Durability
Look for materials that last and stay safe. The bell and basket should stand up to weather and play.
- Metal bells resist rust and last long
- Plastic bells are light but may break faster
- Wire baskets offer strong support and airflow
- Fabric baskets are flexible but less sturdy
- Check for smooth edges to avoid scrapes

Credit: www.sumarse.org.pa
Tools Needed For Installation
Installing a bell and basket on a kids’ bike is easy with the right tools. Using the right tools helps you finish the job faster.
This guide covers the basic tools you need to install these accessories safely and correctly.
Basic Tools Checklist
You need a few simple tools to attach a bell and basket. These tools help you tighten screws and bolts securely.
- Screwdriver (usually Phillips head)
- Adjustable wrench or small spanner
- Allen keys (hex wrenches) set
- Measuring tape or ruler
- Cleaning cloth to wipe surfaces
Make sure your tools fit the screws and bolts on your child’s bike for a good fit.
Safety Gear Recommendations
Safety is important when installing bike accessories. Protect yourself and your child during the process.
Wear these items to stay safe and avoid injury while working on the bike.
- Protective gloves to avoid cuts
- Safety glasses to protect eyes
- Closed-toe shoes to protect feet
- Work in a well-lit area
- Keep small parts away from children
Preparing The Bike
Installing a bell and basket on a kids’ bike starts with preparing the bike properly. This makes sure the parts fit well and stay secure.
First, clean the bike and check if the handlebar and frame can hold the new accessories. This helps avoid problems during installation.
Cleaning The Handlebar And Frame
Remove dirt and grease from the handlebar and frame before you attach anything. Use a soft cloth and mild soap with water. Dry the parts completely to stop rust or slipping.
- Use a clean cloth and warm soapy water.
- Wipe the handlebar and frame thoroughly.
- Rinse with clean water.
- Dry all surfaces with a dry towel.
- Check for any damage or rust spots.
Checking For Compatibility
Make sure the bell and basket fit the bike’s handlebar and frame size. Look at the diameter and shape to avoid loose or tight fittings.
| Accessory | Typical Size | Check Points |
| Bell | 22mm to 25mm diameter | Fits handlebar thickness, easy to reach |
| Basket | Standard frame mounts or handlebar clamps | Secure mount points, no wobbling |
Installing The Bell
Adding a bell to your kid’s bike helps keep them safe. It lets them alert others while riding.
Installing the bell is simple and takes only a few minutes. Follow these steps for a secure fit.
Positioning The Bell On The Handlebar
Choose a spot on the handlebar that is easy for your child to reach. Usually, near the handgrip works best.
Make sure the bell does not block the brake or gear levers. It should be comfortable to press with the thumb or finger.
- Pick a flat area on the handlebar
- Keep it close to the handgrip
- Avoid covering brake or gear controls
- Check if your child can easily reach it
Securing The Bell With Screws Or Straps
Most bells attach with either screws or straps. Use the method that comes with your bell.
If your bell uses screws, tighten them gently with a screwdriver. For straps, wrap them firmly around the handlebar.
- Align the bell on the handlebar
- Tighten screws without overdoing it
- Wrap straps tight to avoid slipping
- Check if the bell stays in place
Testing The Bell Functionality
After installation, test the bell to ensure it rings clearly. Press the lever or button several times.
If the bell sounds weak or does not ring, adjust its position or tighten the screws or straps.
- Press the bell lever multiple times
- Listen for a clear ringing sound
- Fix any loose parts if needed
- Make sure it is easy to use while riding
Attaching The Basket
Attaching a basket to a kid’s bike adds convenience for carrying small items. You can place the basket on the front or rear of the bike.
Proper attachment ensures the basket stays secure and safe during rides. Follow the right steps to fix it well.
Aligning The Basket On The Front Or Rear
Decide whether to put the basket on the front handlebar or the rear rack. Make sure the basket does not block your child’s view or interfere with steering.
Check that the basket sits straight and is centered. This balance helps keep the bike stable when riding.
Using Brackets, Straps, Or Bolts
Most baskets come with brackets, straps, or bolts for attaching to the bike. Choose the method that fits your bike model and basket type.
- Use brackets to hook the basket onto the handlebars or frame.
- Straps can wrap around the frame for a quick, tool-free fix.
- Bolt attachments require screws and tools but offer strong hold.
Ensuring Stability And Safety
| Check Point | What to Do | Why It Matters |
| Tightness | Make sure straps or bolts are tight | Prevents basket from wobbling or falling off |
| Weight Limit | Do not overload the basket | Keeps the bike balanced and safe to ride |
| Visibility | Keep basket low and in clear sight | Helps child see road and control bike |
| Handlebar Movement | Confirm basket does not block turning | Avoids accidents from restricted steering |

Credit: www.opticopera.at
Final Adjustments And Tips
After installing the bell and basket on your child’s bike, some final steps will make sure everything works well. These adjustments will keep the accessories safe and easy to use.
Pay close attention to how tight the parts are, how comfortable they feel, and how to care for them. This will help the bike last longer.
Tightening All Fasteners
Make sure all screws, bolts, and clamps are tight. Loose fasteners can cause the bell or basket to move or fall off while riding.
Use the right tools like a screwdriver or wrench to secure each part. Check each fastener twice to be sure.
- Tighten the bell clamp around the handlebar firmly but not too hard.
- Secure the basket brackets on the bike frame or handlebars.
- Check that no parts wobble or shift after tightening.
Adjusting For Comfort And Accessibility
Place the bell where your child can reach it easily with their thumb. This helps them ring it without losing control.
Position the basket so it does not block the brakes or steering. Make sure it sits steady and does not affect balance.
- Test the bell by ringing it a few times while holding the handlebar.
- Move the basket higher or lower if it blocks the wheel or cables.
- Ask your child if the bell and basket feel easy to use.
Maintenance Tips For Longevity
Keep the bell and basket clean and dry to avoid rust and damage. Regular checks help spot problems early.
Lubricate metal parts of the bell if it starts to stick. Tighten fasteners again after a few rides.
- Wipe the basket with a damp cloth to remove dirt.
- Check screws and bolts every two weeks.
- Replace any broken or worn parts quickly.
Frequently Asked Questions
How Do I Install A Bell On A Kid’s Bike?
To install a bell, first choose a suitable handlebar spot. Loosen the clamp, slide the bell on, and tighten the screw securely. Ensure the bell is within easy reach for the child to ring comfortably while riding.
What Tools Are Needed To Attach A Bike Basket?
Typically, you need a screwdriver and an adjustable wrench. Some baskets come with mounting brackets and screws. Follow the basket’s instructions to fasten it securely to the handlebars or frame for stability during rides.
Can I Install A Basket Without Professional Help?
Yes, installing a basket is straightforward and can be done at home. Use the provided brackets, align the basket on the handlebars, and tighten all screws. Double-check stability before your child uses the bike.
Where Is The Best Position For A Bike Basket?
The basket is best placed on the front handlebars for easy access. This position balances the bike and allows the child to carry small items safely without affecting steering.
Conclusion
Installing a bell and basket on a kids’ bike is simple and fun. These accessories make rides safer and more enjoyable. Follow the steps carefully, and use the right tools. Check that everything fits well and is tight. Kids will love having a bell to alert others and a basket to carry toys.
This small upgrade adds both safety and convenience. Give it a try today and see the difference!


