

Imagine the freedom of cycling with all your essentials securely packed on your bike. Installing a rear bike rack is a game-changer, allowing you to carry more while you ride with ease.
Whether you’re commuting, touring, or just enjoying a leisurely ride, a rear bike rack can transform your cycling experience. You might think it’s a complex task, but with the right guidance, it’s simpler than you expect. Ready to enhance your biking adventures?
Discover the step-by-step process to install a rear bike rack, and unlock the potential to carry anything from groceries to gear effortlessly. Keep reading, and soon you’ll be pedaling with newfound convenience.

Credit: www.velocicycle.com
Choosing The Right Bike Rack
Rear bike racks come in various types. Some attach to the seat post, while others mount on the frame. Seat post racks are easy to install. They are great for light loads. Frame-mounted racks hold more weight. They are better for longer trips.
Check your bike’s frame sizeand design before buying a rack. Some racks fit only specific bike types. Look for racks that match your bike’s brake type. Disc brakes need special racks. Always check the weight limitof the rack. This ensures safety and balance. Proper fit is key for a smooth ride.

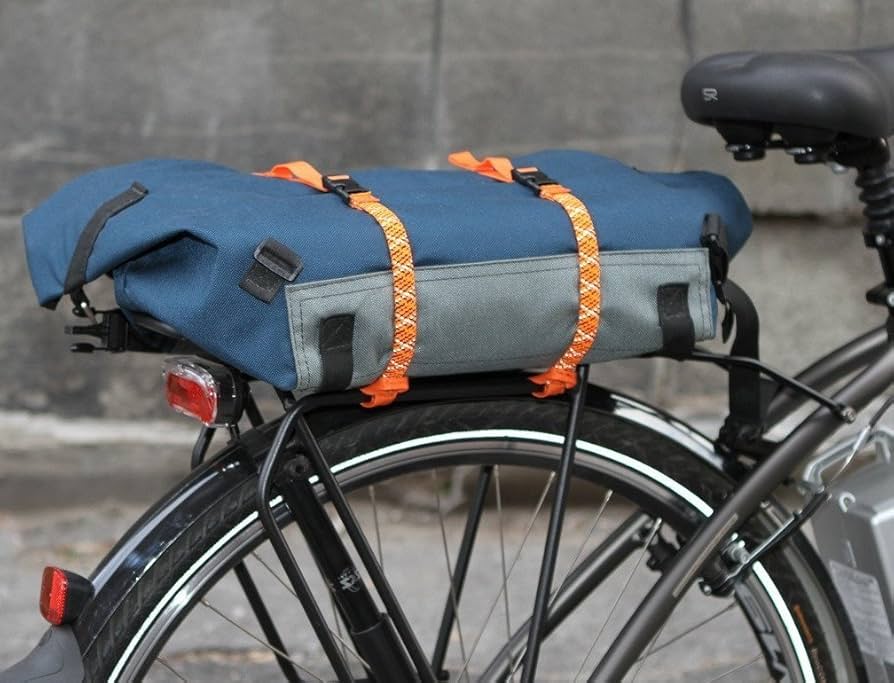
Credit: www.amazon.com
Gathering Necessary Tools
Installing a rear bike rack is a simple task. You need the right tools. This ensures a smooth process.
Essential Tools For Installation
- Wrench Set: Adjust bolts and nuts.
- Screwdriver: Tighten screws securely.
- Allen Keys: Useful for specific bike parts.
- Tape Measure: Check rack position.
Optional Accessories
- Reflective Tape: Adds visibility at night.
- Bungee Cords: Secure extra items.
- Rack Bag: Carry tools and supplies.
Preparing The Bike
Installing a rear bike rack is simple. First, gather necessary tools and parts. Then, attach the rack securely to the bike’s frame. Tighten bolts to ensure stability. Finally, double-check all connections for safety. Now, your bike is ready to carry extra gear.
Cleaning The Rear Area
Wipe the bike’s rear with a damp cloth. Remove any dust or dirt. Clean surfaces help the rack fit better. Check for rust or sticky spots. Use a gentle soap if needed. Rinse and dry the area well. A clean surface makes work easier.
Positioning The Bike Safely
Place your bike on a flat surface. Use a stand if you have one. Ensure the bike is stable and won’t tip over. Keep the bike’s handlebars straight. This helps maintain balance. Ensure the wheels are secure and not moving. Safety is important for a smooth installation.
Attaching The Rack
Place the rear rack on your bike’s frame. Make sure it is straight. Check that the holes on the rack line up with your bike. This makes it easier to secure the rack. Use a ruler to check the alignment if needed. A well-aligned rack is important for safety.
Use bolts to attach the rack to the bike. Tighten the bolts with a wrench. Make sure they are snug but not too tight. Check if the rack wobbles or moves. If it does, tighten the bolts more. Ensure all mounting points are secure. A stable rack is safe for carrying items.
Adjusting For Stability
Ensure all bolts and screwsare tight. This makes the rack stable. Use the right tools. A wrench or screwdriver is usually needed. Check each screw one by one. Make sure none are loose. Tight screws keep the rack from moving. It’s important for safety. A stable rack carries more weight. So, tighten everything well.
After tightening, test the rack for movement. Gently shake the rack. See if it moves too much. A little movement is okay. But it should not wobble. If it moves a lot, tighten the screws again. Check if all parts are secure. The rack should feel firm. This helps in carrying items safely. A stable rack is important for your bike.
Credit: cycletraveloverload.com
Final Checks And Adjustments
Final Checks and Adjustments Ensure all bolts are tight to secure the rack. Test the stability by gently shaking the rack. Adjust the alignment for a balanced fit on your bike.
Ensuring Proper Alignment
Make sure the bike rack is straight. Use a ruler or a stick. Check both sides of the rack. Both sides should be the same height. Adjust if one side is higher. Tighten all screws firmly. Ensure nothing is loose. A wobbly rack is unsafe.
Checking Weight Capacity
Every rack has a weight limit. Check the rack’s manual for this. Do not carry too much weight. Heavy loads can break the rack. This might damage your bike too. Place items evenly on the rack. Uneven weight can make the bike tilt. Riding with an uneven load is hard.
Maintaining Your Bike Rack
Installing a rear bike rack involves securing it to your bike’s frame with bolts. Ensure the rack is level and firmly attached. Regularly check for loose bolts to maintain stability while riding.
Routine Inspections
Check your bike rack for any loose screws or bolts. Tighten them if needed. Look for any cracks or damages in the rack material. Replace if necessary. Ensure the rack is securely attached to your bike. Wiggle it gently to test. Check for any signs of rust or wear. Use a rust remover if needed. Inspect the mounting points for any signs of stress. Make sure all straps and clips are in good condition.
Cleaning And Care Tips
Use a soft cloth to wipe off dirt and dust. Mild soap and water work best for cleaning. Avoid using harsh chemicals on the rack. Dry the rack thoroughly after washing. Keep the rack dry to prevent rusting. Store the bike rack in a cool and dry place. Lubricate any moving parts to maintain smooth operation.
Frequently Asked Questions
Can You Attach A Rear Rack To Any Bike?
Not all bikes can have a rear rack attached. Check for mounting eyelets on the frame. Some bikes might require special adapters. Ensure compatibility for safe installation.
How To Attach A Bike Rack To The Back Of A Car?
Choose the right bike rack for your car model. Follow the manufacturer’s instructions. Secure the rack firmly to your car’s trunk or hitch. Ensure all straps and locks are tight. Test the stability before placing your bike.
Is It Illegal To Have A Bike Rack On The Back Of Your Car?
Having a bike rack on your car is generally legal. Ensure it doesn’t obstruct lights, license plates, or exceed weight limits. Check local laws for specific regulations to avoid fines. Proper installation and secure attachment are crucial for safety. Always follow manufacturer’s guidelines.
Are Bike Racks Hard To Install?
Bike racks are generally easy to install. Most come with clear instructions and require minimal tools. Installation can vary depending on the type and model. Roof racks might be more complex than trunk or hitch racks. Always ensure proper fitment for safety and stability while transporting bikes.
Conclusion
Installing a rear bike rack boosts your cycling convenience. Follow these steps, and you can easily carry gear on your rides. This guide simplifies the process, making it accessible for everyone. A secure rack enhances your bike’s versatility, perfect for commuting or trips.
Ensure everything is tightened and stable before hitting the road. Regular checks prevent unexpected mishaps. With practice, it becomes second nature. Enjoy the freedom to transport your essentials effortlessly. Happy cycling and safe travels! Embrace the benefits of a well-mounted bike rack today.


