
You love biking, especially at night when the roads are quieter and the stars are out. But nothing disrupts your ride like a broken bike light mount.
It’s not just annoying; it’s a safety hazard. You need those lights to be secure and reliable. Maybe you’ve tried taping it or jiggling it into place, but deep down, you know there’s a better solution. Imagine gliding through the night, confident in your visibility, with a mount that holds your lights steady and secure.
Fixing that broken mount isn’t just a mundane task; it’s a step towards safer, worry-free rides. In this guide, you’ll discover simple steps to fix your broken bike light mount. You’ll learn practical tips that save you time and frustration. Plus, you’ll feel empowered knowing you can handle this on your own. Ready to make your night rides safer and more enjoyable? Let’s get started.

Credit: www.contec-parts.com
Identifying Common Issues
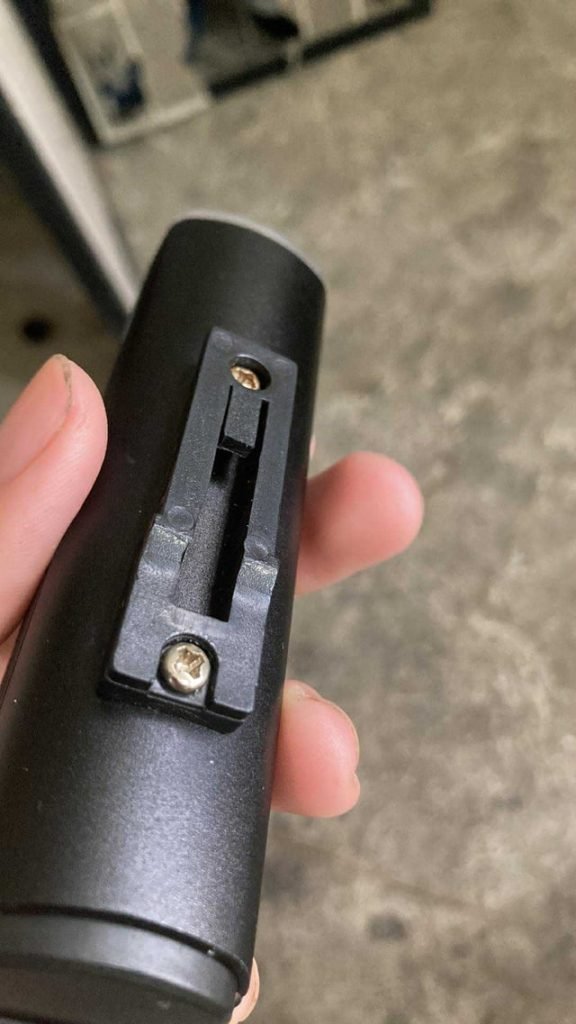
Bike light mounts can break for various reasons. Identifying the issue is key. Look for cracks or splits in the plastic. These can weaken the mount. Loose screws can also cause problems. Check if the screws are tight and secure. If not, tighten them carefully. Misalignment might occur if the mount shifts. Ensure the light is pointing straight. Missing parts can also be a concern. Double-check all components are present.
Sometimes, the mount might not fit the handlebar properly. Measure the handlebar diameter and compare with mount size. Use additional spacers if needed. Worn-out rubber straps can cause the mount to slip. Inspect them for wear and replace if necessary. Understanding these issues helps in fixing the mount effectively.

Credit: www.reddit.com
Essential Tools And Materials
- Phillips screwdriver– Useful for loosening screws.
- Adjustable wrench– Handy for tightening bolts.
- Super glue– Perfect for fixing broken mounts.
- Plastic zip ties– Great for securing loose parts.
- Replacement mount– Needed if the old one is beyond repair.
- Sandpaper– Helps smooth rough edges.
- Cleaning cloth– Important for wiping surfaces.
- Lubricant spray– Ensures smooth operation.
Having these tools makes repairs easier. They are simple and effective. Fixing a broken mount is easy with them. Ensure each tool is in good condition. This guarantees a successful repair.
Temporary Fixes For Immediate Use
Secure a broken bike light mount quickly with zip ties or duct tape. These items offer a fast, temporary solution, ensuring your light stays in place during rides.
Using Tape Or Zip Ties
Grab strong tapeor sturdy zip ties. Secure the broken light mount. Make sure the light is held firmly. Wrap tape around the mount several times. Use zip ties if tape is not enough. Ensure the light does not wobble or fall. Check the strength of your fix often. Replace tape or ties if they wear out. This is a quick solution.
Adjusting Light Position
Find the best spot to place the light. Adjust its position carefully. Angle the light towards the road. Make sure it is visible to others. Check if it’s stable. Tighten any loose parts. Ensure the light shines brightly. Test the light while riding. Readjust if needed. Safety comes first.
Credit: www.xsr700forums.com
Permanent Repair Methods
Repairing broken bike light mounts involves using strong adhesive or epoxy for a secure fit. Reinforcing with zip ties or brackets can add extra stability. Ensure the surface is clean for the best bond and test the mount for safety after repairs.
Replacing Broken Parts
First, find a new mountthat fits your bike light. Check the size and shapecarefully. Use a screwdriver to remove the old mount. Place the new mount in the same spot. Make sure it is tight and secure. Test the light to see if it stays in place. If it wobbles, adjust the screws. A sturdy mountwill keep your light safe.
Reinforcing With Epoxy
Clean the broken parts with a dry cloth. Mix the epoxy glueas per instructions. Apply the glue to the broken areas. Press the parts together firmly. Let it dry for several hours. The epoxywill make the mount strong again. Avoid using the bike until the glue dries. This will ensure a strong holdfor your light.
Diy Solutions For Custom Mounts
Use strong materials like aluminum or steel for the bracket. These materials hold the bike light securely. Measure the bike’s handlebar for perfect fit. Cut the material to size with a hacksaw. Drill holes where needed. Ensure they align correctly for screws. Attach the bracket to the bike with screws or clamps. Check the light’s position. Adjust if necessary for better visibility.
Design a 3D model of the mount. Use software like Tinkercad. Choose durable plastic for printing. ABS or PLA are good choices. Print the parts using a 3D printer. Assemble the printed parts carefully. Use glue or screws to fix them. Test the mount with the bike light. Ensure it’s secure and stable. Adjust the design if needed for better fit.
Safety Precautions During Repair
Always wear a helmetand gloveswhen fixing your bike light mount. This protects your head and hands from injury. Make sure your workspaceis clear and well-lit. It helps you see all the parts clearly. Keep small parts in a safe placeto prevent losing them. Using a magnettray can be helpful. Don’t work on your bike in a busy area. Choose a quiet and safe spot. Remember to disconnectany power source before you start. This prevents any accidental shocks. Keep a first-aid kitnearby. It’s good to be ready in case of small injuries. Always read the repair instructions twice. This ensures you understand each step. If unsure about any task, ask an adult for help. Safety is more important than speed. Take your time and be careful.
Maintenance Tips For Longevity
Regularly check your bike light mounts for any signs of wear. This helps you catch problems early. Keep the mounts clean and free from dirt. Dirt can cause scratches and damage over time. Use a damp cloth to gently wipe the mounts.
Tighten screws and bolts regularly. Loose parts can cause the mount to break. Always use the right tools for tightening. Avoid overtightening, as it can cause cracks. Check the mount’s connection to the bike frame often.
Store your bike in a dry place. Moisture can cause rust and weaken the mounts. If you ride in the rain, dry the mounts afterward. This keeps them in good shape for longer. Remember to handle your bike with care.
Frequently Asked Questions
Can I Ride My Bike With No Lights?
Riding a bike without lights is unsafe and often illegal. Lights ensure visibility and safety, especially at night. Always equip your bike with front and rear lights to comply with local laws and enhance your safety.
How To Mount A Bike Light?
Attach the bike light bracket to the handlebars or seat post securely. Slide the light into the bracket until it clicks. Ensure the light faces forward for optimal visibility. Adjust the angle as needed. Test the light to confirm it’s properly mounted and functioning.
Regularly check for loose fittings.
How To Fix An Electric Bike Light?
Check battery and connections first. Replace or recharge the battery if needed. Inspect the bulb or LED for damage. Replace faulty parts with compatible ones. Ensure the light switch functions properly. If issues persist, consult a professional for further assistance.
How To Fix Broken Spokes On A Bike?
To fix broken spokes, remove the wheel and tire. Replace damaged spokes with new ones. Tighten them using a spoke wrench. Ensure even tension across all spokes to keep the wheel balanced. Check alignment by spinning the wheel. Visit a bike shop for complex repairs or if unsure.
Conclusion
Fixing broken bike light mounts is simpler than you might think. With the right tools and patience, you can do it yourself. Follow the steps outlined and ensure your safety while riding. Regular checks help prevent future problems. Always choose quality parts for lasting results.
With these tips, your bike light will stay secure and reliable. Happy cycling and stay safe on the roads!


