
Are you tired of getting splashed with mud and water while riding your touring bike? Fitting fenders might just be the solution you need.
Not only do they keep you clean and dry, but they also add a touch of style to your bike. Whether you’re a seasoned cyclist or new to the world of touring bikes, learning how to fit fenders can save you from uncomfortable rides.
Imagine gliding through the rain without a worry, your clothes spotless and your bike performing perfectly. In this guide, we’ll walk you through each step, ensuring that you can confidently install fenders on your touring bike. Your next adventure awaits, and with the right fenders, you’ll be ready to tackle any weather. Let’s get started and transform your riding experience!
Choosing The Right Fenders
Selecting the perfect fenders ensures a smooth ride on your touring bike. Check the size and type for compatibility with your bike frame. Proper installation protects from mud and water, enhancing your cycling experience.
Types Of Fenders
Fenders come in different types. Full-length fenders cover most of the wheel. They offer great protection from water and mud. Clip-on fenders are smaller. They are easy to attach and remove. Mudguards are another option. They are lightweight and simple to use.
Material Considerations
Fenders can be made from plastic, metal, or carbon fiber. Plastic fenders are lightweight and affordable. Metal fenders are durable and strong. Carbon fiber fenders are very light. They are also more expensive.
Sizing For Your Bike
Choosing the right size is important. Measure your bike’s tire width. Make sure the fender fits over the tire. Check the length too. Longer fenders give better protection. They keep your bike cleaner. Proper sizing helps in fitting fenders easily.
Gathering Necessary Tools
Before you start, gather essential toolsto fit your fenders. You need a wrench for bolts and screws. A screwdriver is important for tight spots. Get pliers for bending metal parts. Use a tape measure to ensure perfect fit.
Consider optional accessories for added convenience. Mudguards keep your bike clean. Get cable ties to secure loose parts. Use reflective tape for safety in low light. A rubber mallet helps with stubborn fittings. These accessories make your bike more functional.
Preparing Your Bike
Fitting fenders to a touring bike involves securing them to the frame and adjusting for tire clearance. Ensure the fenders align correctly with the wheel curvature to avoid interference. Use appropriate tools for a snug fit, checking stability before embarking on your journey.
Cleaning The Frame
Start by removing dirt and dust from the bike’s frame. Use a damp cloth for wiping. Ensure all parts are clean and dry. This helps the fenders fit well and stay secure. Check for rust spots and clean them off. A clean frame is easier to work with.
Removing Wheels
Take off the bike wheels carefully. This makes fitting fenders simpler. Use a wrench to loosen the nuts. Keep the nuts safe; they are needed later. Removing wheels gives clear access to the bike frame. It helps in positioning the fenders accurately.

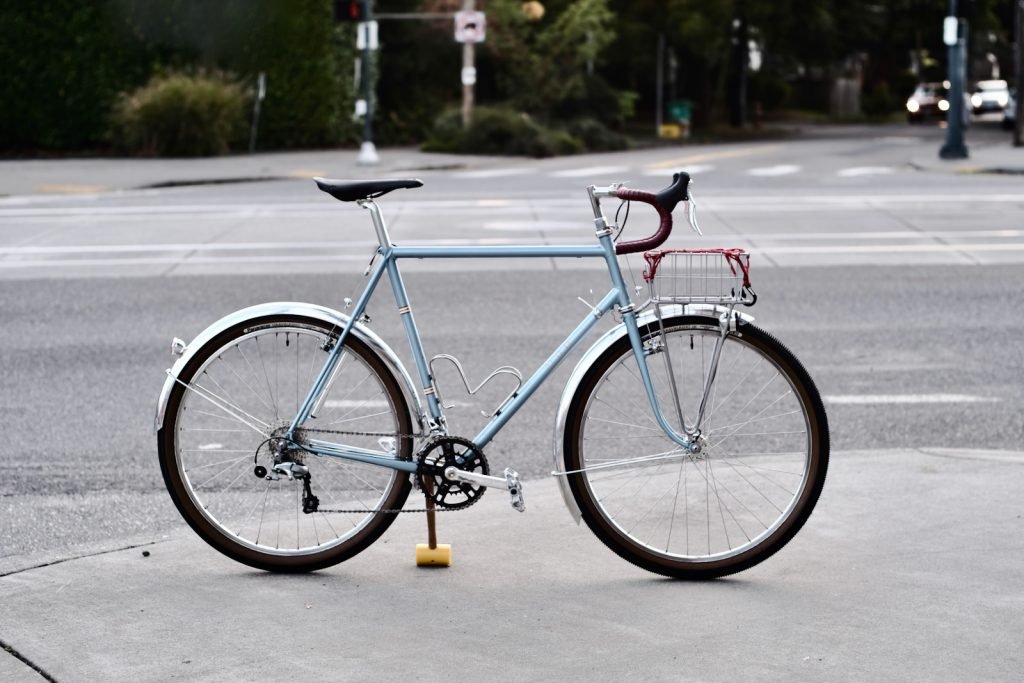
Credit: www.reddit.com
Installing Front Fender
Secure the bike upright on a stand. Align the fender with the front wheel. Use screws and brackets for a snug fit. Ensure clearance for the wheel’s rotation. Double-check for stability before taking a test ride.
Attaching Brackets
Find the right brackets for your bike. Align them with the holes on your fork. Use a screwdriver to tighten the screws. Don’t make them too tight. Leave a little room to adjust.
Securing The Fender
Slide the fender between the fork and tire. Position it so it covers the tire. Use more brackets to hold it in place. Check that it’s straight and centered. Tighten all screws snugly. Ensure nothing rubs against the tire.
Installing Rear Fender
Position the rear fender on your touring bike and align it with the wheel. Secure it using the provided bolts and brackets. Ensure a snug fit to prevent any rattling during rides.
Positioning The Fender
First, hold the rear fender above the wheel. Make sure it sits evenly. Look for the holes on the bike frame. Align them with the fender holes. This ensures the fender stays firm. Always check if the fender is straight. A crooked fender can cause problems. Use a ruler if needed. A straight fender looks good and works better.
Adjusting For Clearance
Ensure there’s enough space between the fender and tire. Spin the wheel slowly. Listen for any rubbing sounds. Adjust if the fender touches the tire. Loosen the screws slightly. Move the fender up or down. Tighten the screws again. Make sure the wheel spins freely. Proper clearance prevents damage and noise. Your bike will ride smoothly.

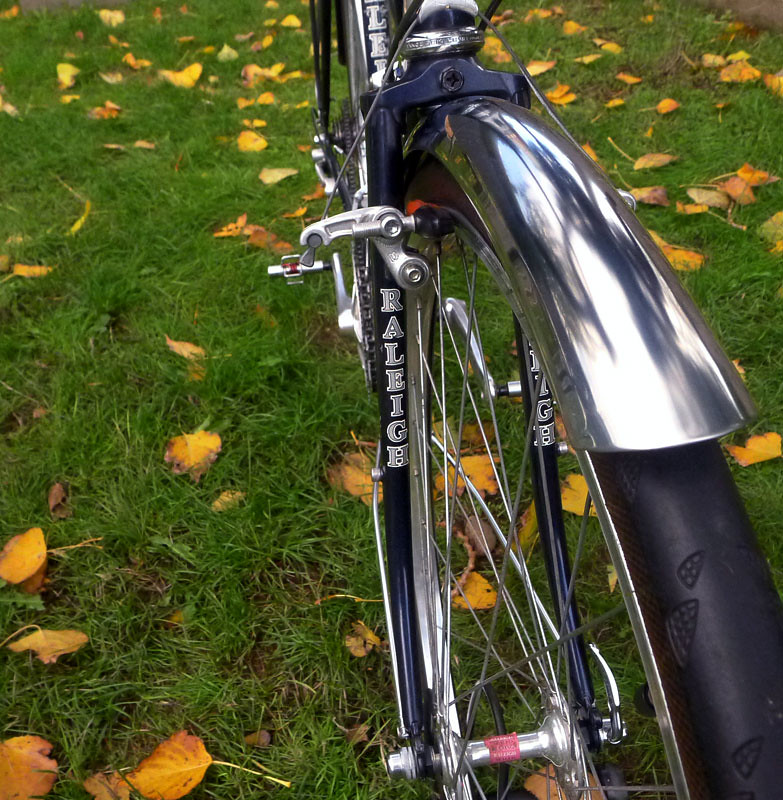
Credit: www.planetbike.com
Adjusting And Aligning
Positioning fenders on a touring bike requires precision and patience. Start by ensuring the fender brackets align with the bike frame. Adjust the fender angle to prevent tire contact and secure the bolts tightly.
Checking Alignment
Ensure the fenders are straight. They should not touch the tires. Use your eyes to check alignment. Stand back and look. If not straight, adjust gently. Loosen the bolts slightly. Move the fender to the correct spot. Check again to ensure alignment.Tightening Fasteners
Once aligned, tighten all fasteners securely. Use a wrench or screwdriver. Turn until snug but not too tight. Over-tightening can damage parts. Check each fastener individually. Make sure none are loose. Tight fenders stay in place. They protect the bike and rider better. `Finishing Touches
Secure the fenders by aligning them with the bike’s frame and tightening the bolts. Adjust the position to avoid wheel contact. Ensure all screws are firmly fastened for stability during rides.
Adding Mudflaps
Mudflaps keep your clothes clean on wet roads. They attach to the bottom of fenders. You need screws and small brackets for this. First, align the mudflap with the fender. Make sure it covers the wheel properly. Use a marker to mark the screw holes. Drill small holes in the fender at those points. Attach the mudflap using screws and brackets. Tighten them well so they don’t fall off.
Testing Ride
After fitting everything, take a short ride. Check the fenders for any noise. Listen for rubbing sounds on the tires. Make sure mudflaps do not drag on the ground. Adjust if needed. The bike should ride smoothly. If it does, your fenders are fitted correctly. This test ensures safety and comfort on your rides.
Maintenance Tips
Fitting fenders on a touring bike enhances protection against mud and water. Ensure the fender aligns with the wheel and adjust the stays for a secure fit. Check tire clearance to prevent rubbing, and tighten all bolts for safety.
Regular Inspections
Check your bike fenders often. Look for any cracks or bends. Tighten loose screws and bolts. Ensure all parts are in good condition. Listen for strange noises during rides. These noises can be signs of problems. Replace damaged parts quickly. This keeps your bike safe and reliable.
Cleaning And Care
Keep your fenders clean to last longer. Use a soft cloth and water. Avoid harsh cleaners that damage the finish. Dry them well after washing. Remove mud and dirt after each ride. This prevents rust. Store your bike in a dry place. Moisture can cause rust and wear. Regular cleaning helps maintain a shiny look.
Credit: simplicityvintagecycles.com
Frequently Asked Questions
Can You Add Fenders To Any Bike?
Yes, you can add fenders to most bikes. Check compatibility with frame and tire size before purchasing. Some bikes may require specific mounting hardware or modifications. Fenders protect against mud and water, enhancing riding comfort. Ensure proper installation for optimal performance.
Always consult a professional if unsure.
How To Mount Bicycle Fenders?
Start by securing the fender’s brackets to your bike frame. Attach the fenders using screws and bolts. Ensure the fenders align with the wheels properly. Check for any obstructions and adjust as needed. Tighten all screws for stability, and test ride to ensure proper installation.
How Do You Size Bike Fenders?
Measure tire width and diameter to size bike fenders accurately. Match fender size to tire dimensions for optimal fit. Ensure fenders are slightly wider than tires to provide adequate coverage and protection. Check compatibility with bike frame and fork mounts for proper installation.
Where Do You Put The Fender On A Bike?
Install the front fender above the wheel, attached to the fork. Secure the rear fender under the seat, extending over the rear wheel. Ensure both fenders are tightly fastened to prevent movement during rides. Proper installation helps protect against mud, water, and debris.
Conclusion
Fitting fenders to your touring bike is essential. It protects from mud and water. This guide helps you install them easily. Choose the right size and type. Measure carefully and gather tools. Follow steps for secure attachment. Test them before heading out.
Enjoy your rides without messy splashes. Properly fitted fenders enhance your biking experience. They keep you dry and comfortable. Gear up with confidence. Happy cycling adventures await! Keep exploring new paths and trails. Make sure your bike stays clean. Now, you’re ready for any weather challenge.
Enjoy the journey!


