
If you love dirt jumping, you know how important it is to keep your bike in top shape. One common issue you might face is worn or broken cables that can slow you down or even stop you mid-air.
Replacing your dirt jump bike cable might seem tricky, but with the right steps, you can do it yourself and save time and money. In this guide, you’ll discover simple, clear instructions to get your bike back on track quickly.
Ready to learn how to fix your cable like a pro? Keep reading and take control of your ride!
Tools And Materials Needed
Replacing the cables on a dirt jump bike keeps it running smoothly. You need the right tools and parts. This guide covers what you need for the job.
Gather everything before you start. This helps you work faster and avoid mistakes.
Essential Tools
These tools help you remove old cables and install new ones safely and correctly.
- Cable cutters for clean cuts
- 5mm and 4mm Allen wrenches
- Screwdrivers (flat and Phillips)
- Needle-nose pliers for gripping
- Cable end caps and crimping tool
- Bike stand or repair stand for stability
Replacement Cables
Choose the right replacement cables for your dirt jump bike. Quality cables last longer and work better.
| Type | Description | Common Size |
| Brake Cable | Steel cable for brake control | 1.5 to 1.6 mm diameter |
| Shift Cable | Steel cable for gear shifting | 1.1 to 1.2 mm diameter |
| Housing | Protective casing for cables | 5 mm outer diameter |
Optional Accessories
These accessories make cable replacement easier and improve bike performance.
- Cable lubricant to reduce friction
- Zip ties to secure cables neatly
- Grease for cable stops and bolts
- Replacement cable ferrules for housing ends
- Protective gloves to keep hands clean
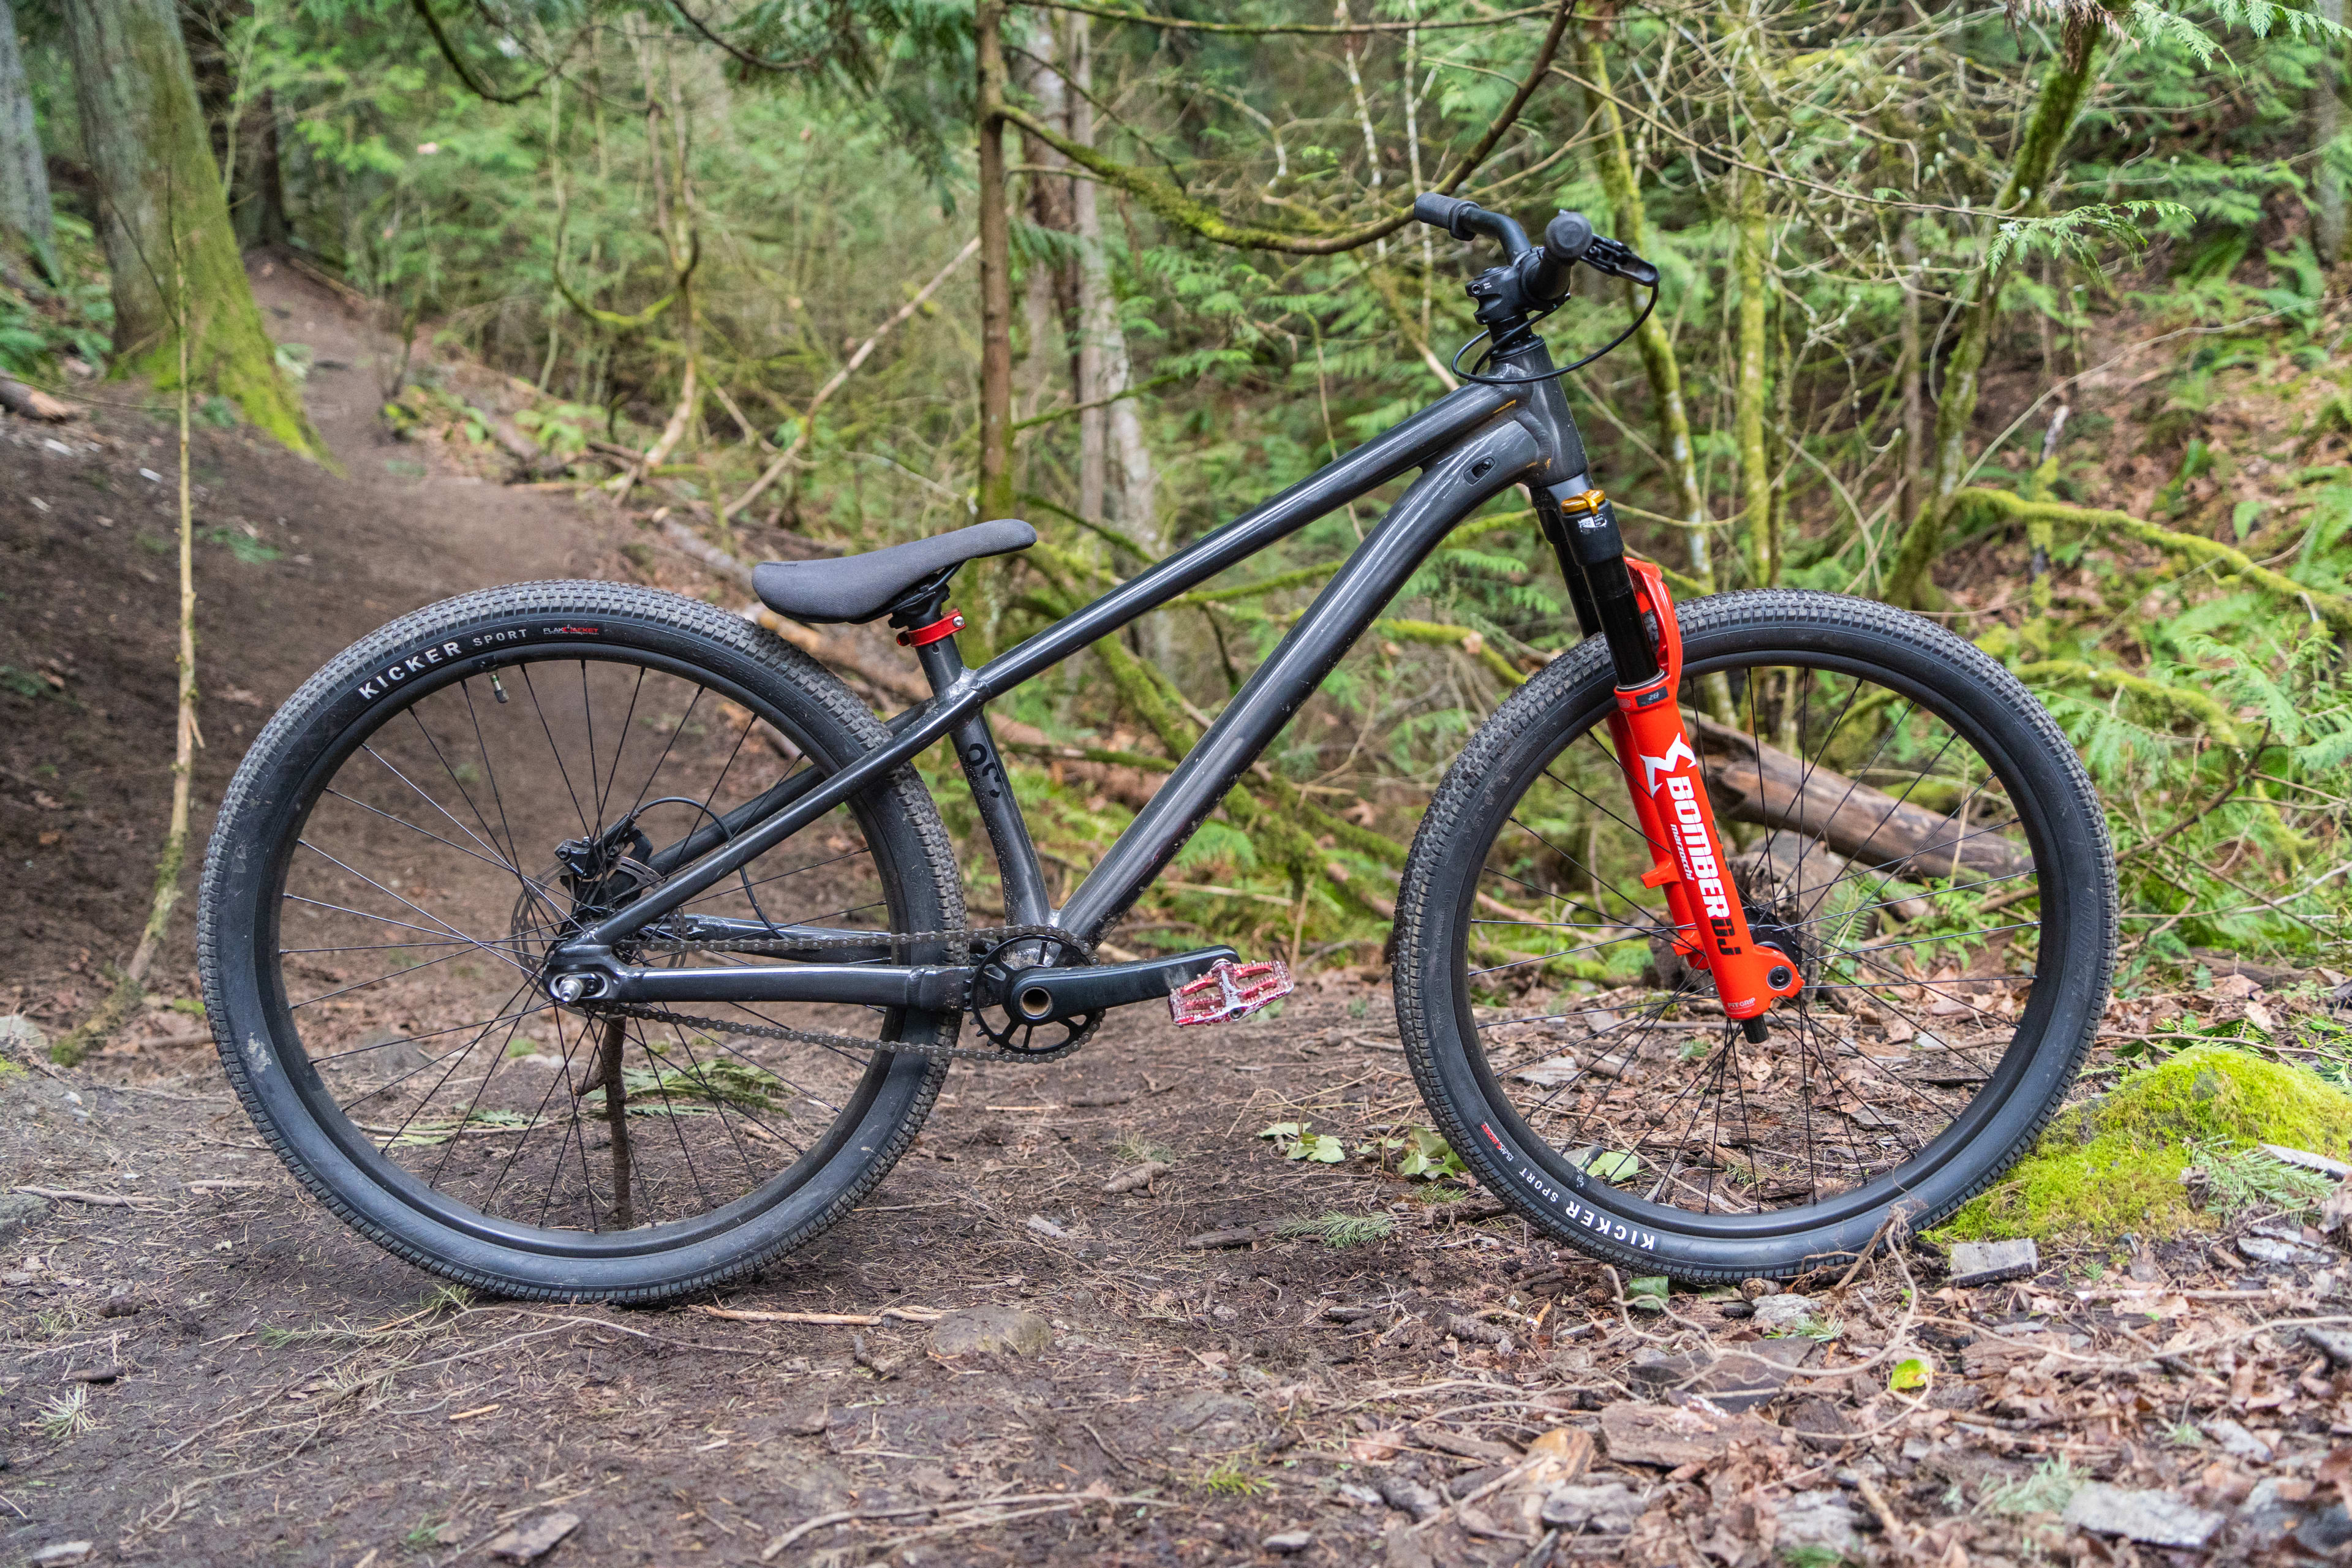
Credit: www.bikemag.com
Preparing Your Bike
Replacing the cables on your dirt jump bike starts with good preparation. Taking time to get your bike ready will make the process easier and safer.
This guide covers how to secure your bike, remove old cable housing, and clean the cable paths before installing new cables.
Securing The Bike
Keep your bike stable to avoid damage or injury. Use a bike stand or lean it against a solid surface. Make sure the bike cannot move while you work.
- Use a sturdy bike stand if available
- Remove loose items from the bike
- Lock the wheels if possible
- Work in a well-lit area
Removing Old Cable Housing
Carefully take off the old cable housing. This lets you inspect the cables and frame. Use the right tools to avoid scratches or damage.
- Shift to the lowest gear to release cable tension
- Cut or unbolt cable ends as needed
- Pull the old housing gently from the frame
- Keep the old cables to compare sizes with new ones
Cleaning Cable Paths
Clean the cable paths before installing new cables. Dirt and grime can slow down shifting and braking. Use a cloth and mild cleaner.
| Tool | Use | Tip |
| Cloth | Wipe cable channels | Use a lint-free cloth |
| Mild Cleaner | Remove dirt and grease | Avoid harsh chemicals |
| Brush | Clean small areas | Use a soft brush |
Removing The Old Cable
Replacing the cable on your dirt jump bike keeps the brakes and gears working well. Removing the old cable is the first step. It is important to do this carefully to avoid damage.
This guide shows how to remove the old cable safely. Follow each part to get the cable out cleanly and ready for a new one.
Loosening Cable Anchors
Start by finding the cable anchors on your bike. These hold the cable tight. Use the right size Allen wrench or screwdriver to loosen them. Turn slowly to avoid stripping the bolts.
Loosening the anchors releases the cable from the brake or gear lever. Make sure the cable is loose enough to pull out easily.
Detaching Cable Ends
Next, look for the cable ends near the brake or shifter. These ends fit into small slots or holes. You may need to push or pull the cable end out carefully.
If the cable end is stuck, use pliers to grip and pull it gently. Avoid bending the cable end too much to prevent damage.
Pulling Out The Cable
Once the cable anchors and ends are free, pull the cable through the housing. Pull slowly and steadily to avoid catching on bends or stops.
If the cable is stuck, check for any clips or guides along the frame. Remove or release them before pulling the cable fully out.
Installing The New Cable
Installing a new cable on your dirt jump bike is key for smooth control. This guide helps you place the cable correctly for best performance.
Follow each part carefully to avoid damage and ensure the cable works well with your bike’s brake or gear system.
Threading The Cable
Start by threading the cable through the lever. Make sure the cable head fits snugly into the lever slot. Pull the cable straight to avoid bends or kinks.
Routing Through Housing
Guide the cable through the housing tubes carefully. Check for any sharp bends or twists. Proper routing helps the cable move smoothly and lasts longer.
- Run the cable along the original path on the frame
- Avoid tight curves that can cause friction
- Use new housing if the old one is worn
- Lubricate the cable inside the housing for easier movement
Securing Cable Ends
After routing, secure the cable ends to keep them tight and safe. Use the correct bolts and clamps on your bike’s brake or derailleur.
| Tool | Purpose | Tip |
|---|---|---|
| Cable Cutter | Trim excess cable | Cut cleanly to prevent fraying |
| Crimping Tool | Attach cable end caps | Use to avoid cable unraveling |
| Allen Wrench | Tighten bolts | Ensure bolts are firm but not over-tightened |
Adjusting Cable Tension
Adjusting the cable tension on your dirt jump bike is key for smooth braking and shifting. Proper tension keeps your controls responsive and safe.
Too loose or too tight cables can cause poor performance or damage. This guide explains how to fine-tune brake and gear cables easily.
Fine-tuning Brake Cables
Brake cables need the right tension to stop your bike quickly and safely. Use the barrel adjuster near the brake lever to make small changes.
- Loosen the locknut on the barrel adjuster.
- Turn the barrel adjuster out to increase cable tension.
- Turn it in to reduce tension.
- Test the brake lever for firmness and response.
- Tighten the locknut once tension feels right.
If brakes feel spongy or grab too fast, adjust the cable tension again. Check the cable housing and lubricate if needed.
Setting Gear Cable Tension
Correct gear cable tension lets you shift gears smoothly without slipping or noise. Use the barrel adjuster near the shifter or derailleur.
| Adjustment | Effect | Action |
| Increase tension | Shifts to higher gears more easily | Turn barrel adjuster counterclockwise |
| Decrease tension | Shifts to lower gears more smoothly | Turn barrel adjuster clockwise |
| Check cable slack | Ensures precise gear changes | Tighten or loosen cable at derailleur if needed |
Test the gears after each adjustment. Shift through all gears to confirm smooth operation without skipping.

Credit: www.youtube.com
Testing And Final Checks
After replacing the cables on your dirt jump bike, testing is very important. It ensures everything works safely and smoothly.
Check each part carefully. This helps catch any problems before you ride again.
Brake Functionality Test
Start by squeezing the brake levers. The brakes should engage firmly without too much lever pull.
Check that the brakes stop the wheels quickly and evenly. If the brakes feel weak, adjust the cable tension.
- Squeeze brake levers firmly
- Look for quick wheel stop
- Check for even brake pad contact
- Tighten cable if brakes feel loose
Gear Shifting Test
Shift through all the gears while pedaling slowly. The chain should move smoothly from one gear to another.
If the gears skip or hesitate, the cable may need adjustment. Make small tweaks to the barrel adjuster for smooth shifting.
- Pedal slowly and shift gears
- Listen for smooth gear changes
- Adjust barrel to fix skipping
- Ensure chain stays on the gears
Inspecting Cable Wear
Look closely at the new cables. Check for any fraying, rust, or damage along the length.
Make sure the cable ends are properly capped. Damaged cables can cause poor performance or break while riding.
- Check cable for frayed strands
- Look for rust or bends
- Verify cable end caps are secure
- Replace cables if any damage is found
Maintenance Tips
Keeping your dirt jump bike cables in good shape ensures smooth riding. Proper care prevents sudden failures on the trail.
Learn simple steps to inspect, lubricate, and know when to replace your bike cables. This helps maintain control and safety.
Regular Cable Inspection
Check your cables often for signs of wear or damage. Look for frayed wires, rust, or sticky spots that slow movement.
- Inspect cable housing for cracks or splits
- Feel cables for rough or uneven spots
- Test brake and gear response for smoothness
- Check cable ends for loose or broken strands
Lubrication Advice
Lubricate cables to reduce friction and prevent rust. Use a light oil made for bike cables and avoid heavy greases.
- Apply oil at the cable entry points
- Move the cables back and forth to spread lubricant
- Wipe off excess oil to avoid dirt buildup
- Lubricate cables every few weeks or after wet rides
When To Replace Cables
Replacing cables keeps your bike reliable. Use this table to know when to change your cables.
| Condition | Reason to Replace |
| Frayed wires | Risk of snapping under pressure |
| Rusty cables | Reduced flexibility and strength |
| Sticky or stiff movement | Lubrication no longer works well |
| Visible damage on housing | Poor cable protection and performance |
Credit: www.polygonbikes.com
Frequently Asked Questions
How Often Should I Replace Dirt Jump Bike Cables?
Replace your bike cables every 6 to 12 months or when they show signs of wear. Regular checks ensure smooth braking and shifting.
What Tools Are Needed For Cable Replacement?
You need cable cutters, hex wrenches, a screwdriver, and new cables. These tools make the replacement process easier and precise.
How To Prevent Cable Friction In Dirt Jump Bikes?
Apply lubricant to the cables and housing regularly. Proper lubrication reduces friction and extends cable life for smoother rides.
Can I Replace Cables Without Removing The Wheel?
Yes, you can replace cables without removing the wheel by accessing cable stops and housing carefully. This saves time during maintenance.
Conclusion
Replacing bike cables for dirt jumping is simple with the right steps. Gather your tools and follow each instruction carefully. Regular maintenance ensures smooth rides and better control. Always check your cables for wear and tear. This helps avoid unexpected problems on trails.
Practice makes the process easier over time. Remember to keep your workspace organized for efficiency. Enjoy the improved performance of your dirt jump bike. Happy riding and stay safe on those thrilling jumps!



