
Are you ready to take your dirt jumping skills to the next level? One of the most important parts of your bike that can make or break your ride is the brake setup.
If your brakes aren’t dialed in perfectly, you could lose control or miss out on smooth landings. In this guide, you’ll learn exactly how to set up your dirt jump bike brakes for maximum control and safety. Whether you’re a beginner or looking to fine-tune your setup, these simple steps will help you ride with confidence every time.
Keep reading, and get ready to feel the difference in your jumps!
Credit: www.bikemag.com
Choosing The Right Brakes
Setting up brakes on your dirt jump bike is very important. The right brakes help you stop safely and control your speed.
Not all brakes work the same for dirt jumping. You need to pick brakes that fit your riding style and bike type.
Types Of Bike Brakes
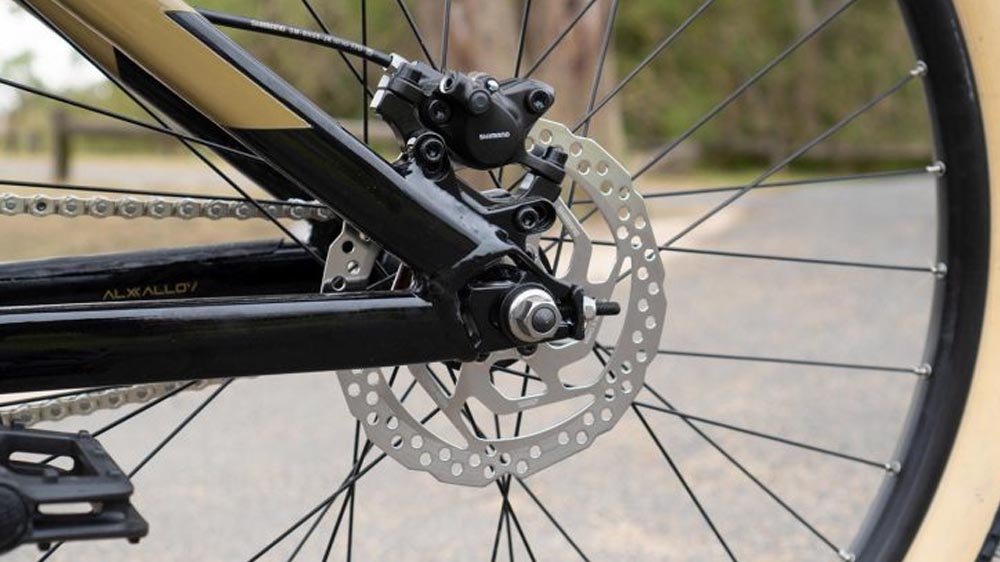
There are two main types of bike brakes: rim brakes and disc brakes. Rim brakes press pads on the wheel rim. Disc brakes use a rotor attached to the wheel hub.
- Rim Brakes:Light and simple but less powerful in wet conditions.
- Disc Brakes:Strong stopping power and work well in mud and rain.
Best Brakes For Dirt Jumping
For dirt jumping, disc brakes are usually the best choice. They offer more control and reliable stopping power.
Many riders prefer hydraulic disc brakes because they need less hand force and respond faster than mechanical brakes.
- Hydraulic disc brakes give smooth and strong braking.
- Mechanical disc brakes are easier to maintain but less powerful.
- Rim brakes work if you want a lighter setup but may fade quickly.
Brake Material And Durability
| Material | Durability | Performance |
| Steel | High | Good for rotors, strong but heavy |
| Aluminum | Medium | Lightweight but wears faster |
| Carbon | Low | Very light, expensive, can wear quickly |
| Sintered Pads | High | Last long, good for wet conditions |
| Organic Pads | Medium | Quieter and better in dry conditions |
Choose brake parts that last long and suit your riding style. Steel rotors and sintered pads are strong for dirt jumping.

Credit: www.youtube.com
Brake Lever Selection
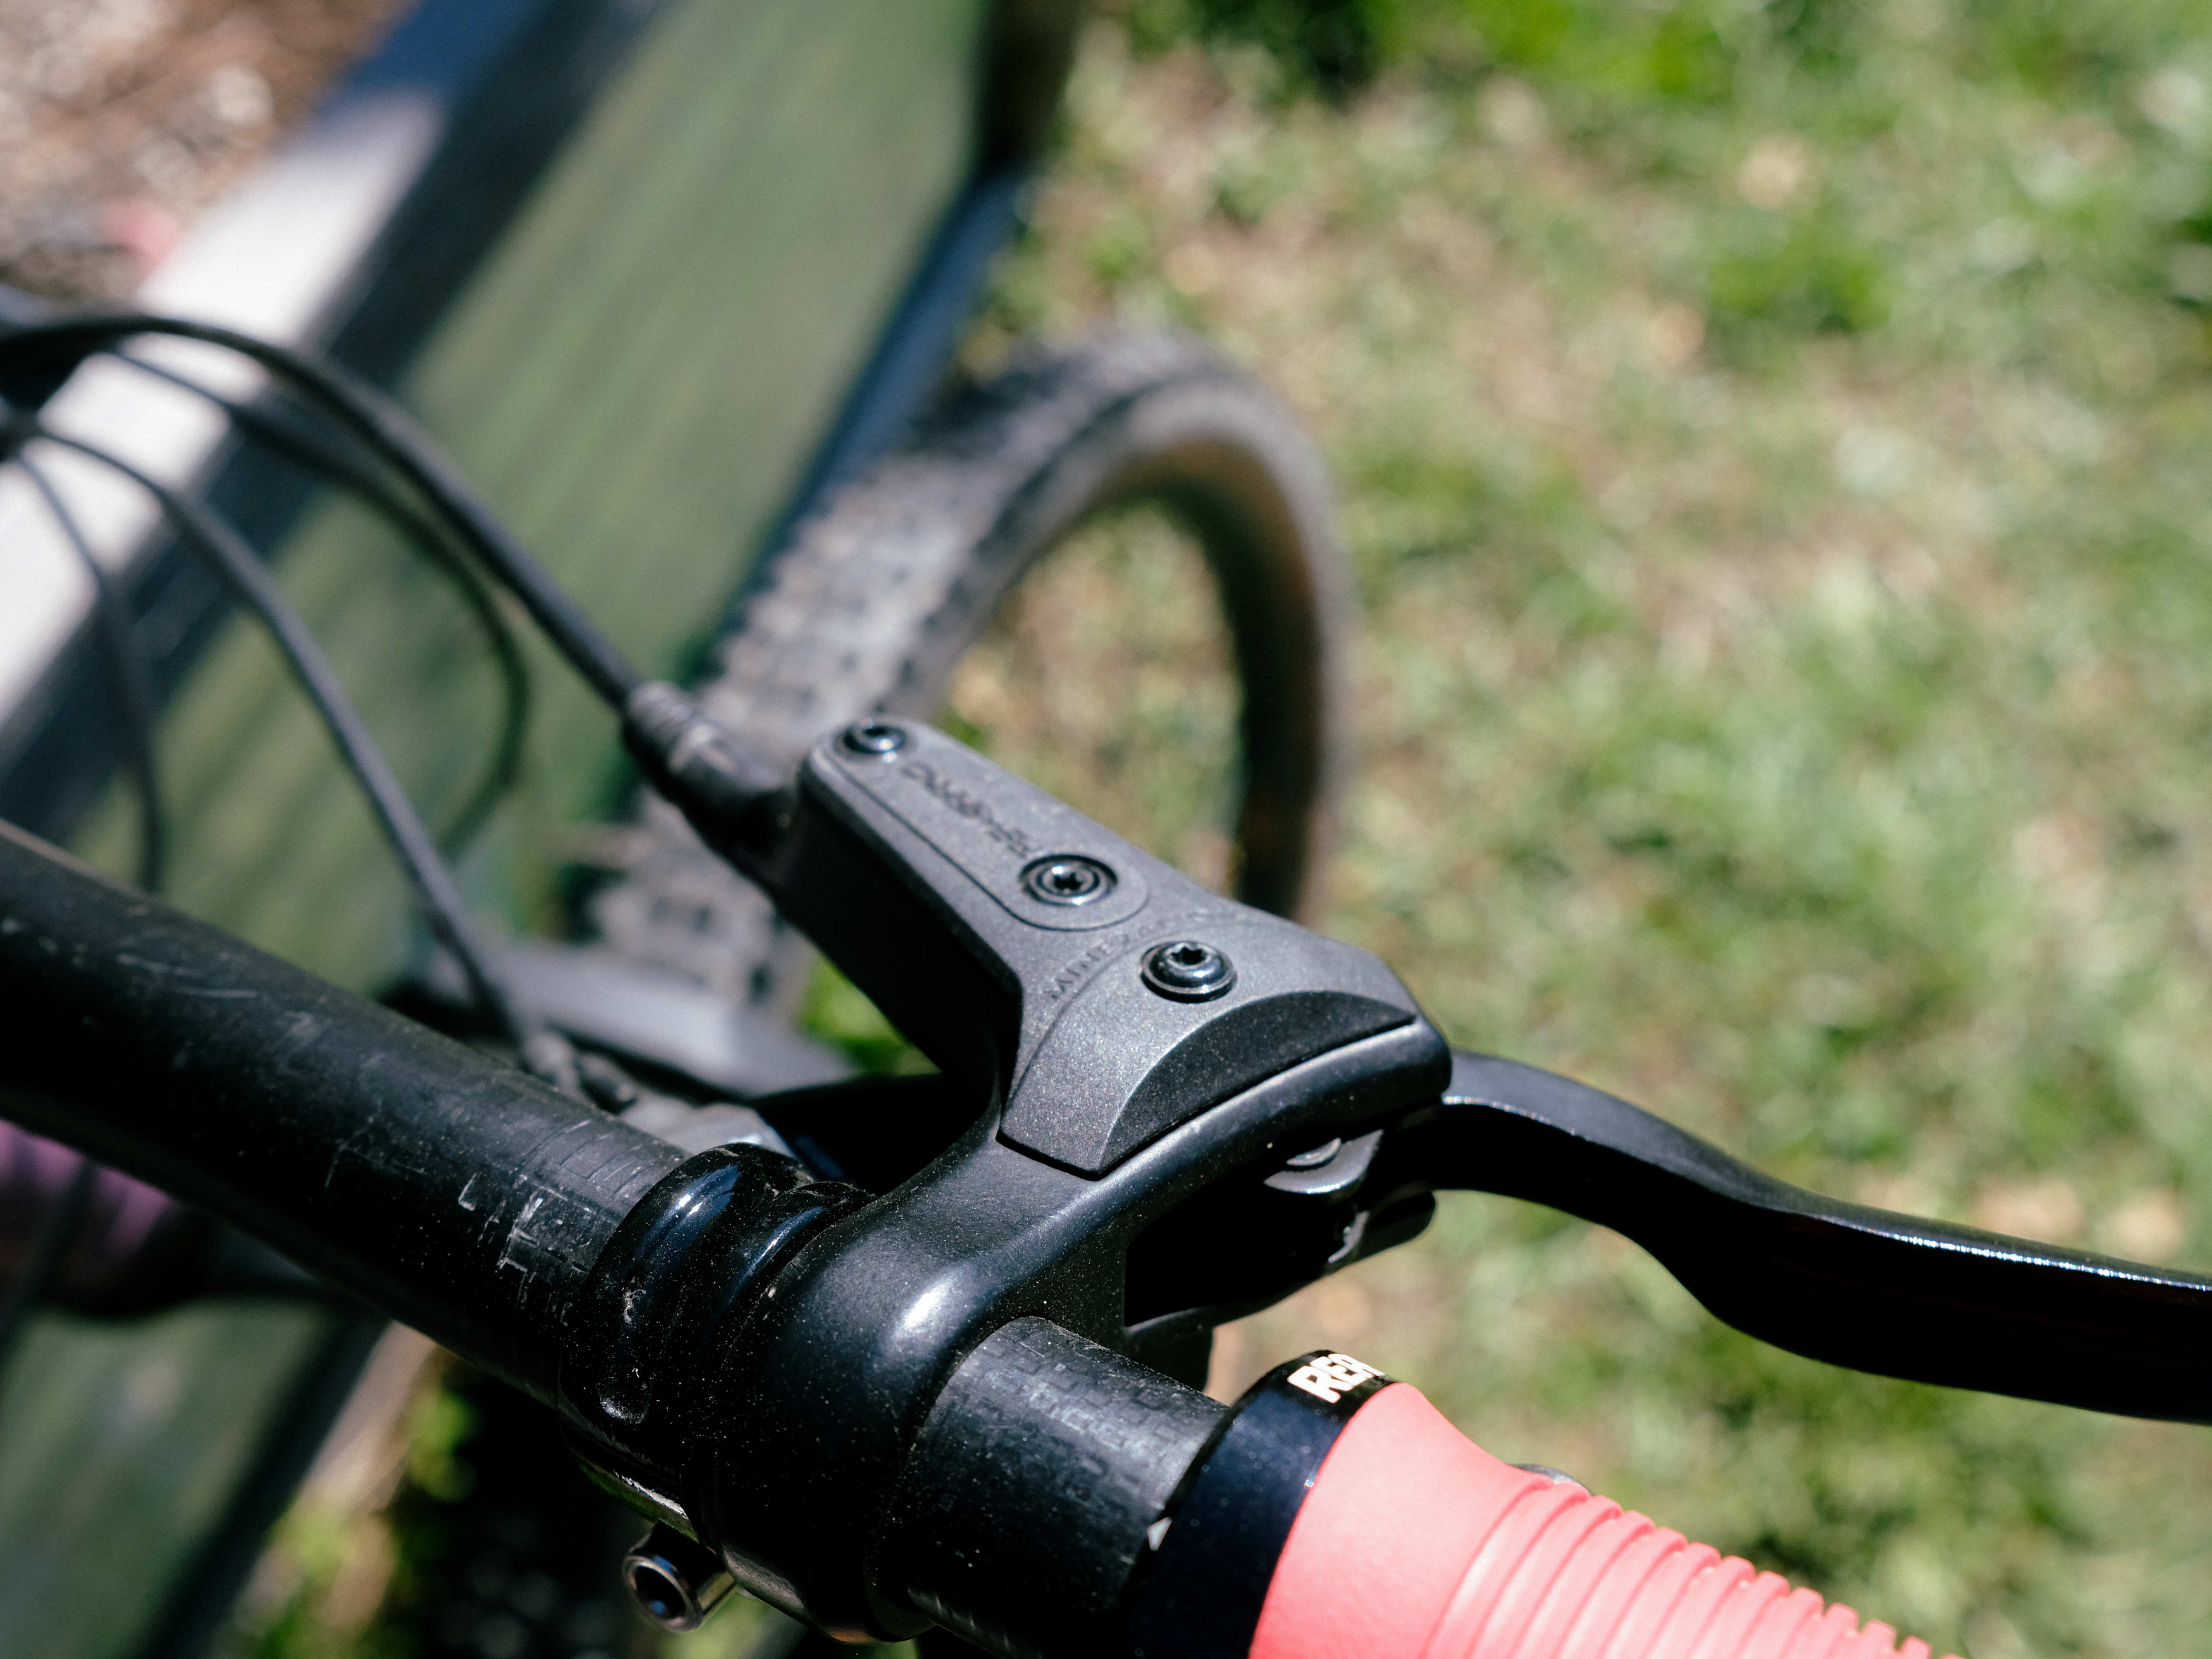
Choosing the right brake lever is important for dirt jump biking. It affects how well you control the bike and stop safely. Picking a lever that fits your hand and style makes riding easier.
Brake lever selection depends on size, comfort, and adjustability. These factors help you brake smoothly and respond quickly on jumps and landings.
Lever Size And Reach
Brake levers come in different sizes and reaches. Reach means the distance from the handlebar to the lever tip. It must fit your hand size for easy use.
| Hand Size | Recommended Reach | Reason |
|---|---|---|
| Small | Short | Easier to grab and pull fully |
| Medium | Medium | Comfortable grip and control |
| Large | Long | Prevents hand cramping |
Ergonomics For Control
Ergonomic brake levers fit the natural shape of your fingers. They reduce fatigue and improve control during tricks and landings. Look for levers with curved shapes and textured surfaces.
- Curved lever tips match finger shape
- Textured grips prevent slipping
- Lightweight materials reduce hand strain
- Proper lever width fits finger size
Adjustable Features
Adjustable brake levers let you change reach and bite point. This helps you fine-tune the brakes for your riding style and hand comfort. You can adjust them on the trail or before riding.
| Feature | Benefit |
|---|---|
| Reach Adjust | Changes lever distance to handlebar |
| Bite Point Adjust | Controls when brake pads engage |
| Lever Position | Allows angle change for comfort |
Brake Pad Choices
Choosing the right brake pads is important for your dirt jump bike. The pads affect how well your bike stops and how long the brakes last.
Understanding the types of brake pads helps you pick the best ones for your riding style and conditions.
Pad Materials
Brake pads come in different materials. Each material works well in certain situations and feels different on the brakes.
- Sintered pads are made from metal particles. They last long and work well in wet conditions.
- Organic pads use resin and fibers. They are quieter and give smooth braking but wear faster.
- Semi-metallic pads mix metal and organic materials. They balance durability and braking power.
Wear And Replacement
Brake pads wear down with use. Check them often to keep your bike safe and stopping well.
Replace the pads when they become thin or stop working properly. Worn pads can damage your brake rotors.
- Look for a thickness less than 1mm.
- Listen for a squealing sound when braking.
- Replace pads if braking feels weak or uneven.
Performance In Different Conditions
Brake pads perform differently depending on the weather and trail conditions. Choose pads that fit your usual riding environment.
Wet or muddy trails need pads that work well with water and dirt. Dry trails allow for pads that offer more grip and less noise.
- Sintered pads excel in wet and muddy conditions.
- Organic pads work best in dry and clean environments.
- Semi-metallic pads handle a variety of conditions well.
Caliper Setup And Alignment
Setting up your dirt jump bike brakes correctly is key for safety and control. Proper caliper setup helps your brakes work well and last longer.
This guide covers mounting calipers, aligning brake pads, and avoiding brake rub for smooth riding.
Mounting Calipers Correctly
Mount the caliper tightly to the frame or fork using the correct bolts. Use a torque wrench to avoid over-tightening. The caliper should sit evenly over the rotor or rim.
- Clean mounting surfaces before installation
- Use proper bolts with thread locker if needed
- Check that the caliper does not move after tightening
- Ensure the caliper is centered on the rotor or rim
Aligning Pads With The Rim Or Rotor
Brake pads must line up squarely with the rim or rotor. Misalignment causes poor braking and quick pad wear.
| Pad Position | Correct Placement | Common Issues |
| Height | Pad covers full rotor or rim width | Pad touches tire or spokes |
| Angle | Pad surface flat against rotor or rim | Pad tilts causing uneven wear |
| Distance | Pad close but not rubbing | Pad too far reduces braking power |
Avoiding Brake Rub
Brake rub creates noise and slows you down. Adjust the caliper and pads to stop rubbing.
- Loosen caliper bolts slightly
- Squeeze brake lever to center caliper
- Retighten caliper bolts while holding lever
- Check for rubbing by spinning the wheel
- Fine-tune pad distance with pad adjustment screws
Cable And Hydraulic Line Maintenance
Keeping your dirt jump bike brakes working well is important for safety. Regular maintenance of cables and hydraulic lines helps your brakes respond quickly.
This guide covers key points about cable routing, hydraulic fluid checks, and bleeding hydraulic brakes. Follow these tips for better brake performance.
Cable Routing Tips
Proper cable routing reduces wear and improves brake response. Avoid sharp bends and keep cables clear of moving parts.
Check cables for frays or rust. Replace damaged cables to prevent brake failure.
- Use smooth curves, not sharp angles
- Secure cables with clips or ties
- Avoid routing near heat sources or sharp edges
- Inspect cables regularly for damage
Hydraulic Fluid Checks
Hydraulic brakes rely on clean fluid for smooth operation. Check the fluid level often and look for leaks.
Use the correct brake fluid type recommended by the manufacturer. Old or dirty fluid lowers brake power.
- Check fluid reservoirs monthly
- Look for cloudy or dark fluid
- Replace fluid every 6 to 12 months
- Keep fluid containers sealed to avoid contamination
Bleeding Hydraulic Brakes
Bleeding removes air bubbles from brake lines. Air in lines makes brakes feel soft and weak.
Follow the brake maker’s instructions to bleed brakes safely. Use the right tools and fluid to avoid damage.
- Attach bleed kit to brake caliper and lever
- Push new fluid through the system slowly
- Watch for air bubbles leaving the line
- Close bleed ports tightly after finishing
- Test brakes before riding
Adjusting Brake Tension
Setting the right brake tension is key for dirt jump bikes. It helps you control speed and stop safely.
Good brake tension makes the brakes feel smooth and responsive. It also prevents brake drag or weak stopping power.
Fine-tuning Cable Tension
Start by loosening the cable if the brake pads rub the rim or rotor. Tighten the cable if the brake feels loose.
Use the barrel adjuster near the brake lever to make small changes. Turn it out to tighten the cable.
- Check that the brake pads do not touch the wheel when not pressed.
- Make small turns on the barrel adjuster for fine changes.
- Pull the cable tight at the brake caliper for big adjustments.
Lever Feel And Response
The brake lever should feel firm but smooth when pulled. It should not hit the handlebar.
If the lever feels spongy, check for air in the brake lines or loose cables. Adjust or bleed brakes as needed.
- Pull the lever and watch for quick brake pad movement.
- Adjust cable tension if the lever pulls too close to the handlebar.
- Make sure the lever returns smoothly after release.
Balancing Front And Rear Brakes
Both brakes must work well for safe riding. The front brake usually has more stopping power.
Adjust tension so the front brake feels strong but not too harsh. The rear brake should help control speed smoothly.
- Tighten front brake cable for firm, strong stops.
- Set rear brake cable for easy, controlled braking.
- Test brakes on a slow ride to balance feel and power.
Testing And Tuning For Dirt Jumps
Setting up your bike brakes for dirt jumps is important for safe riding. Testing and tuning help you find the right balance. You want brakes that respond well and keep control during jumps.
In this guide, you will learn how to check brake performance, make adjustments, and fix common problems. Proper brake setup can improve your dirt jump experience.
Brake Performance On Jumps
Brake performance matters when you land a jump. Strong and consistent braking helps you stay safe. You should test how your brakes feel on small jumps first.
Check if the brakes stop the bike quickly without locking the wheels. Smooth braking lets you control speed and balance on landing.
Adjustments For Safety And Control
Adjust your brakes to get the right feel and power. Tighten or loosen brake cables to control how hard the brakes grab. Make sure the brake pads hit the rim or rotor evenly.
Test your adjustments by riding slowly and braking gently. You want brakes that stop well but do not lock up. This helps keep control during jumps.
- Check brake lever reach and adjust if needed
- Align brake pads to touch the rim or rotor evenly
- Tighten cables for firmer braking or loosen for softer feel
- Make sure brakes release fully when not used
Common Brake Issues And Fixes
Some brake problems are common with dirt jumping. Squeaky brakes, weak stopping power, and sticking pads happen often. Fixing these keeps your bike safe.
Use this list to find and fix common issues quickly. Regular checks help avoid big problems during rides.
- Squeaky brakes: Clean pads and rims or rotors
- Weak brakes: Tighten cables or replace worn pads
- Brake drag: Adjust cable tension or check pad alignment
- Loose levers: Tighten bolts and check cable ends

Credit: www.starunion-store.com
Tools And Accessories Needed
Setting up your dirt jump bike brakes properly is key for safety and control. This guide covers the main tools and accessories you need. Use the right items to keep your brakes working well.
Having the correct tools and supplies helps you fix and maintain your brakes quickly. It also lets you carry spare parts in case of emergencies during rides.
Essential Tools For Setup
To set up dirt jump bike brakes, you need some basic tools. These help you adjust, tighten, and check the brake system.
- Allen wrench set (2mm to 6mm sizes)
- Torque wrench for precise tightening
- Flathead and Phillips screwdrivers
- Needle-nose pliers for cable handling
- Cable cutters to trim brake cables
- Brake bleed kit if you use hydraulic brakes
- Rag or cloth for cleaning parts
Spare Parts To Carry
Bringing spare parts on your ride can save you from brake failure. Carry these small items for quick repairs.
| Spare Part | Purpose |
| Brake pads | Replace worn pads for better stopping |
| Brake cables | Swap broken or stretched cables |
| Barrel adjusters | Fine-tune cable tension |
| Brake lever bolts | Replace lost or damaged bolts |
| Small zip ties | Secure cables and hoses |
Cleaning And Lubrication Supplies
Keeping your brakes clean and lubricated improves their performance. Use these supplies regularly.
- Isopropyl alcohol for cleaning brake rotors and pads
- Bike-specific lubricant for pivot points
- Clean rags or microfiber cloths
- Brushes to remove dirt from brake parts
Frequently Asked Questions
How To Adjust Dirt Jump Bike Brakes?
To adjust dirt jump bike brakes, first ensure your brake pads align with the rim. Use the barrel adjuster to fine-tune tension. If needed, tighten the cable using an Allen key for optimal performance.
What Tools Are Needed For Brake Setup?
For a dirt jump bike brake setup, you’ll need an Allen key set, a screwdriver, and a cable cutter. These tools help you adjust brake pads, tighten cables, and ensure everything is properly aligned for efficient braking.
Why Is Brake Alignment Important?
Brake alignment ensures consistent, effective stopping power and prevents uneven wear on pads. Misalignment can lead to reduced braking efficiency and increased risk of accidents. Proper alignment helps maintain your bike’s safety and longevity.
How Often Should Brakes Be Checked?
Check your dirt jump bike brakes every month or after intense rides. Regular checks ensure optimal performance and safety. Replace worn-out pads and adjust cables as needed to maintain reliable braking.
Conclusion
Setting up your dirt jump bike brakes right keeps you safe and in control. Check brake pads and cables often for good performance. Adjust the brakes to respond quickly without sticking. Clean and lubricate parts to avoid dirt buildup. Practice braking smoothly before big jumps.
A well-maintained brake system helps you ride with confidence. Take time to learn the basics and keep your bike ready. Safe riding starts with proper brake setup every time.



